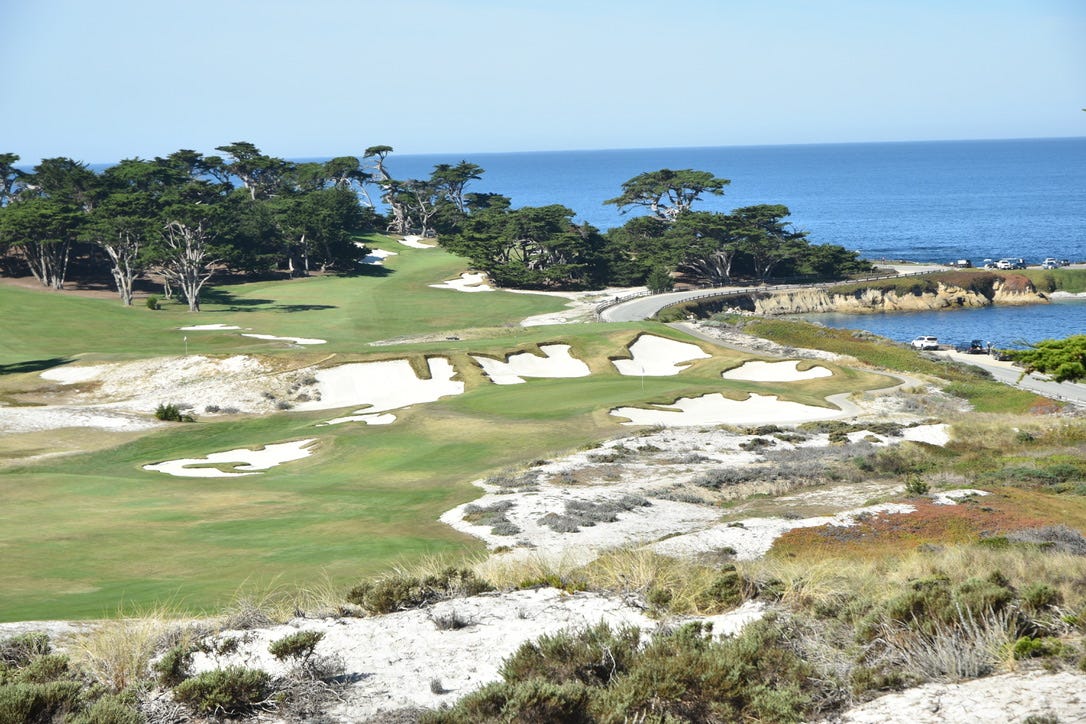
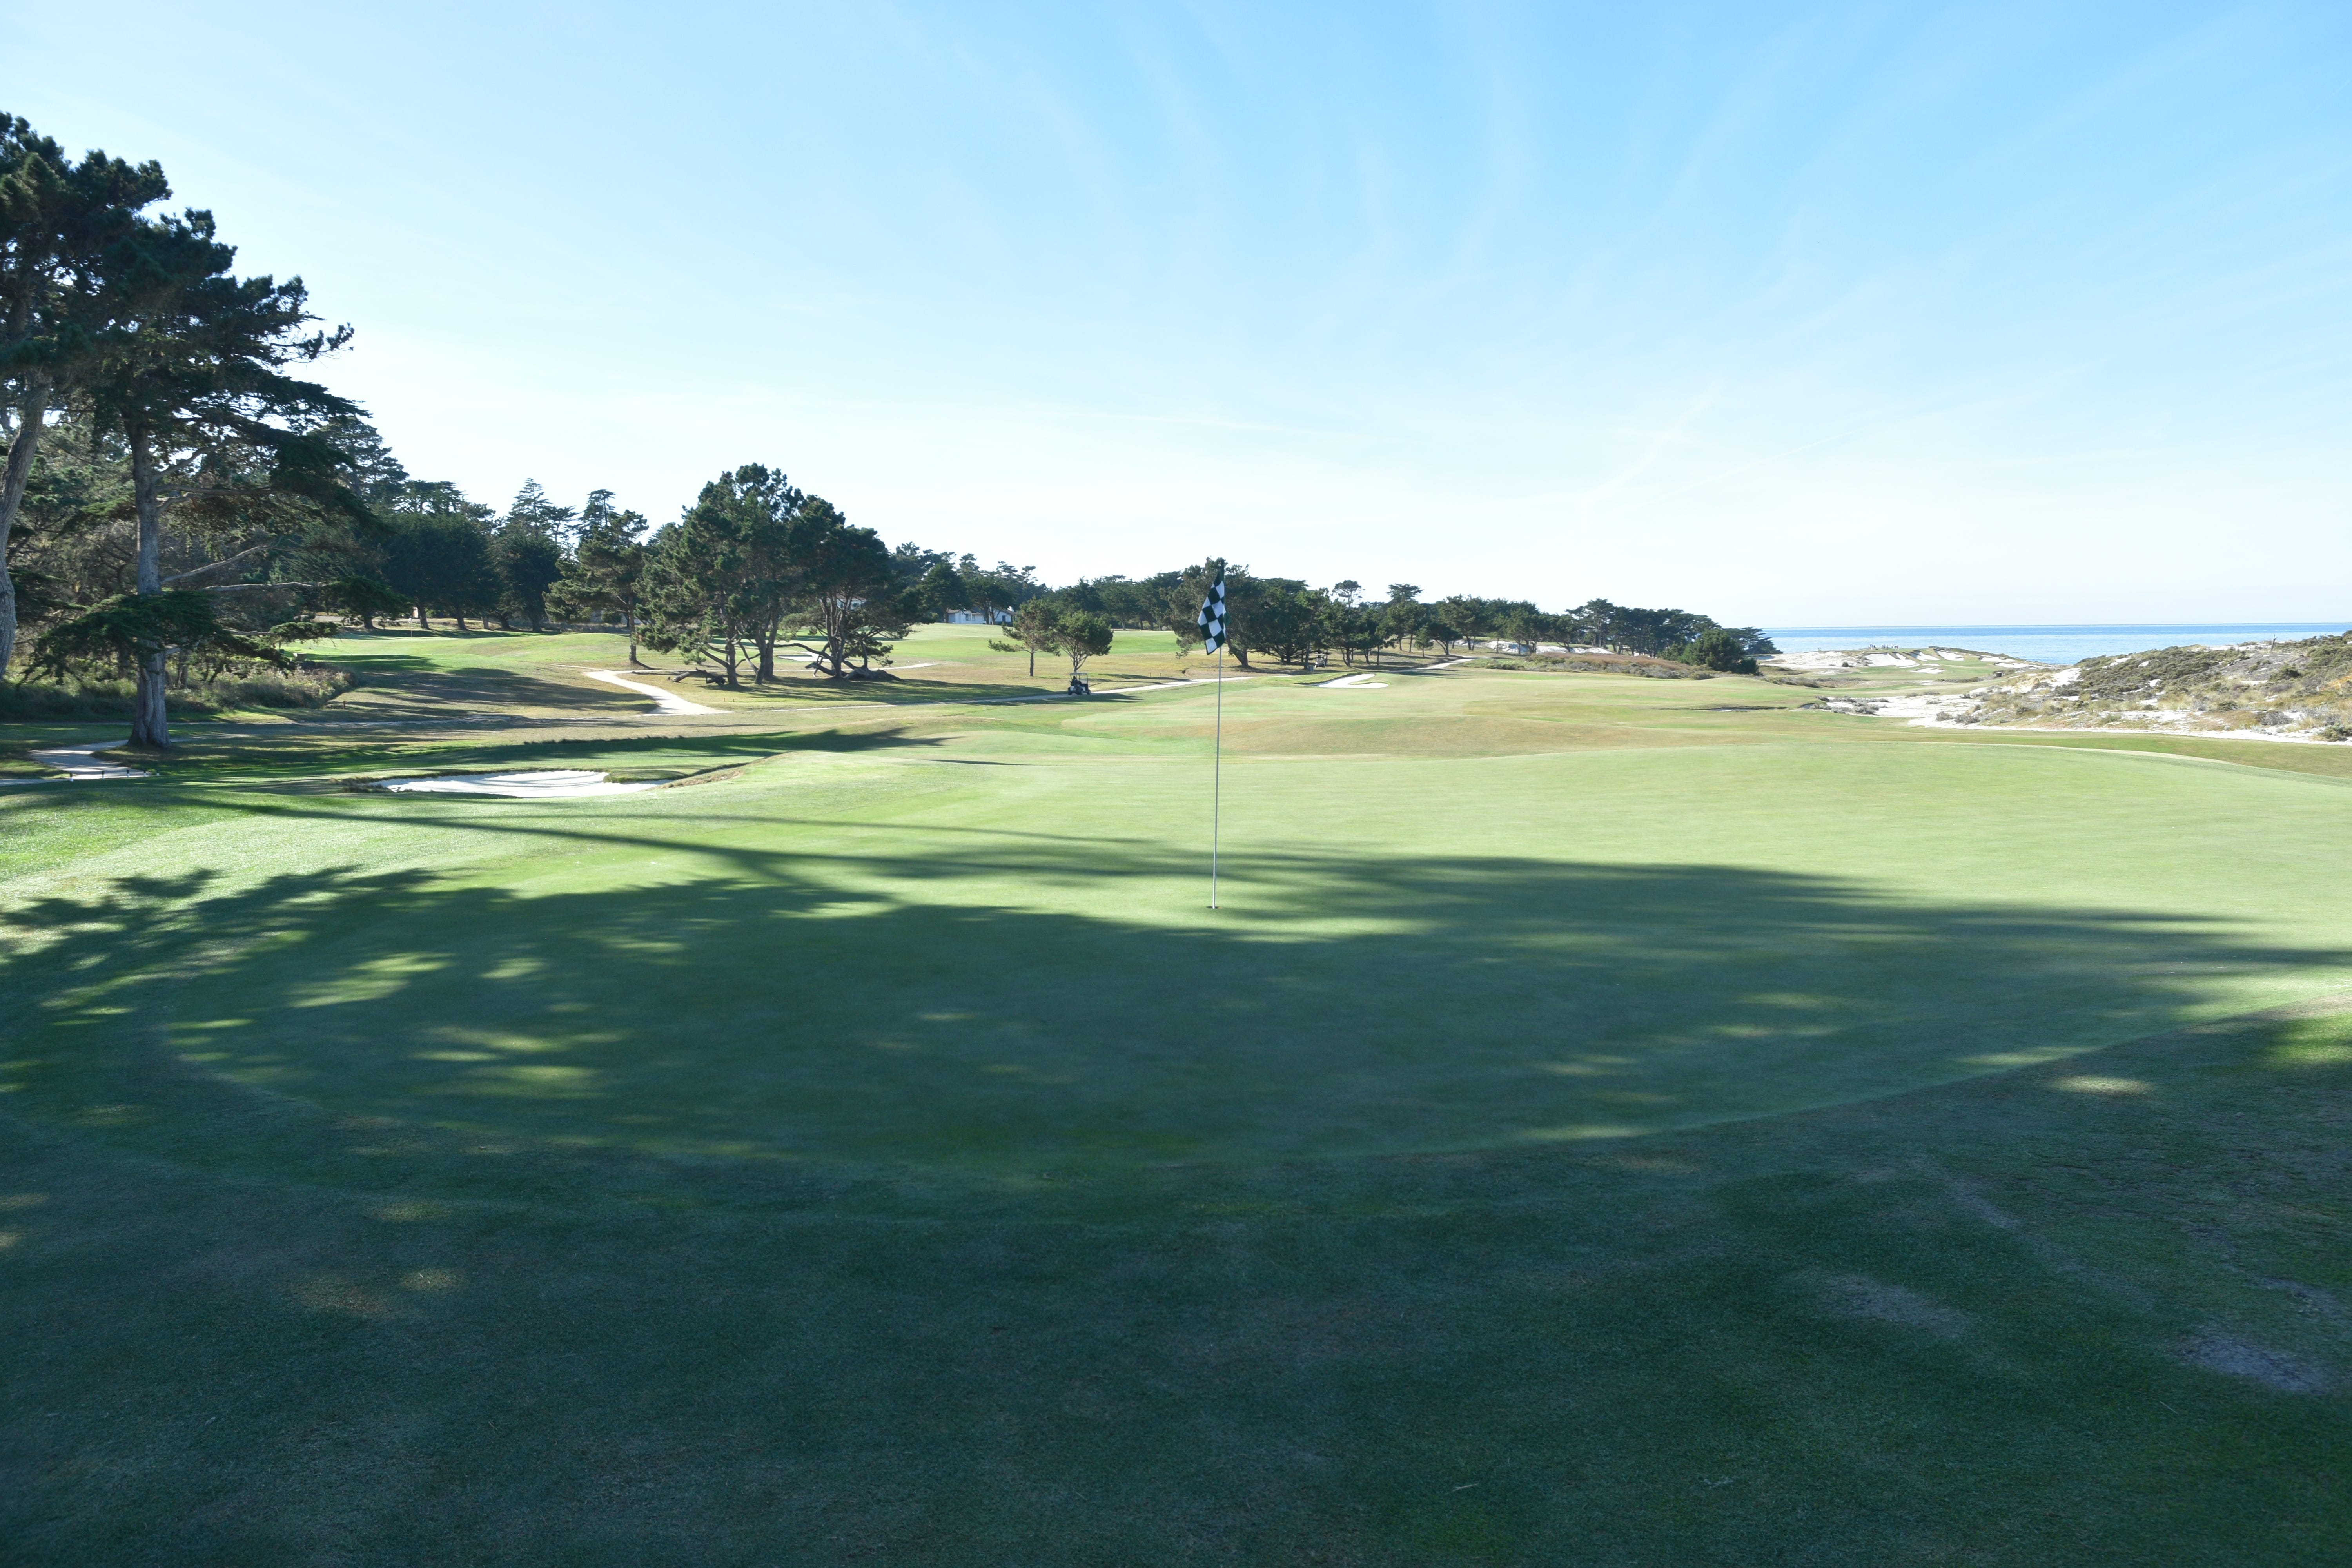
The 13th hole (foreground) and 14th hole (background) at Cypress Point start one of the most spectacular routings in all of golf alongside the Pacific Ocean
Par 72, 6,552 yards 141 Slope, 73.1 Rating Course Record: Kramer Hickok, Ben Hogan, Jim Langley, Casey Reamer, Adam Scott (63)
Original Architect(s): Alister Mackenzie & Robert Hunter (1928)
Notable Championships Played: AT&T Pebble Beach Pro-Am Rotation Course (1947-1990) 1981 Walker Cup 2025 Walker Cup
“I do not expect anyone will ever have the opportunity of constructing another course like Cypress Point, as I do not suppose anywhere in the world is there such a glorious combination of rocky coast, sand dunes, pine woods and cypress trees”
— Alister Mackenzie
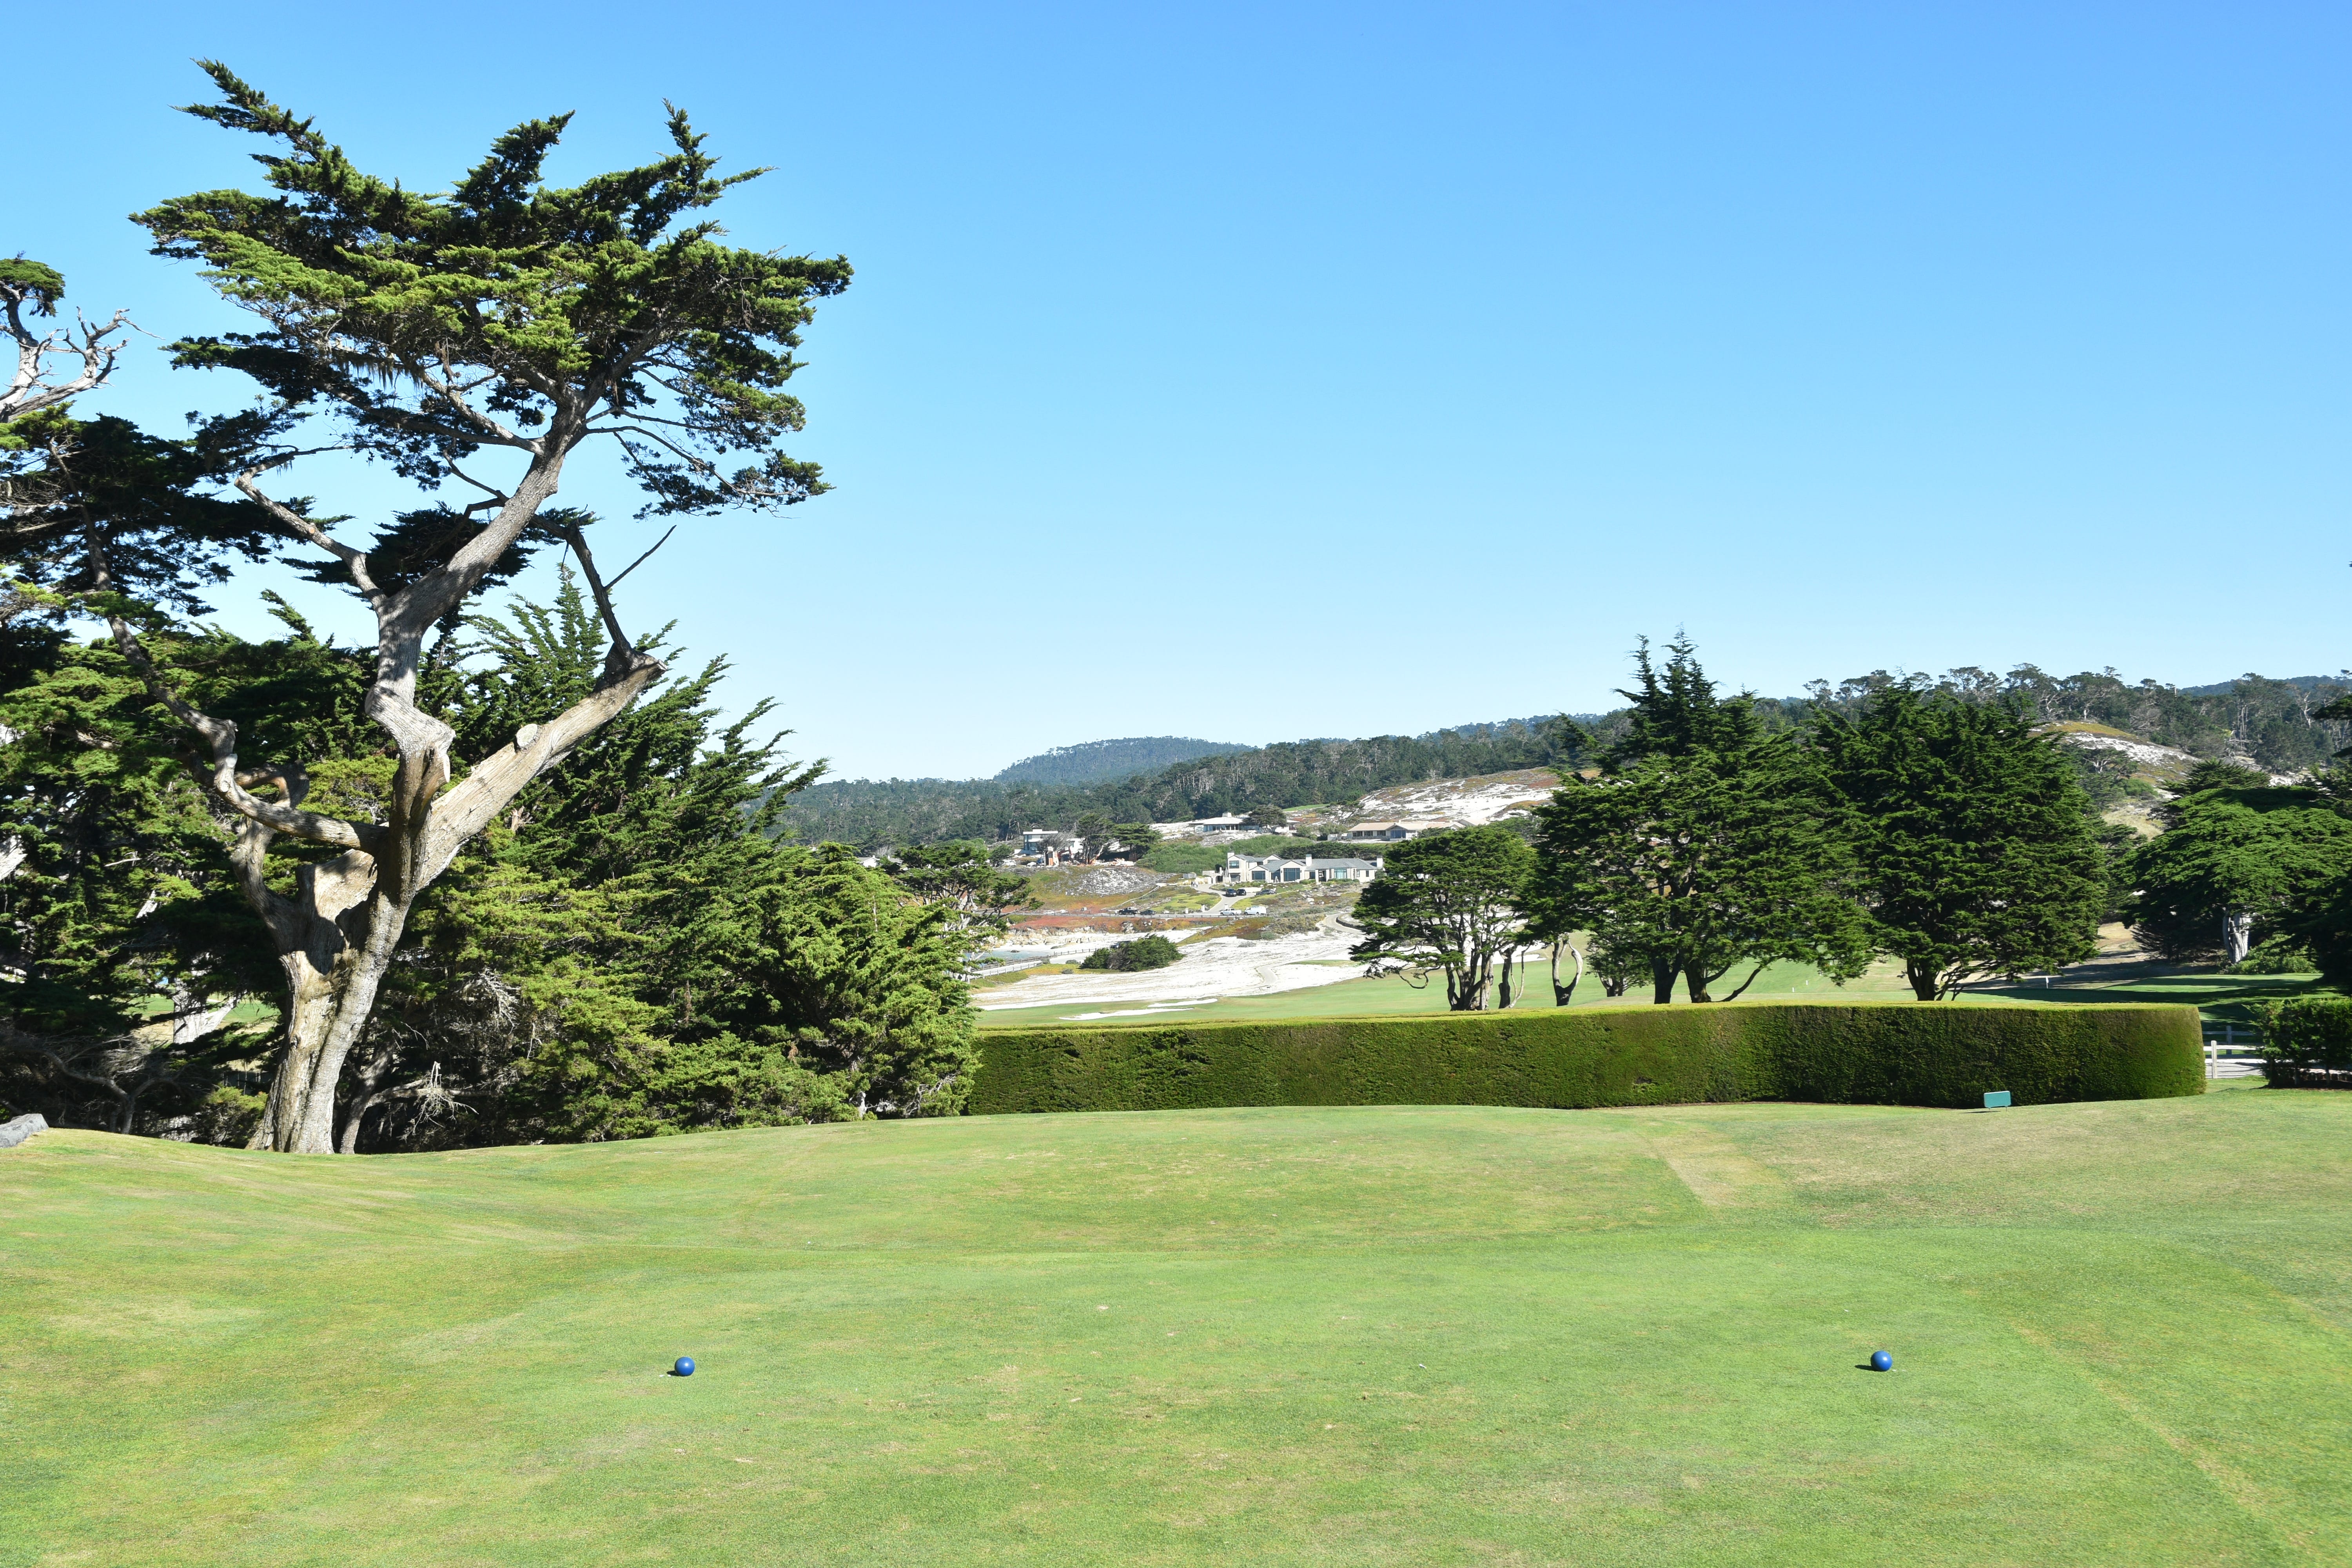
Hole 1: Par 4, 420 Yards
Sitting right in front of the Pro Shop, the 1st hole requires a downhill tee shot to a fairway framed by cypress trees on the right and two fairway bunkers on the left
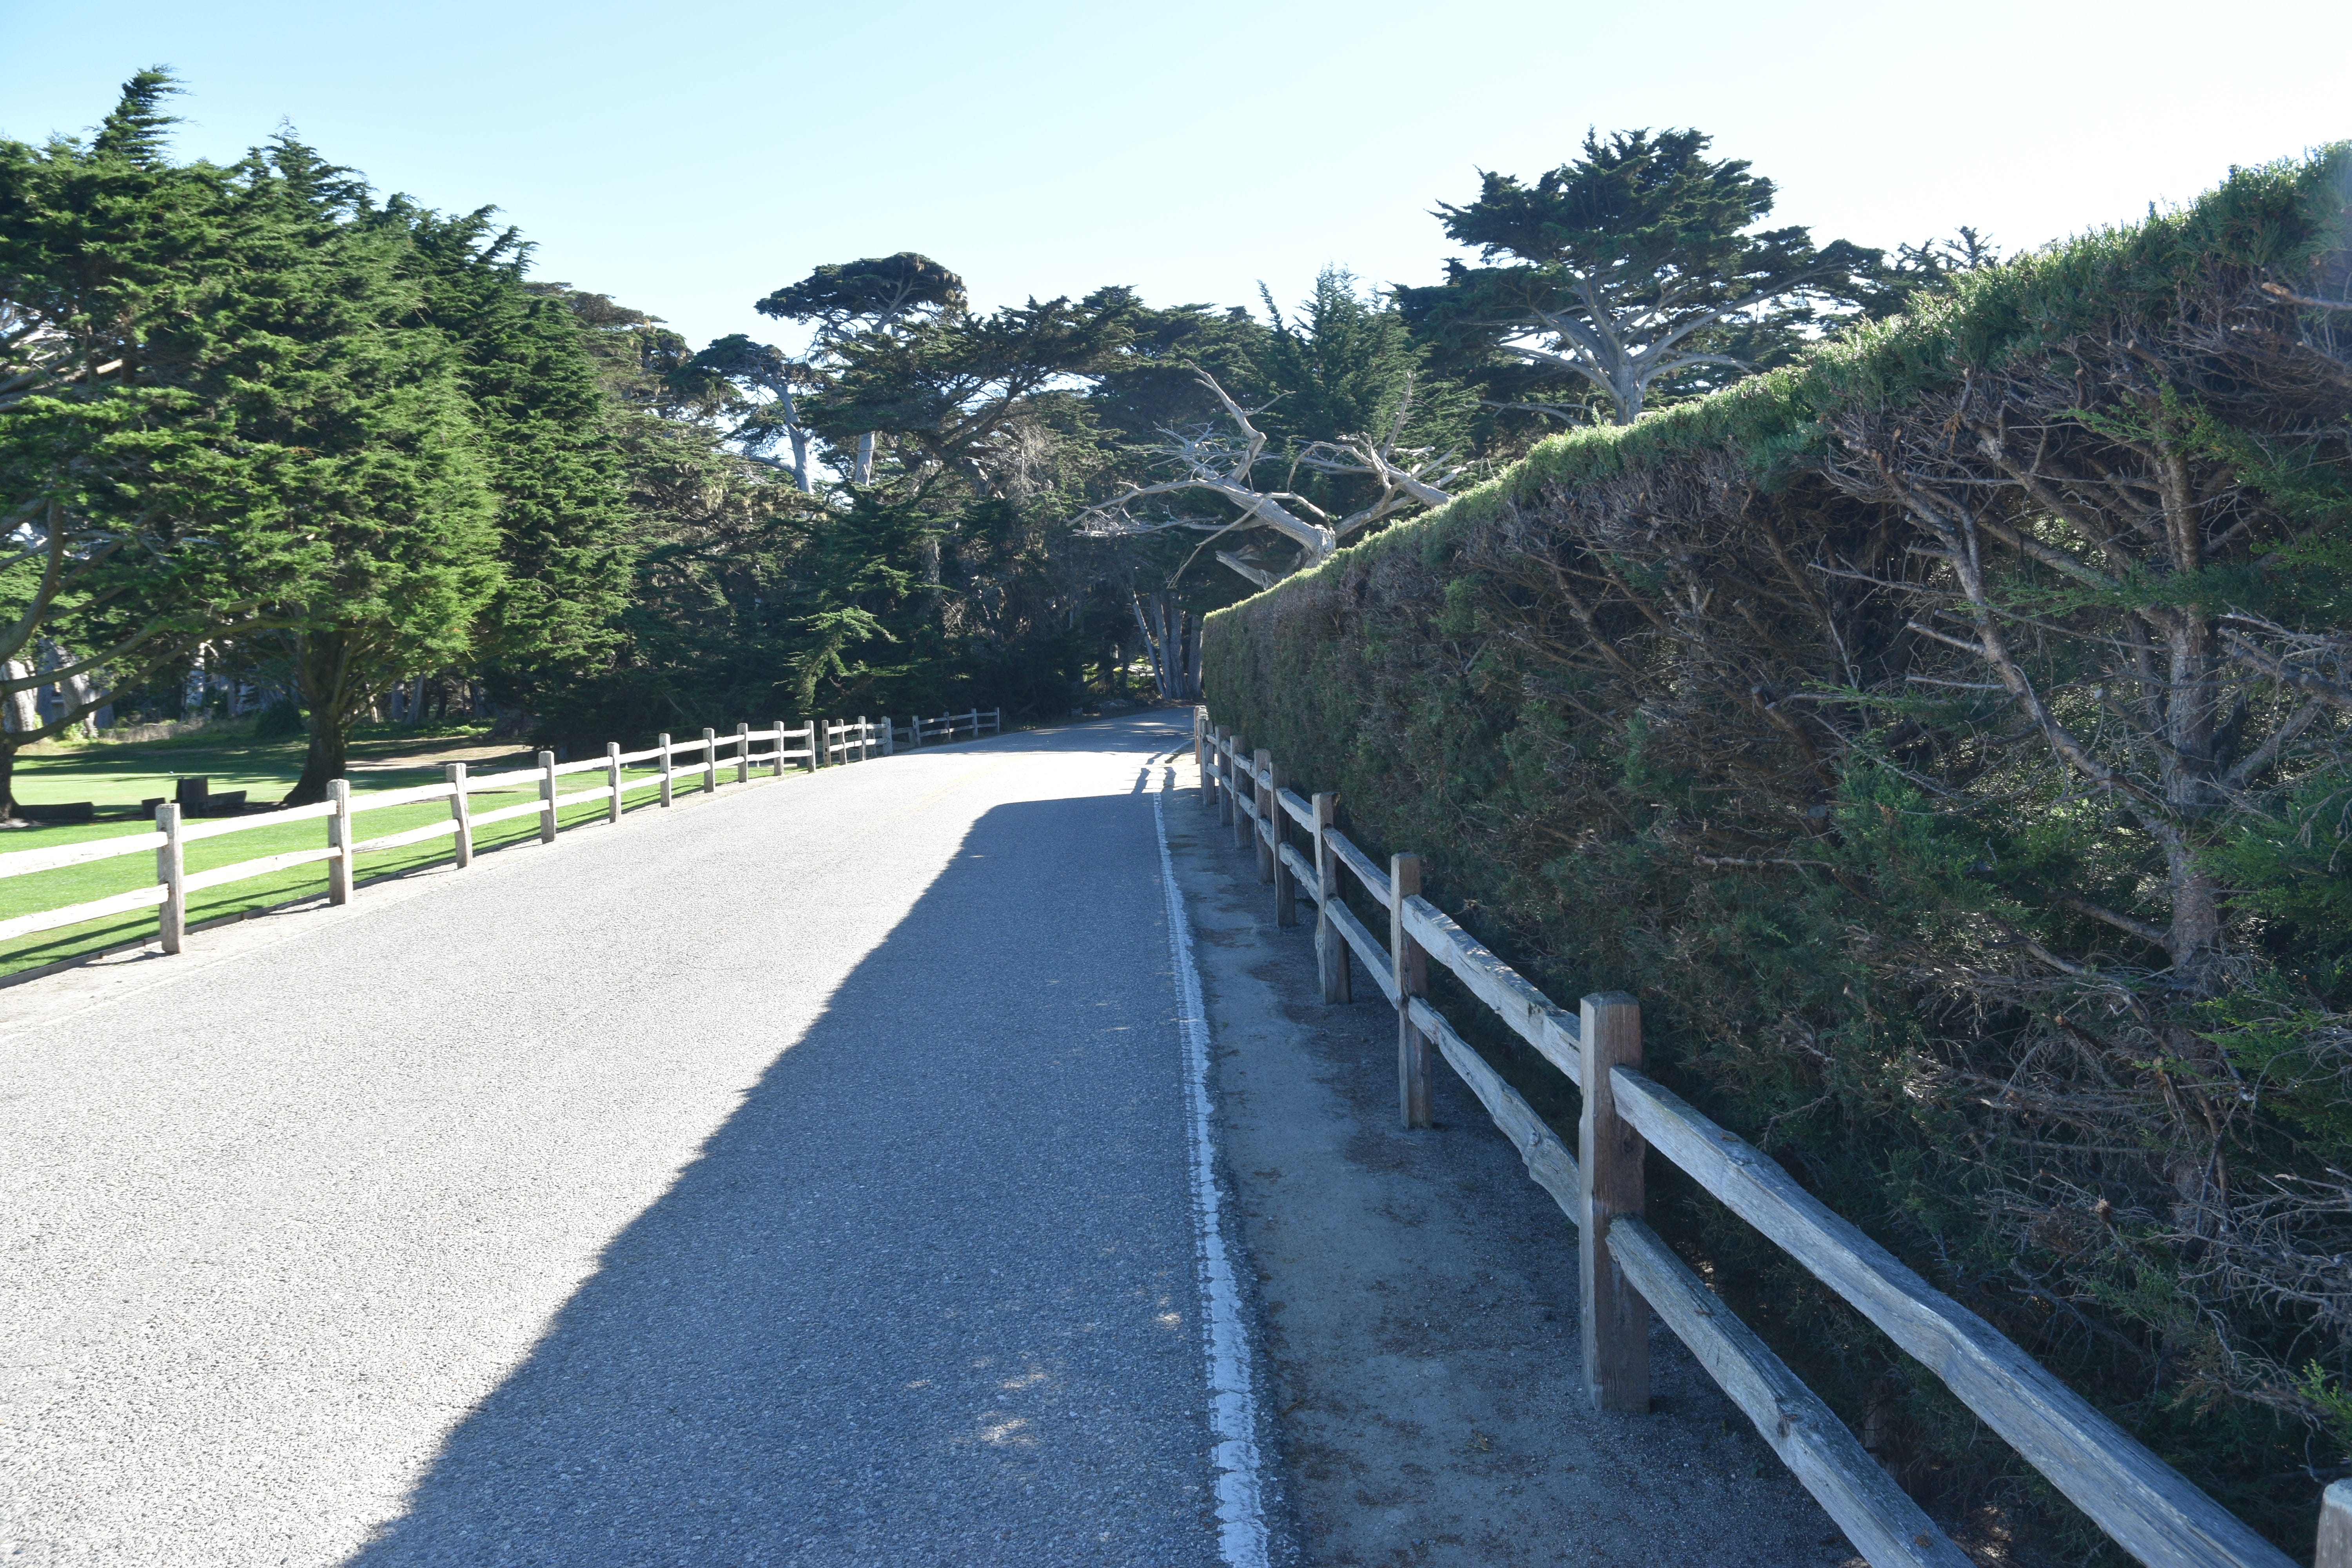
There is a reason why a perfectly manicured hedge sits just beyond the 1st tee…
…as it obscures 17-Mile Drive and its passing cars, bikers, and pedestrians. Most tourists who drive past this section of the famed road are completely oblivious that the road bisects a golf hole on one of the most famous courses in the world!
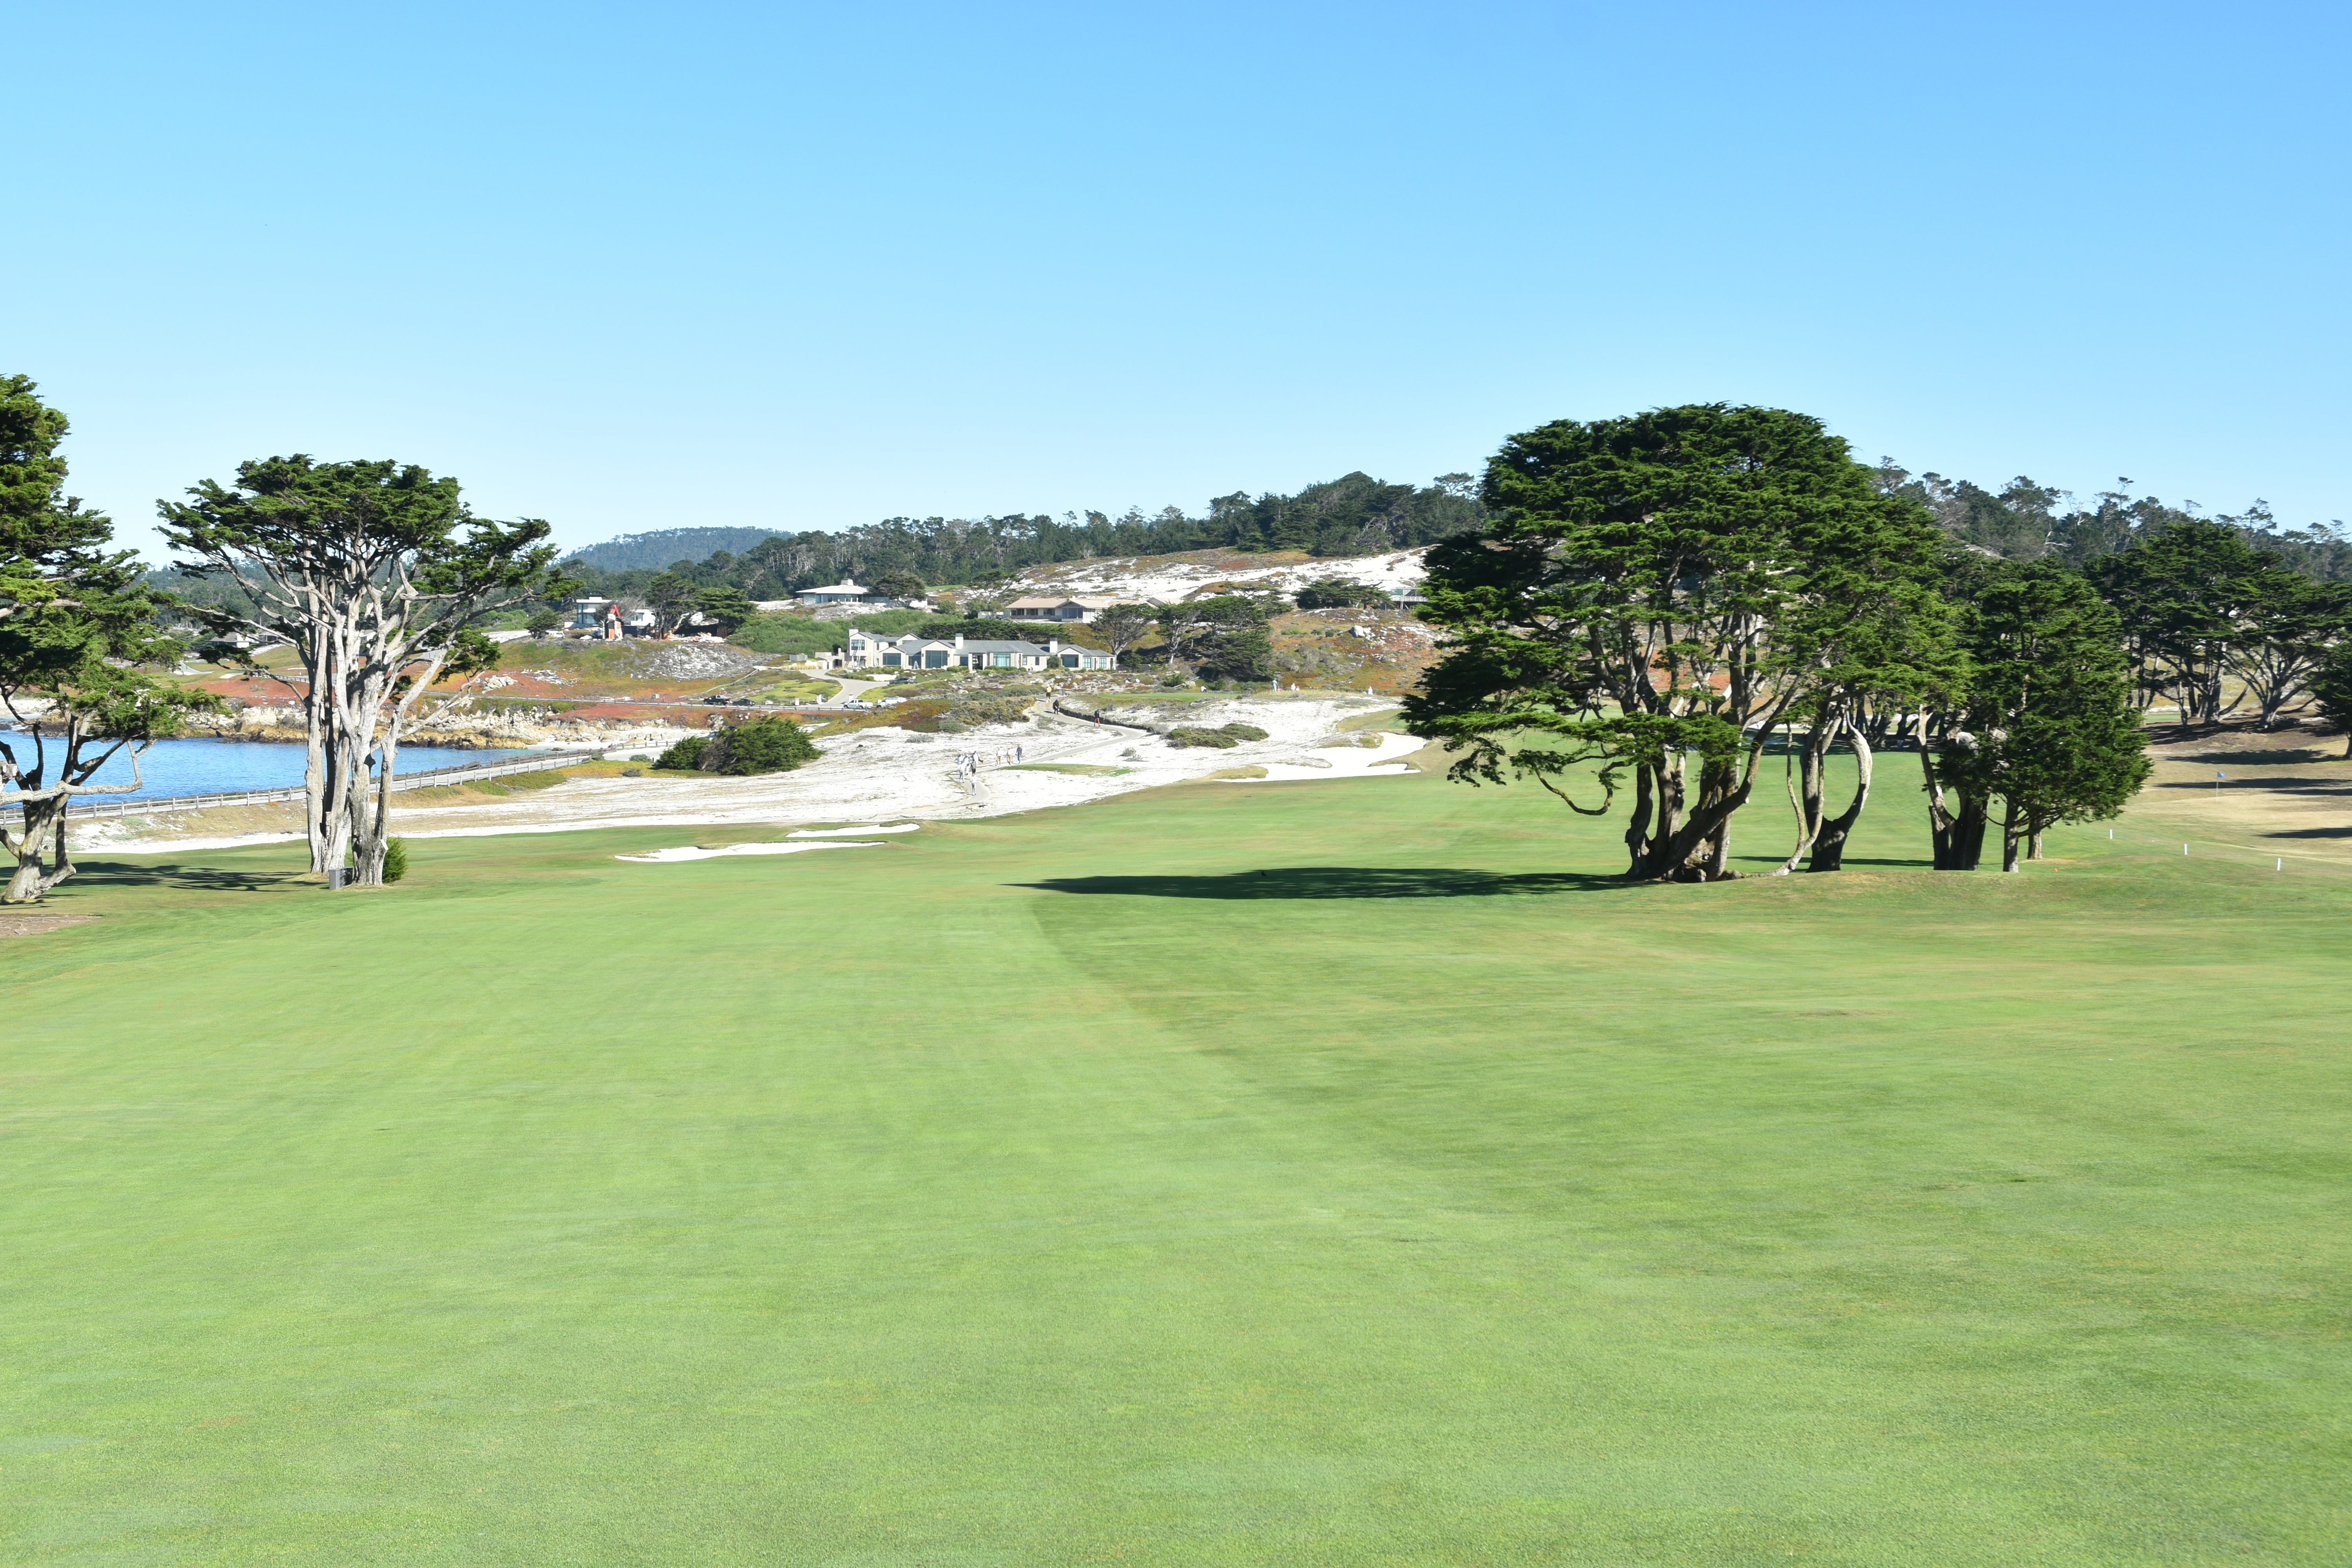
The relatively generous 1st hole fairway gently swoops to the right
The two left bunkers guarding the left side of the 1st hole fairway
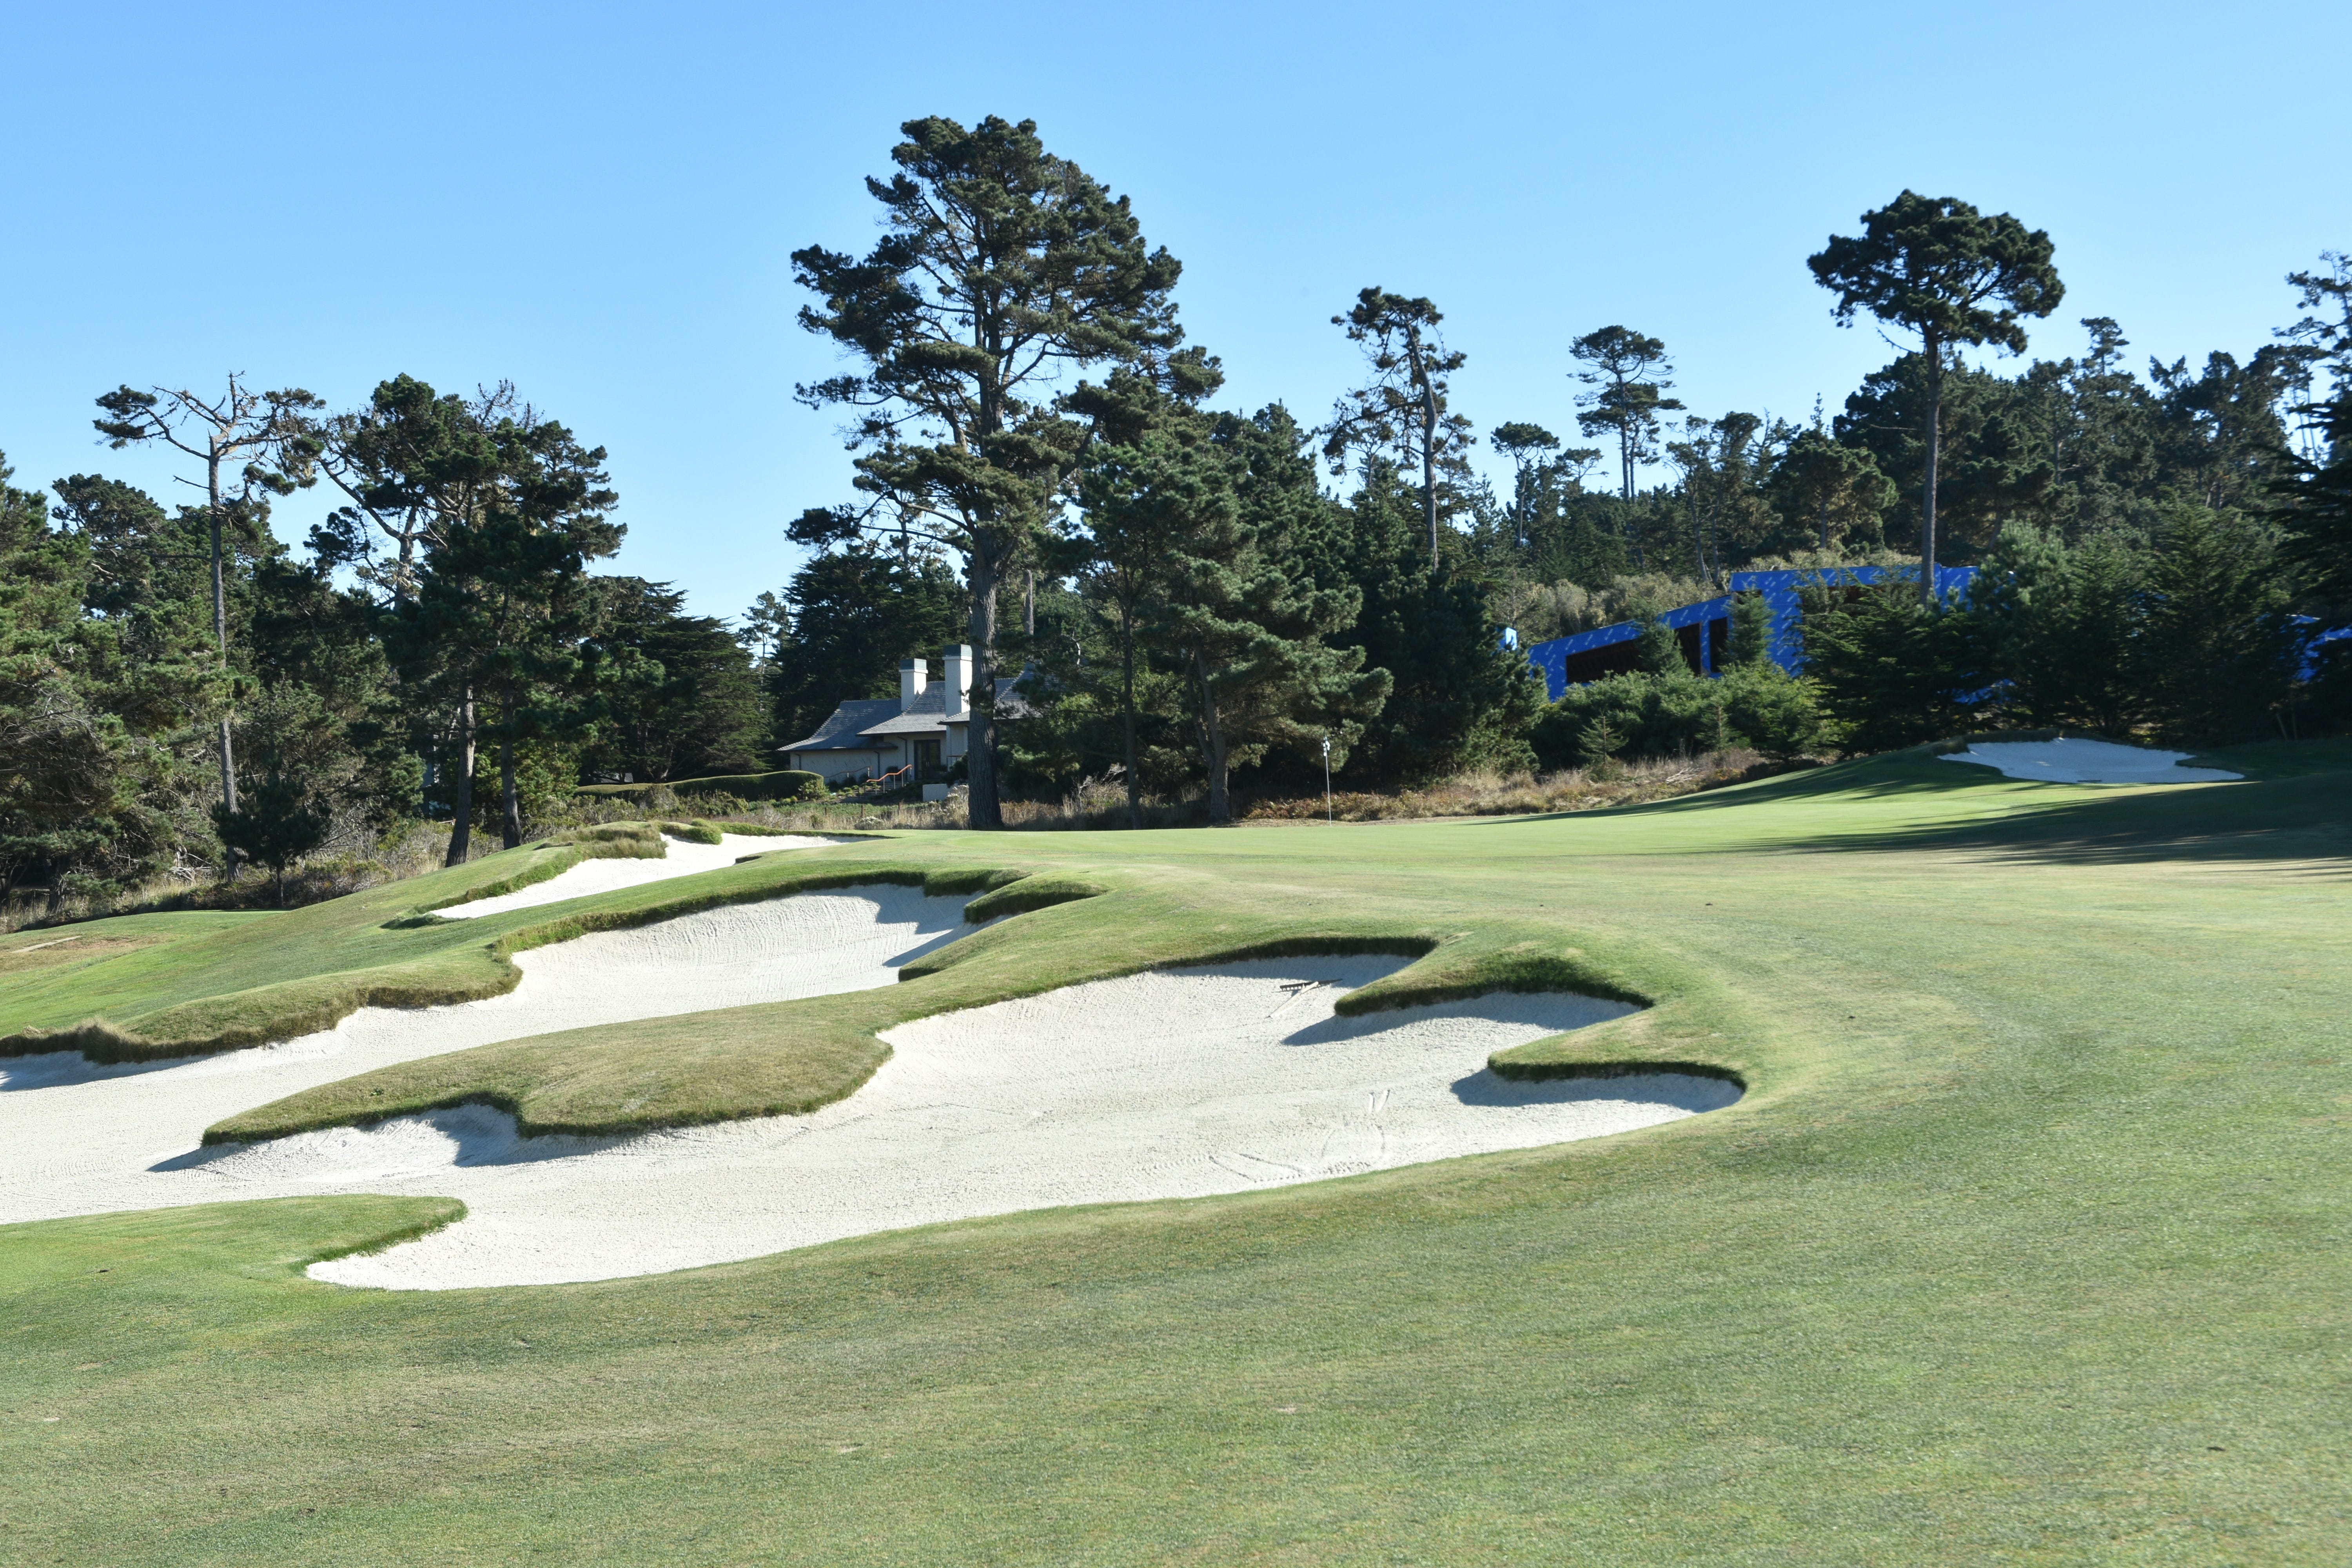
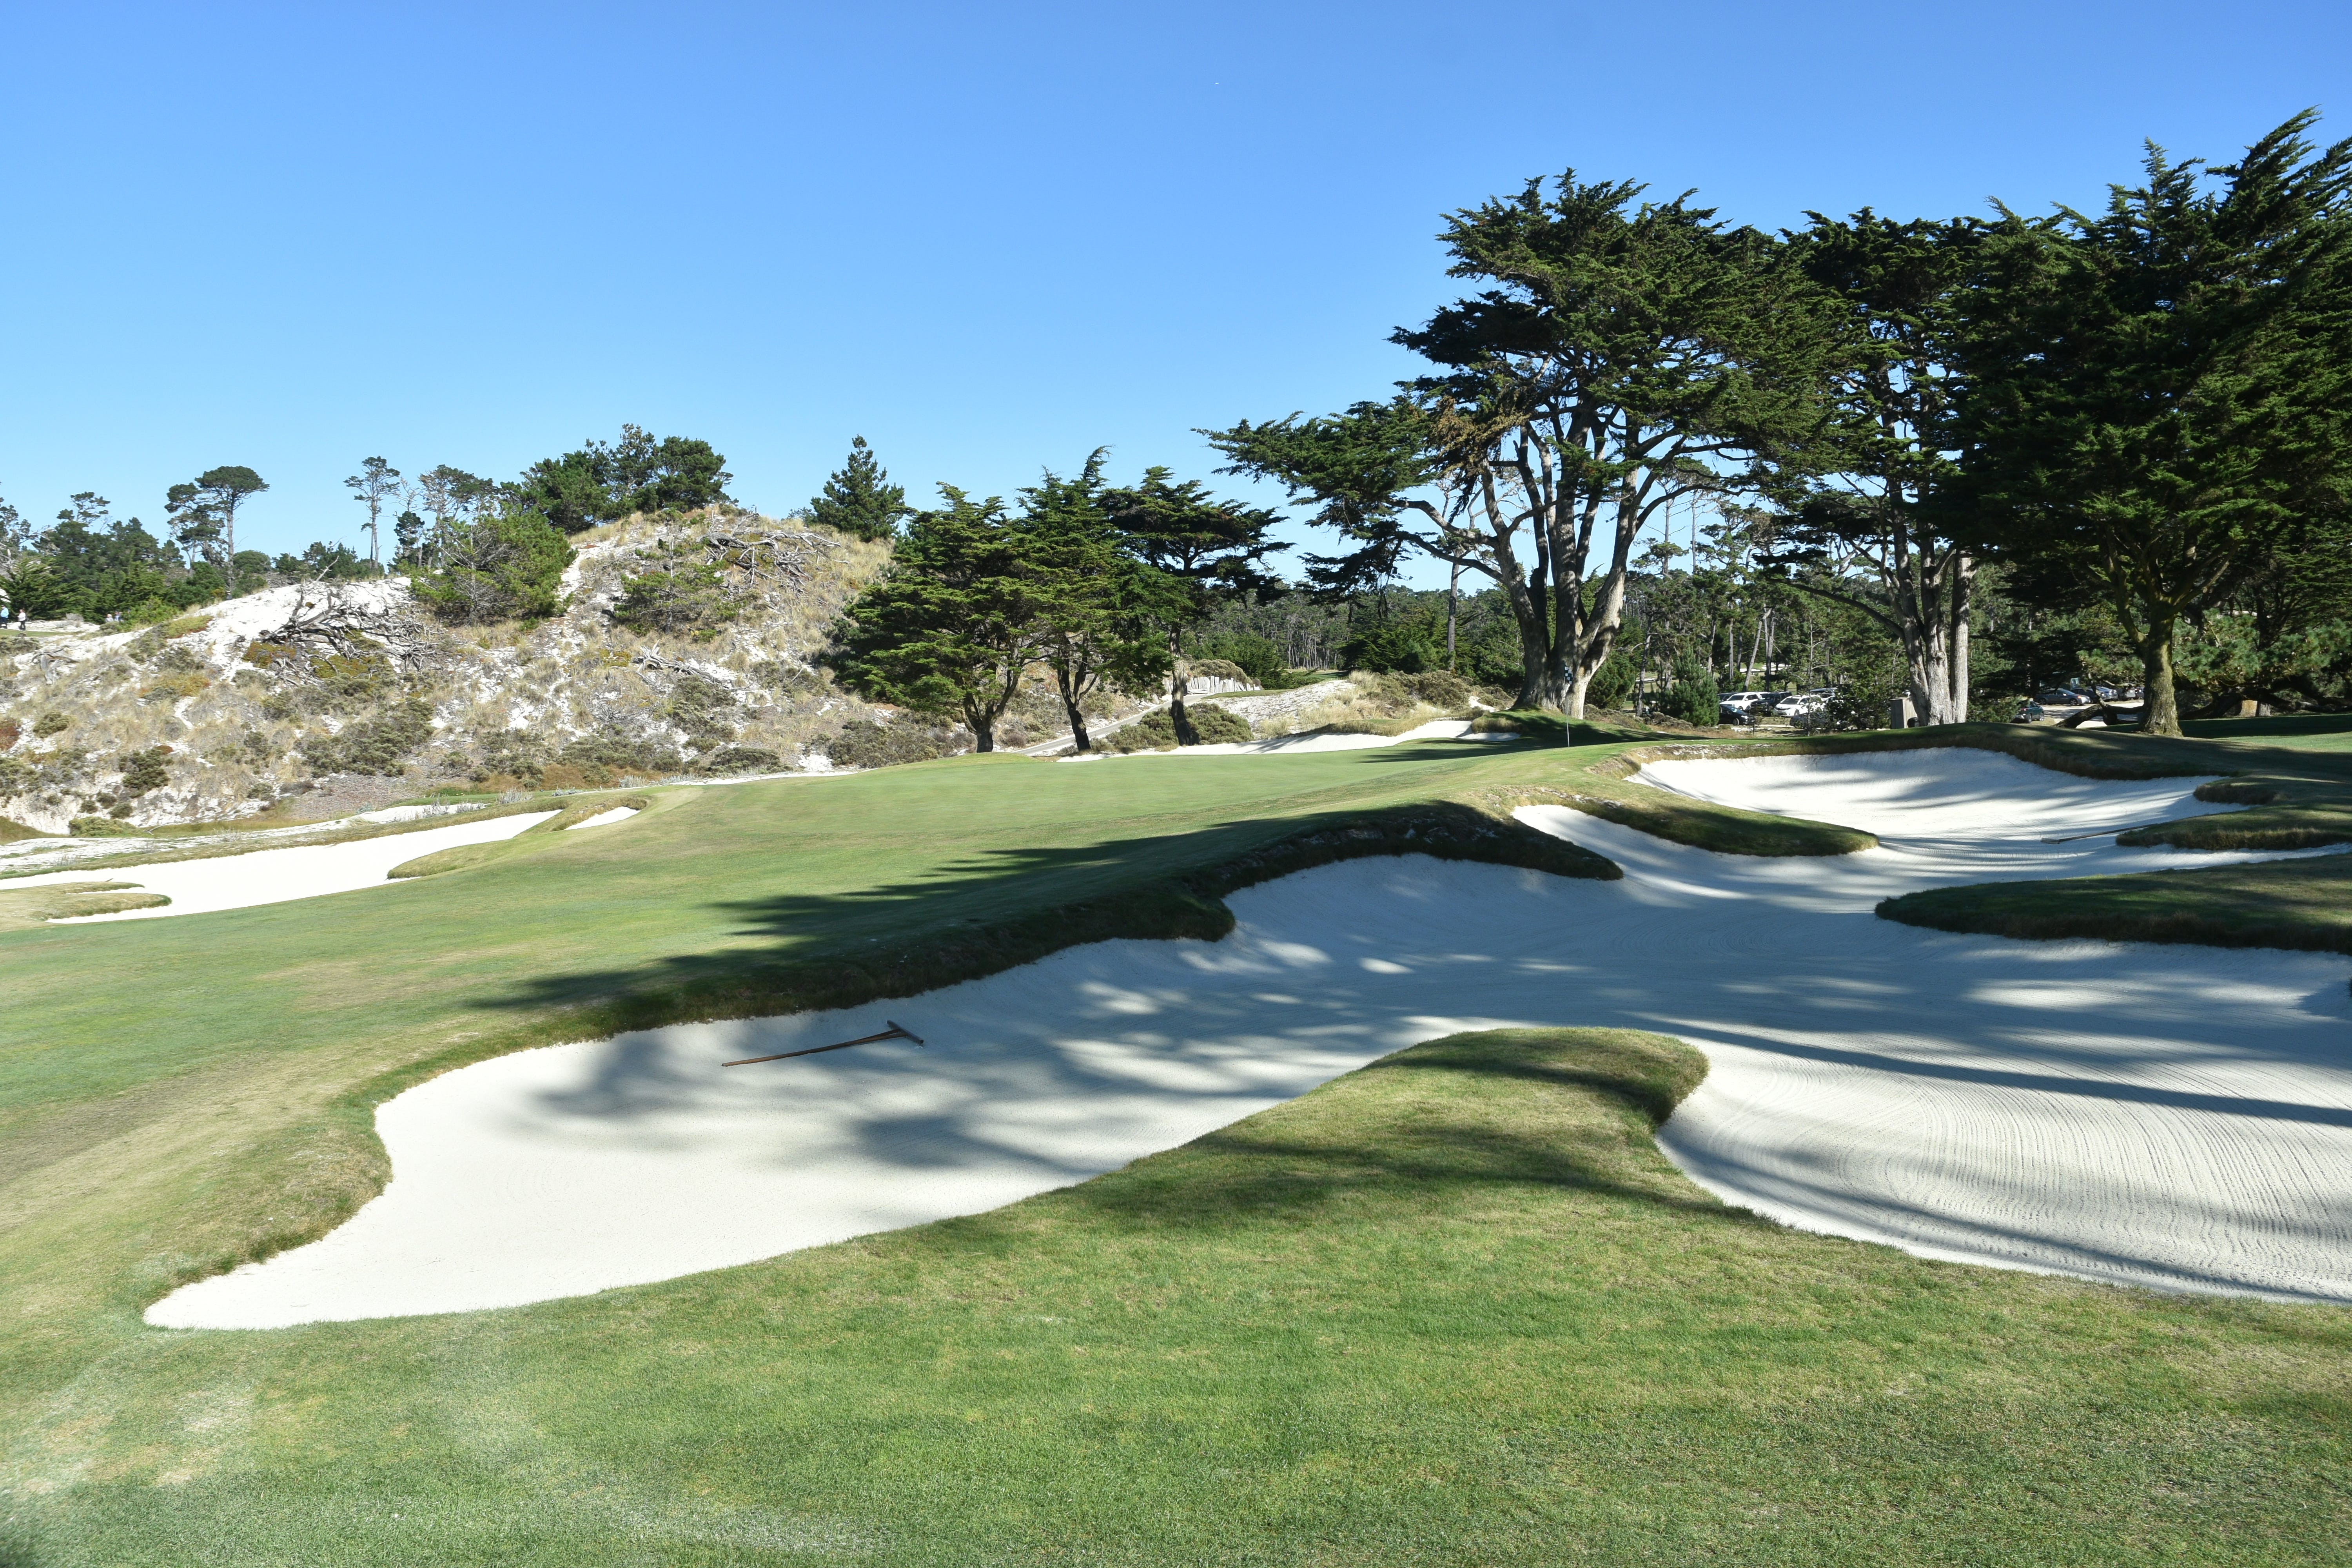
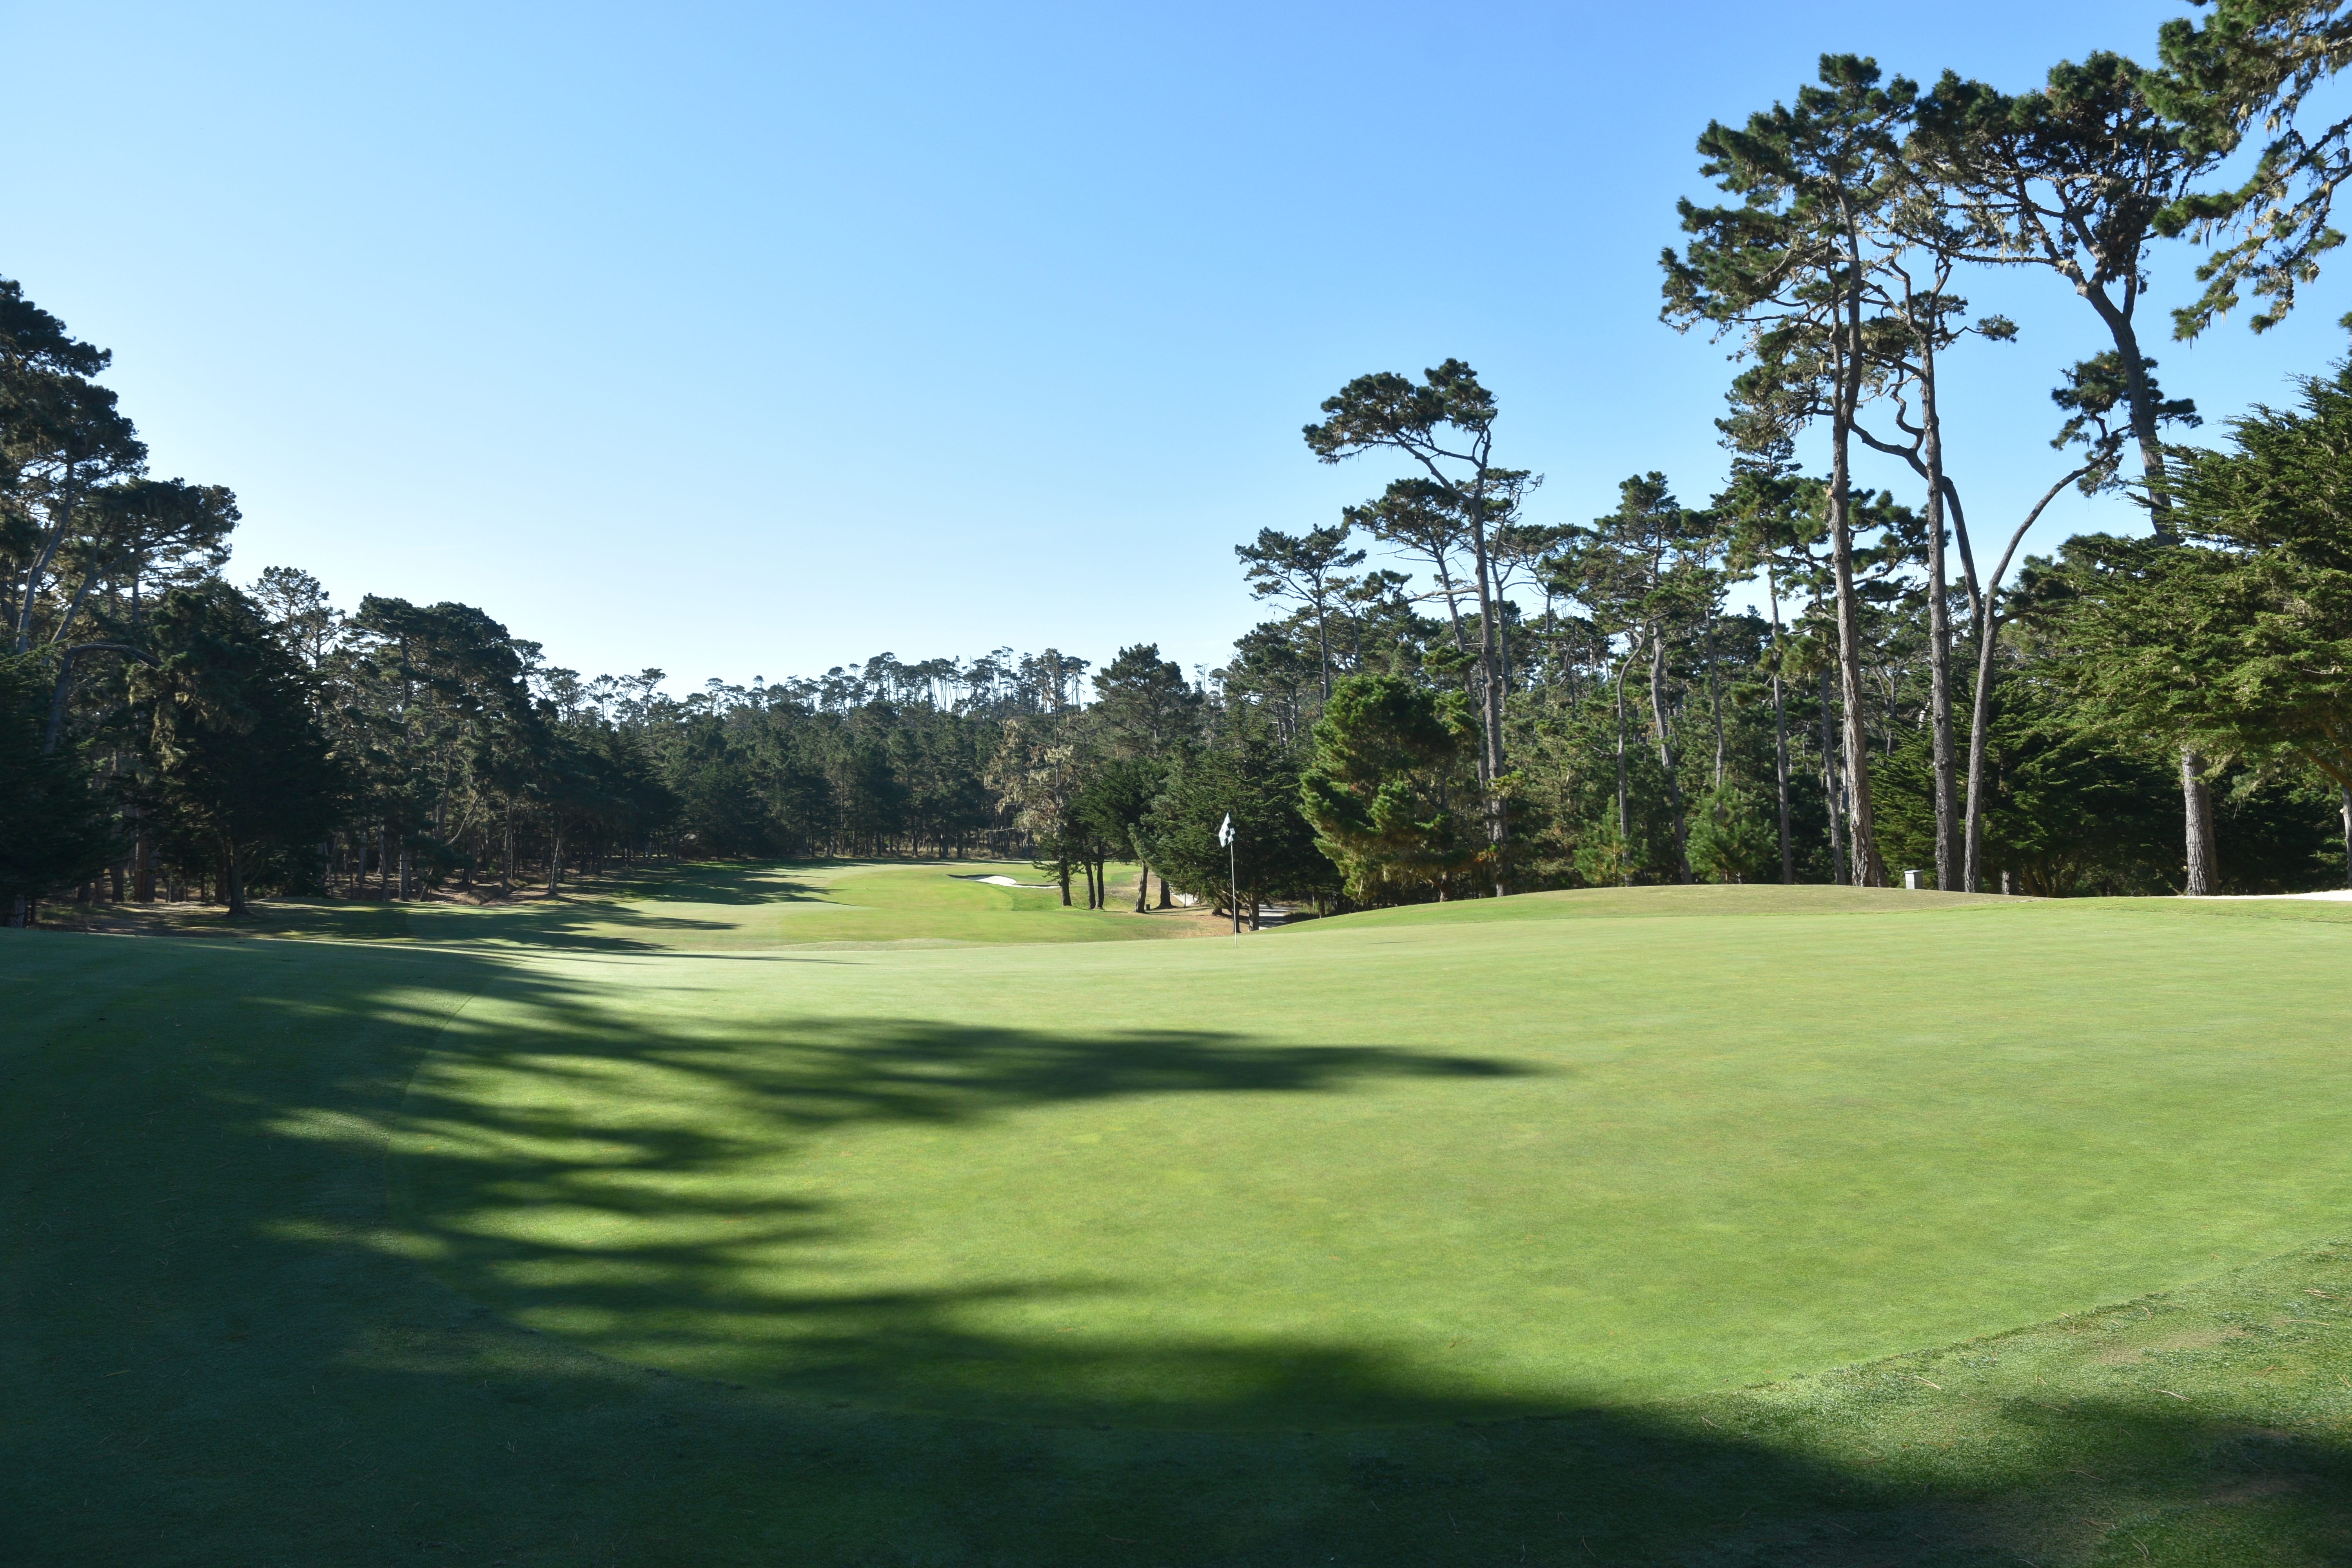
The approach to the 1st hole — the green is perched high on a former sand dune
The left front green side bunker of the 1st hole
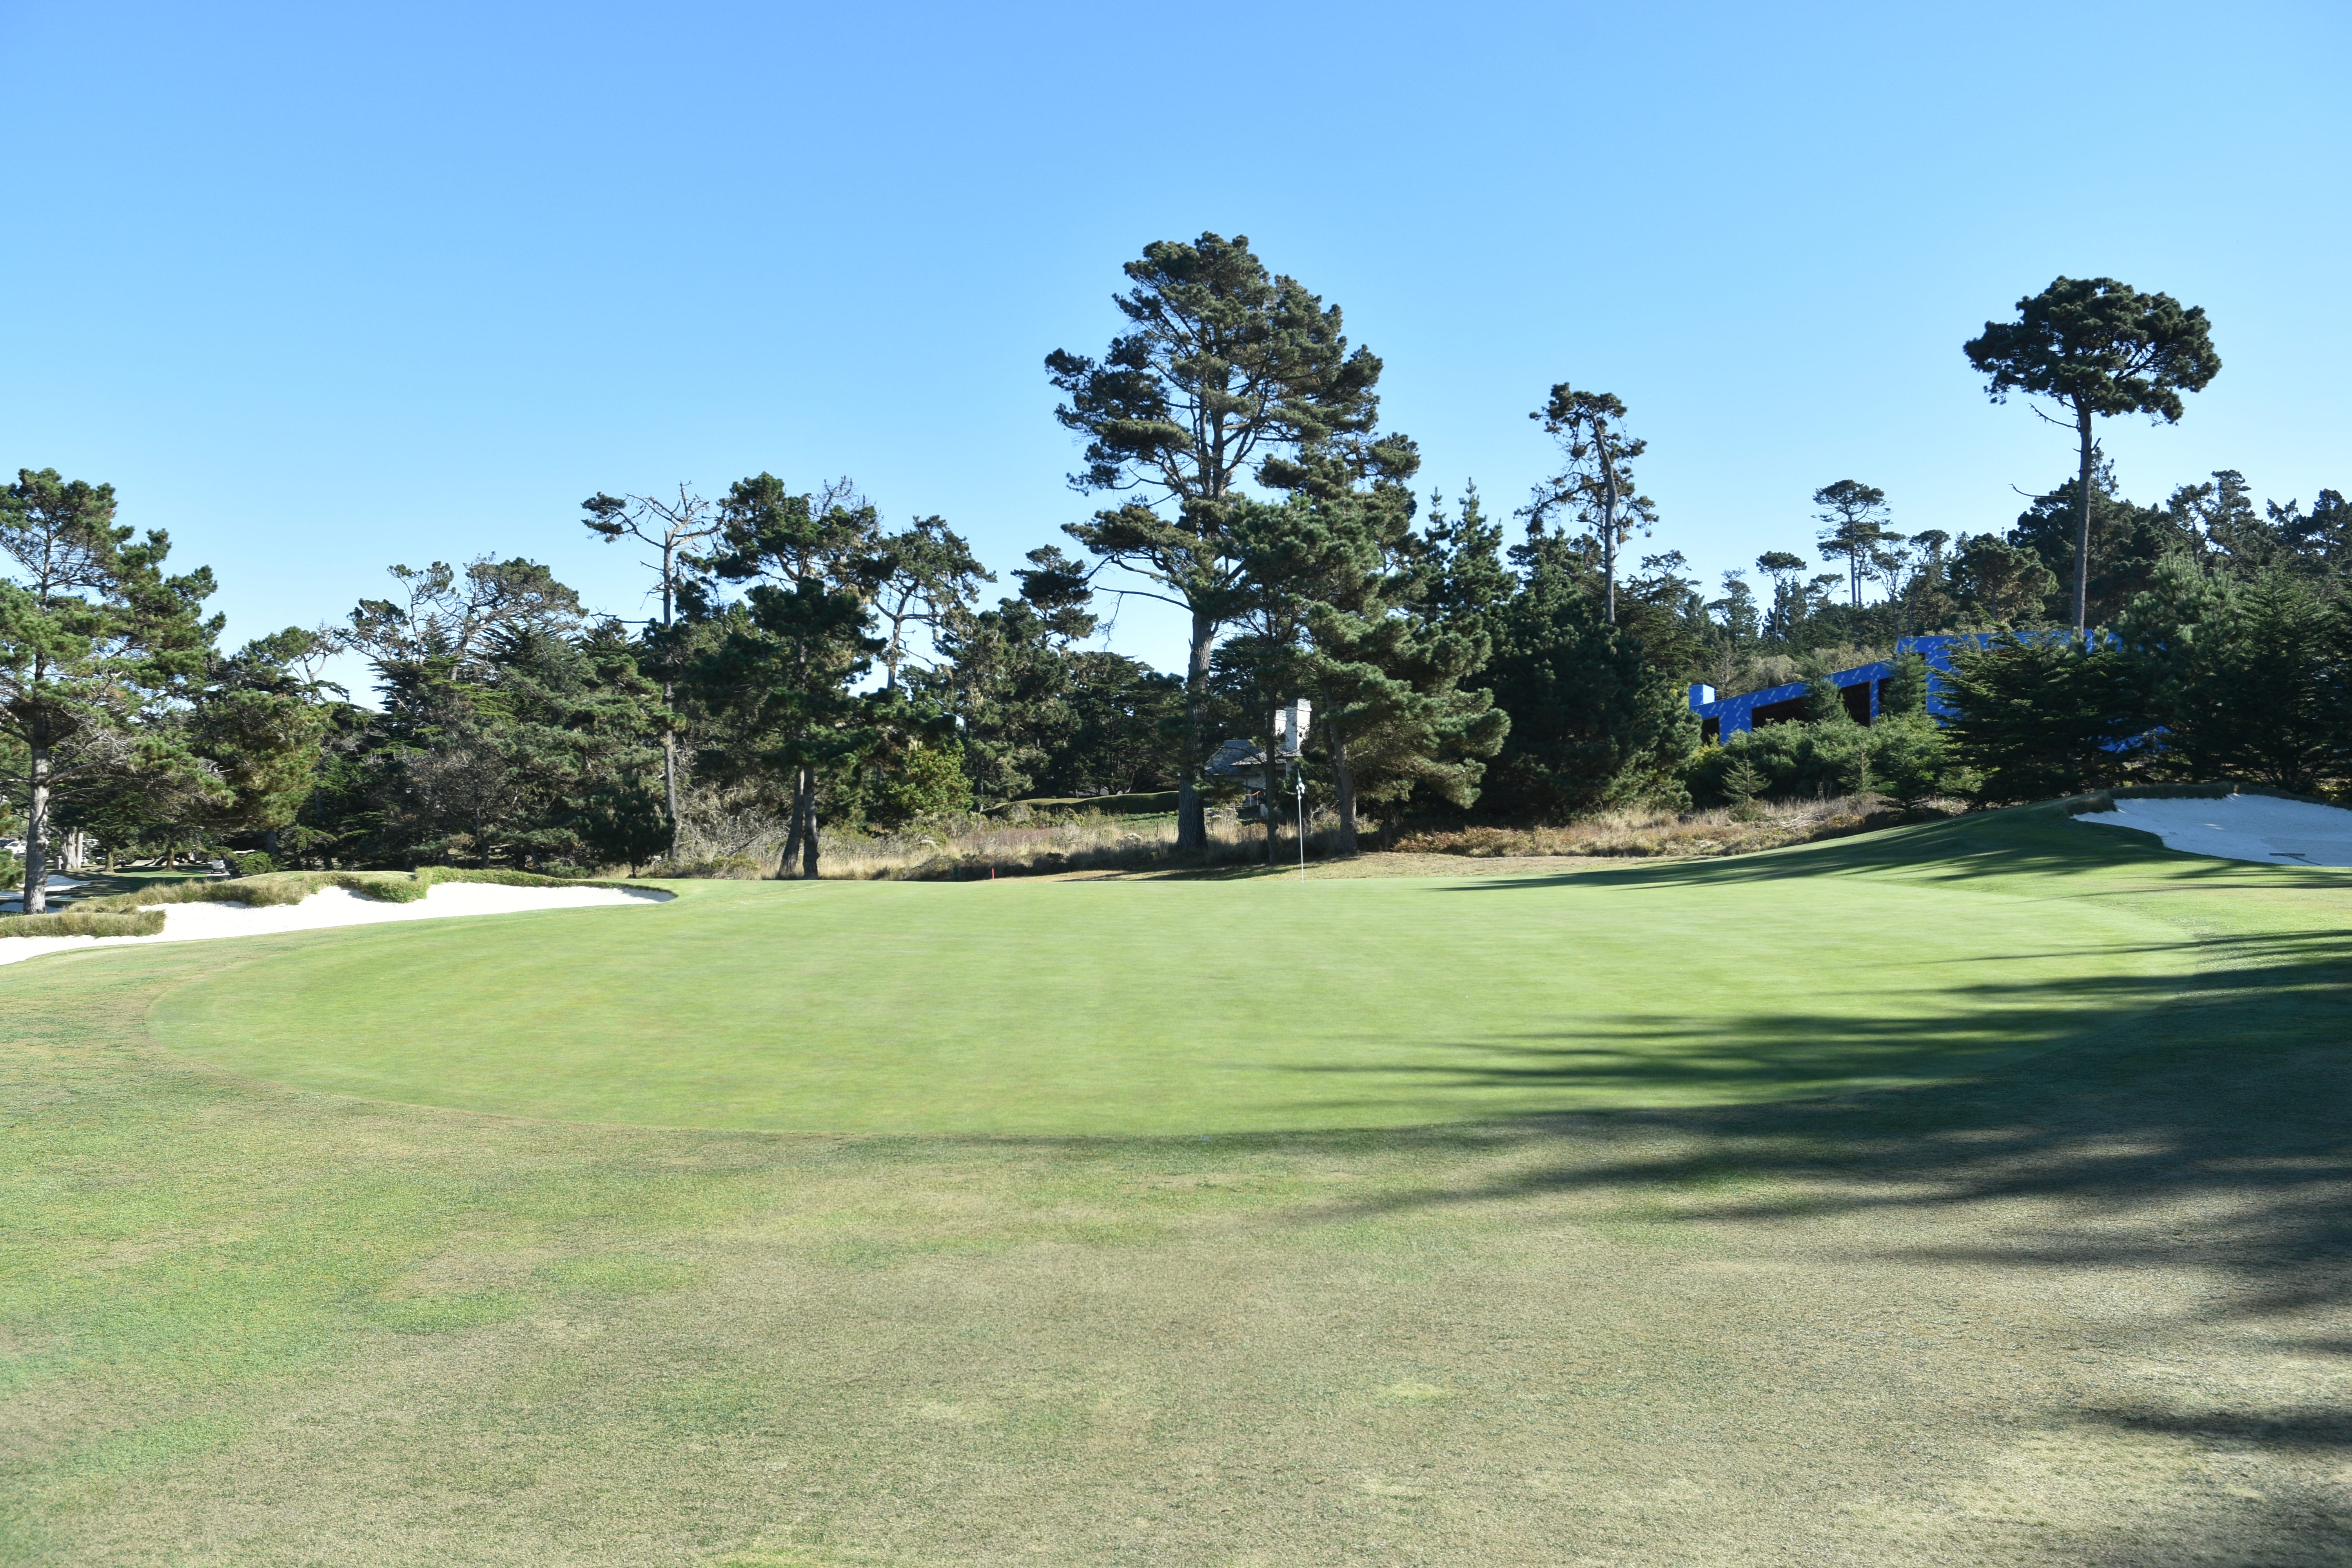
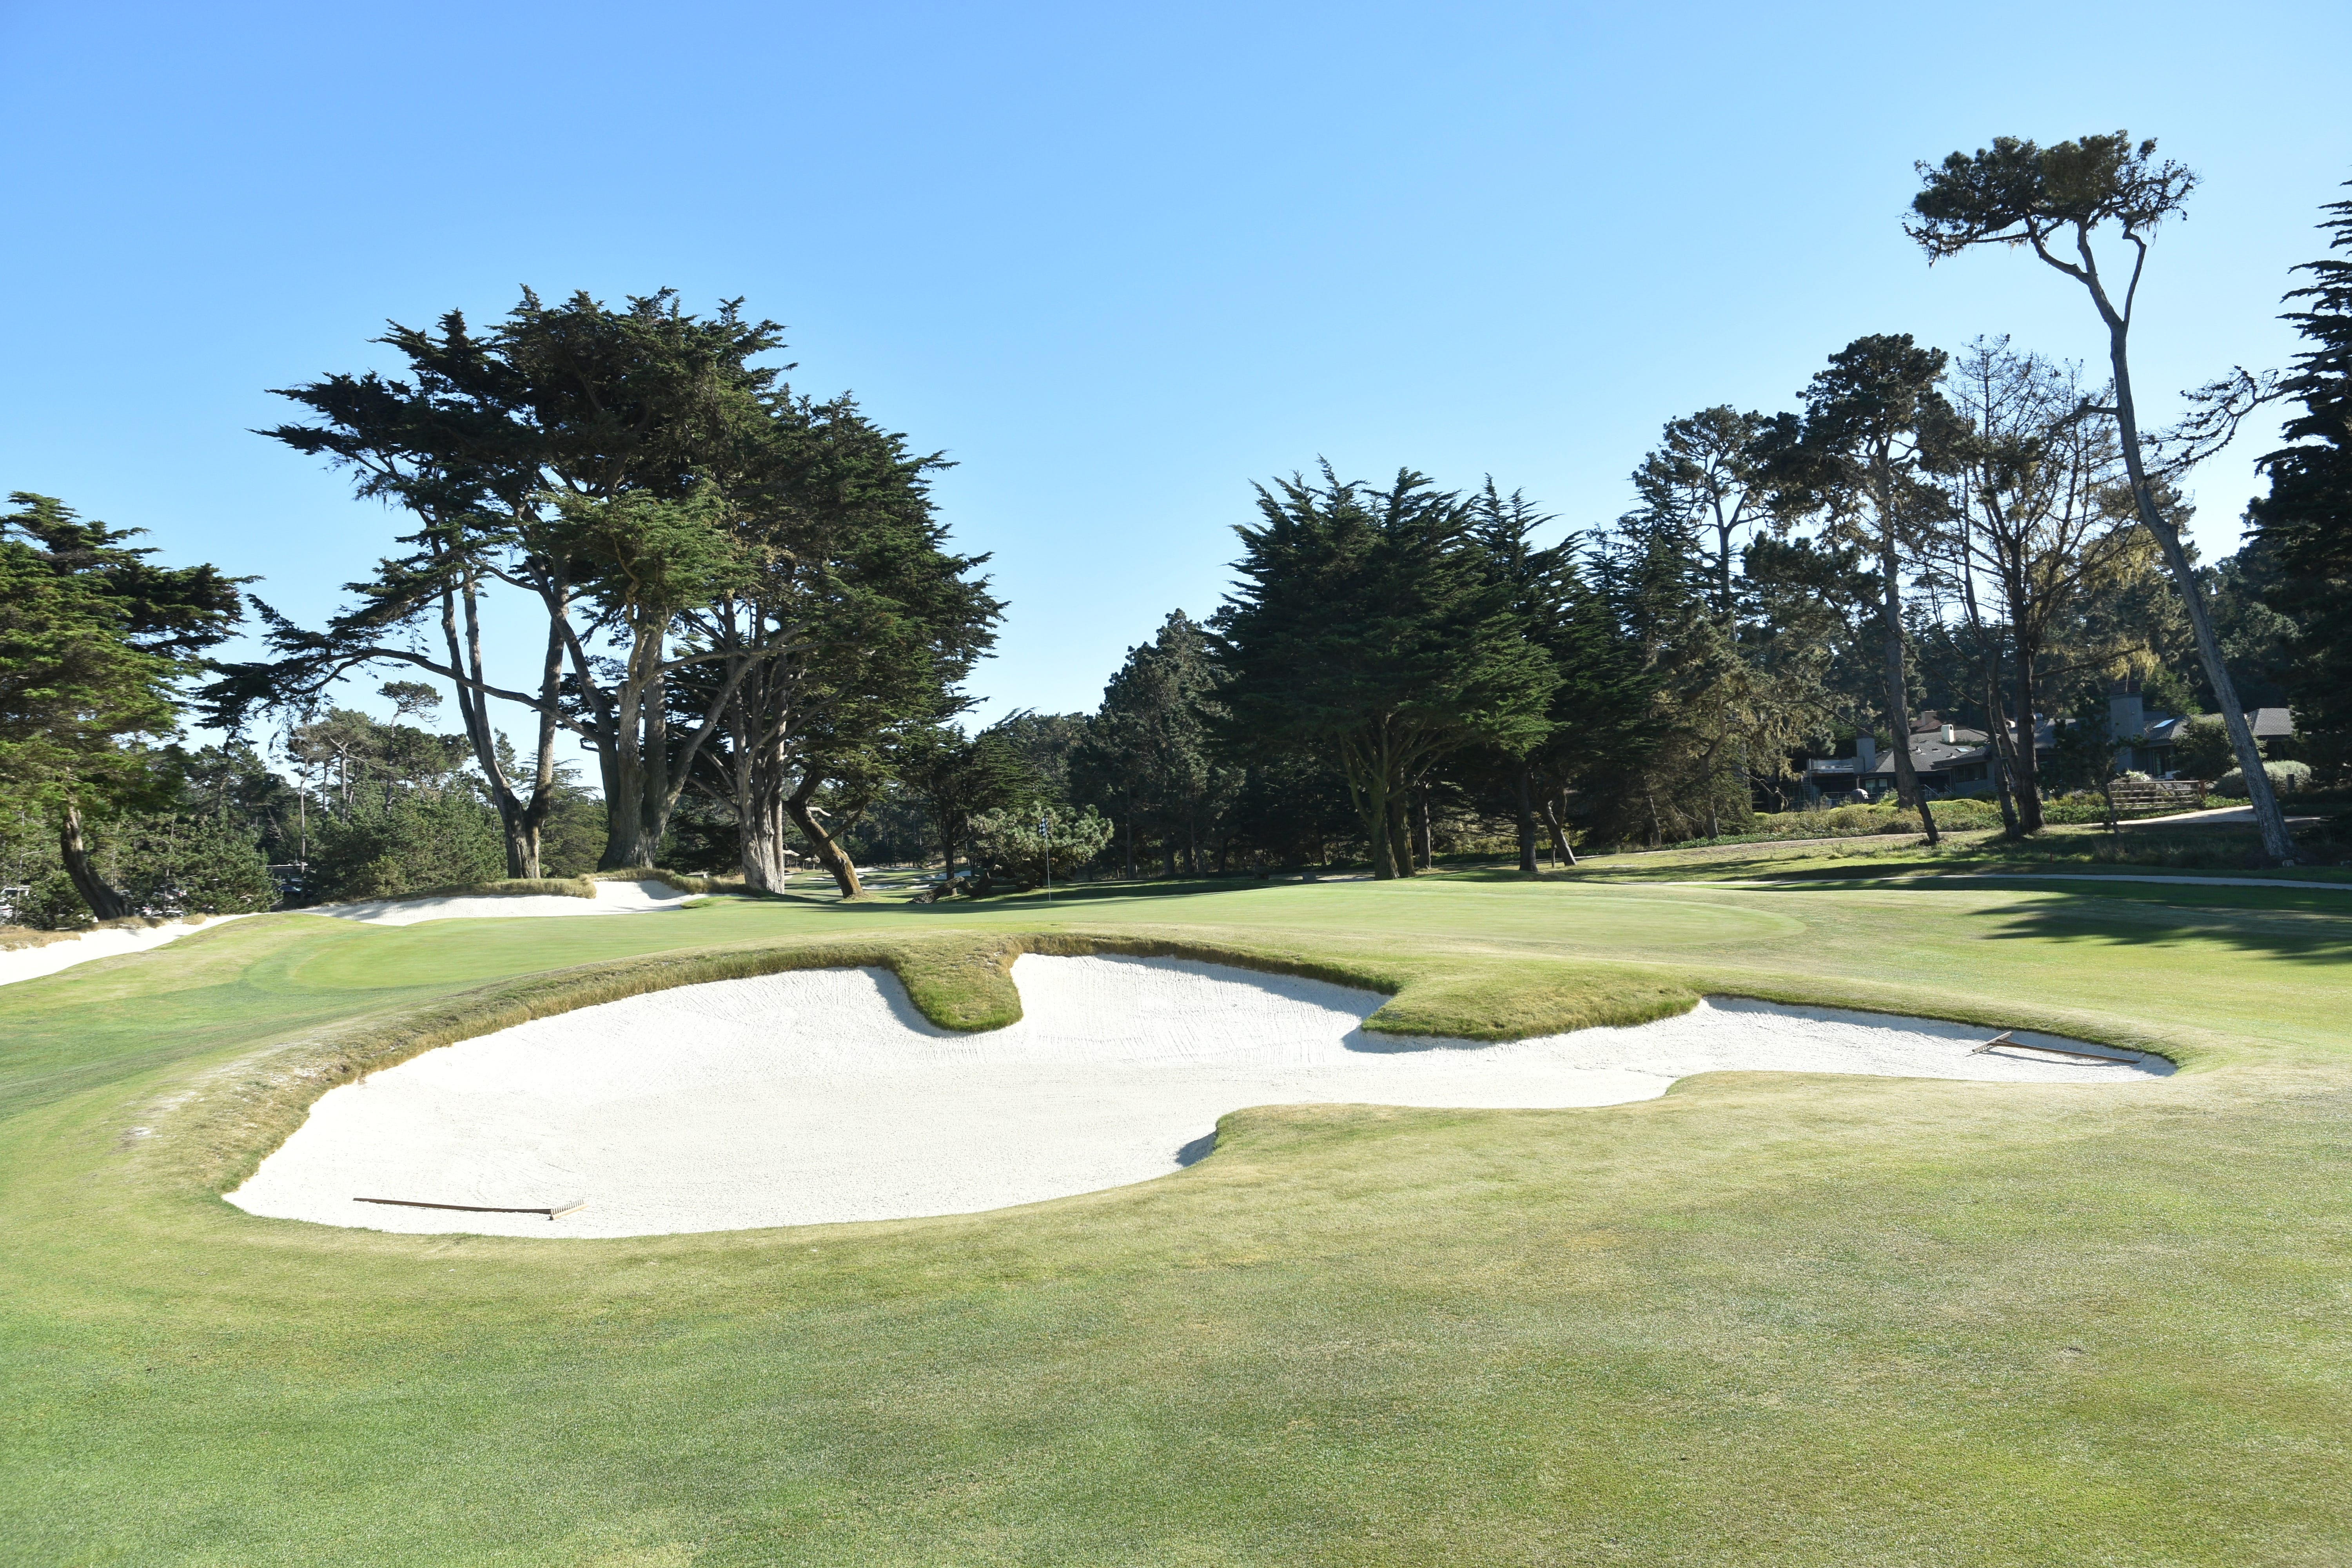
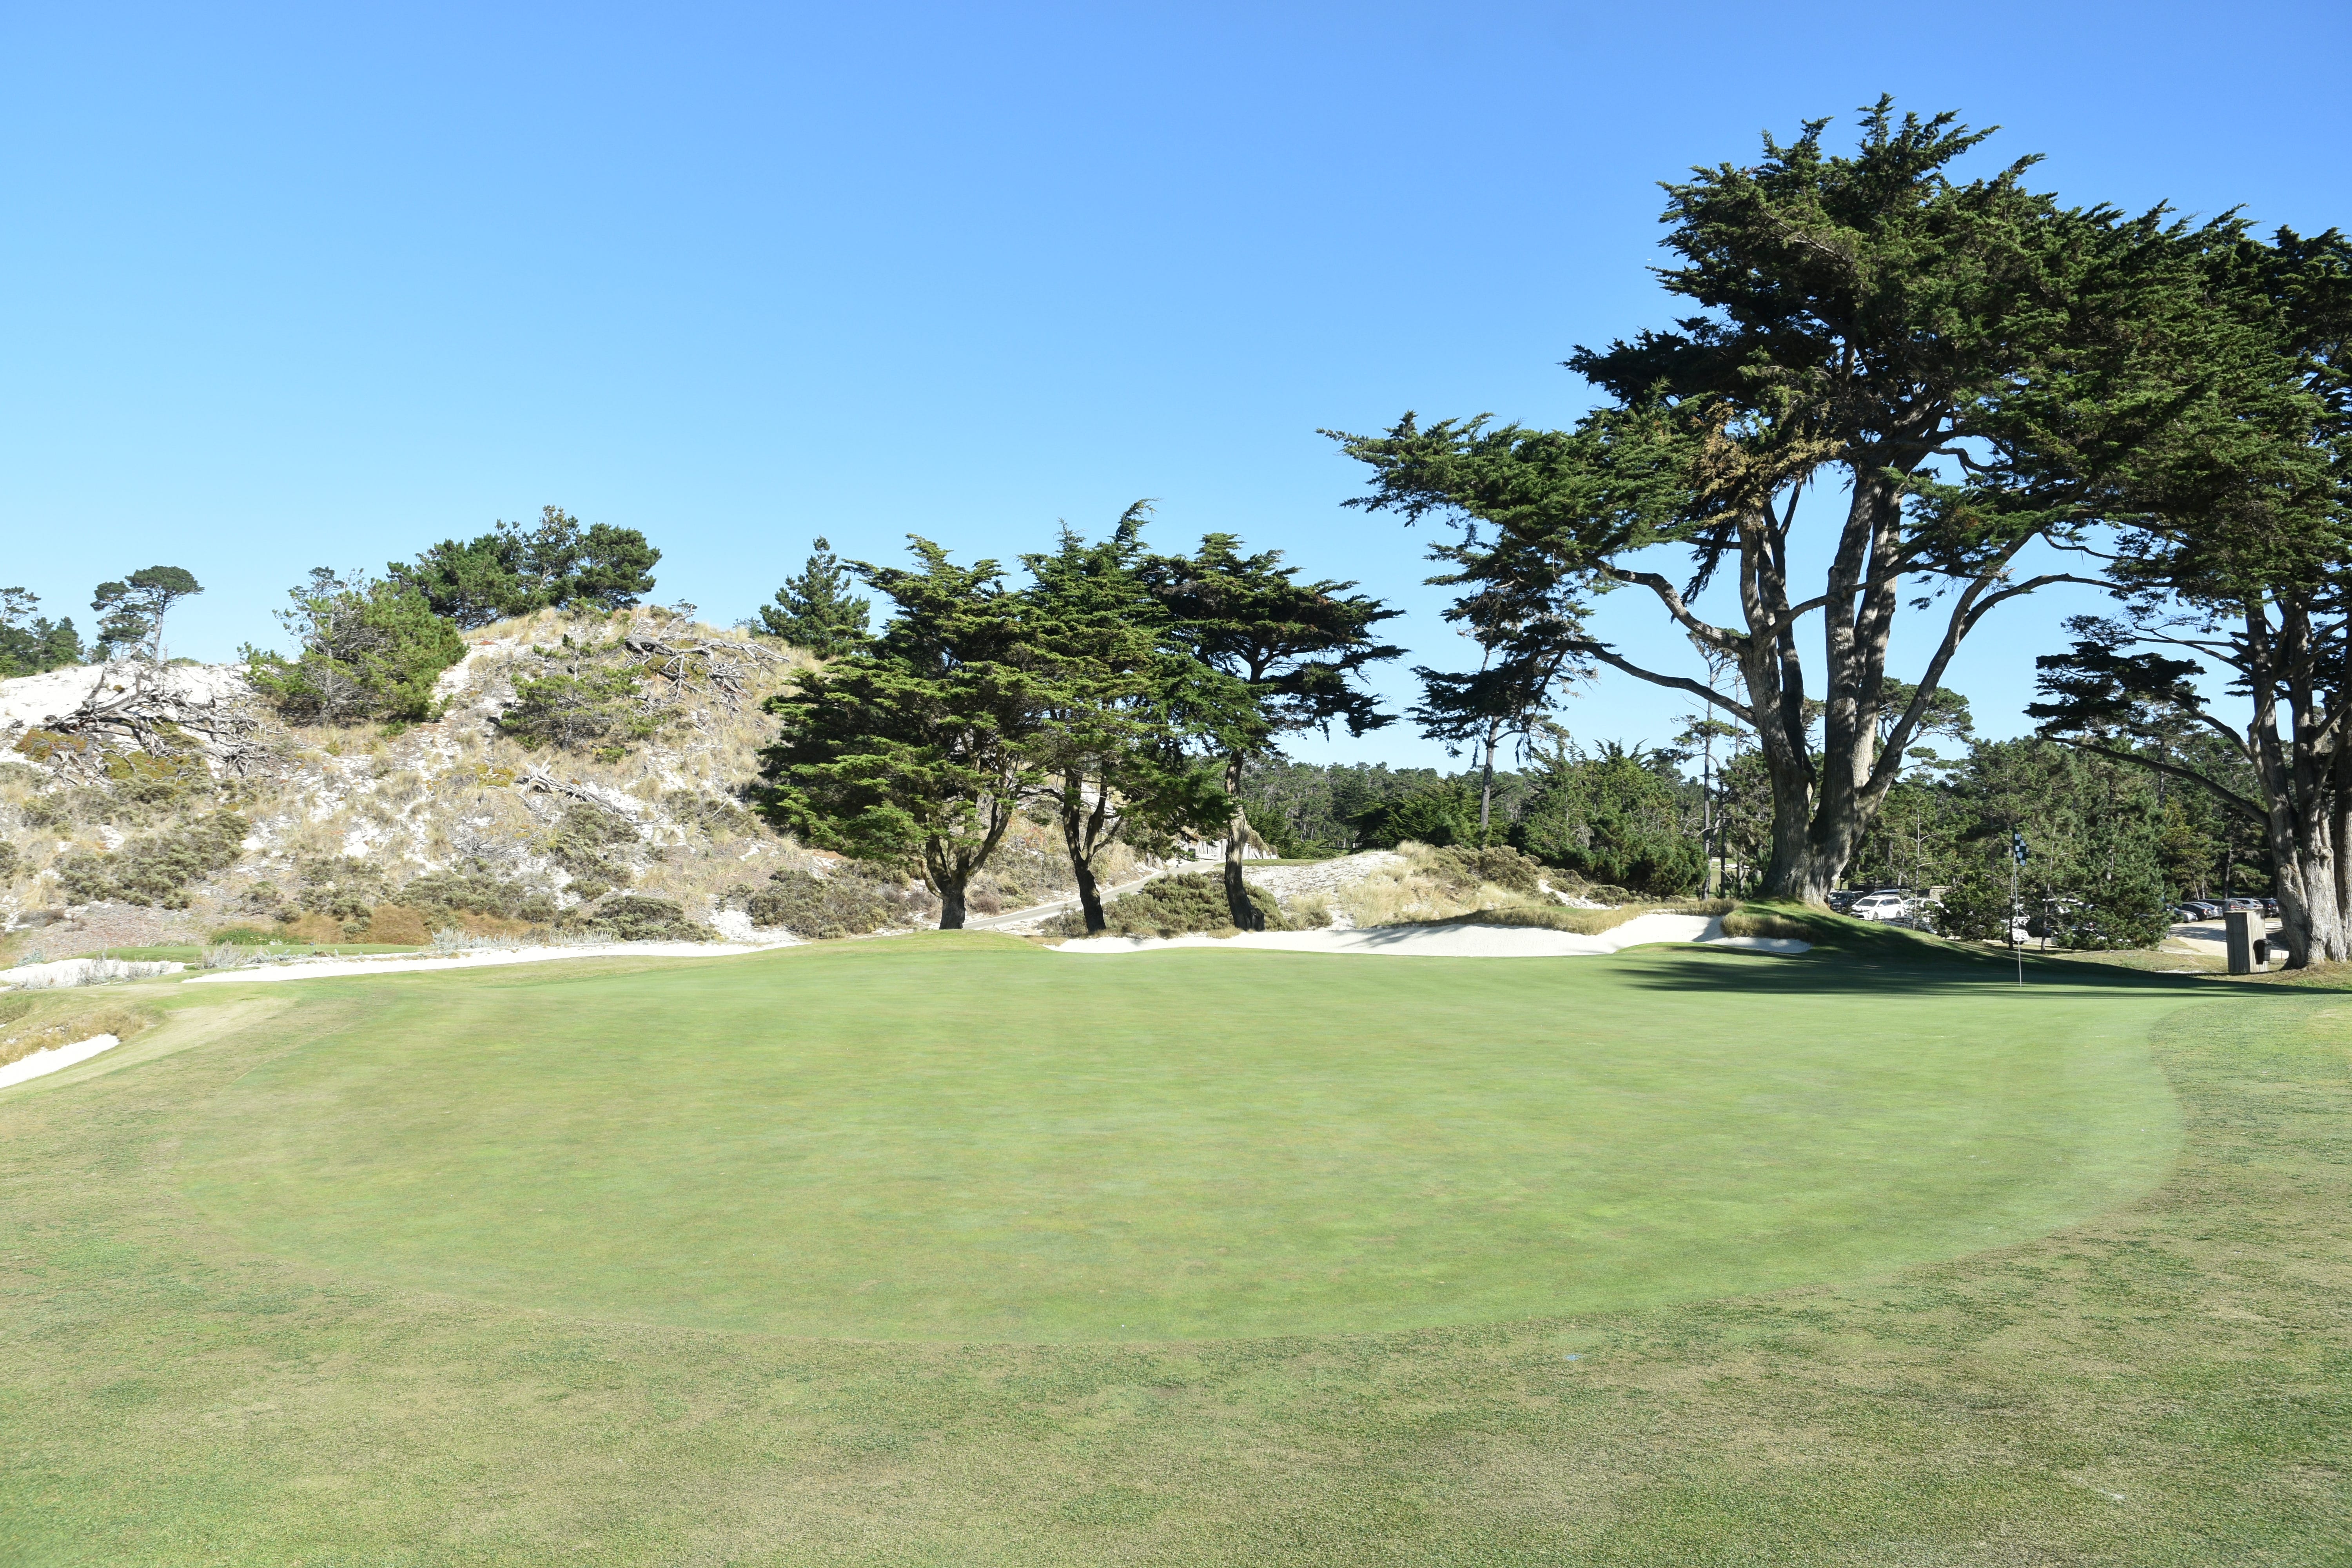
The 1st hole green viewed from the front — the greens at Cypress Point are relatively simple in shape, but have enough subtleties in slope and break to keep golfers honest
The 1st hole green viewed from the back
Hole 2: Par 5, 549 Yards
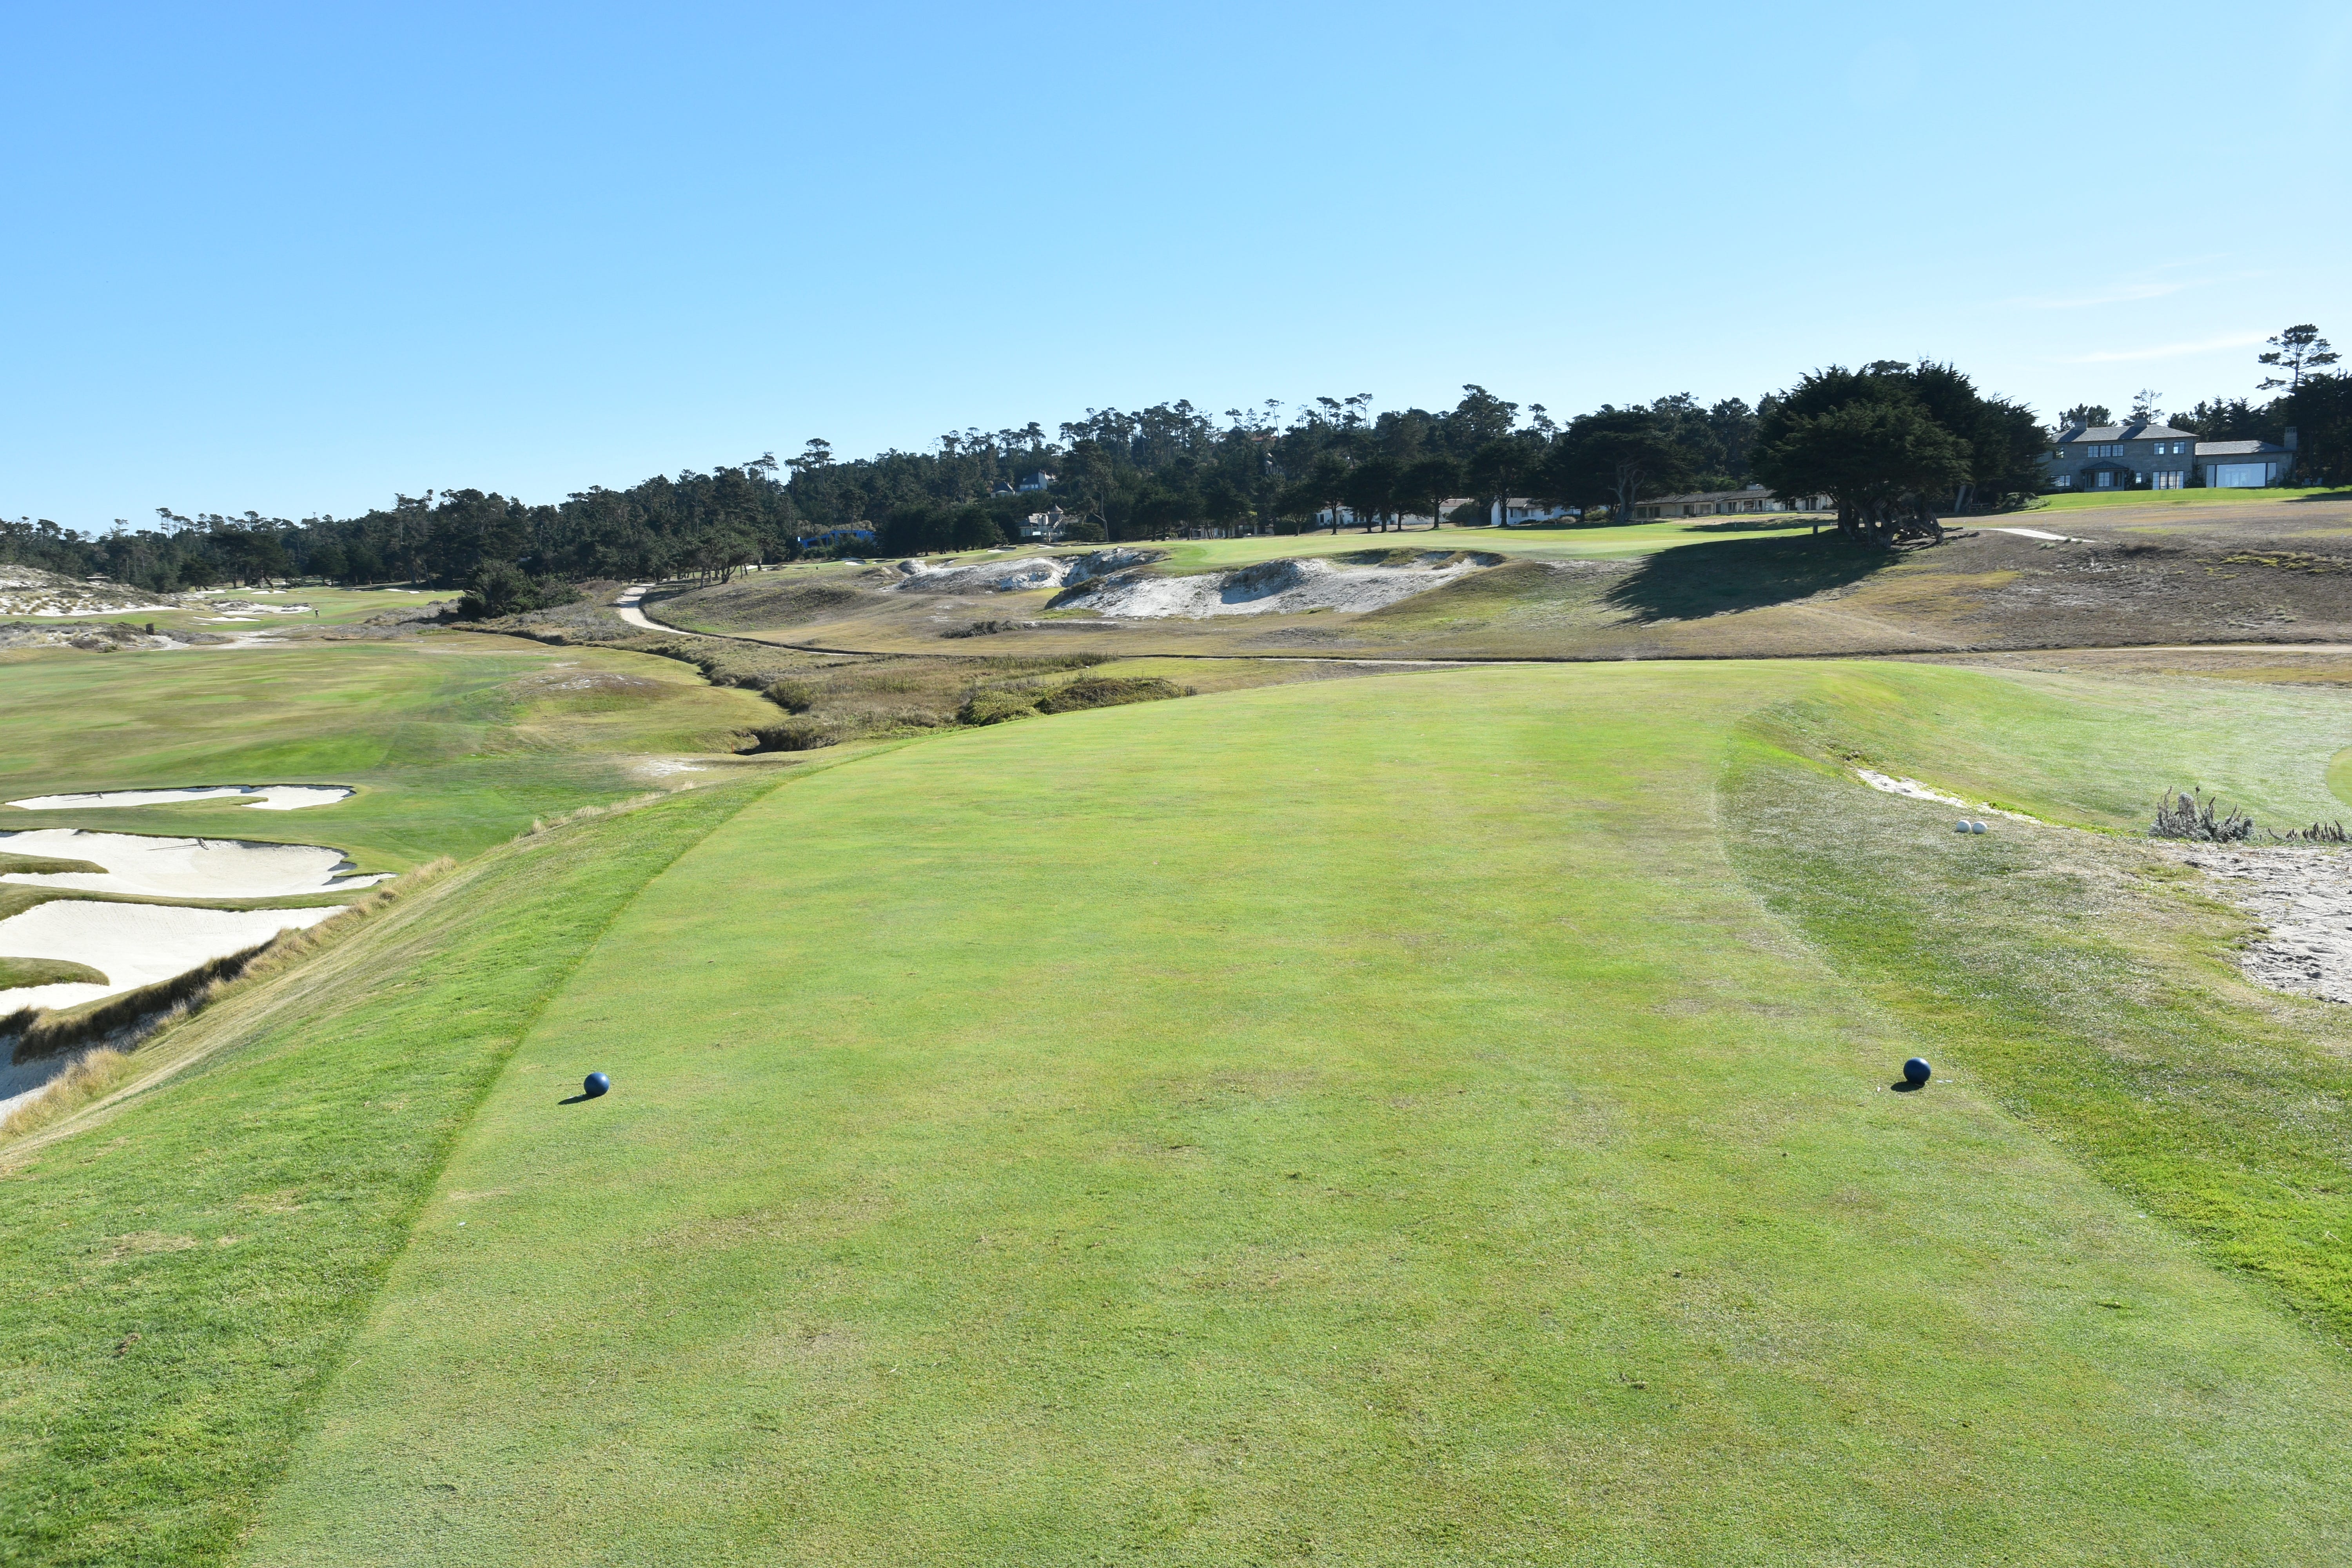
The first par-5 hole at Cypress Point begins with a choice of risk on the tee shot
The 2nd hole tee shot from the back tee — a player must carry an exposed sand dune ridge, but it is up to the player how much he or she wants to cut off
The safe and conservative line requires roughly a 200-yard carry to reach the fairway. The bold and heroic line requires a 290-yard carry to reach the fairway
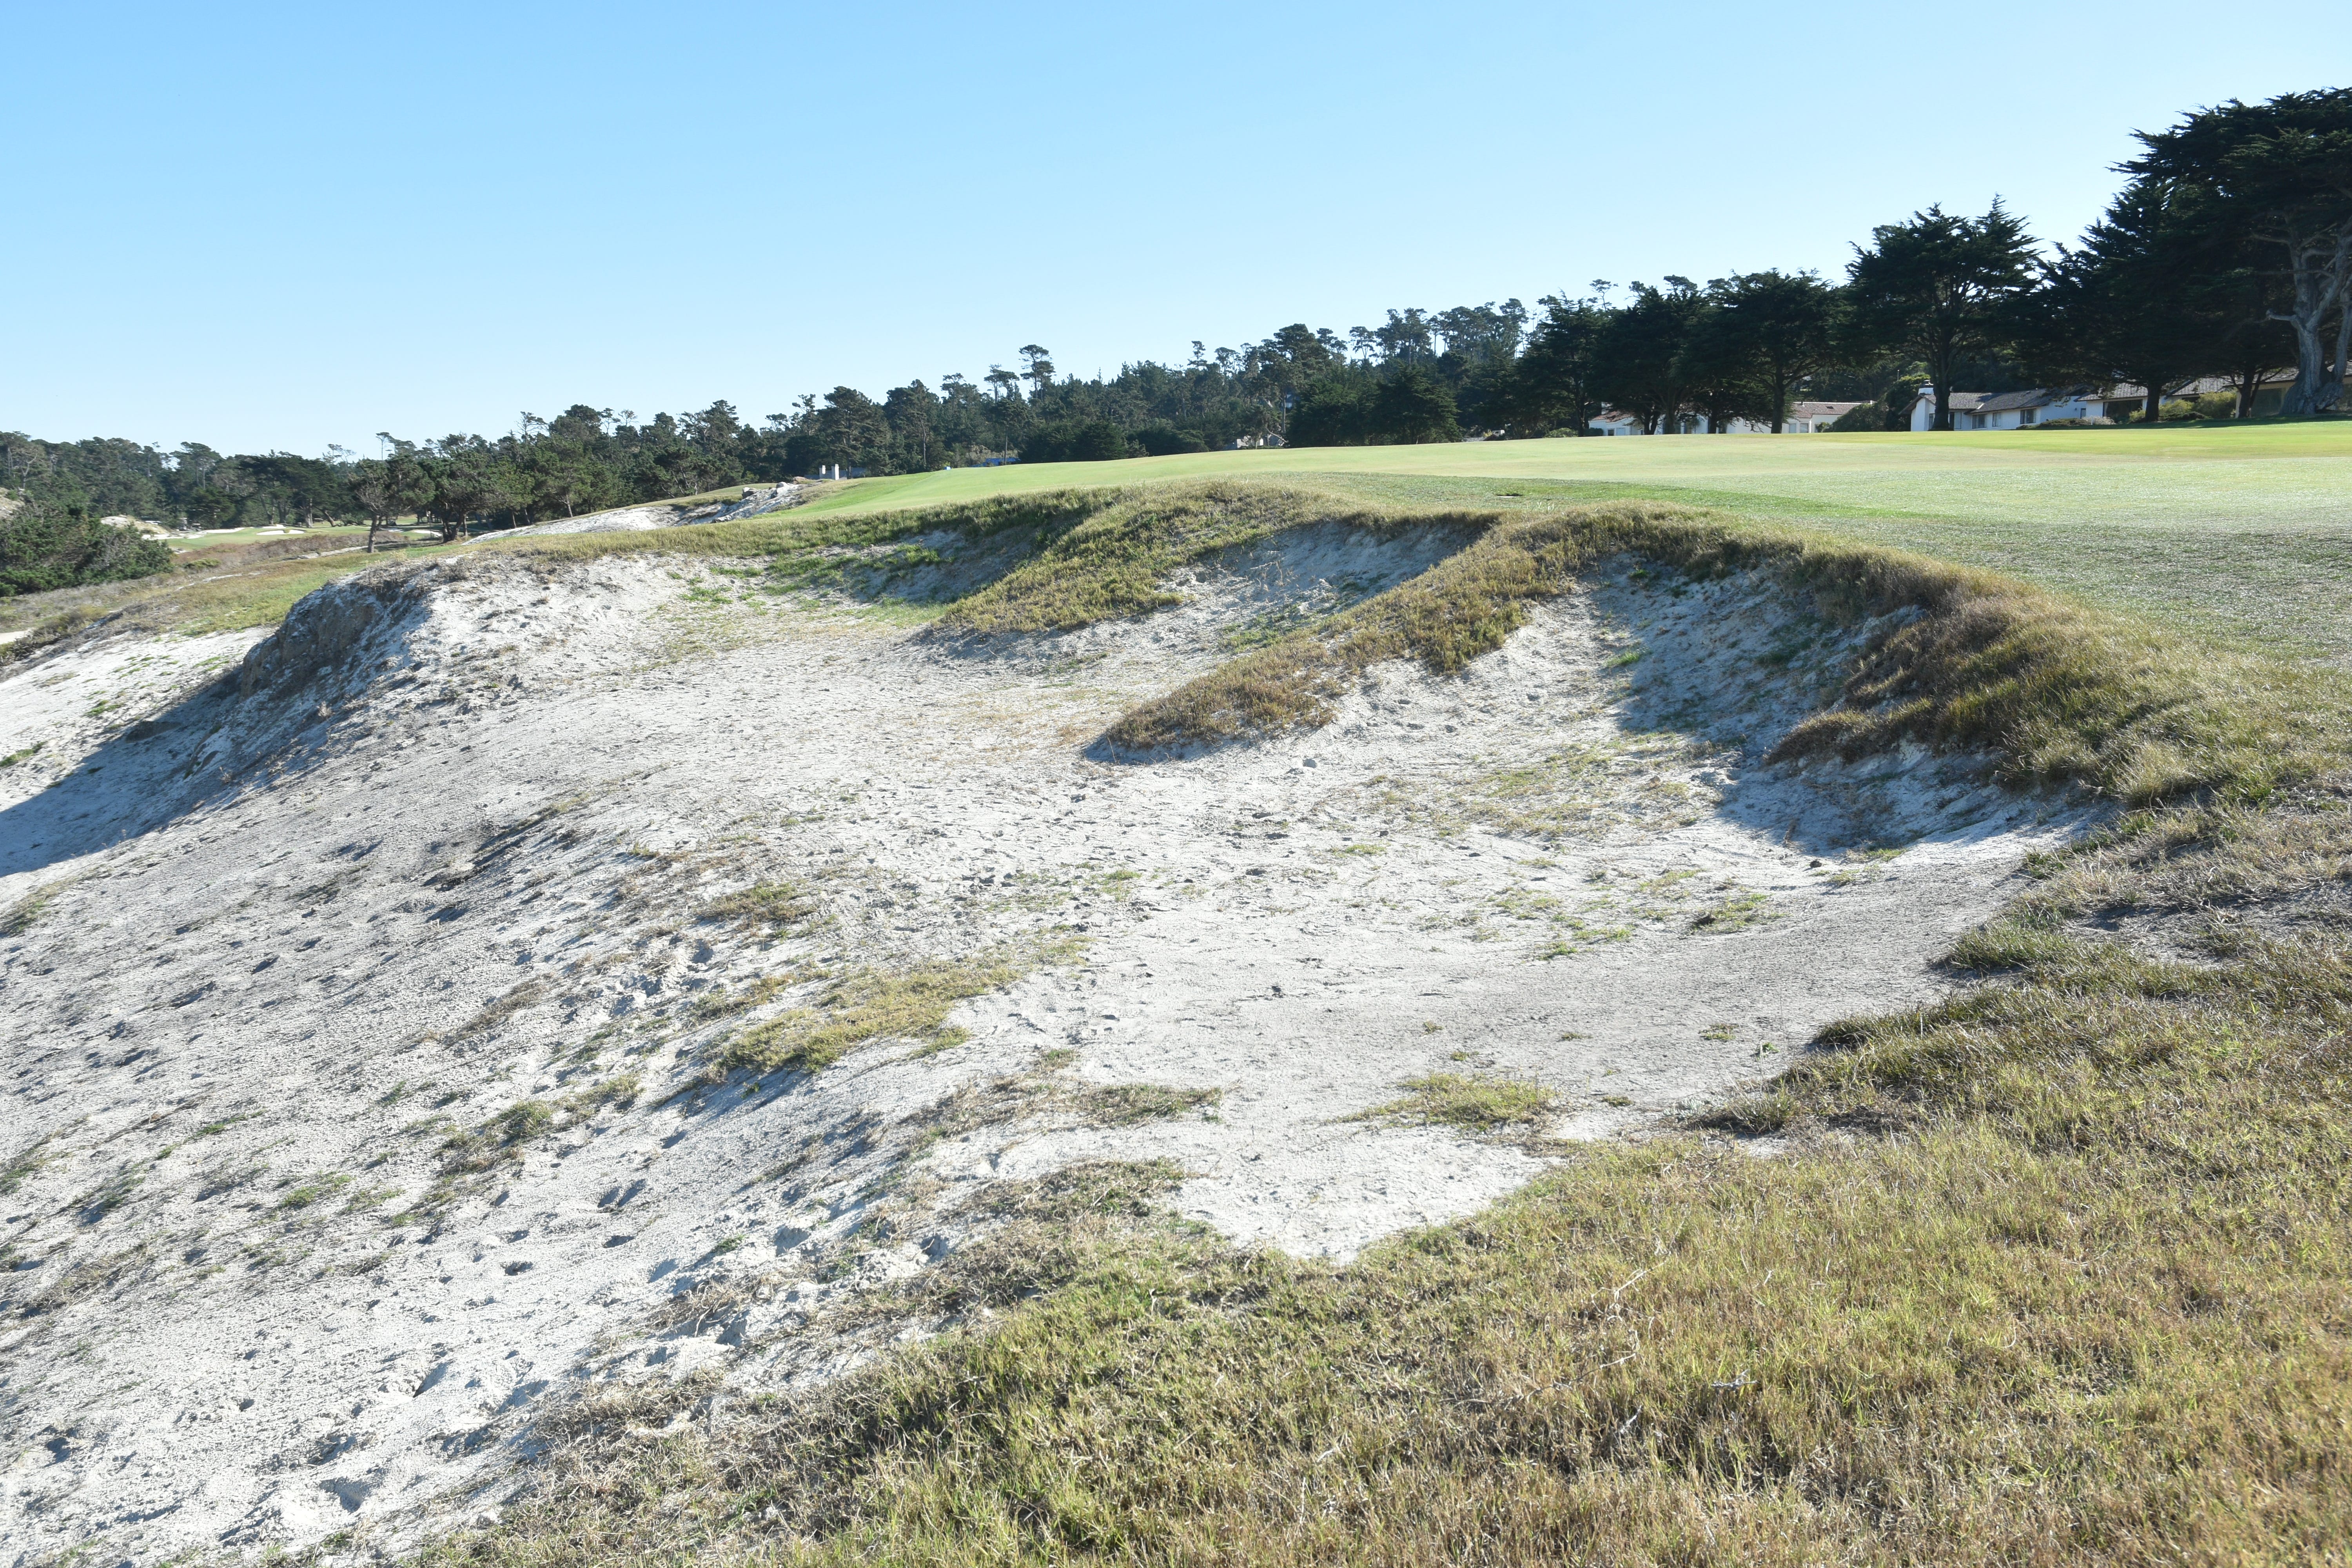
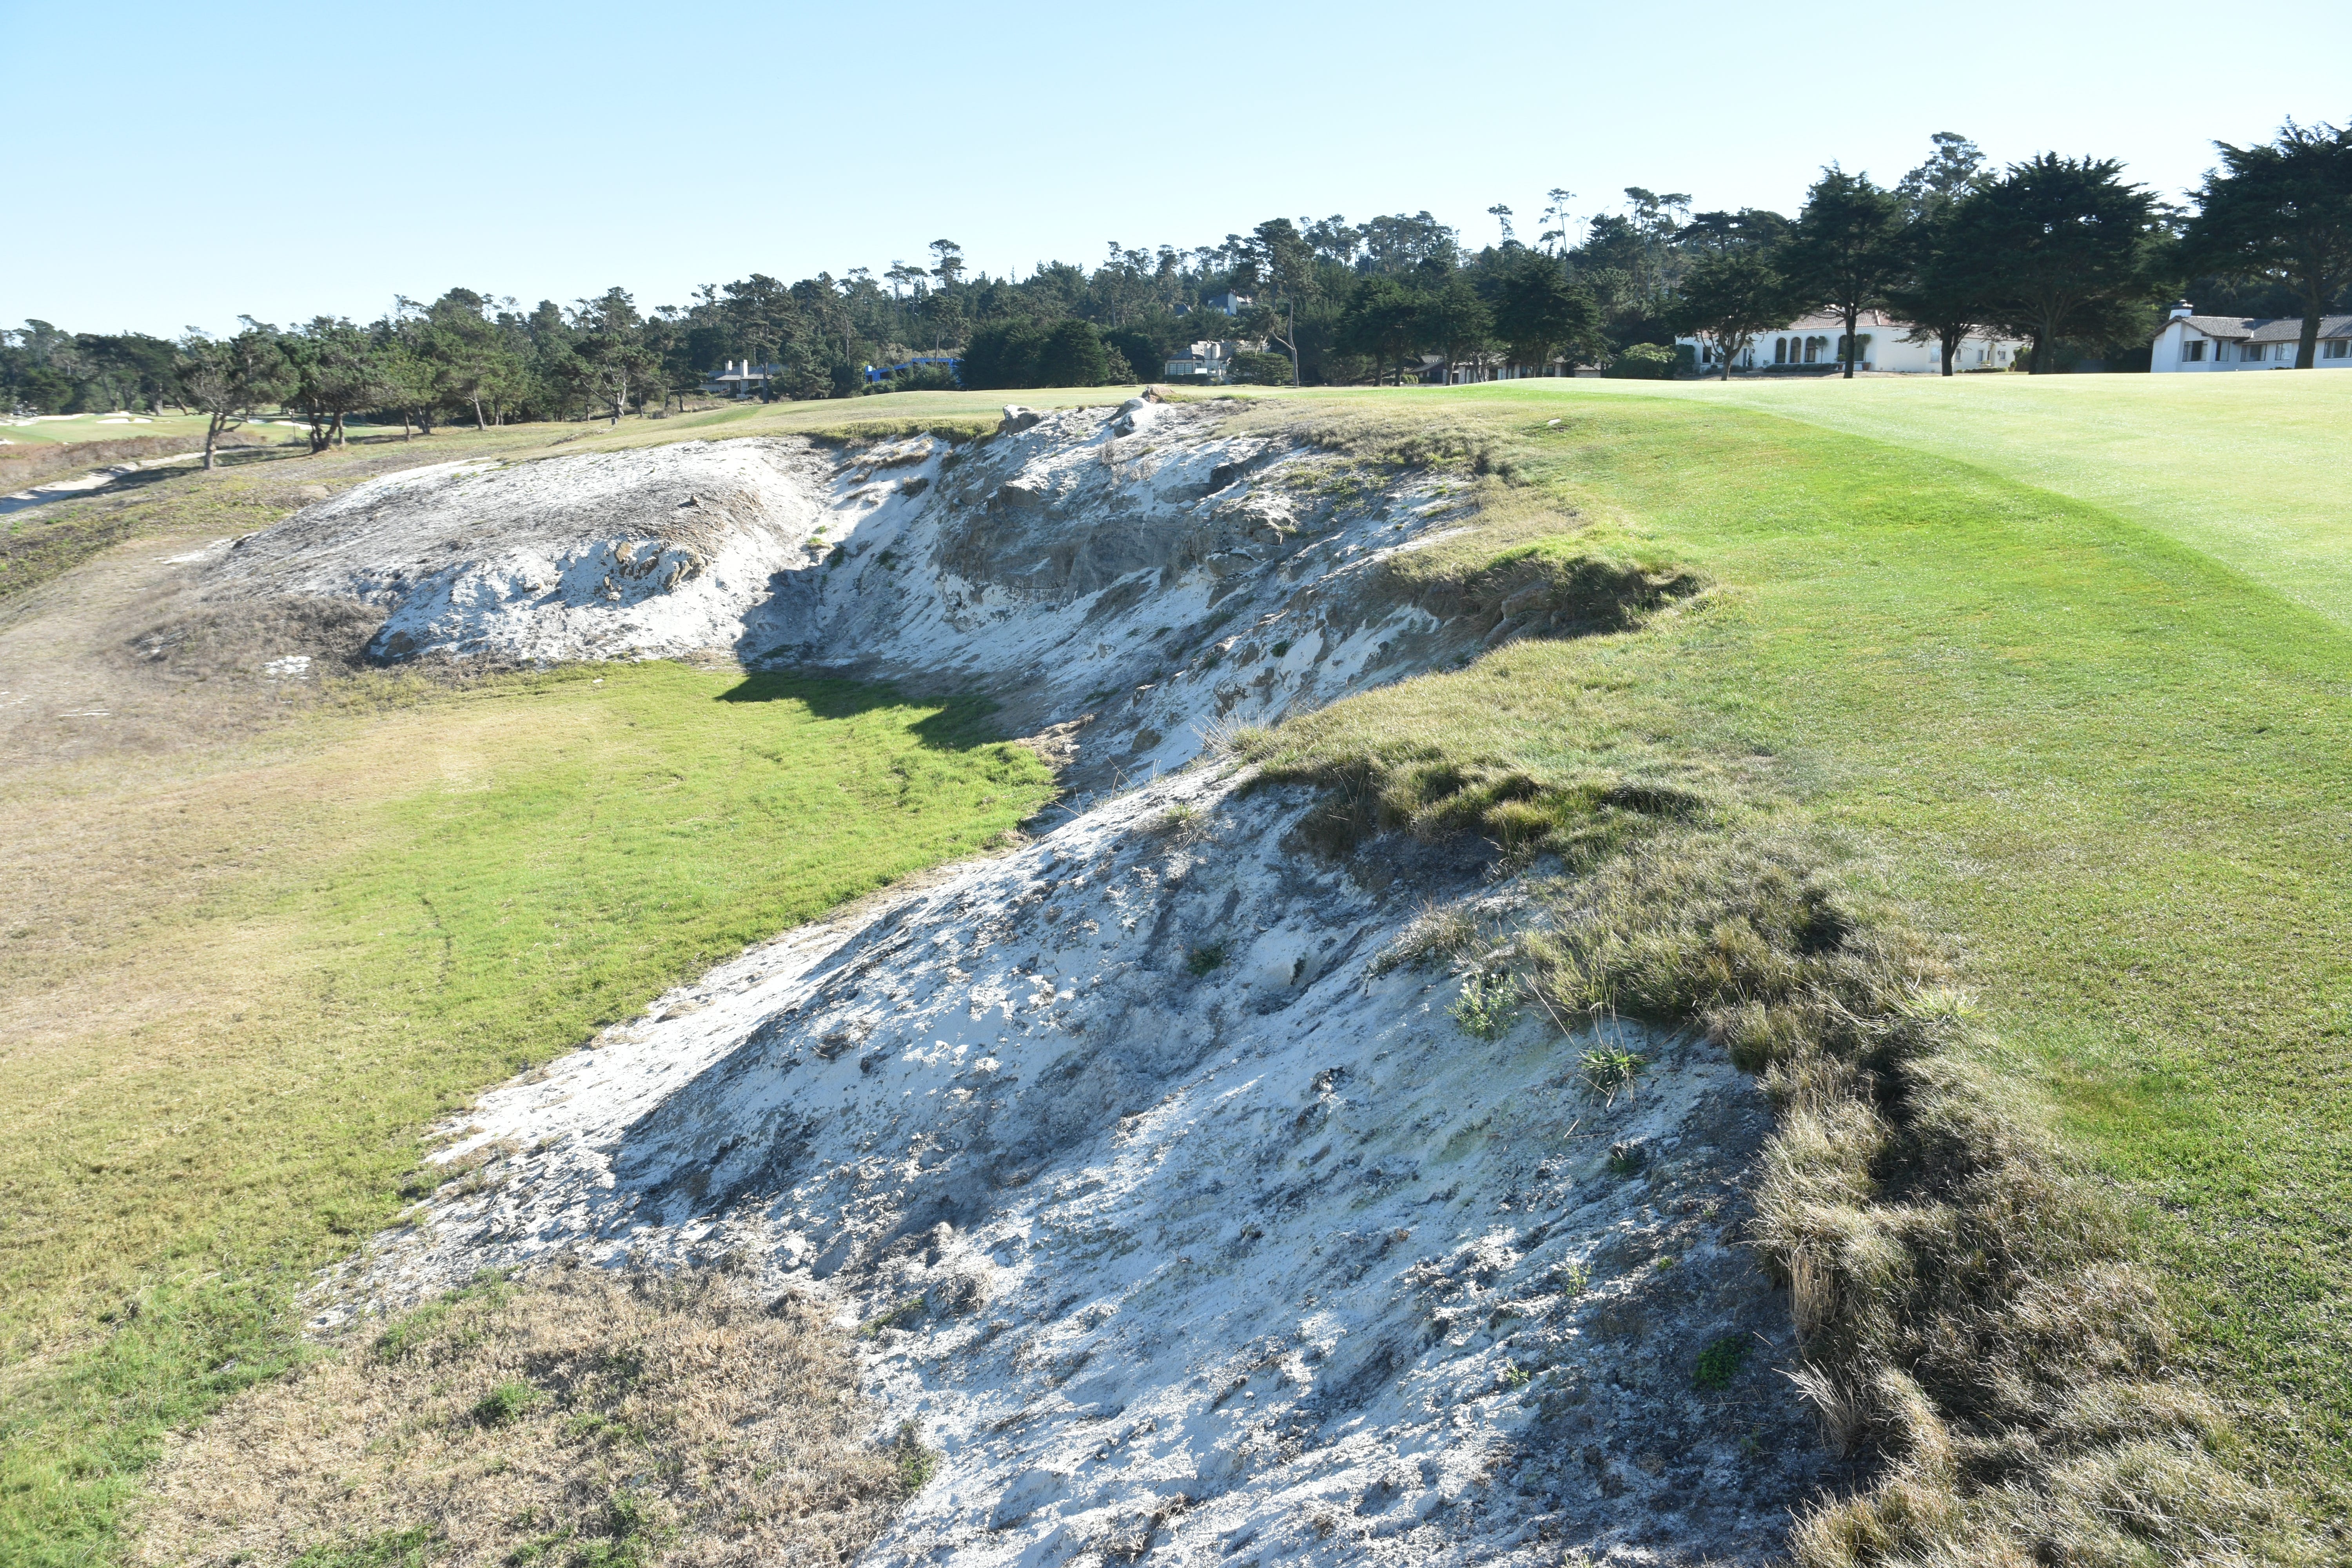
The beginning of the exposed sand dune ridge guarding the 2nd hole fairway
The mid-section of the exposed sand dune ridge of the 2nd hole fairway
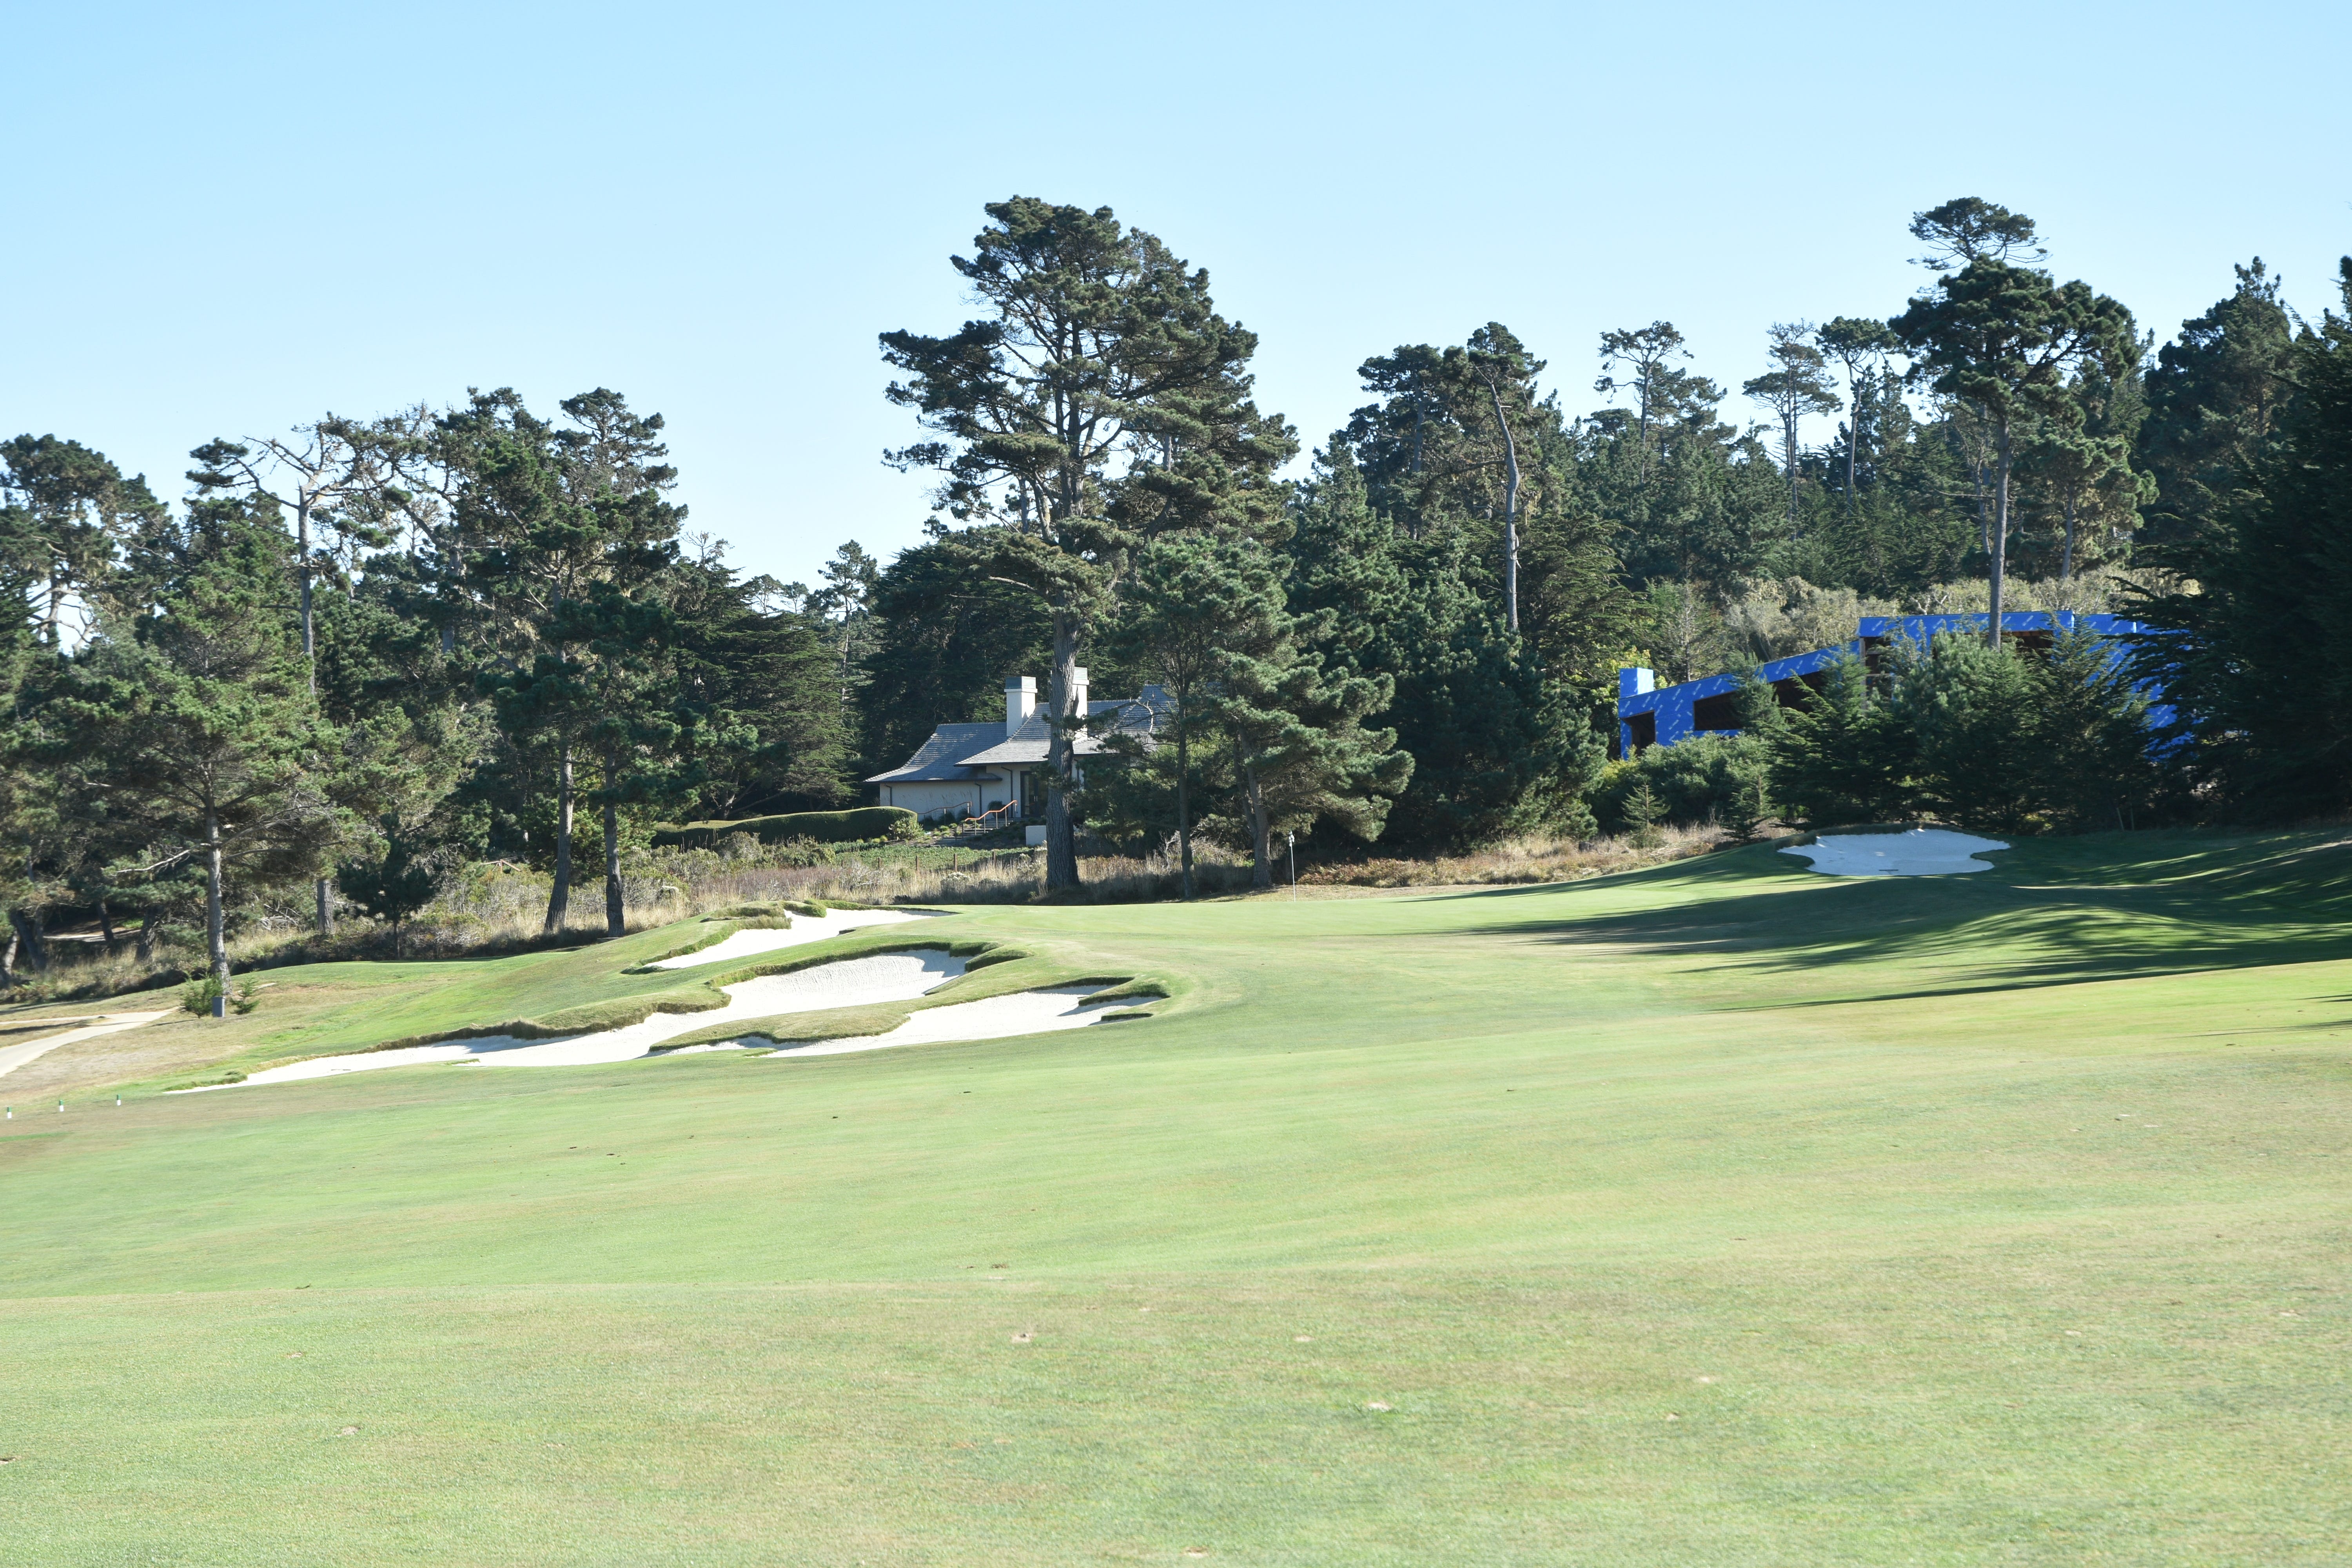
Once navigating past the exposed sand dune ridge on the tee shot, the 2nd hole approach is relatively straightforward. Players who took the bold line will have an advantageous shorter approach into this green
The 2nd hole approach from 50 yards away
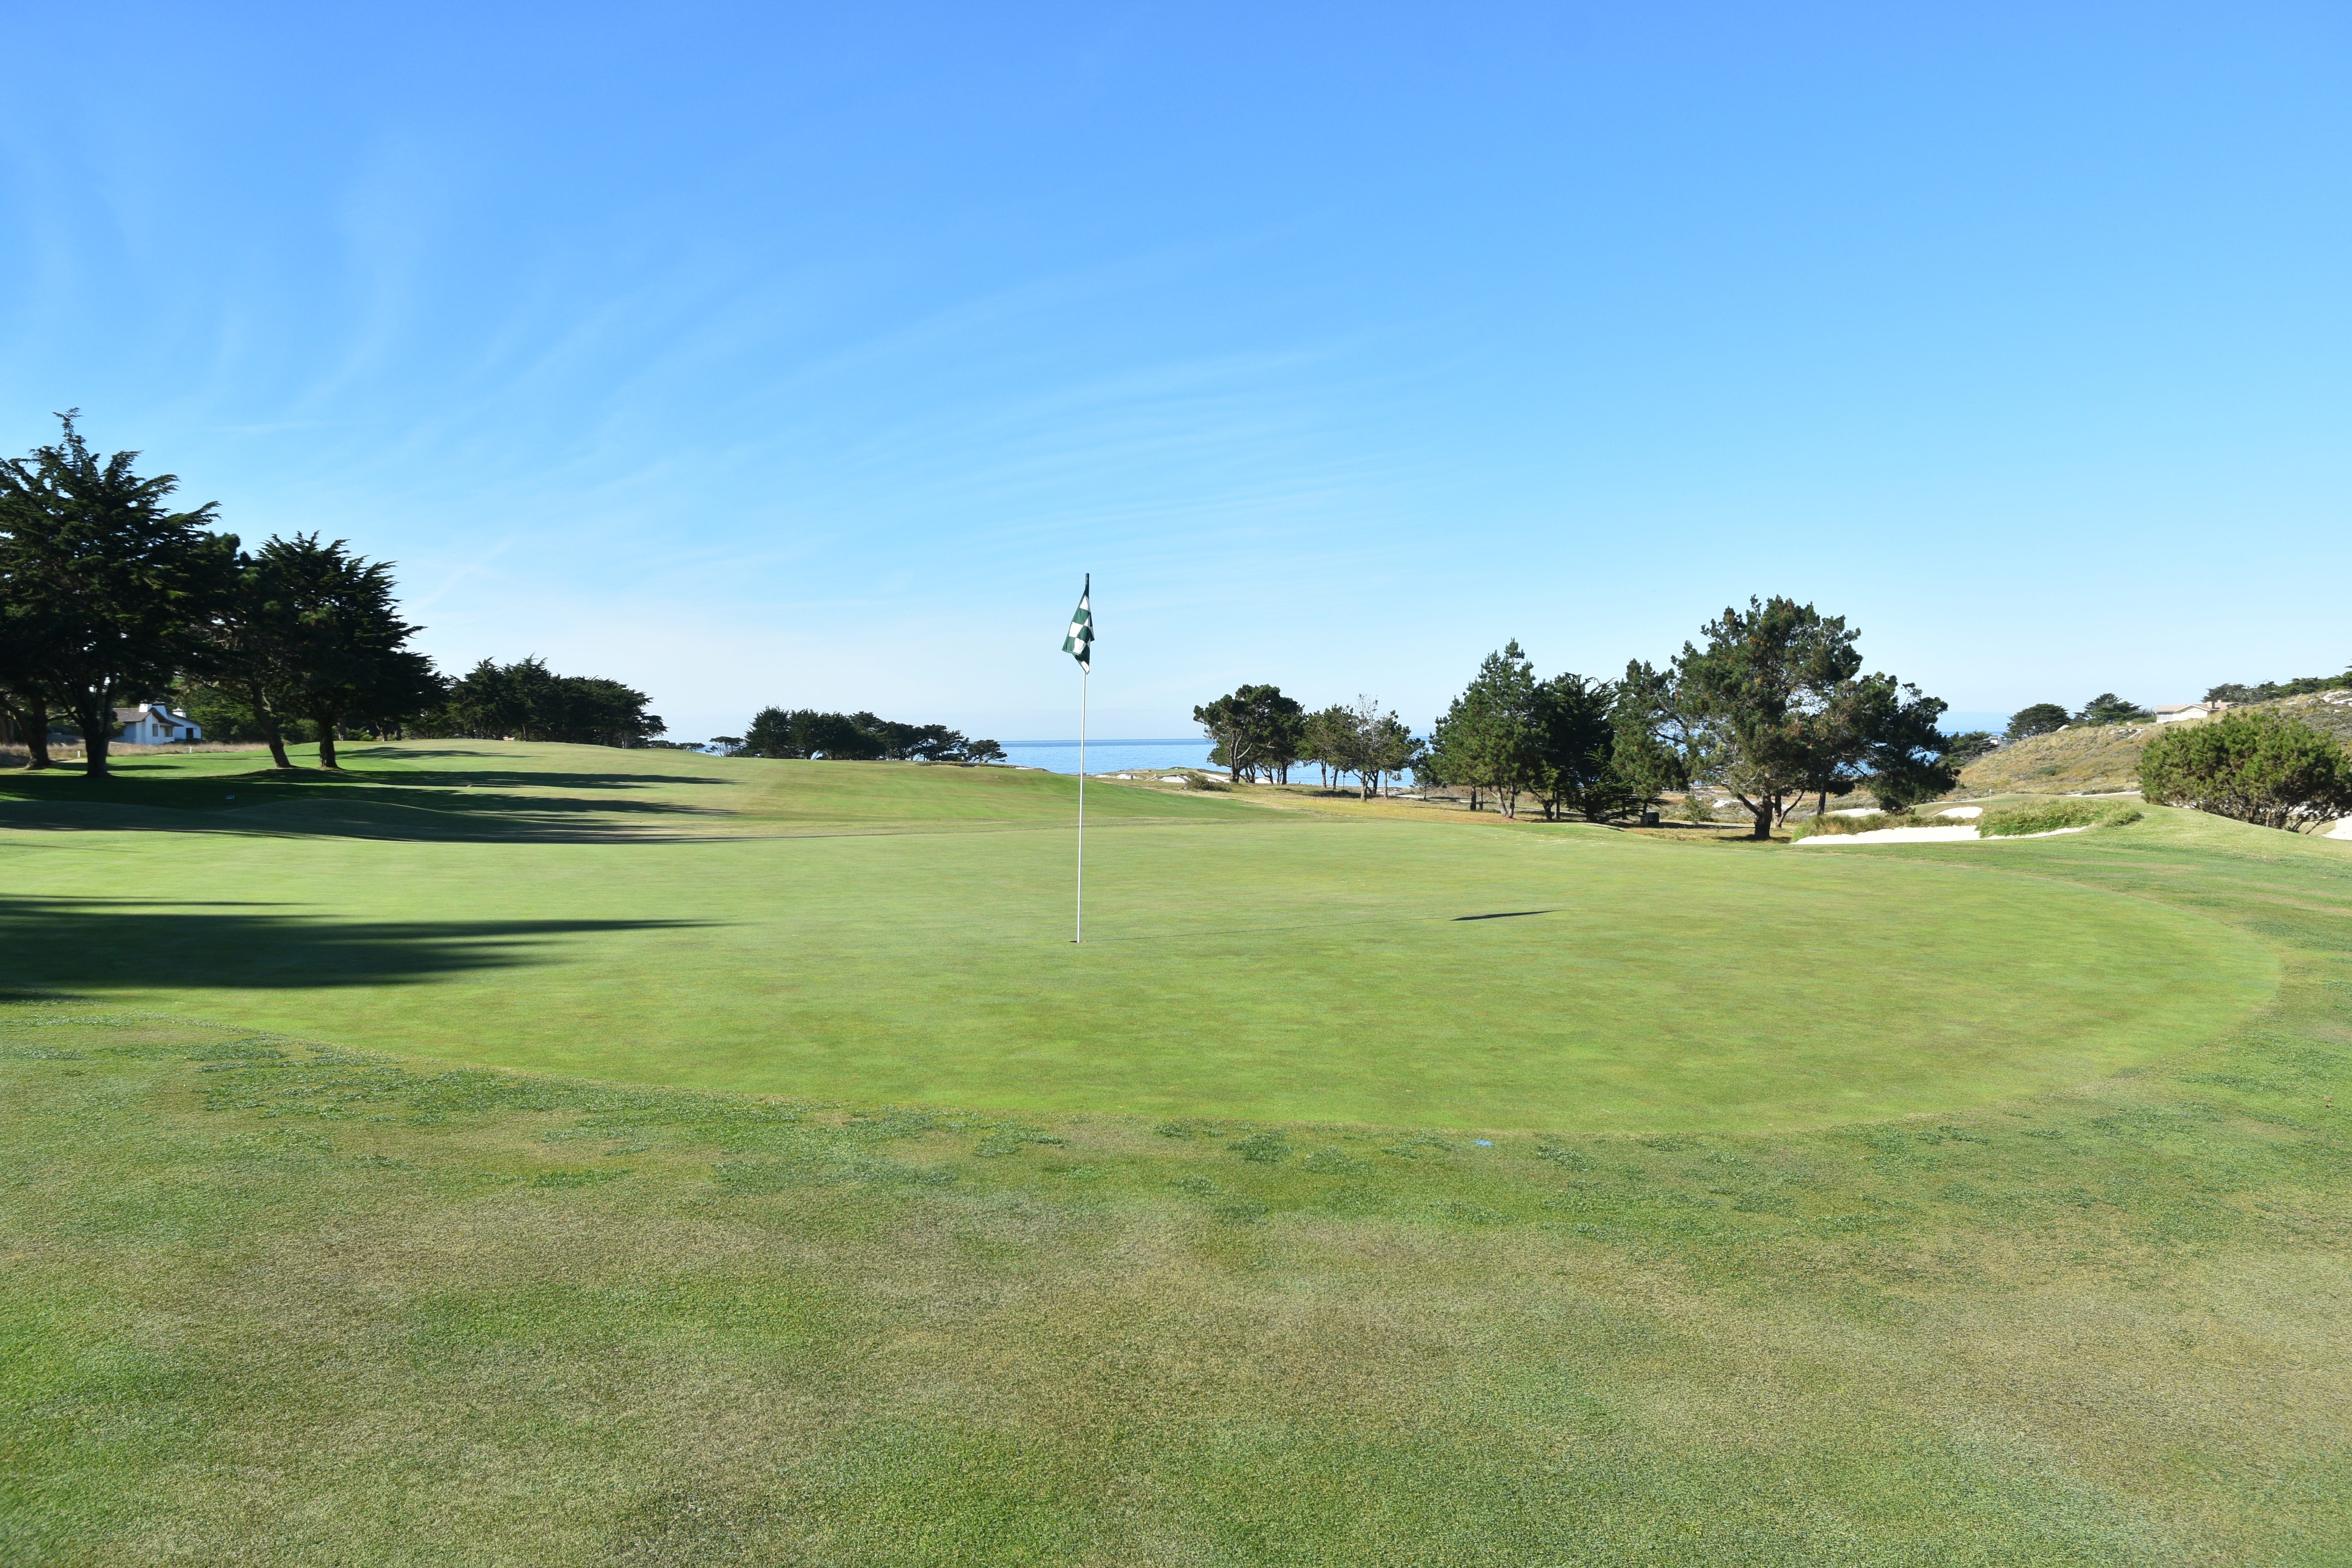
The 2nd hole green viewed from the front
The 2nd hole green viewed from the back
Hole 3: Par 3, 156 Yards
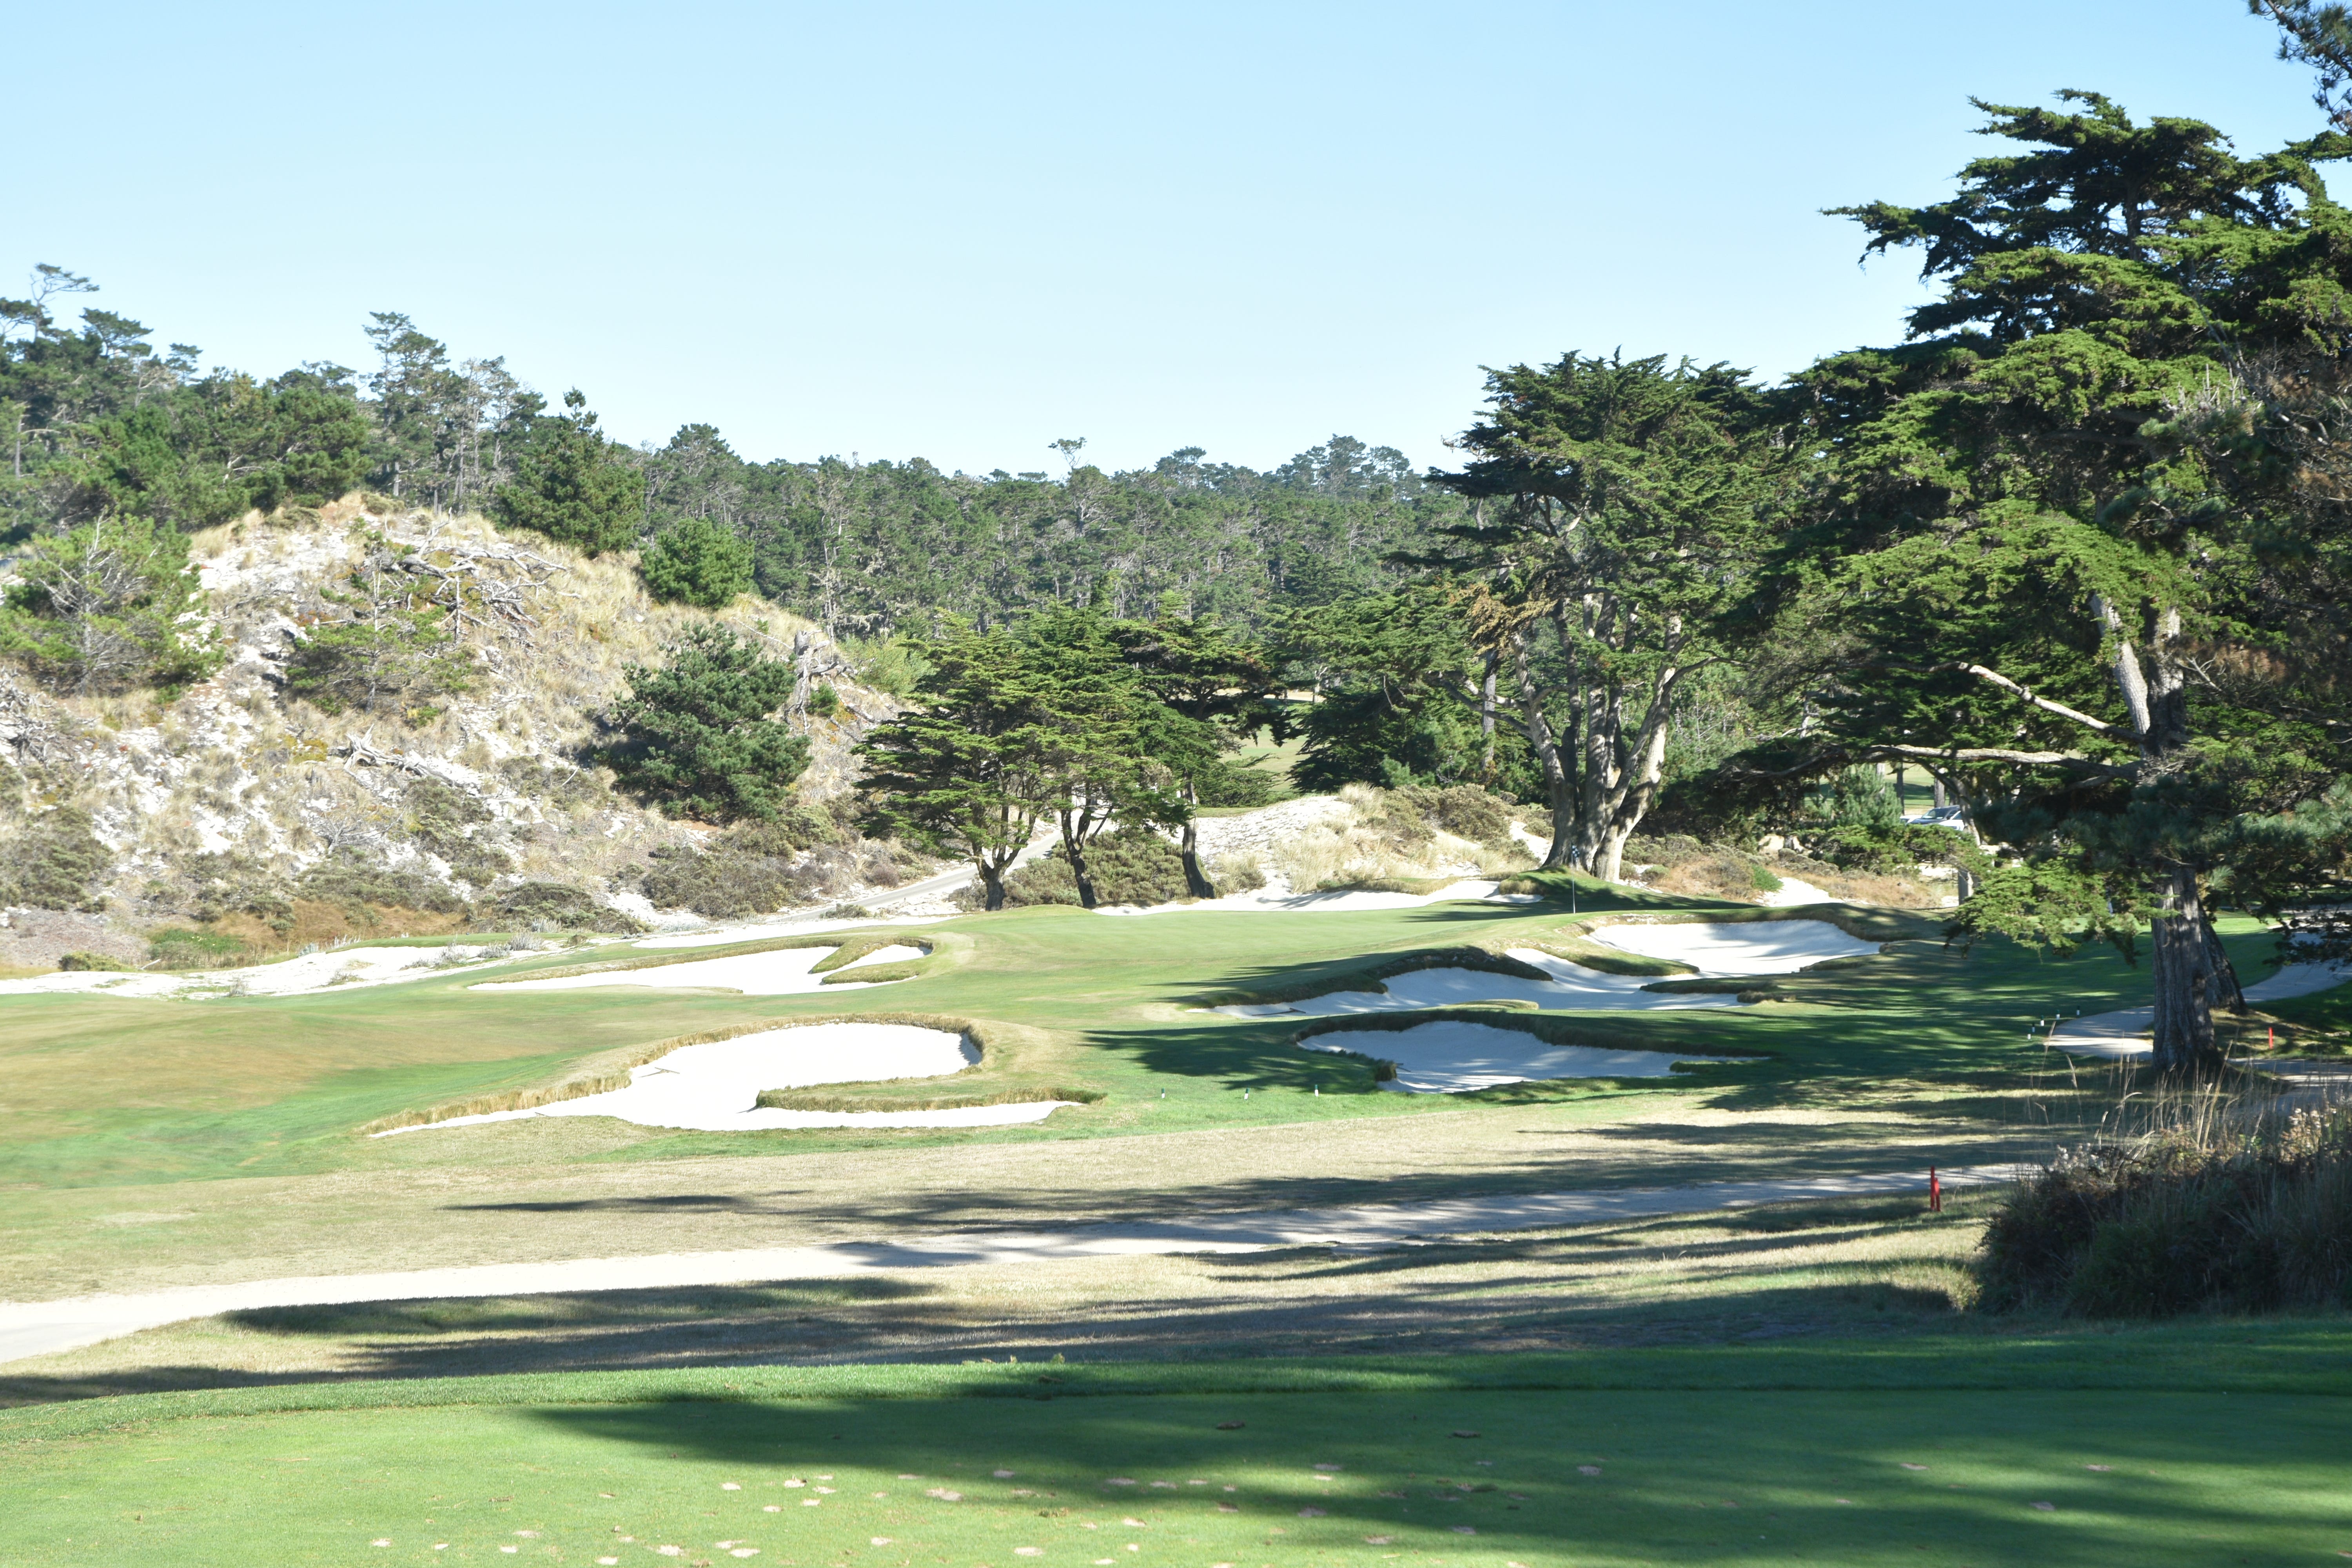
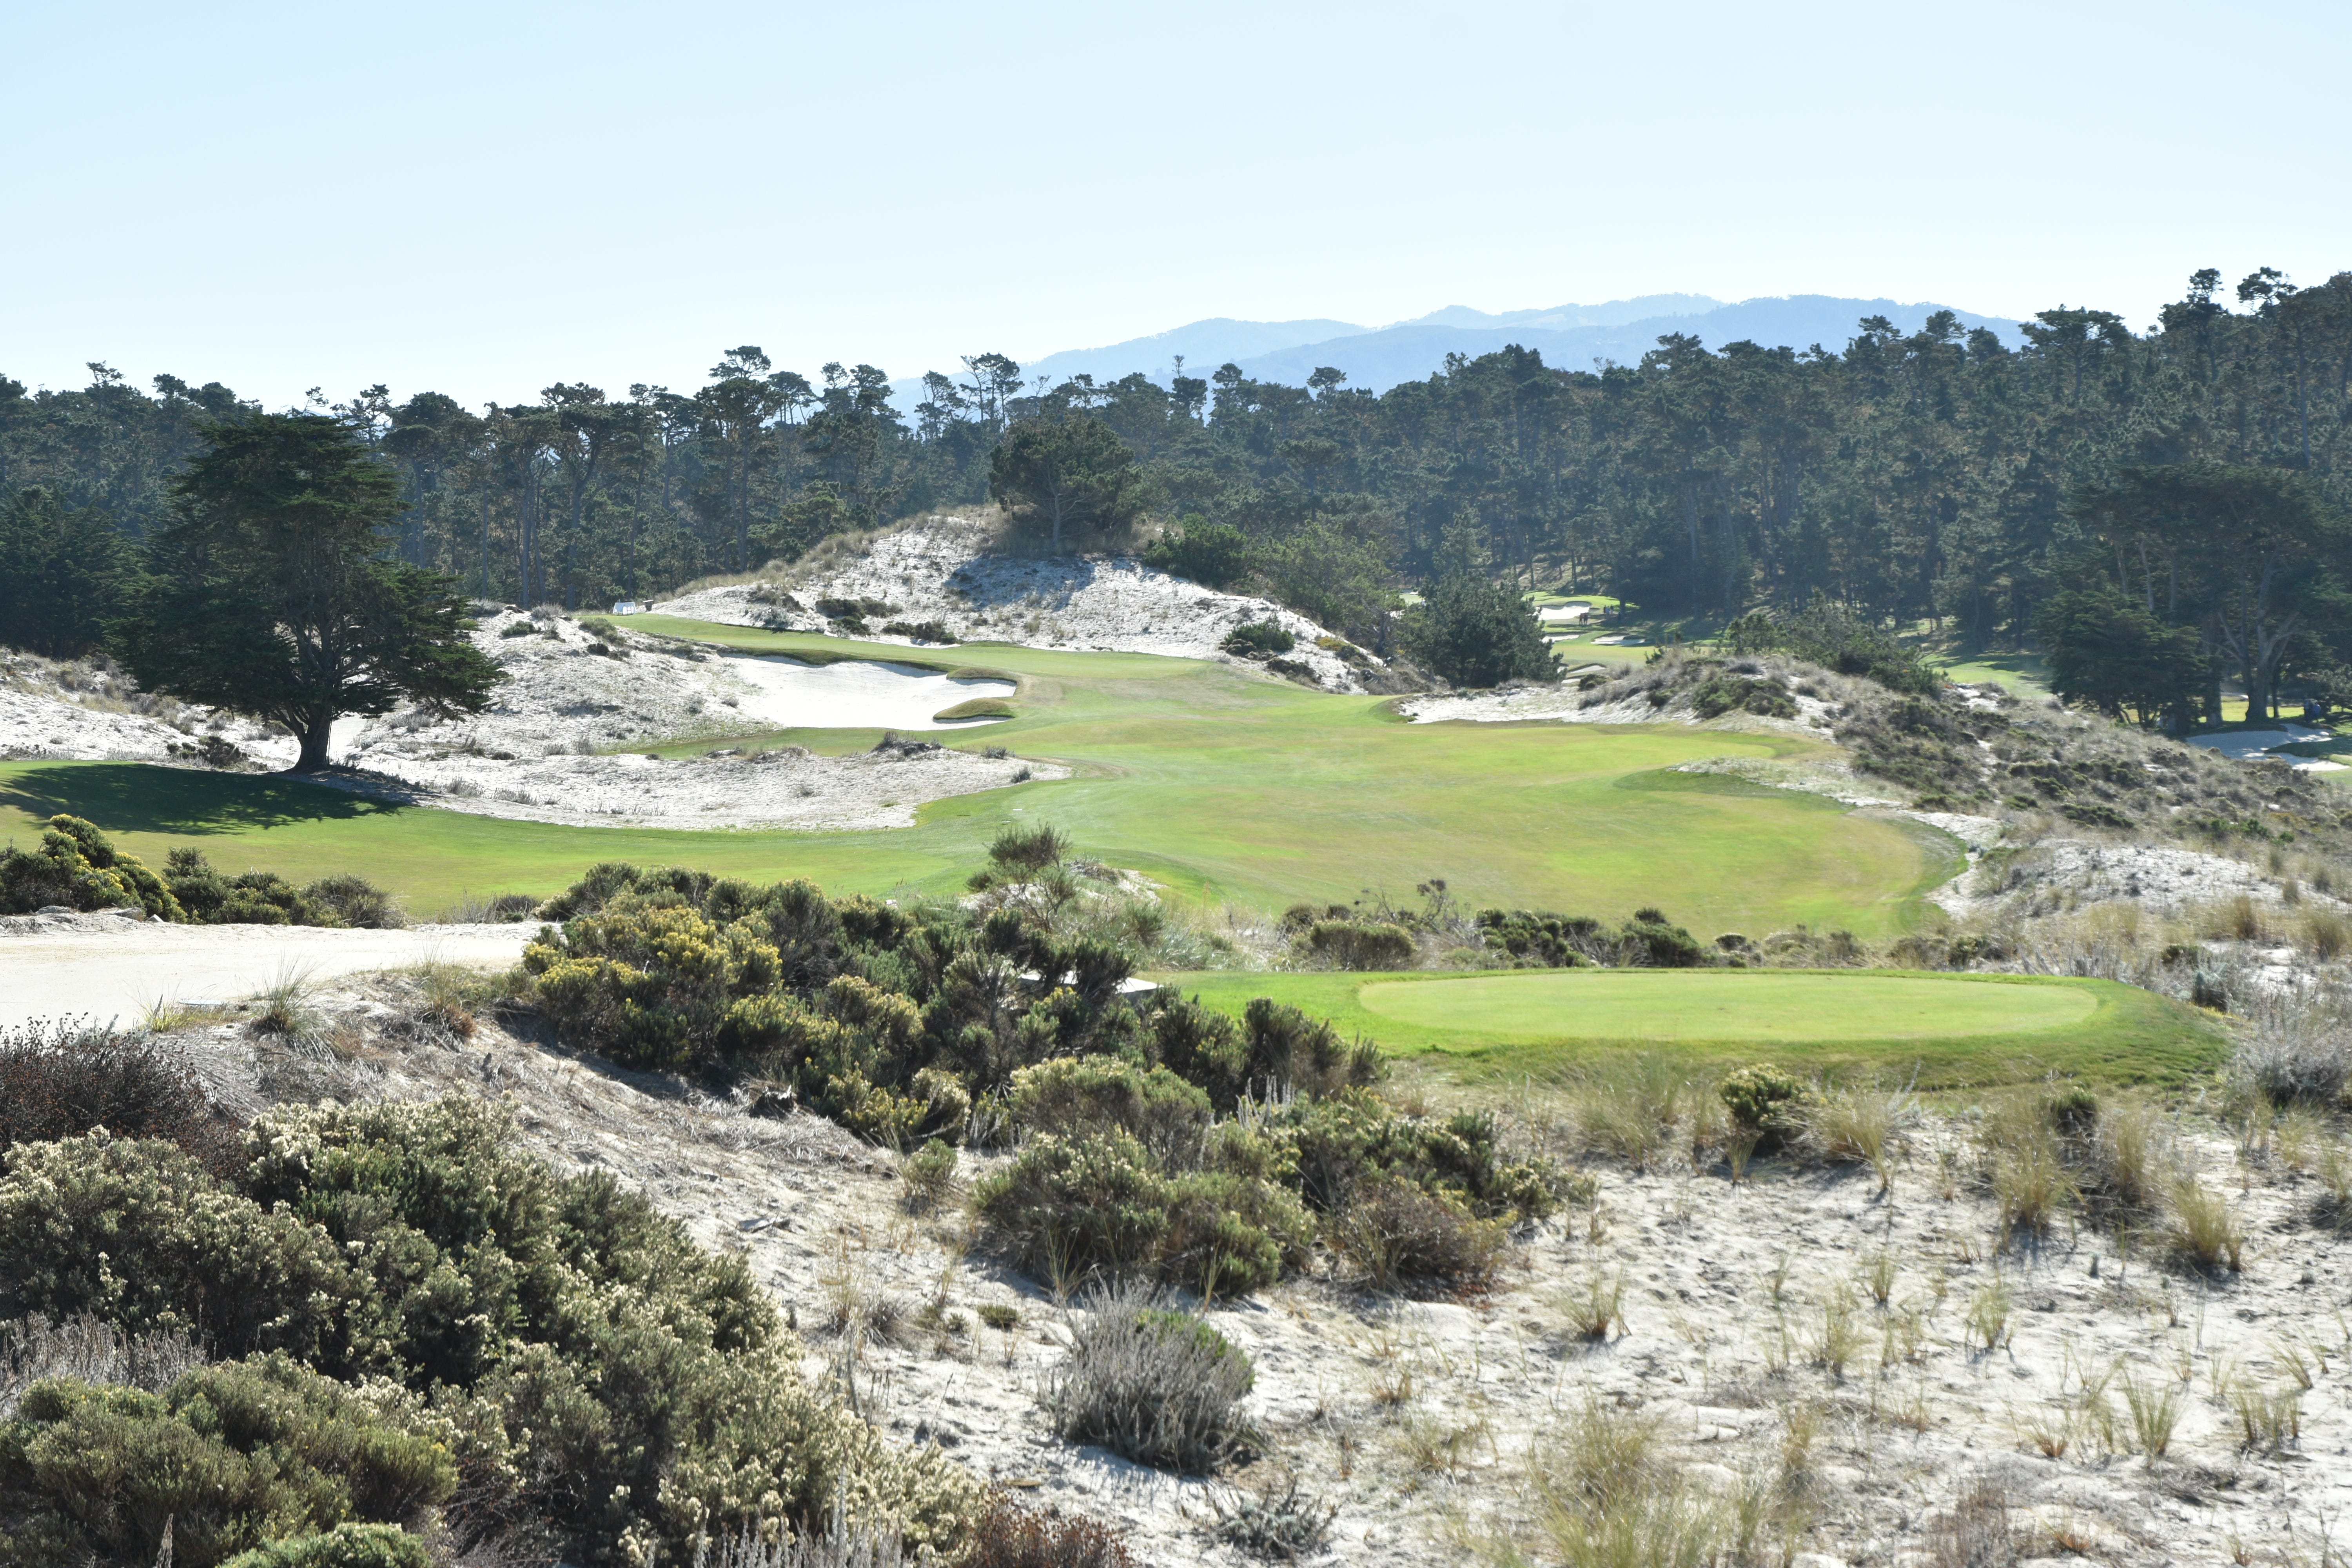
The first par-3 hole at Cypress Point sits quaintly among a cluster of bunkers waiting to grab imprecise tee shots
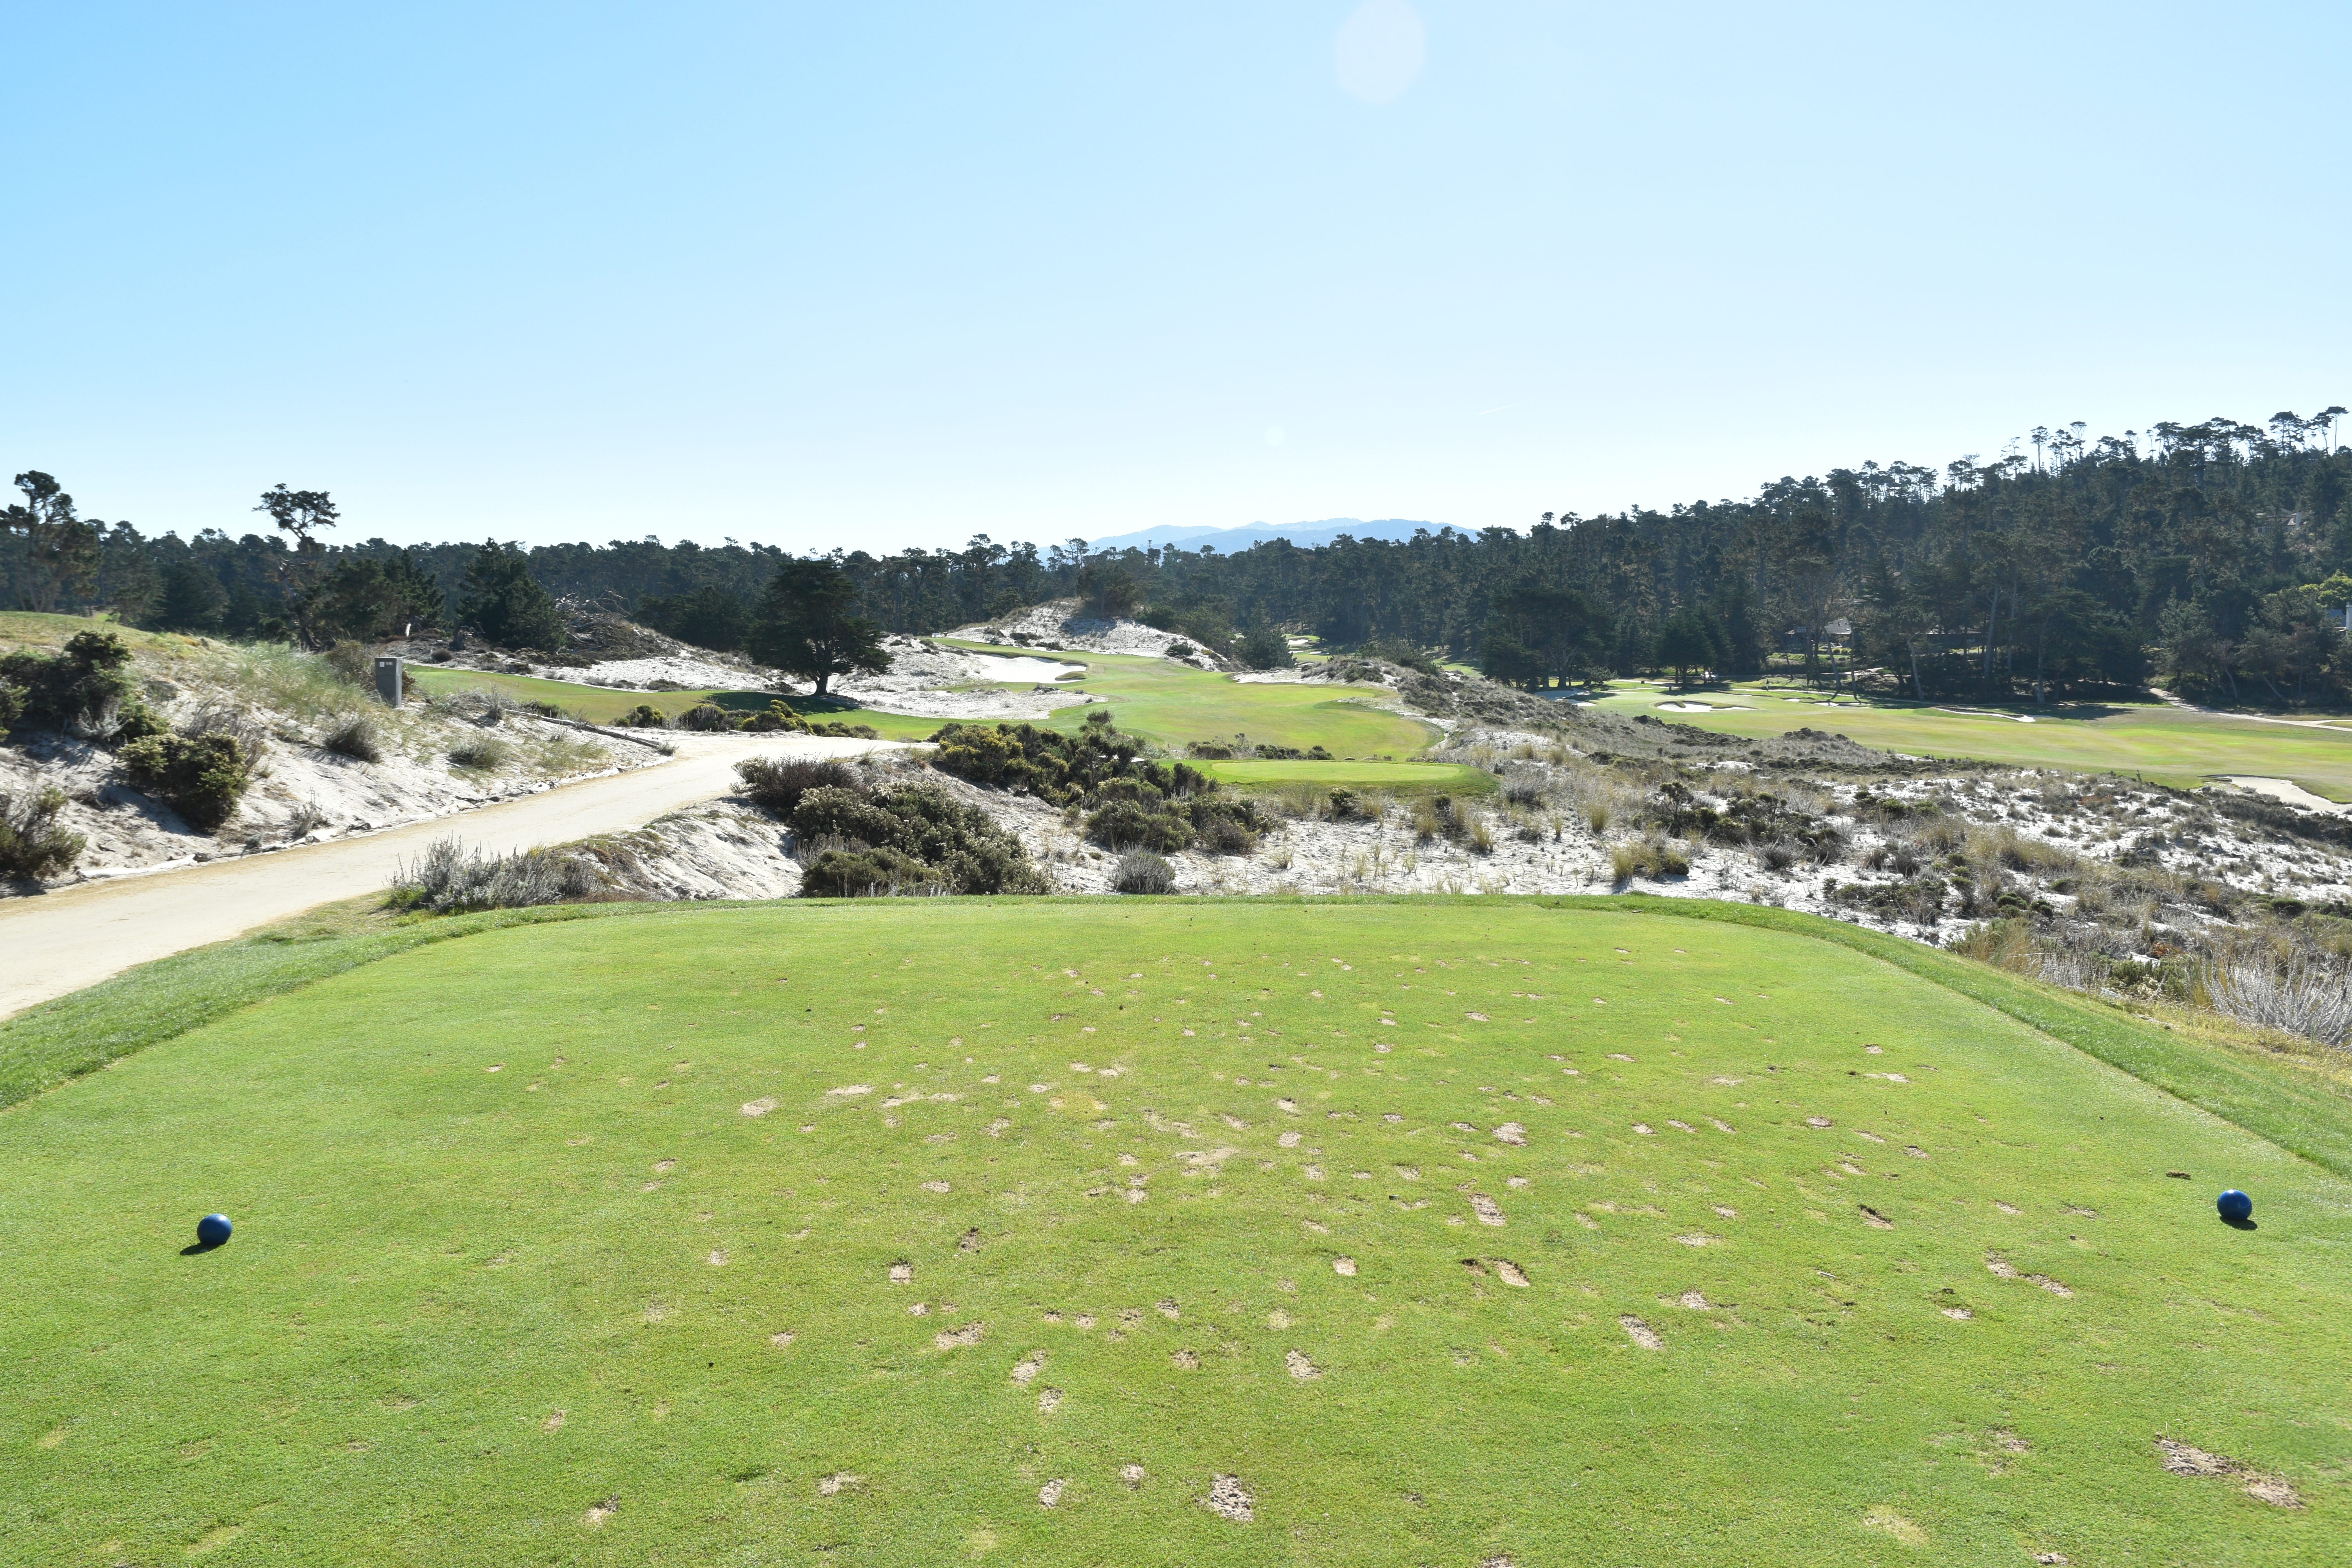
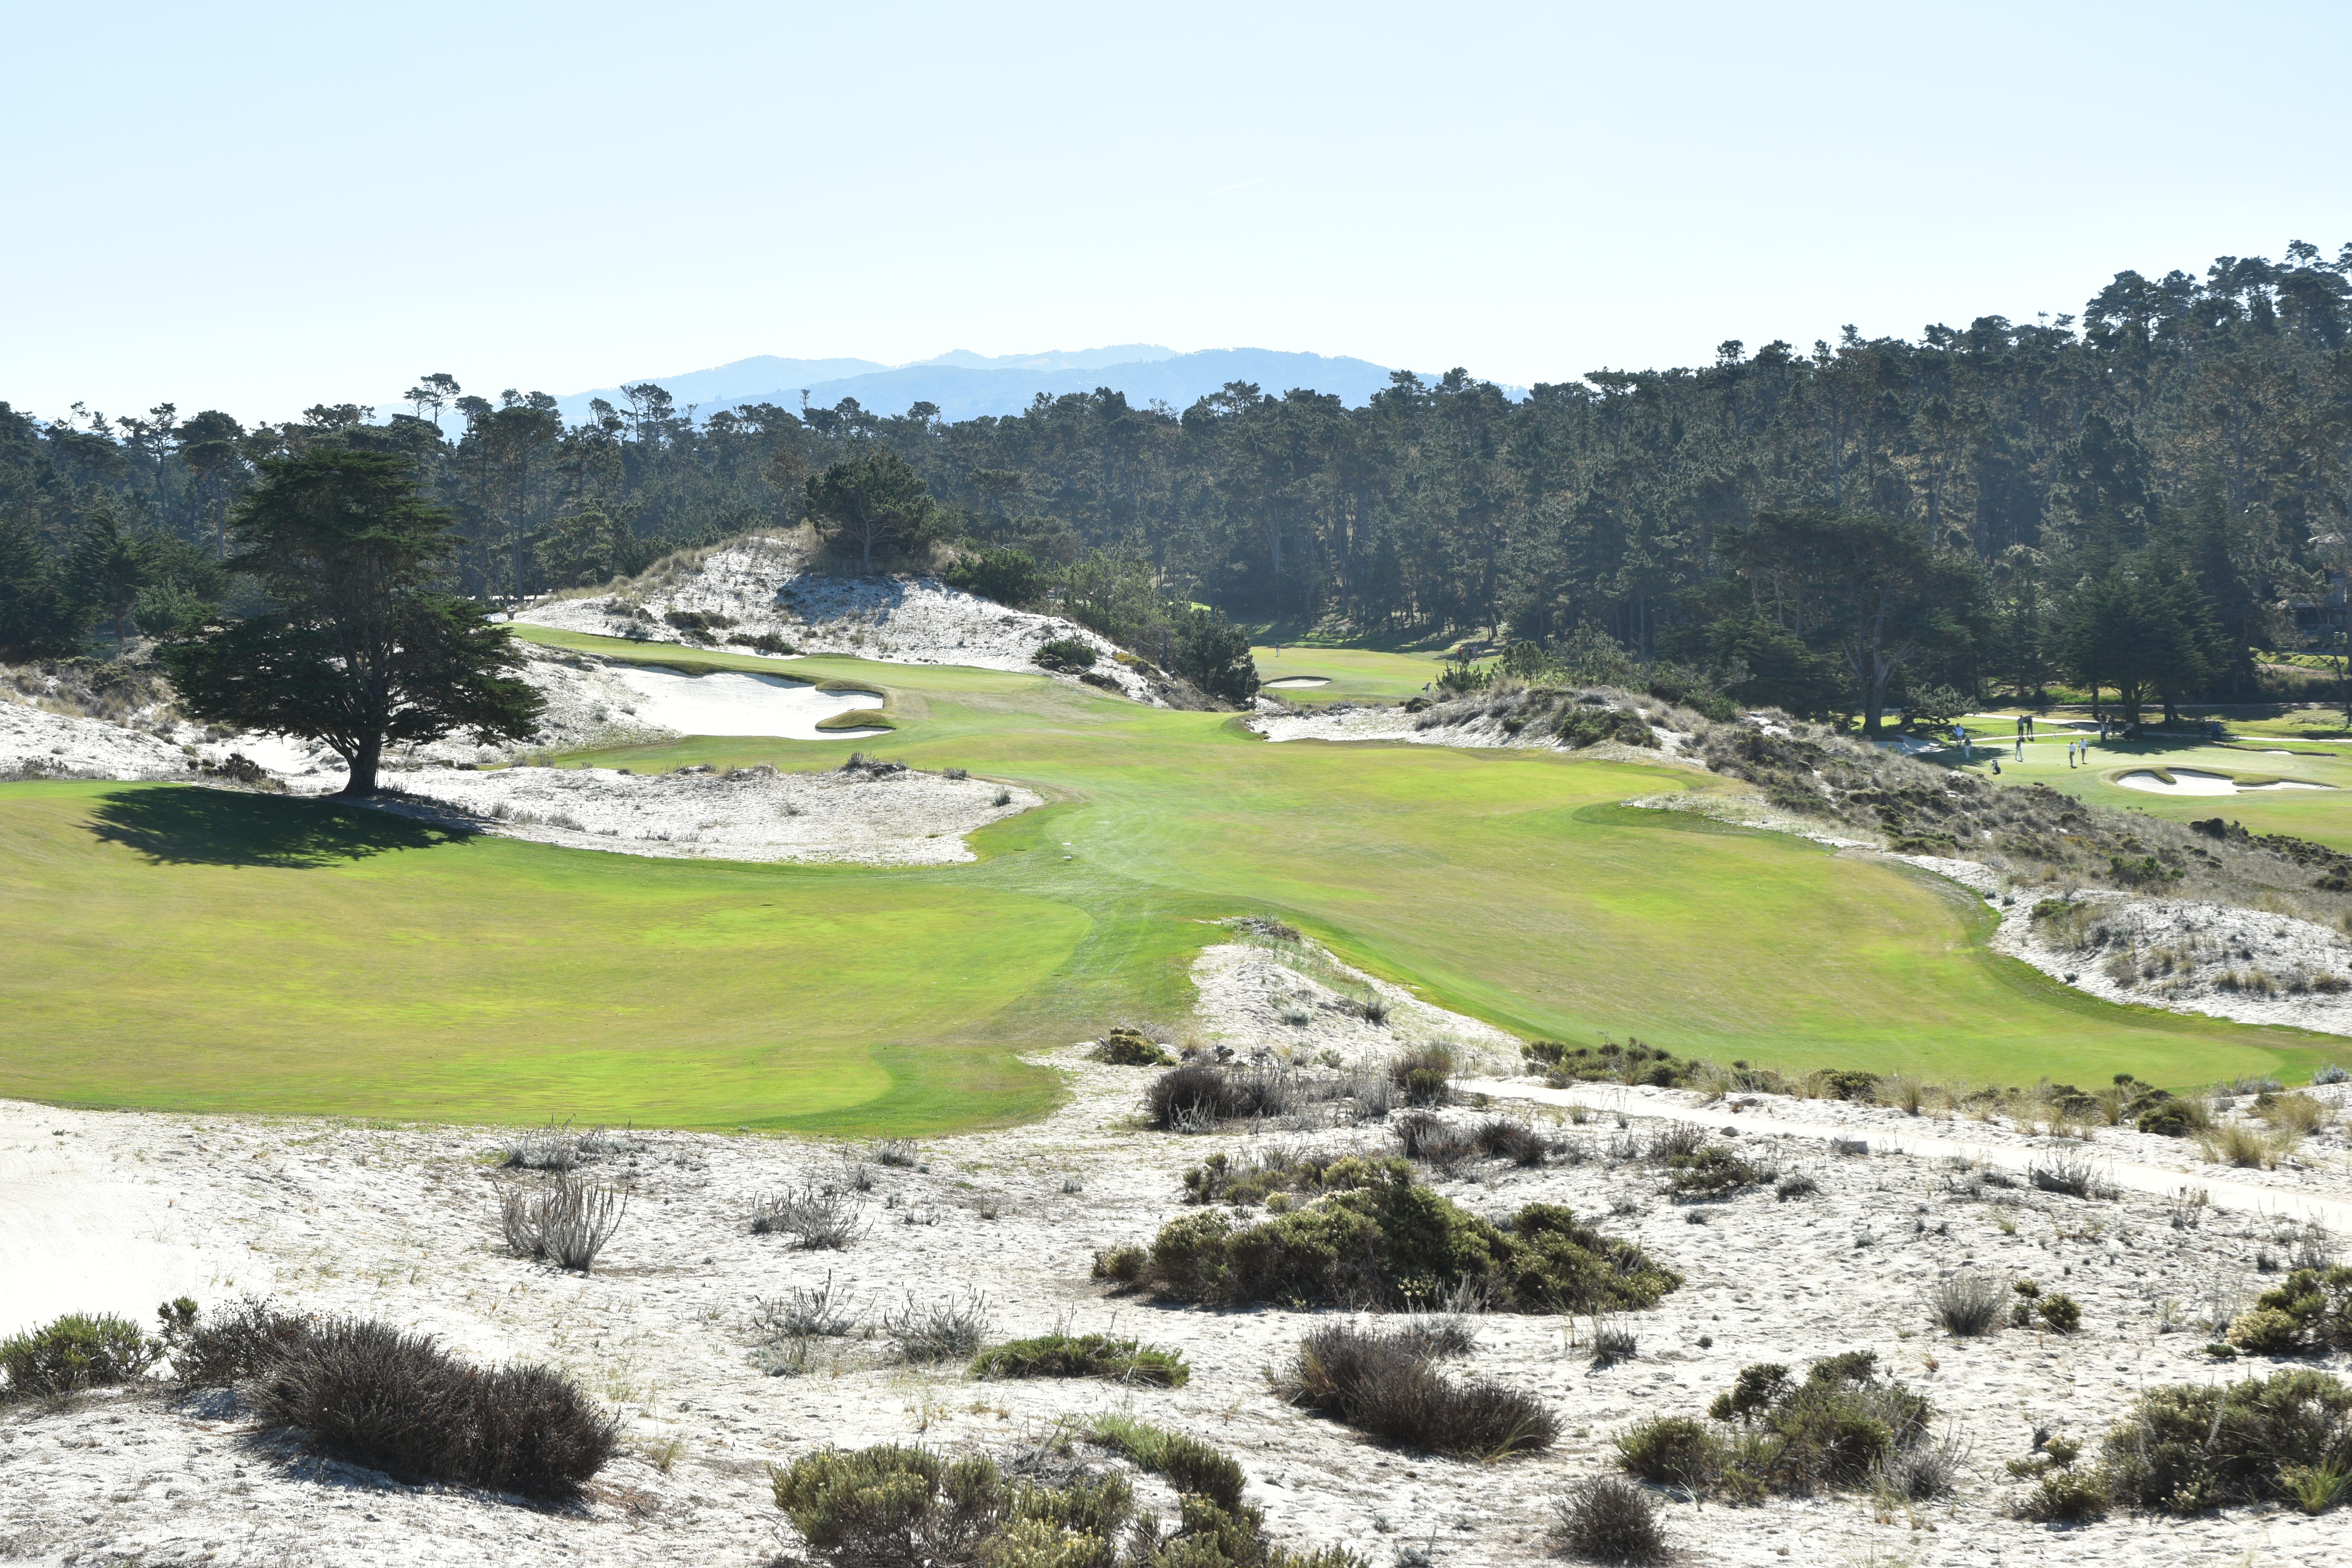
The 3rd hole tee shot from the back tee — the front of the 3rd hole shares the same fairway with the 12th hole
A view of the 3rd hole green from the 12th hole fairway
The first bunker of the 3rd hole — this bunker appears as if it is right next to the green from the tee, but is actually 40 yards away from the green — Alister Mackenzie was known to design these brilliant camouflage bunkers to toy with a player’s depth perception
The 3rd hole green viewed from 30 yards away
The right green side bunker of the 3rd hole
The left green side bunker of the 3rd hole
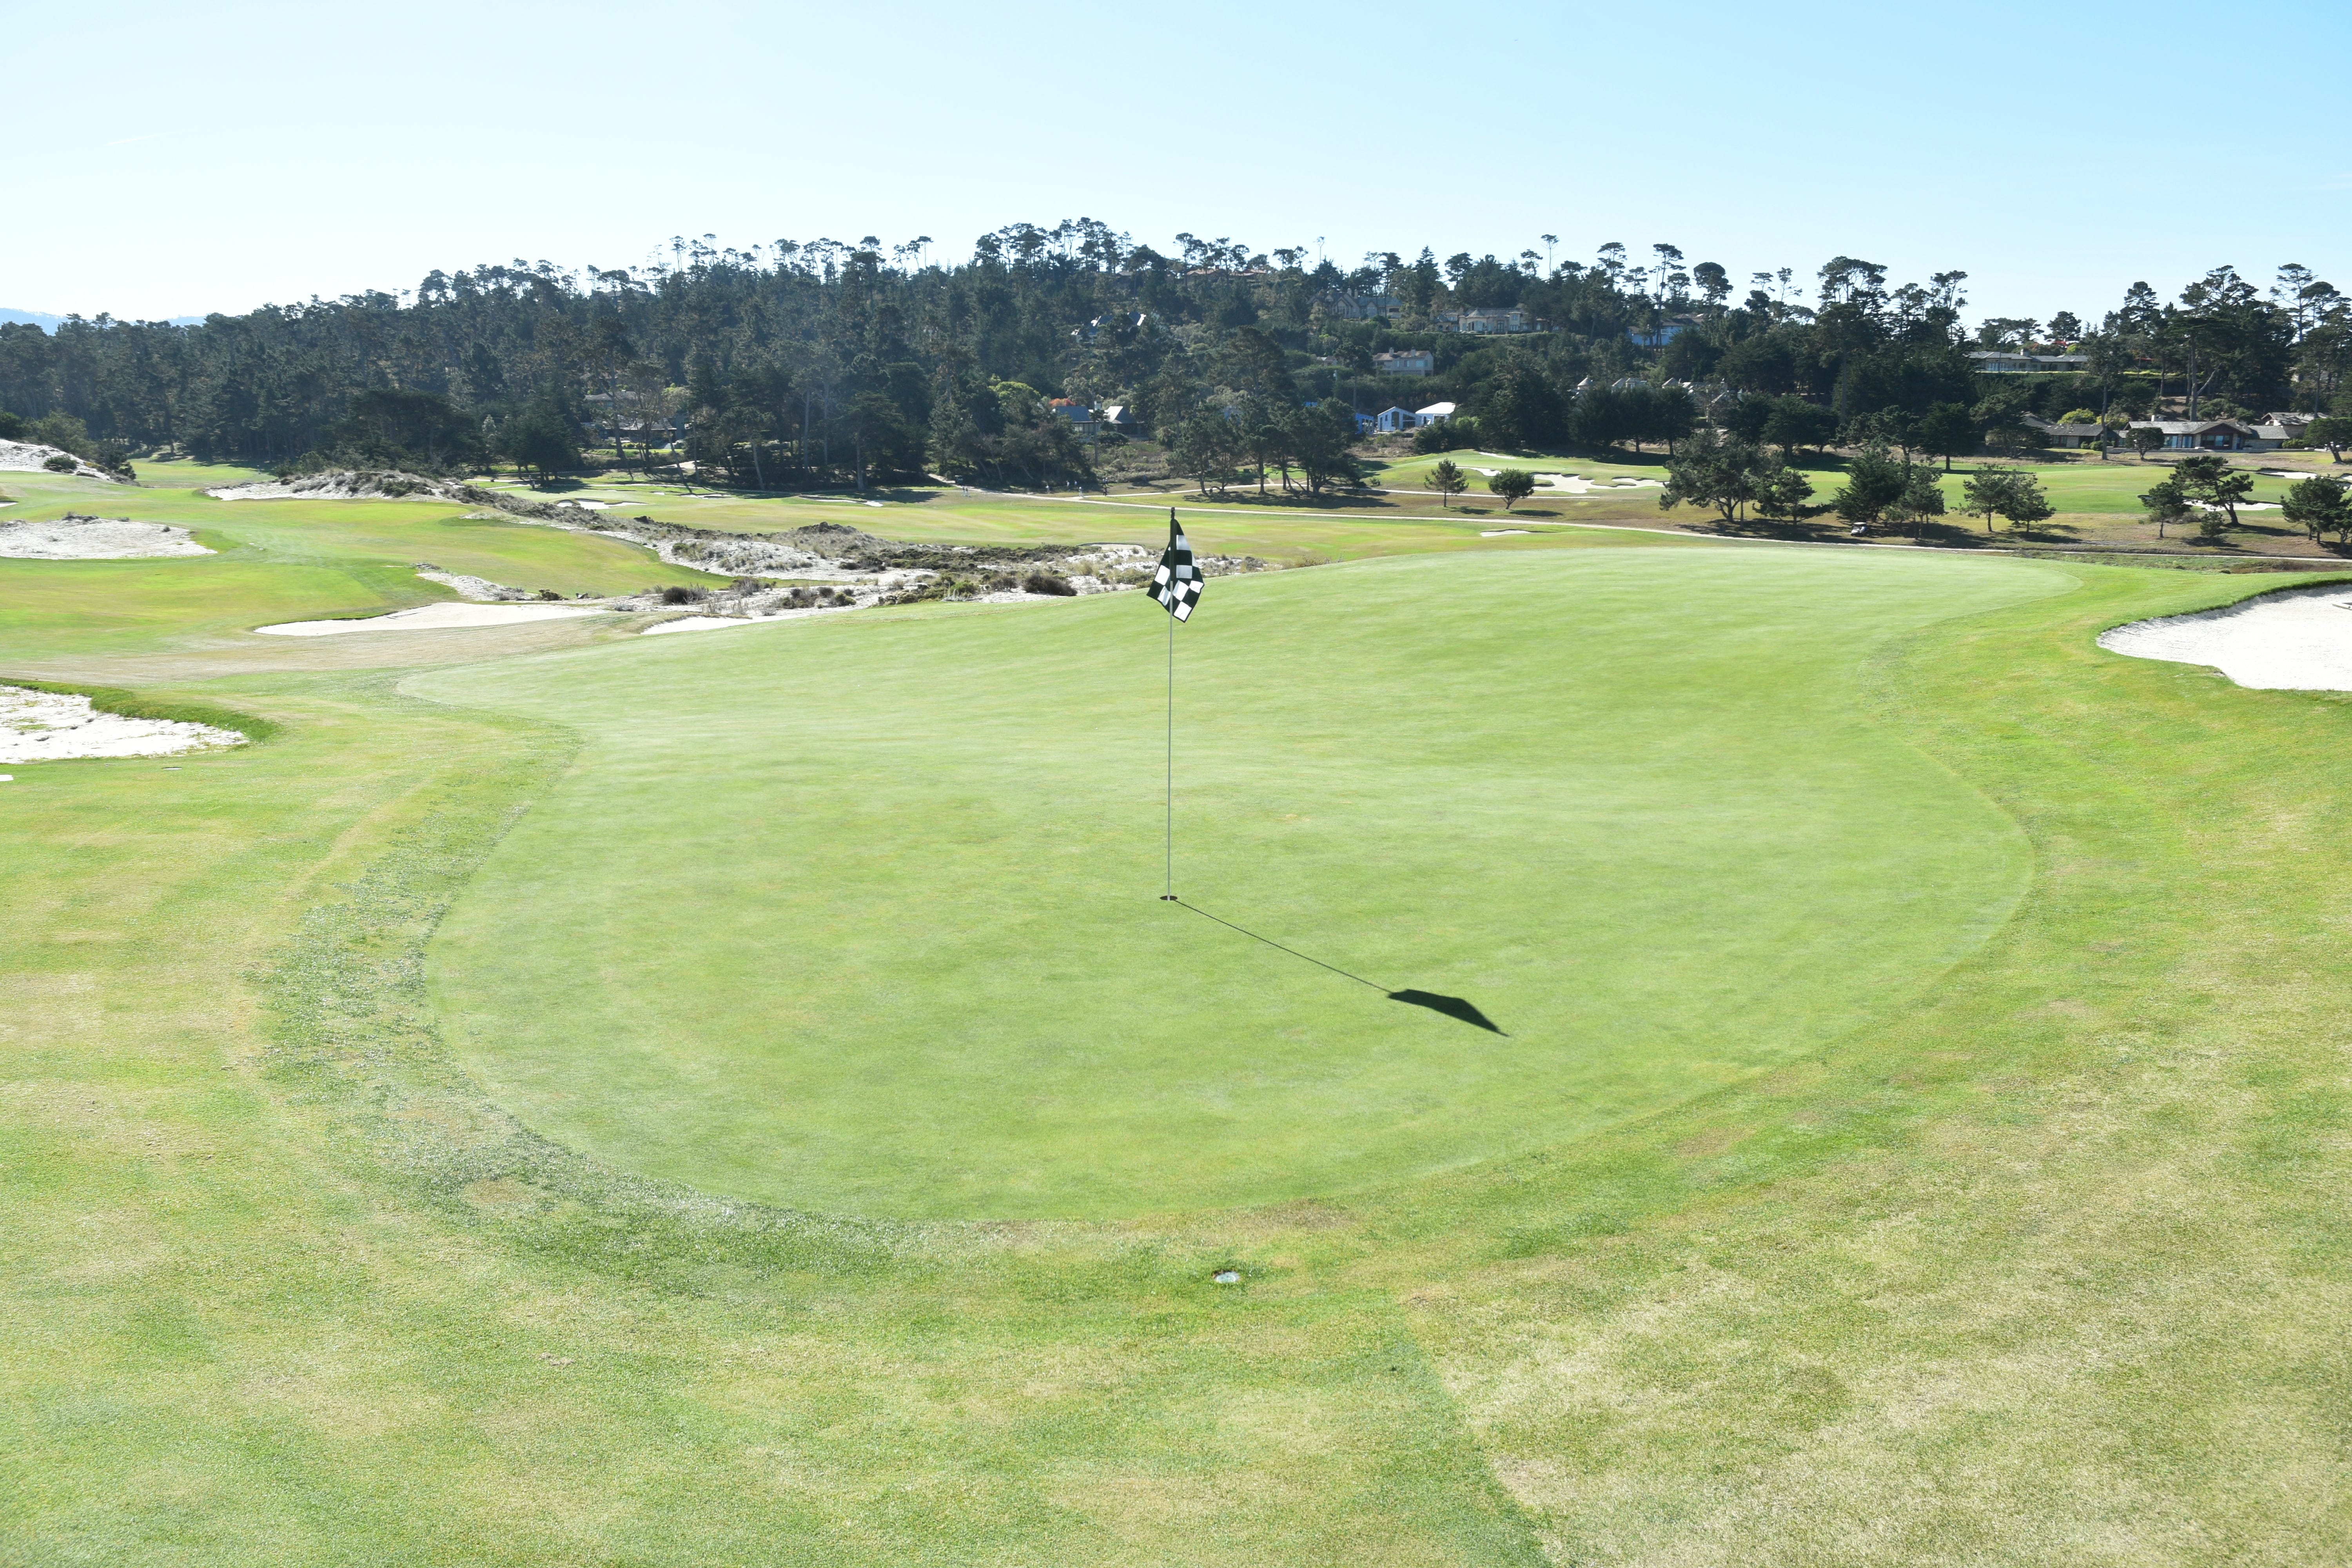
The 3rd hole green viewed from the front — the back right section of the green provides the most challenging hole location
The 3rd hole green viewed from the back right
Hole 4: Par 4, 383 Yards
The 4th hole at Cypress Point begins a march into the Del Monte Forest area and the furthest edge of the property
The 4th hole tee shot from the conventional back tee
There is a special tee box to the left and 50 yards back from the conventional back tee box, stretching this hole to roughly 430 yards and dramatically altering the angle of the tee shot. This special tee box is likely to be used during the upcoming 2025 Walker Cup
The left fairway bunker of the 4th hole
The two right fairway bunkers of the 4th hole
The 4th hole approach from 100 yards away
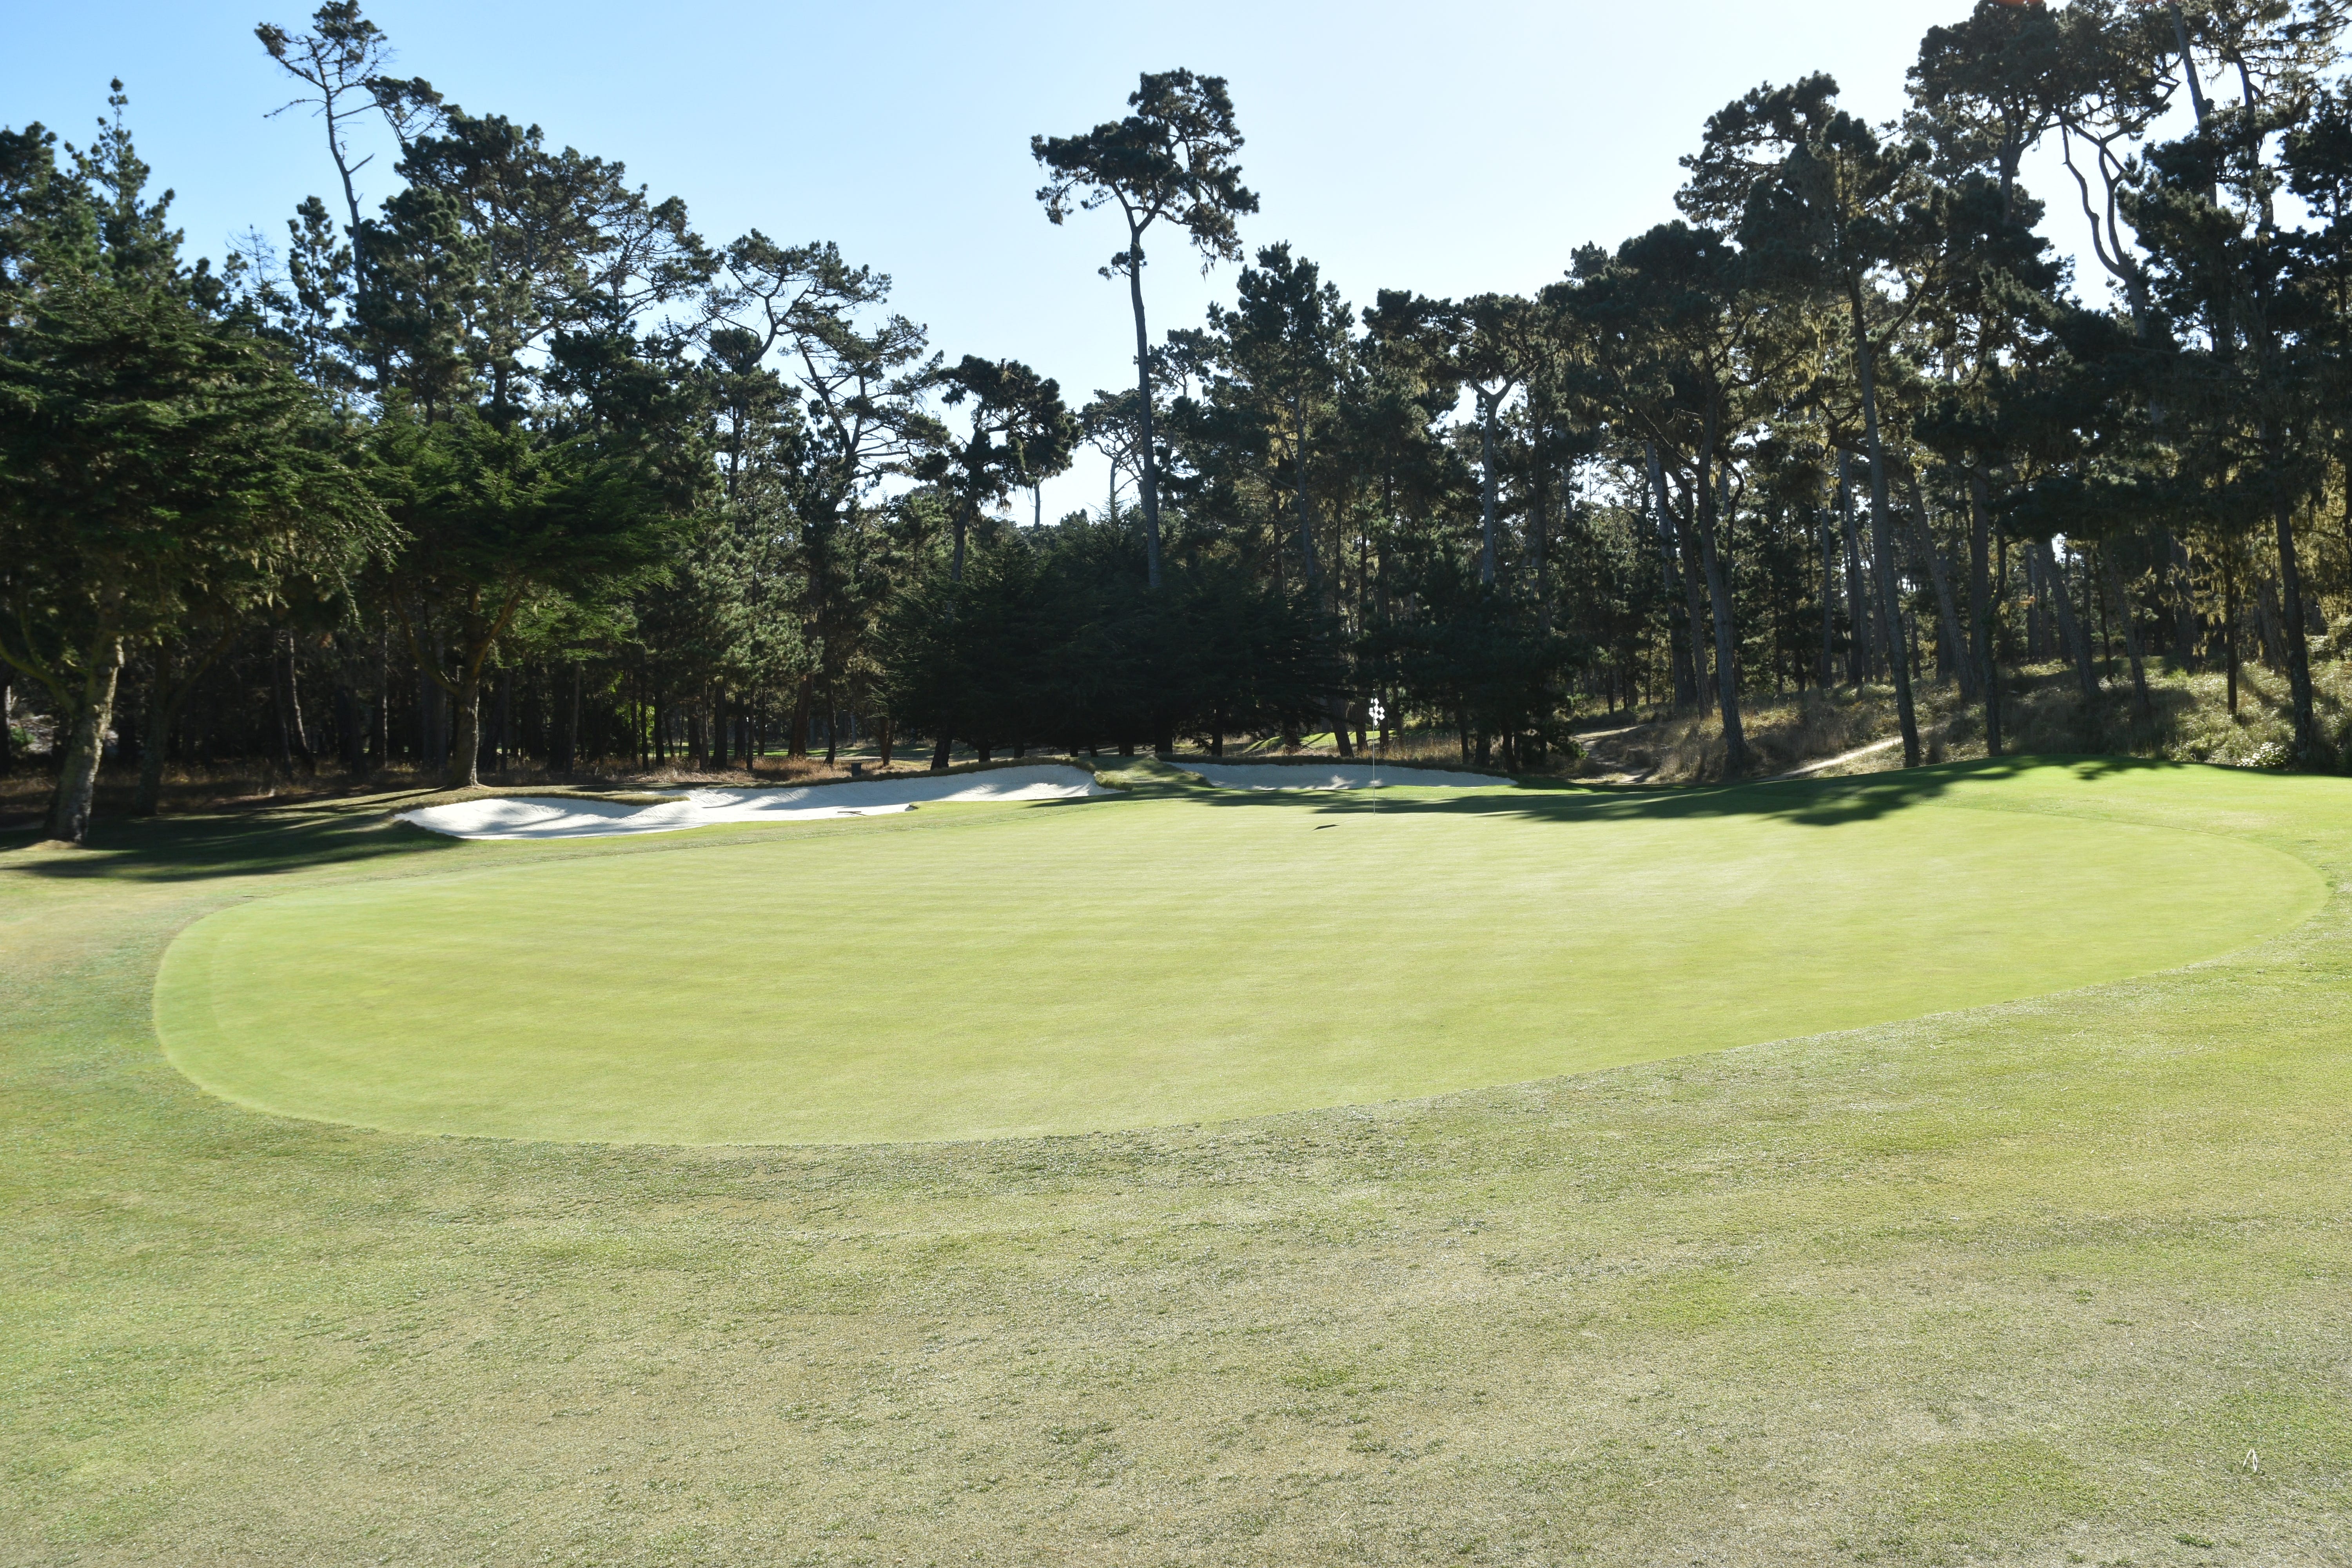
The 4th hole green viewed from the front — this green is known to be quite slippery in slope and a player would be wise to be below the hole on this green
The 4th hole green viewed from the back — early morning and late afternoon shadows make putting on this green even trickier
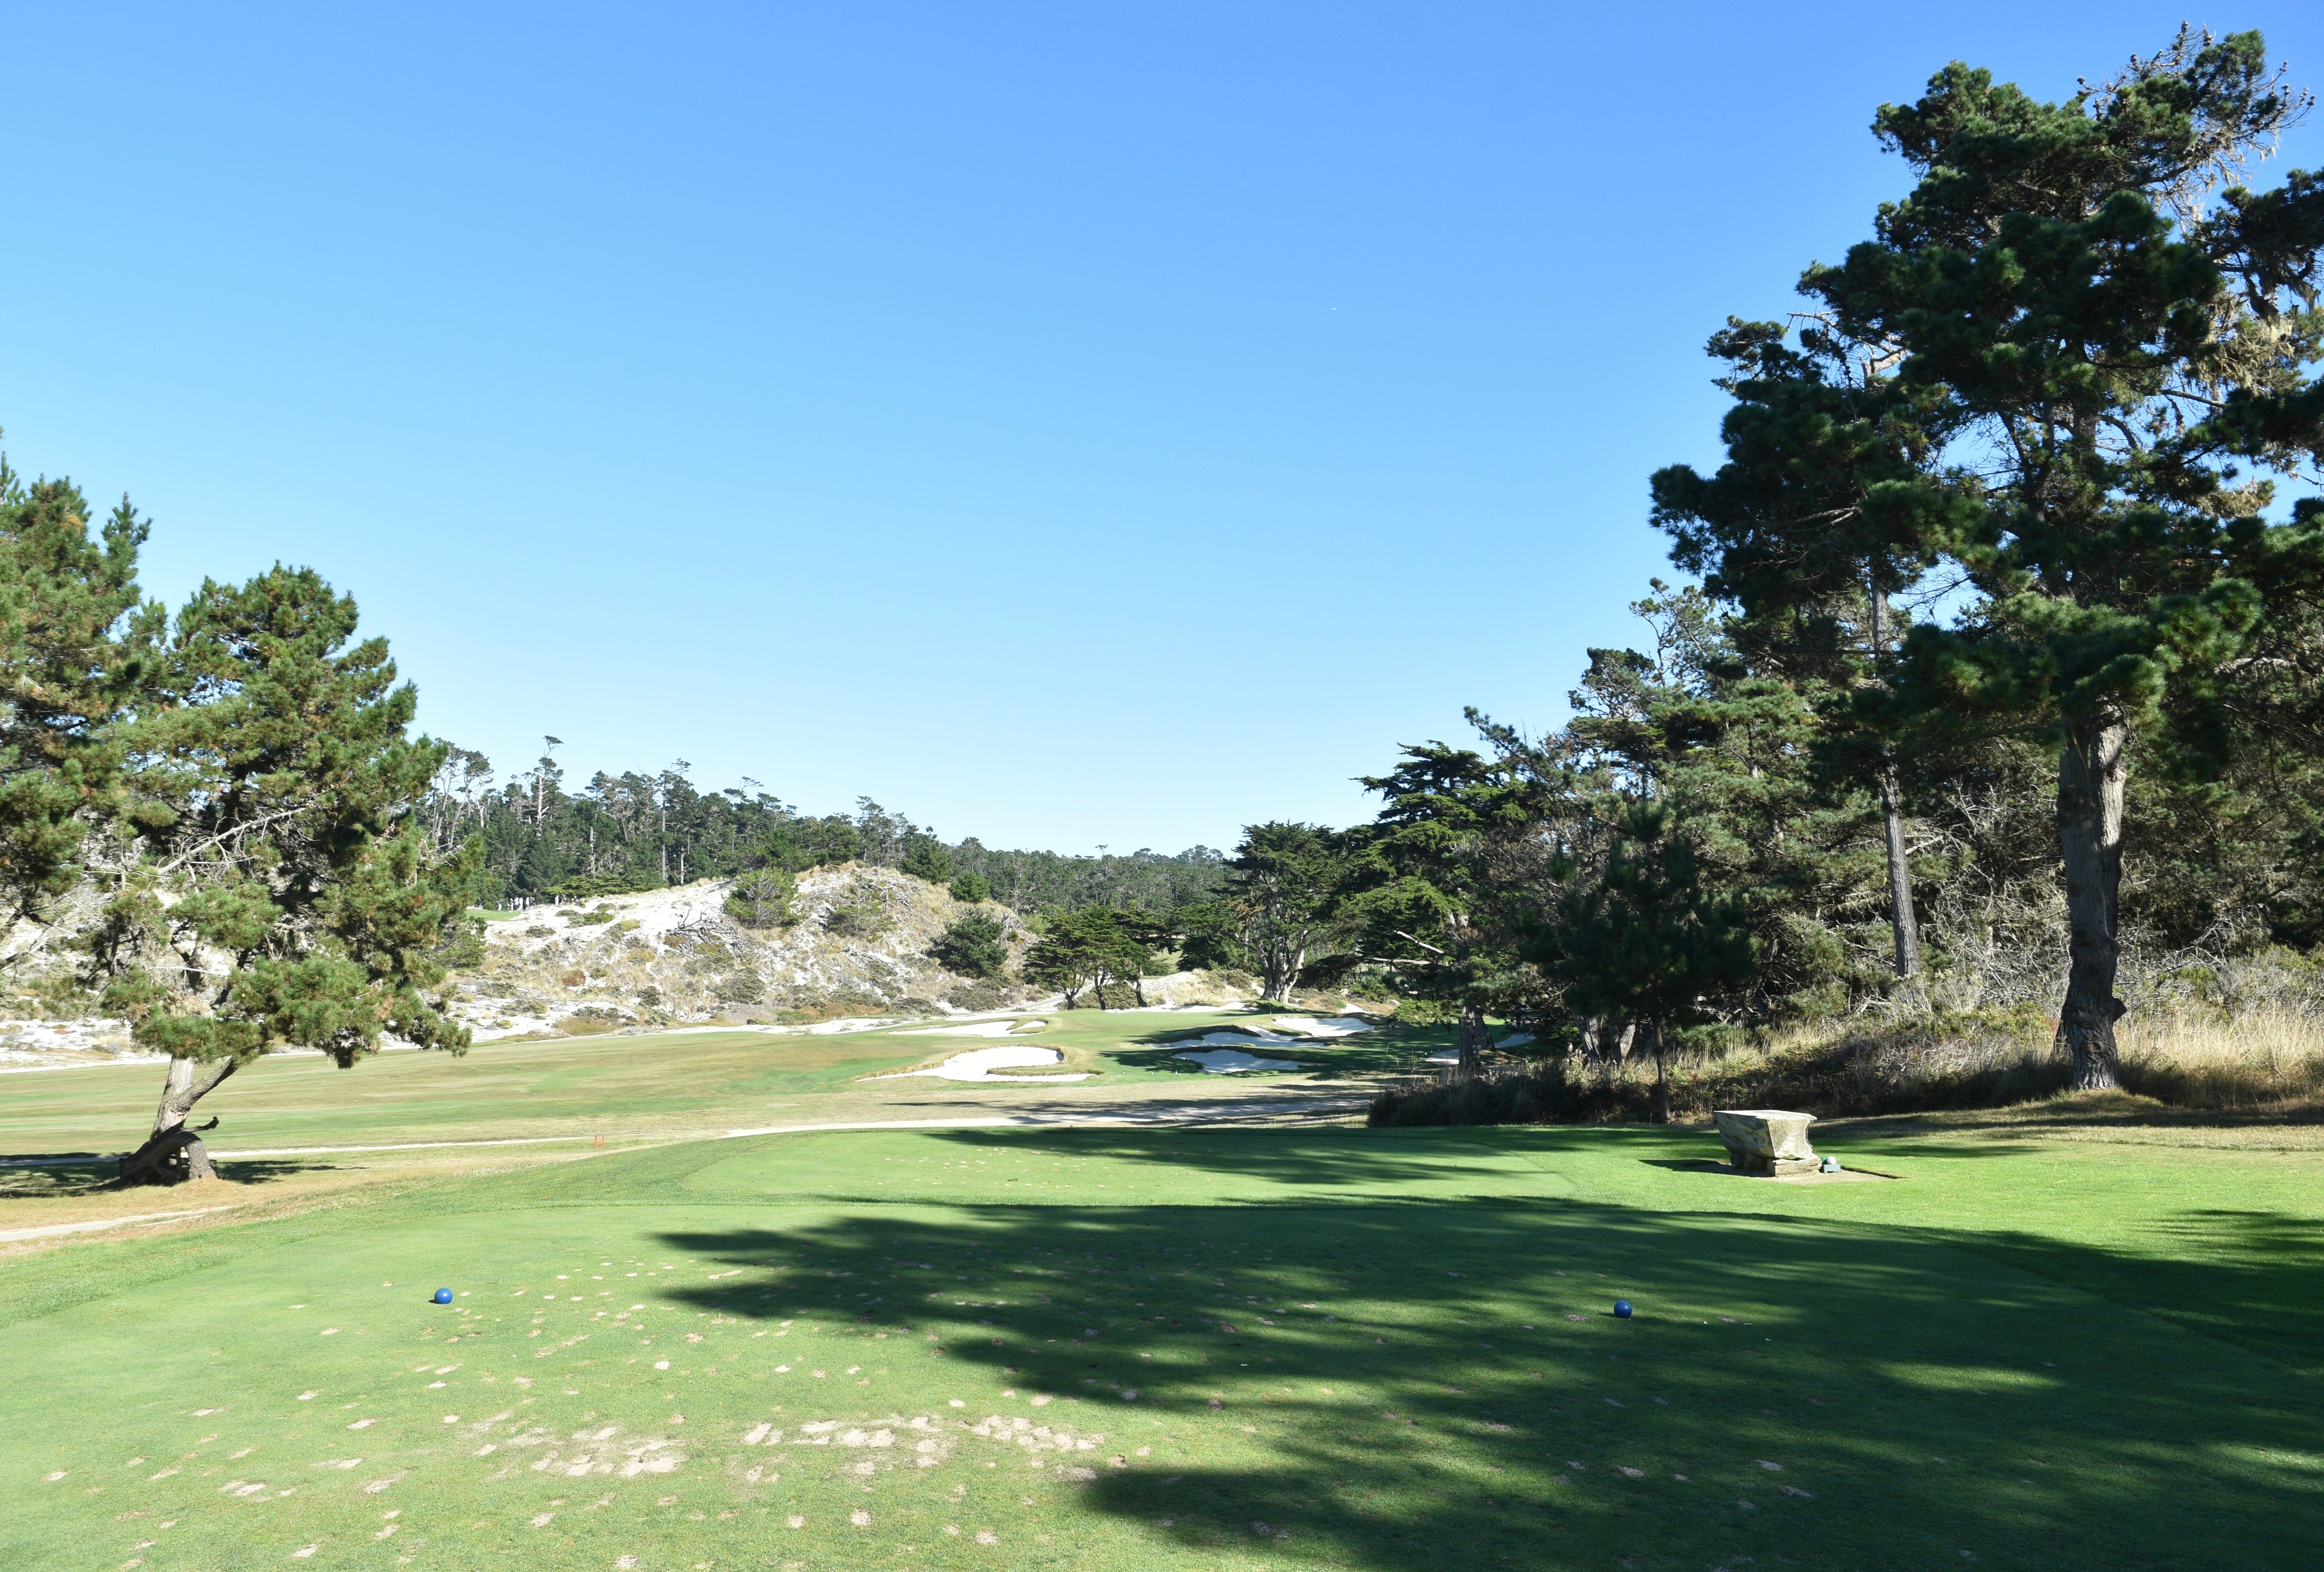
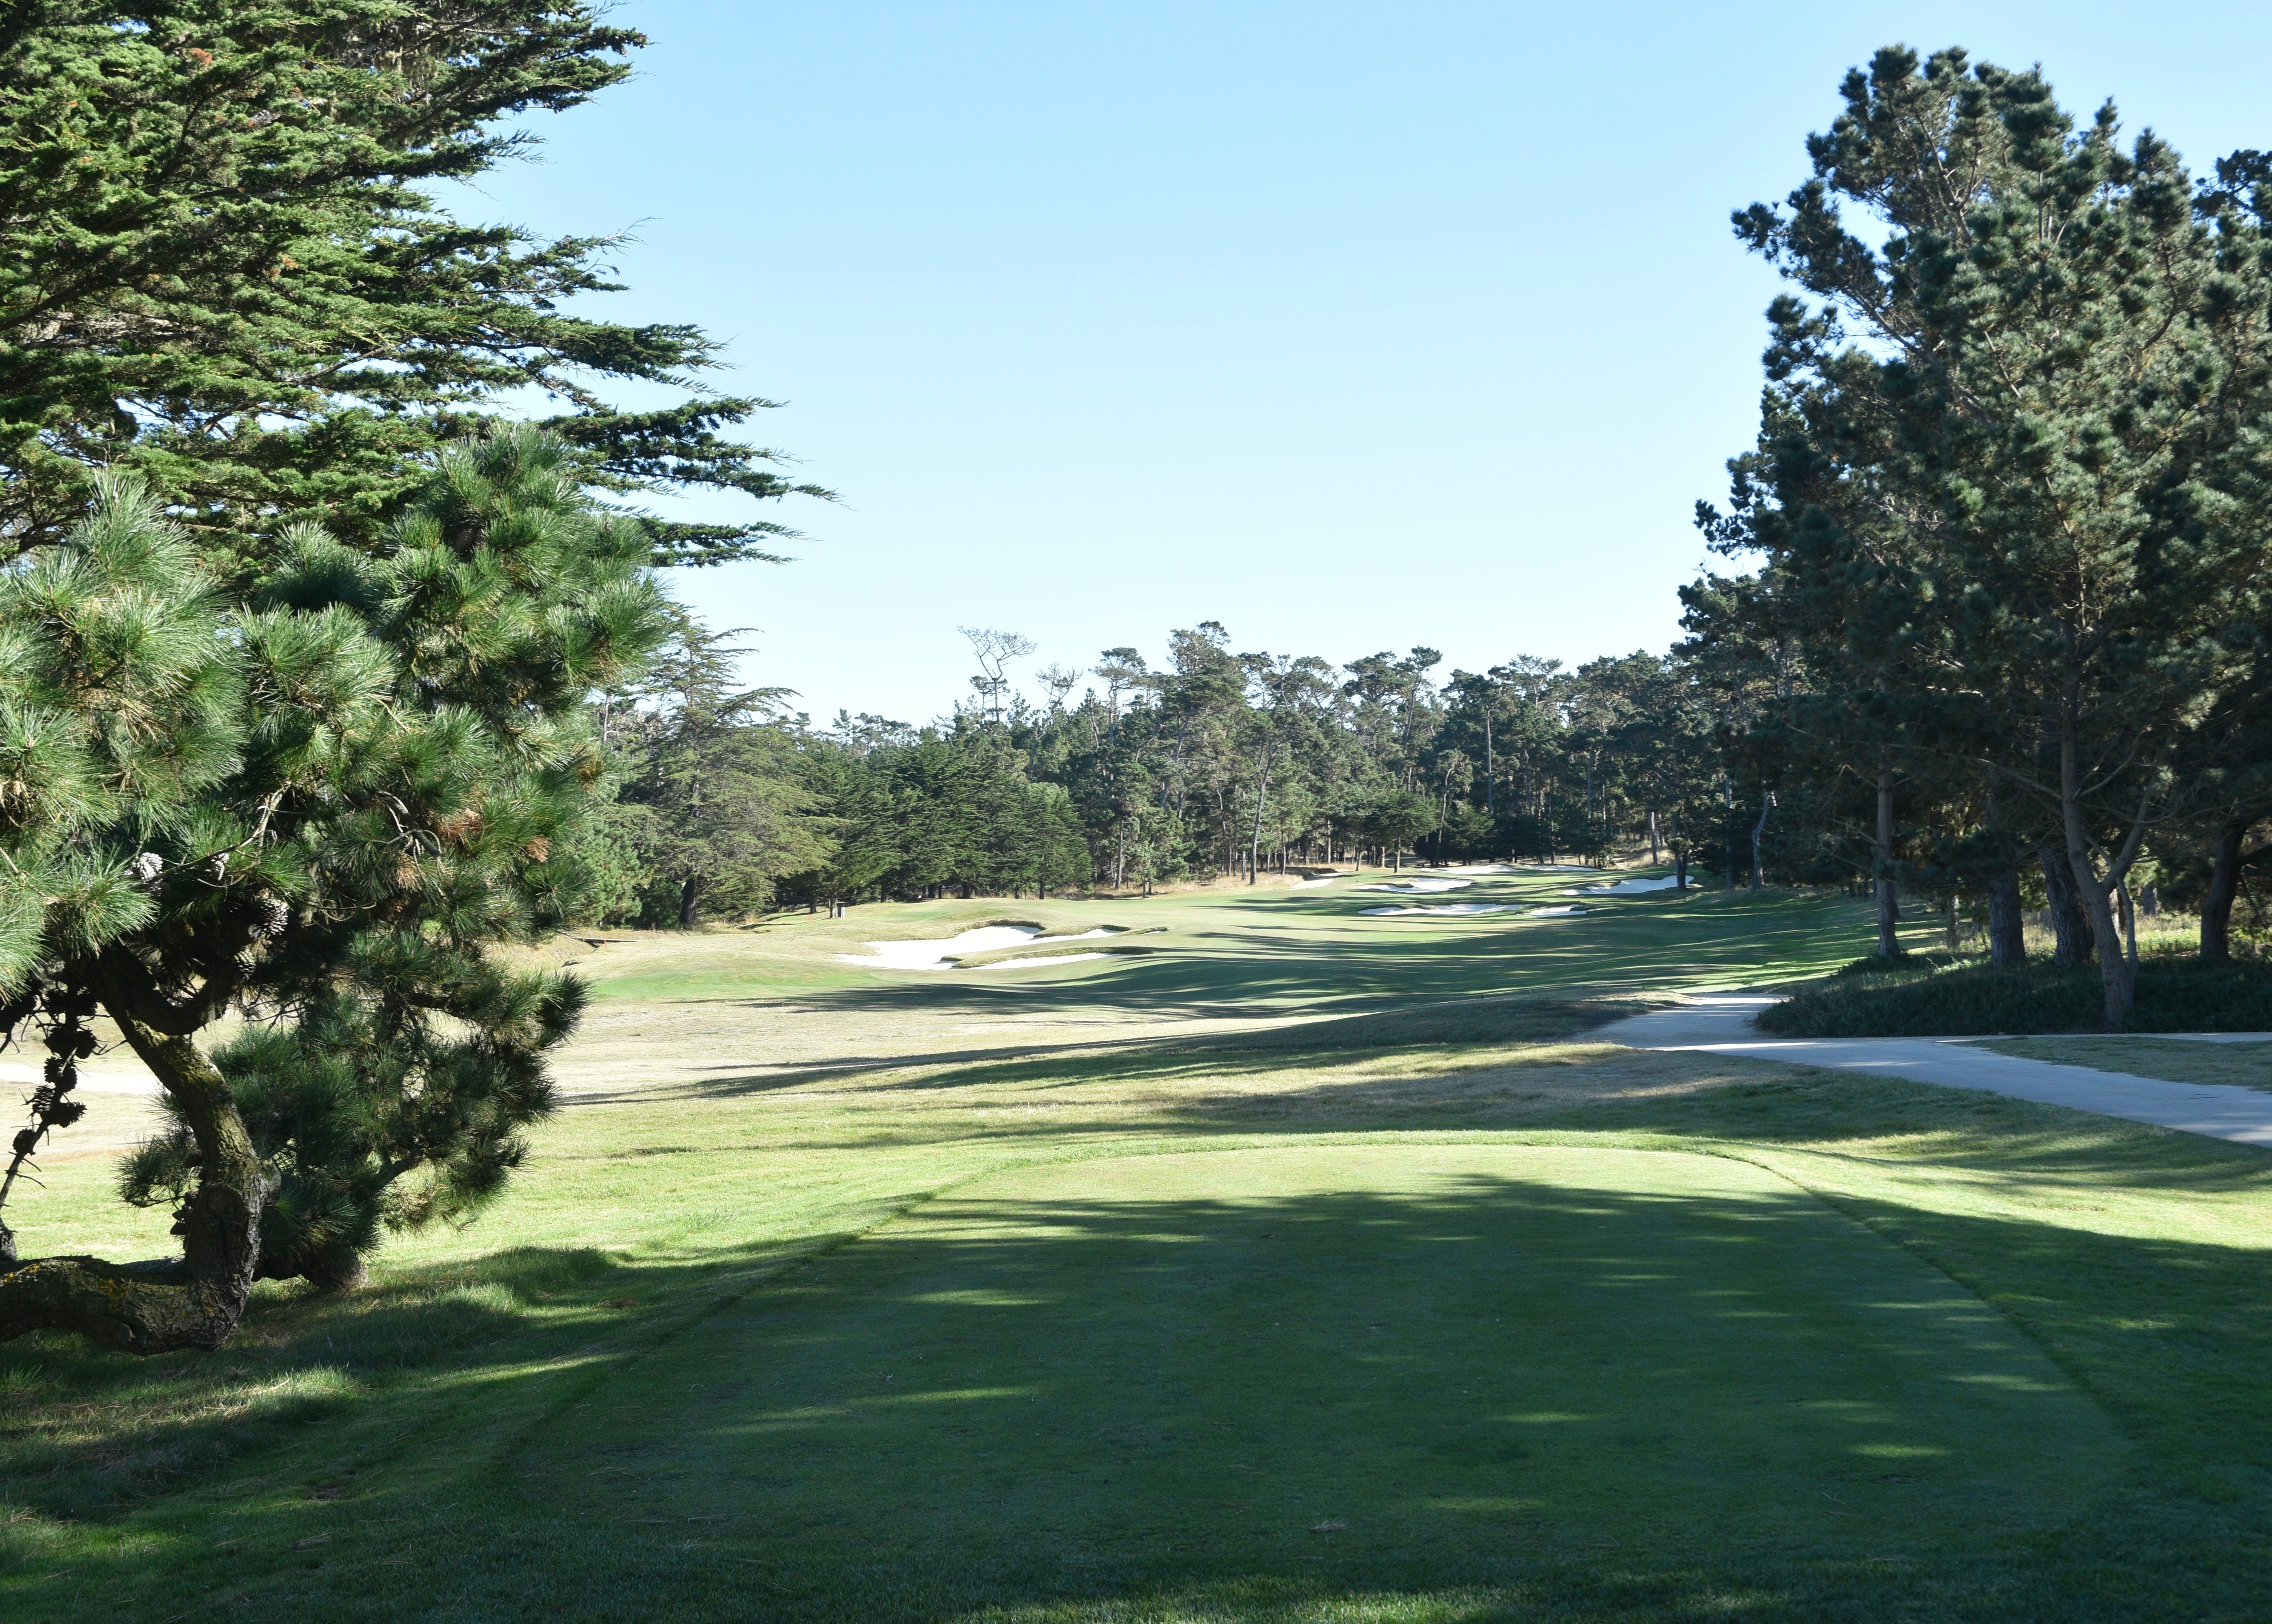
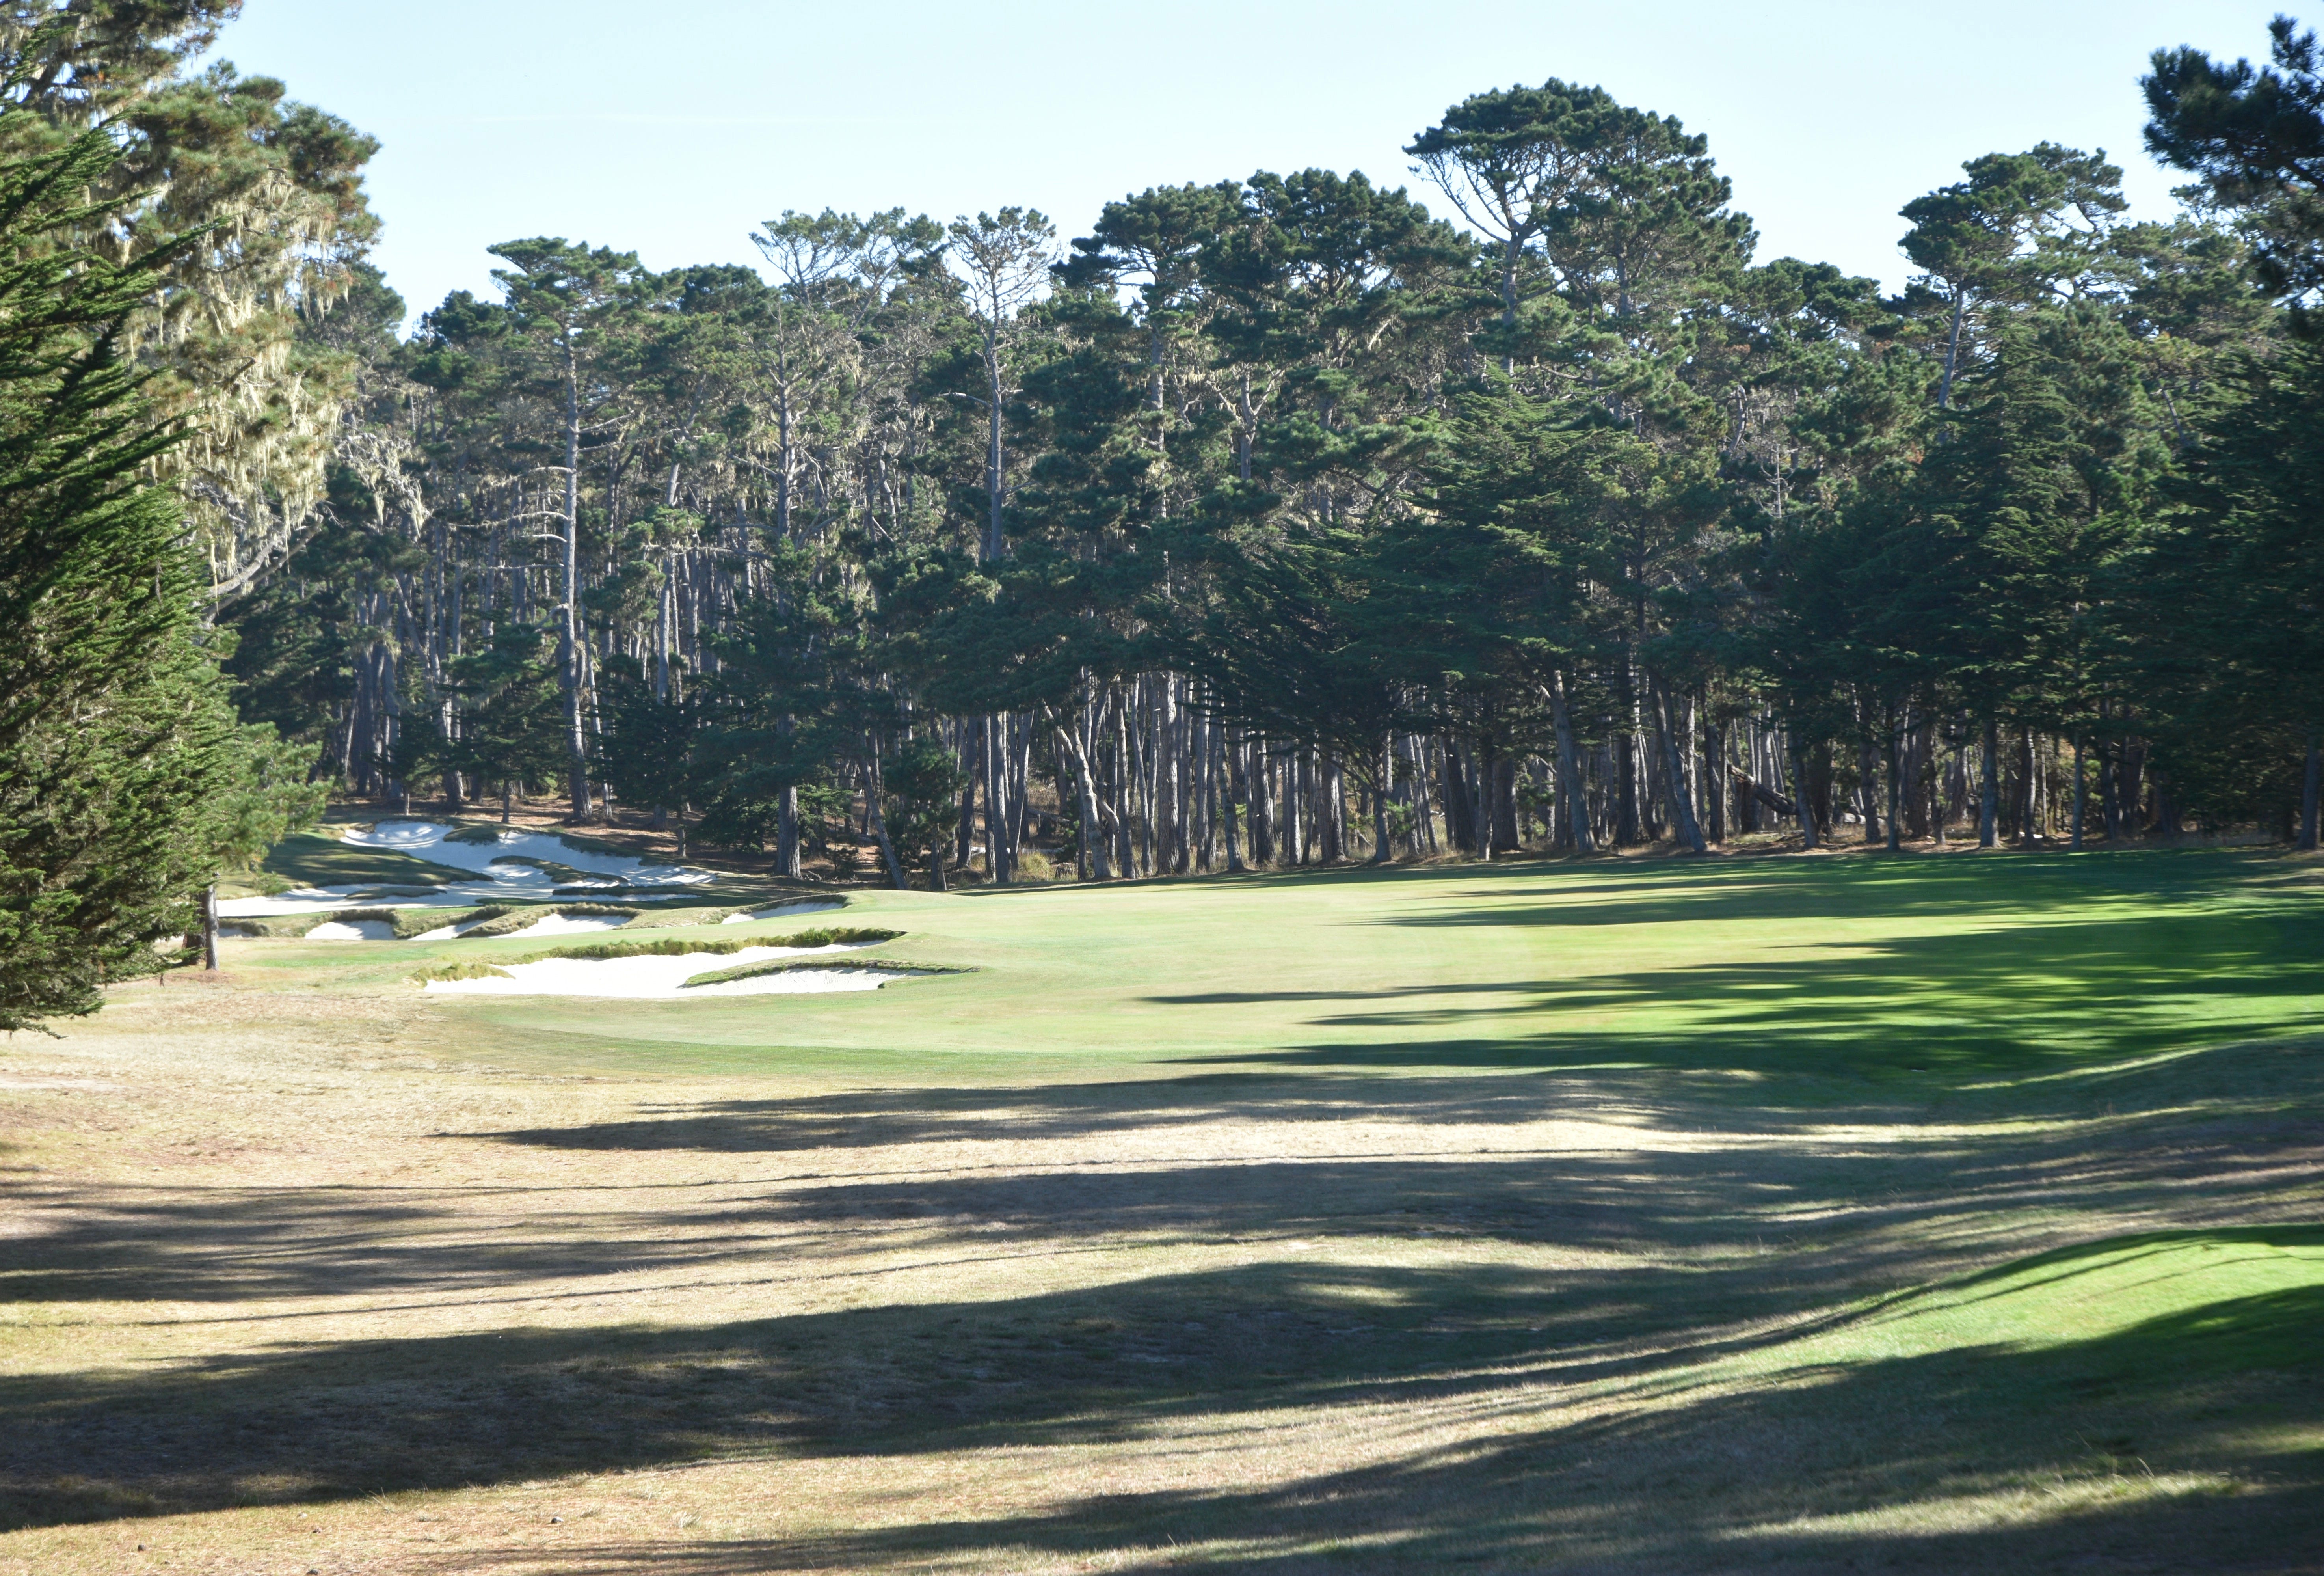
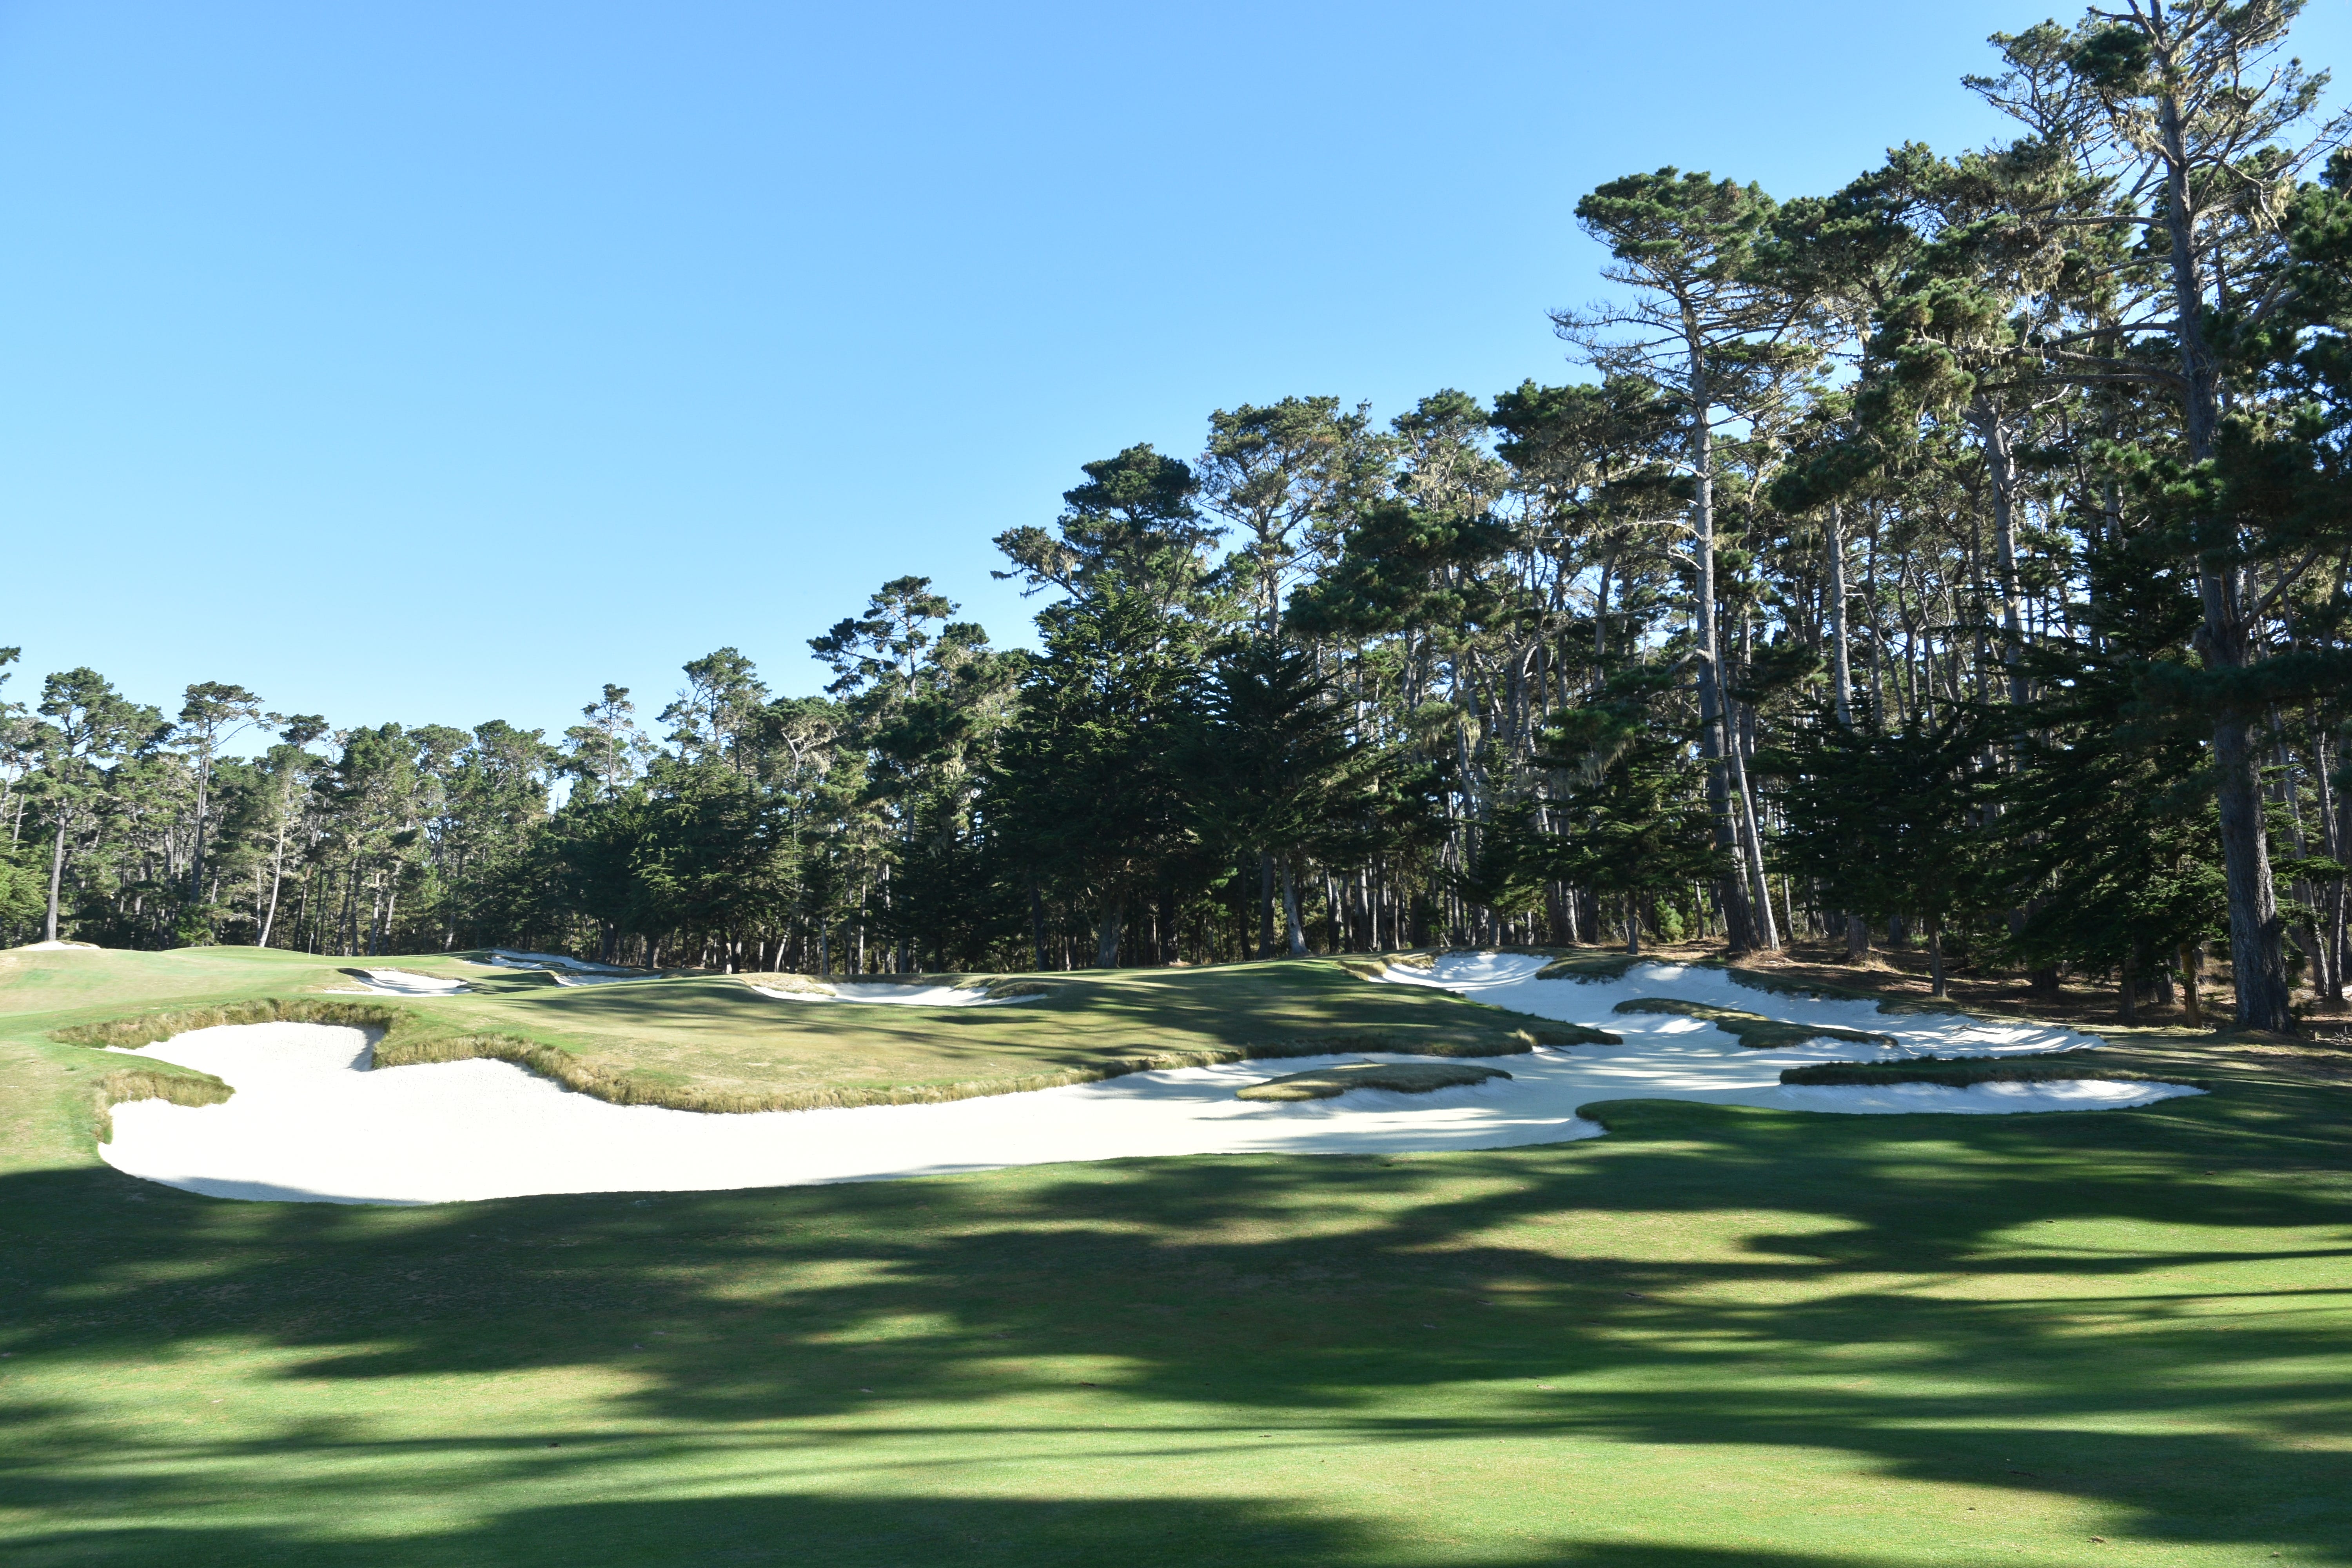
Hole 5: Par 5, 491 Yards
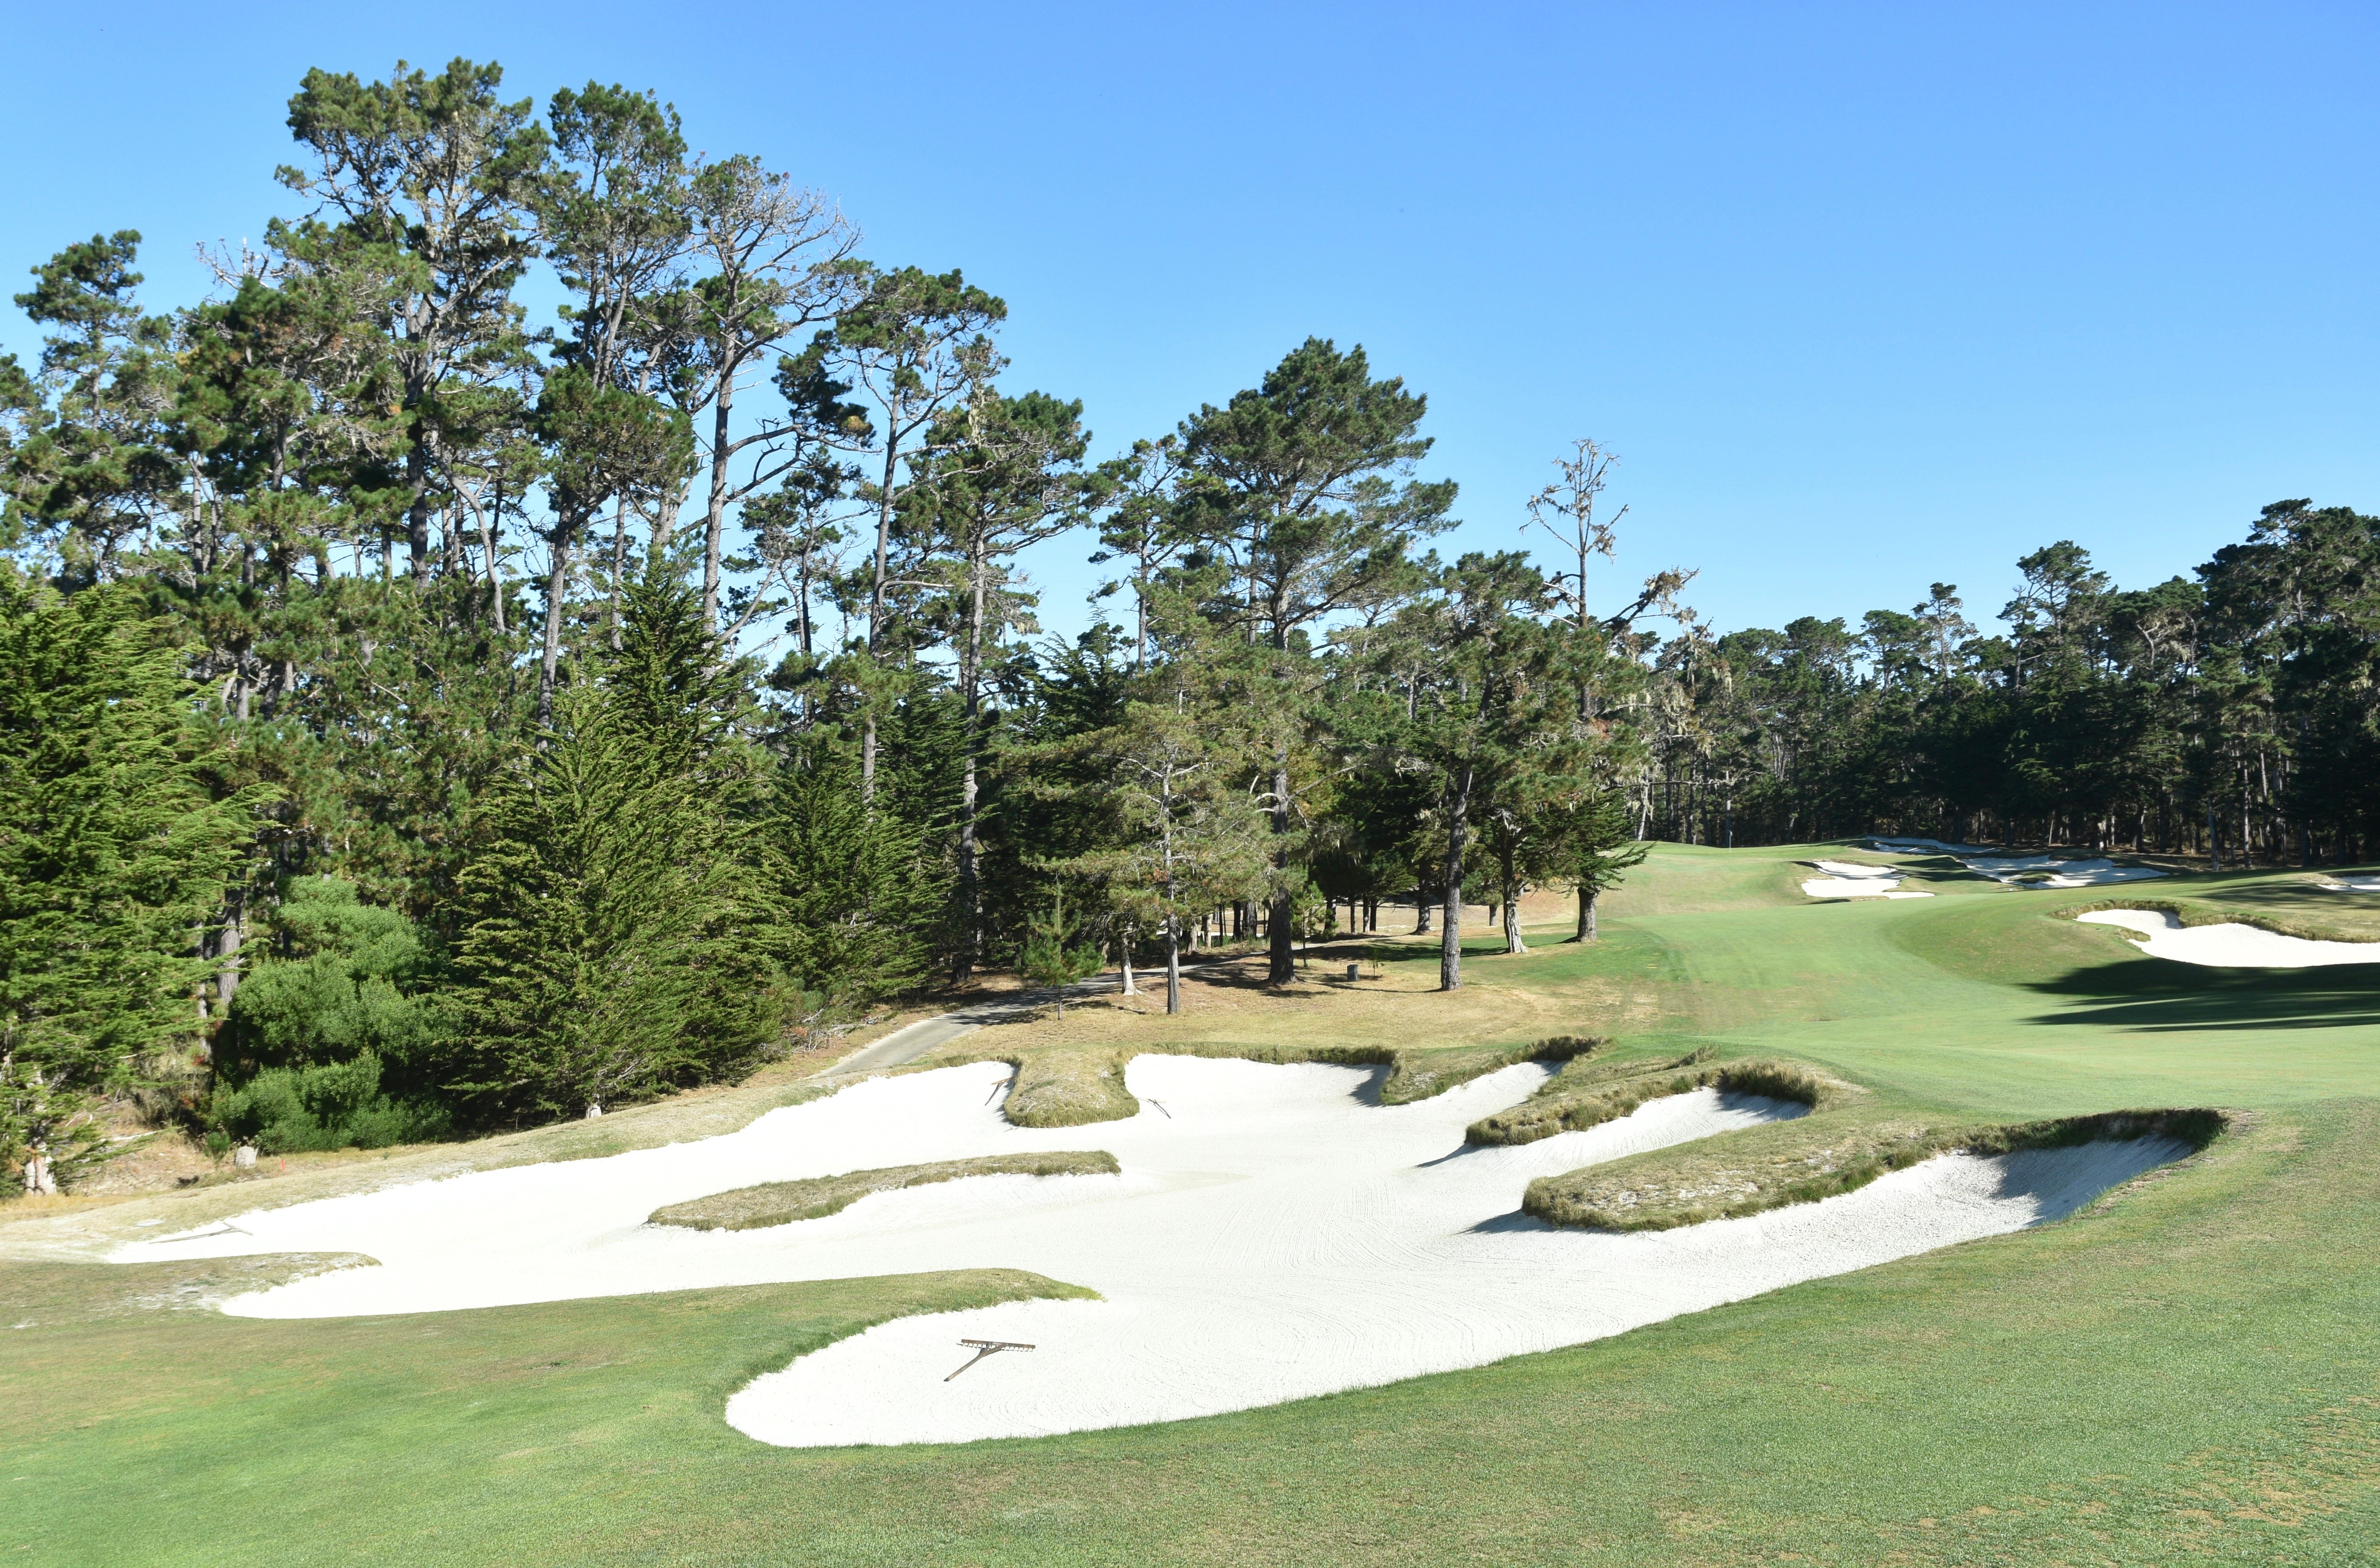
The 5th hole at Cypress Point sidewinds along the furthest edge of the property and guarded by bold and strategically placed bunkers
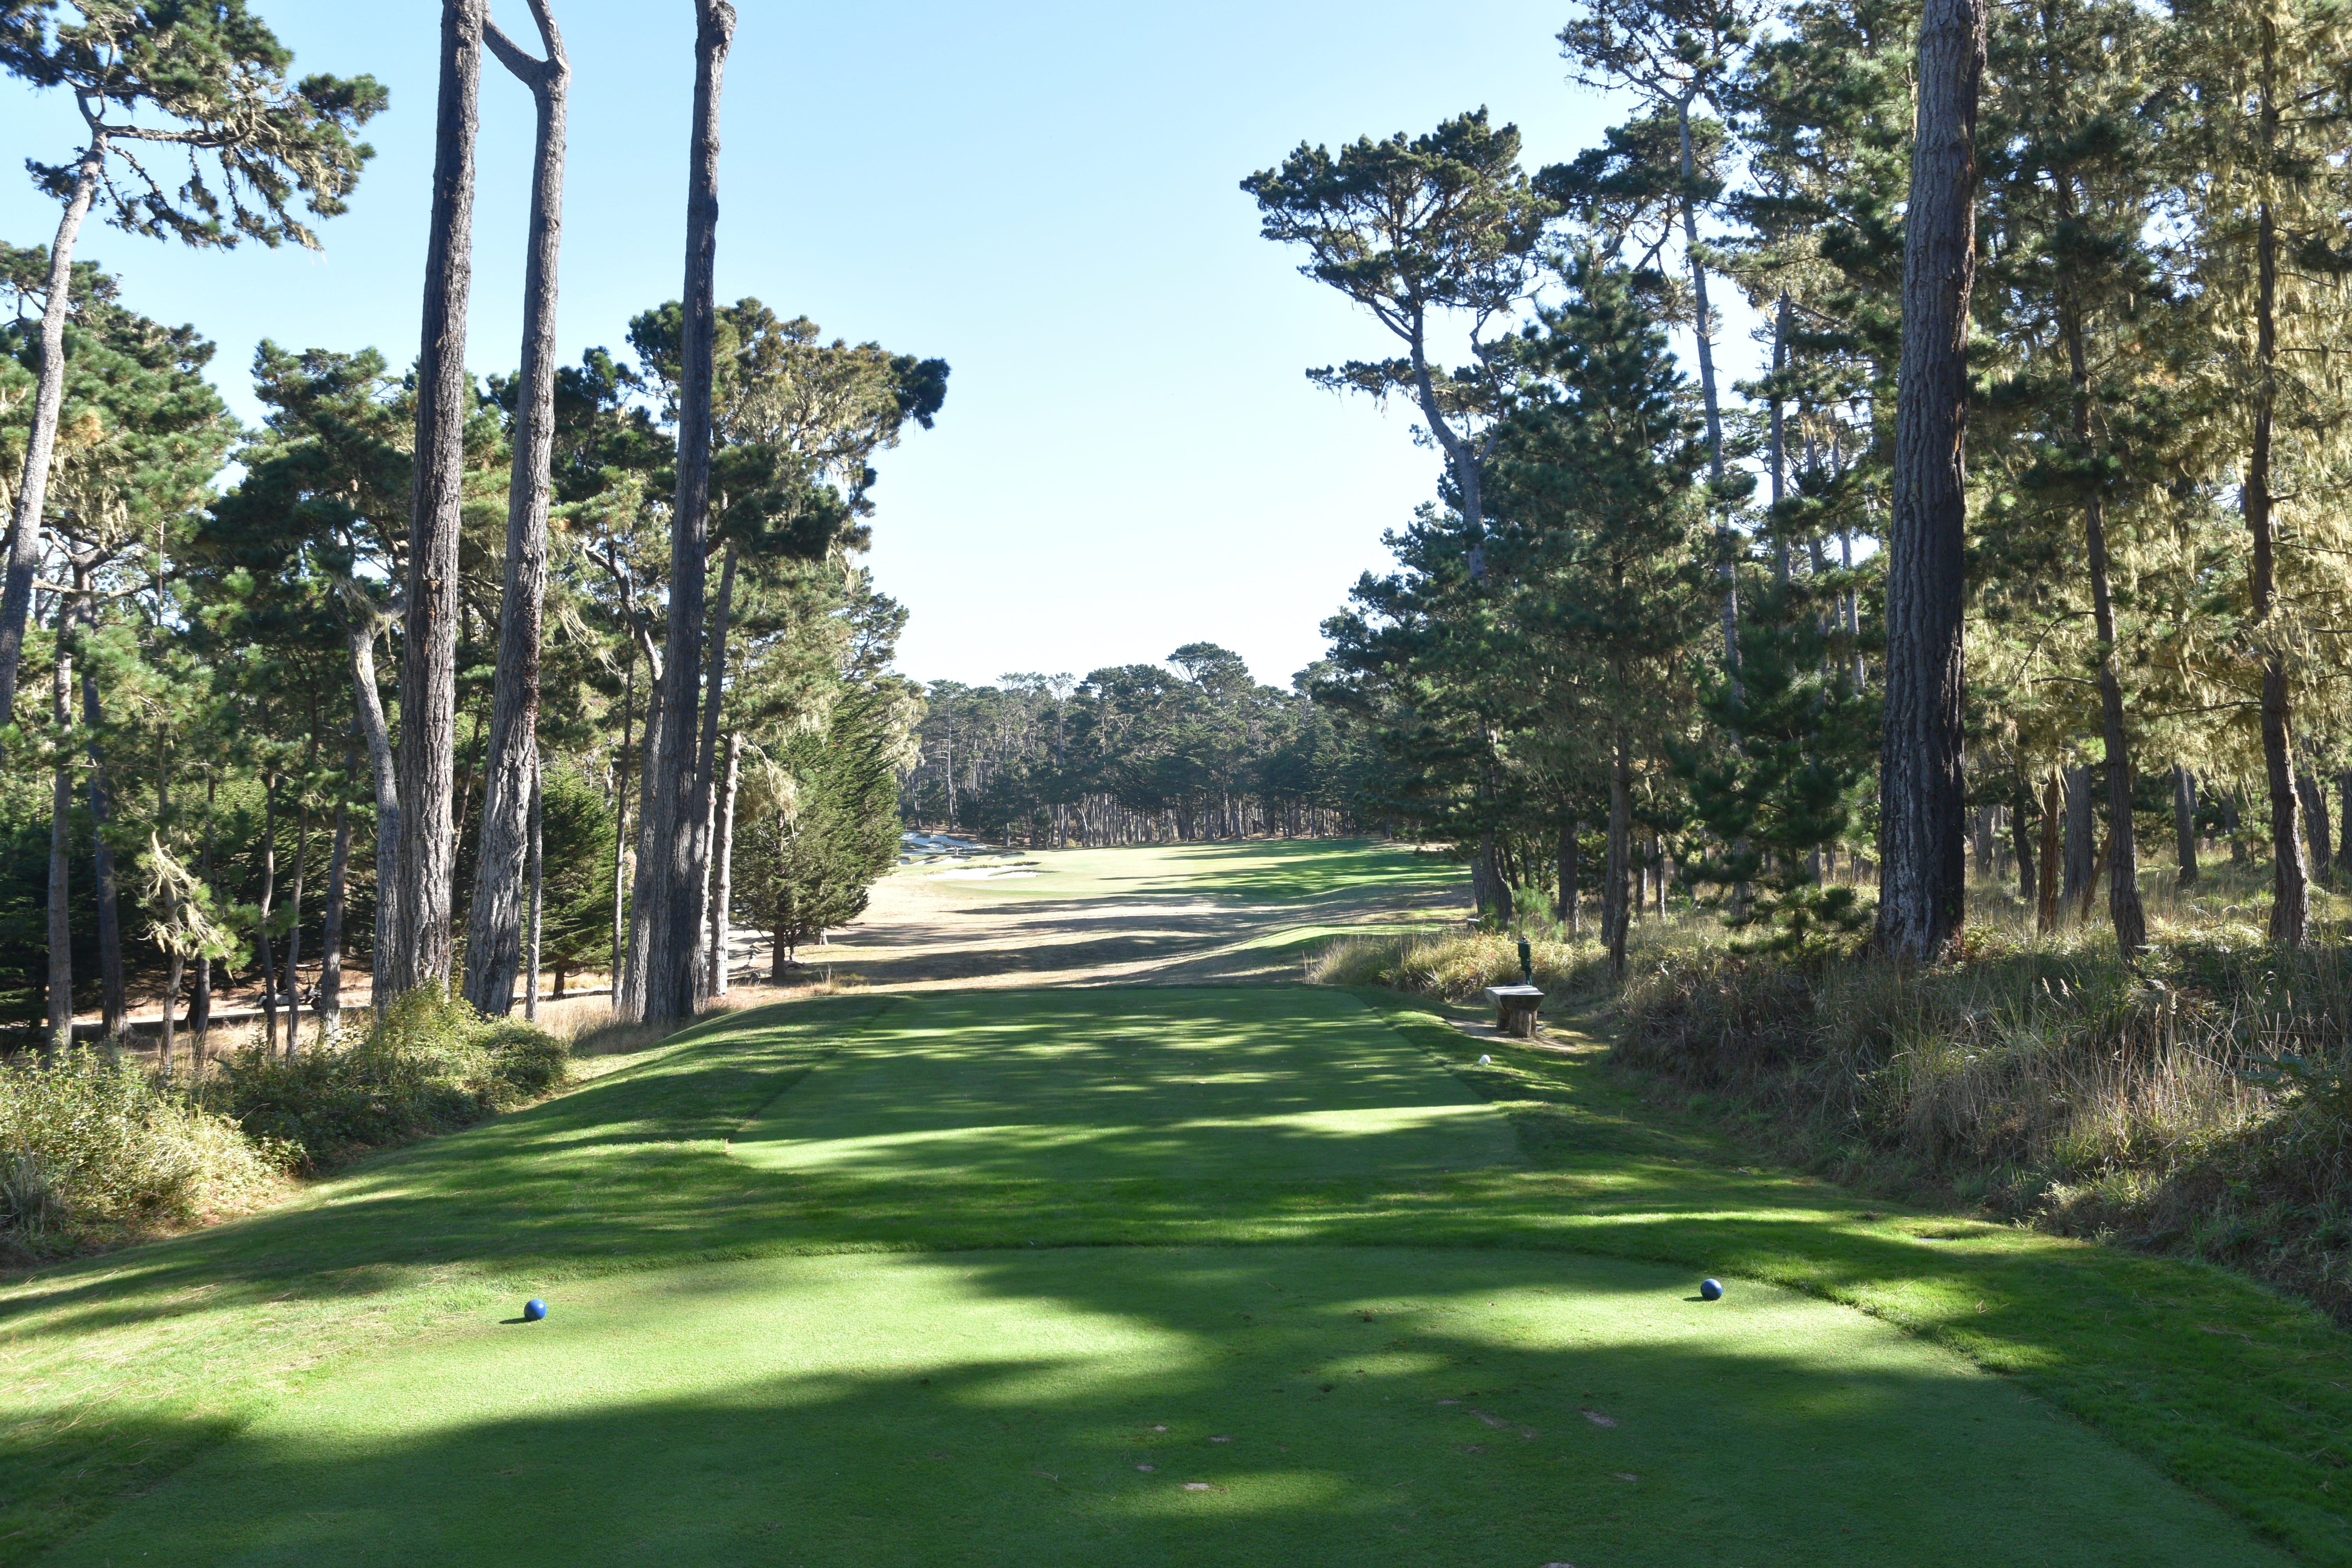
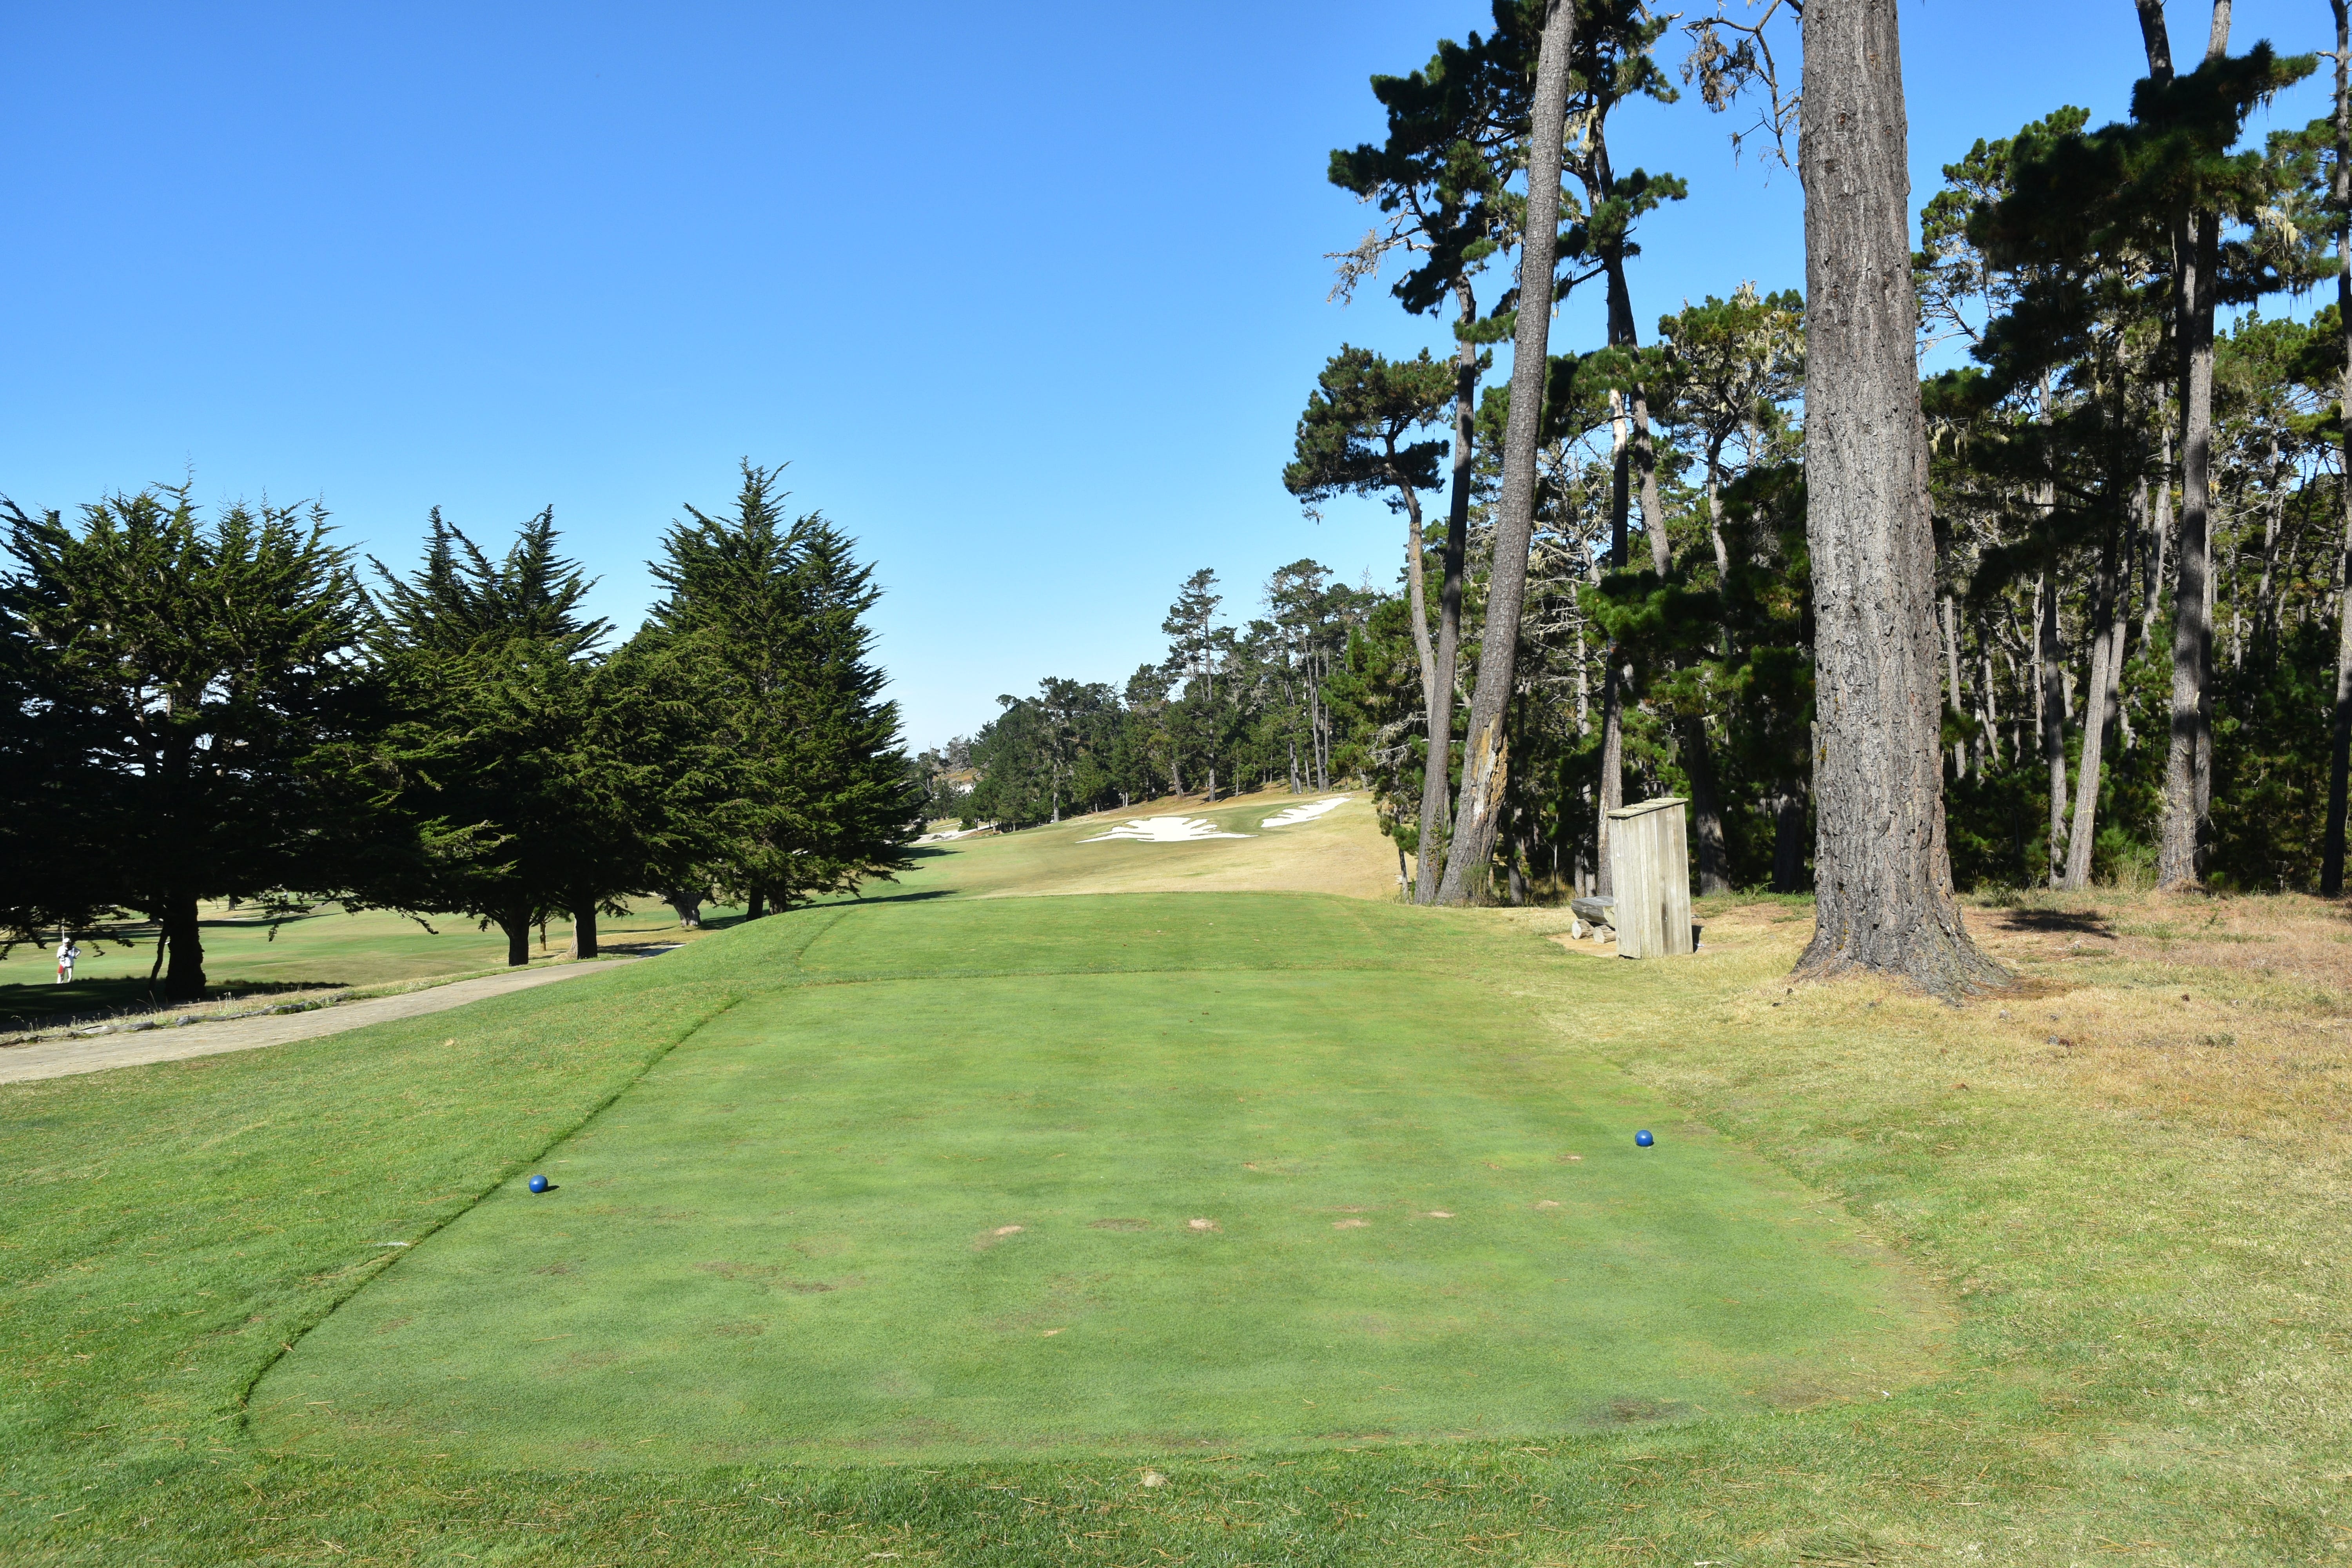
The 5th hole tee shot from the back tee box — the tee shot is beautifully framed among the Monterey pine trees surrounding the tee box. Interestingly, the USGA will make this a par-4 hole for the 2025 Walker Cup
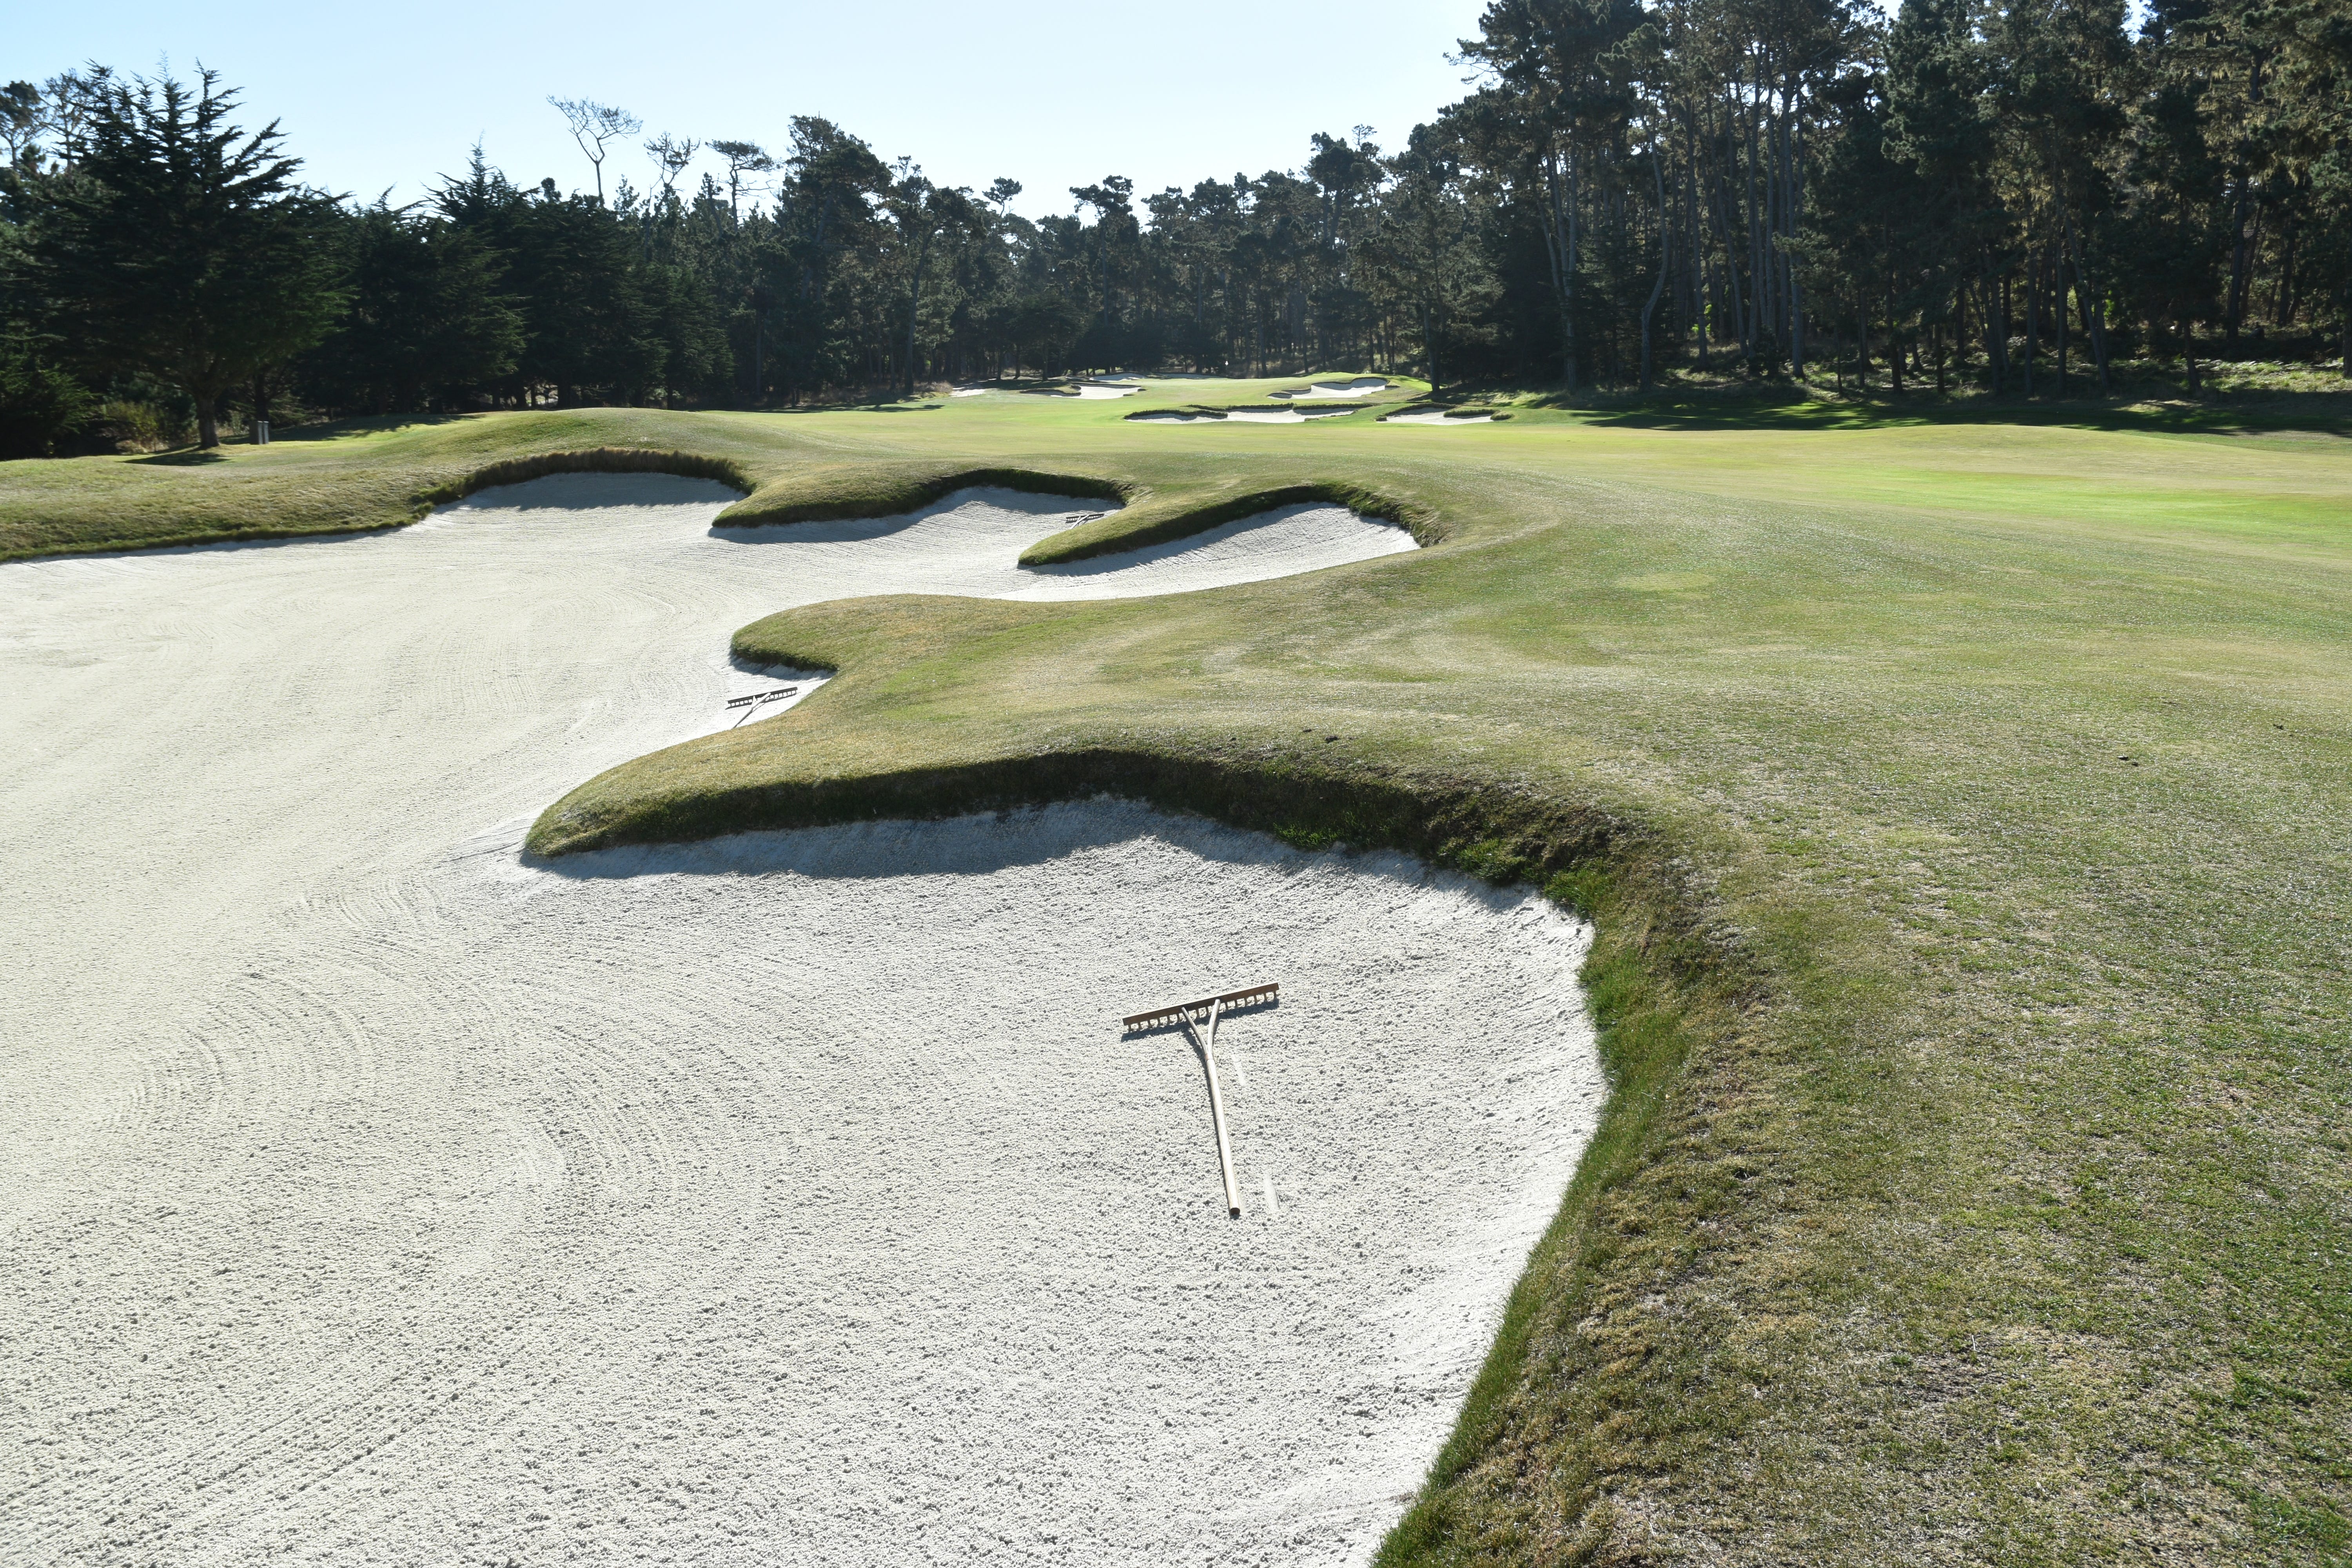
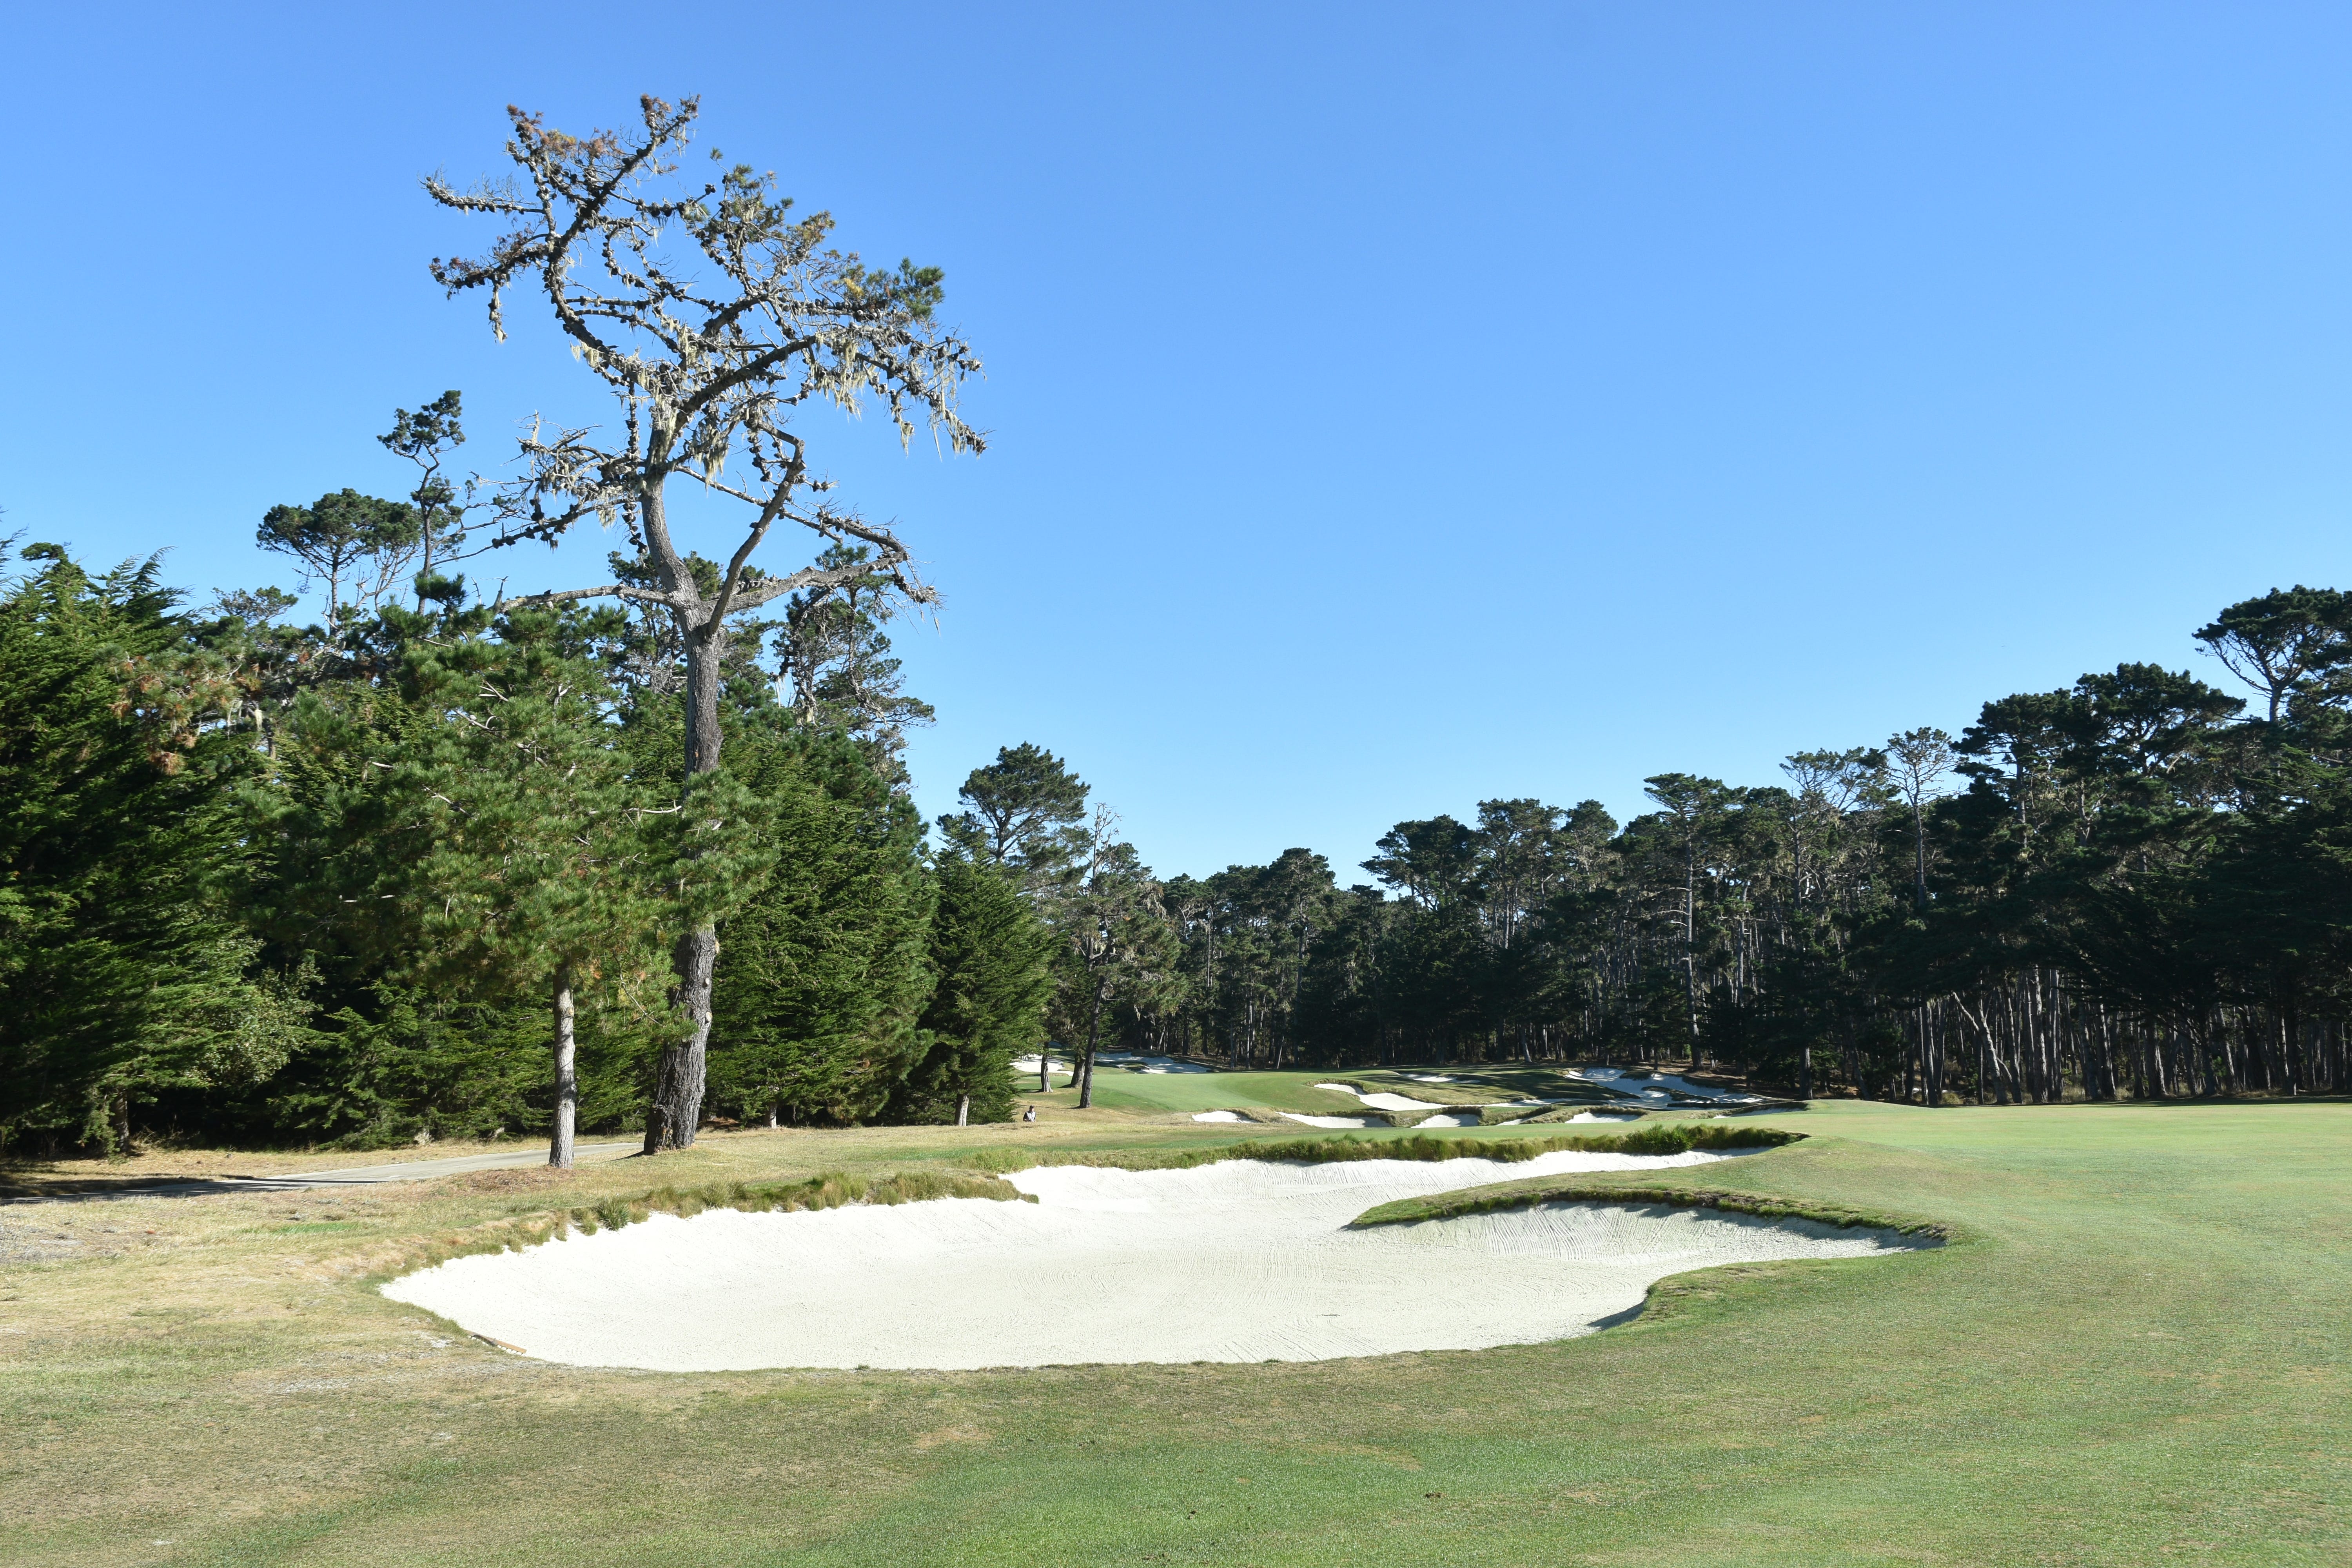
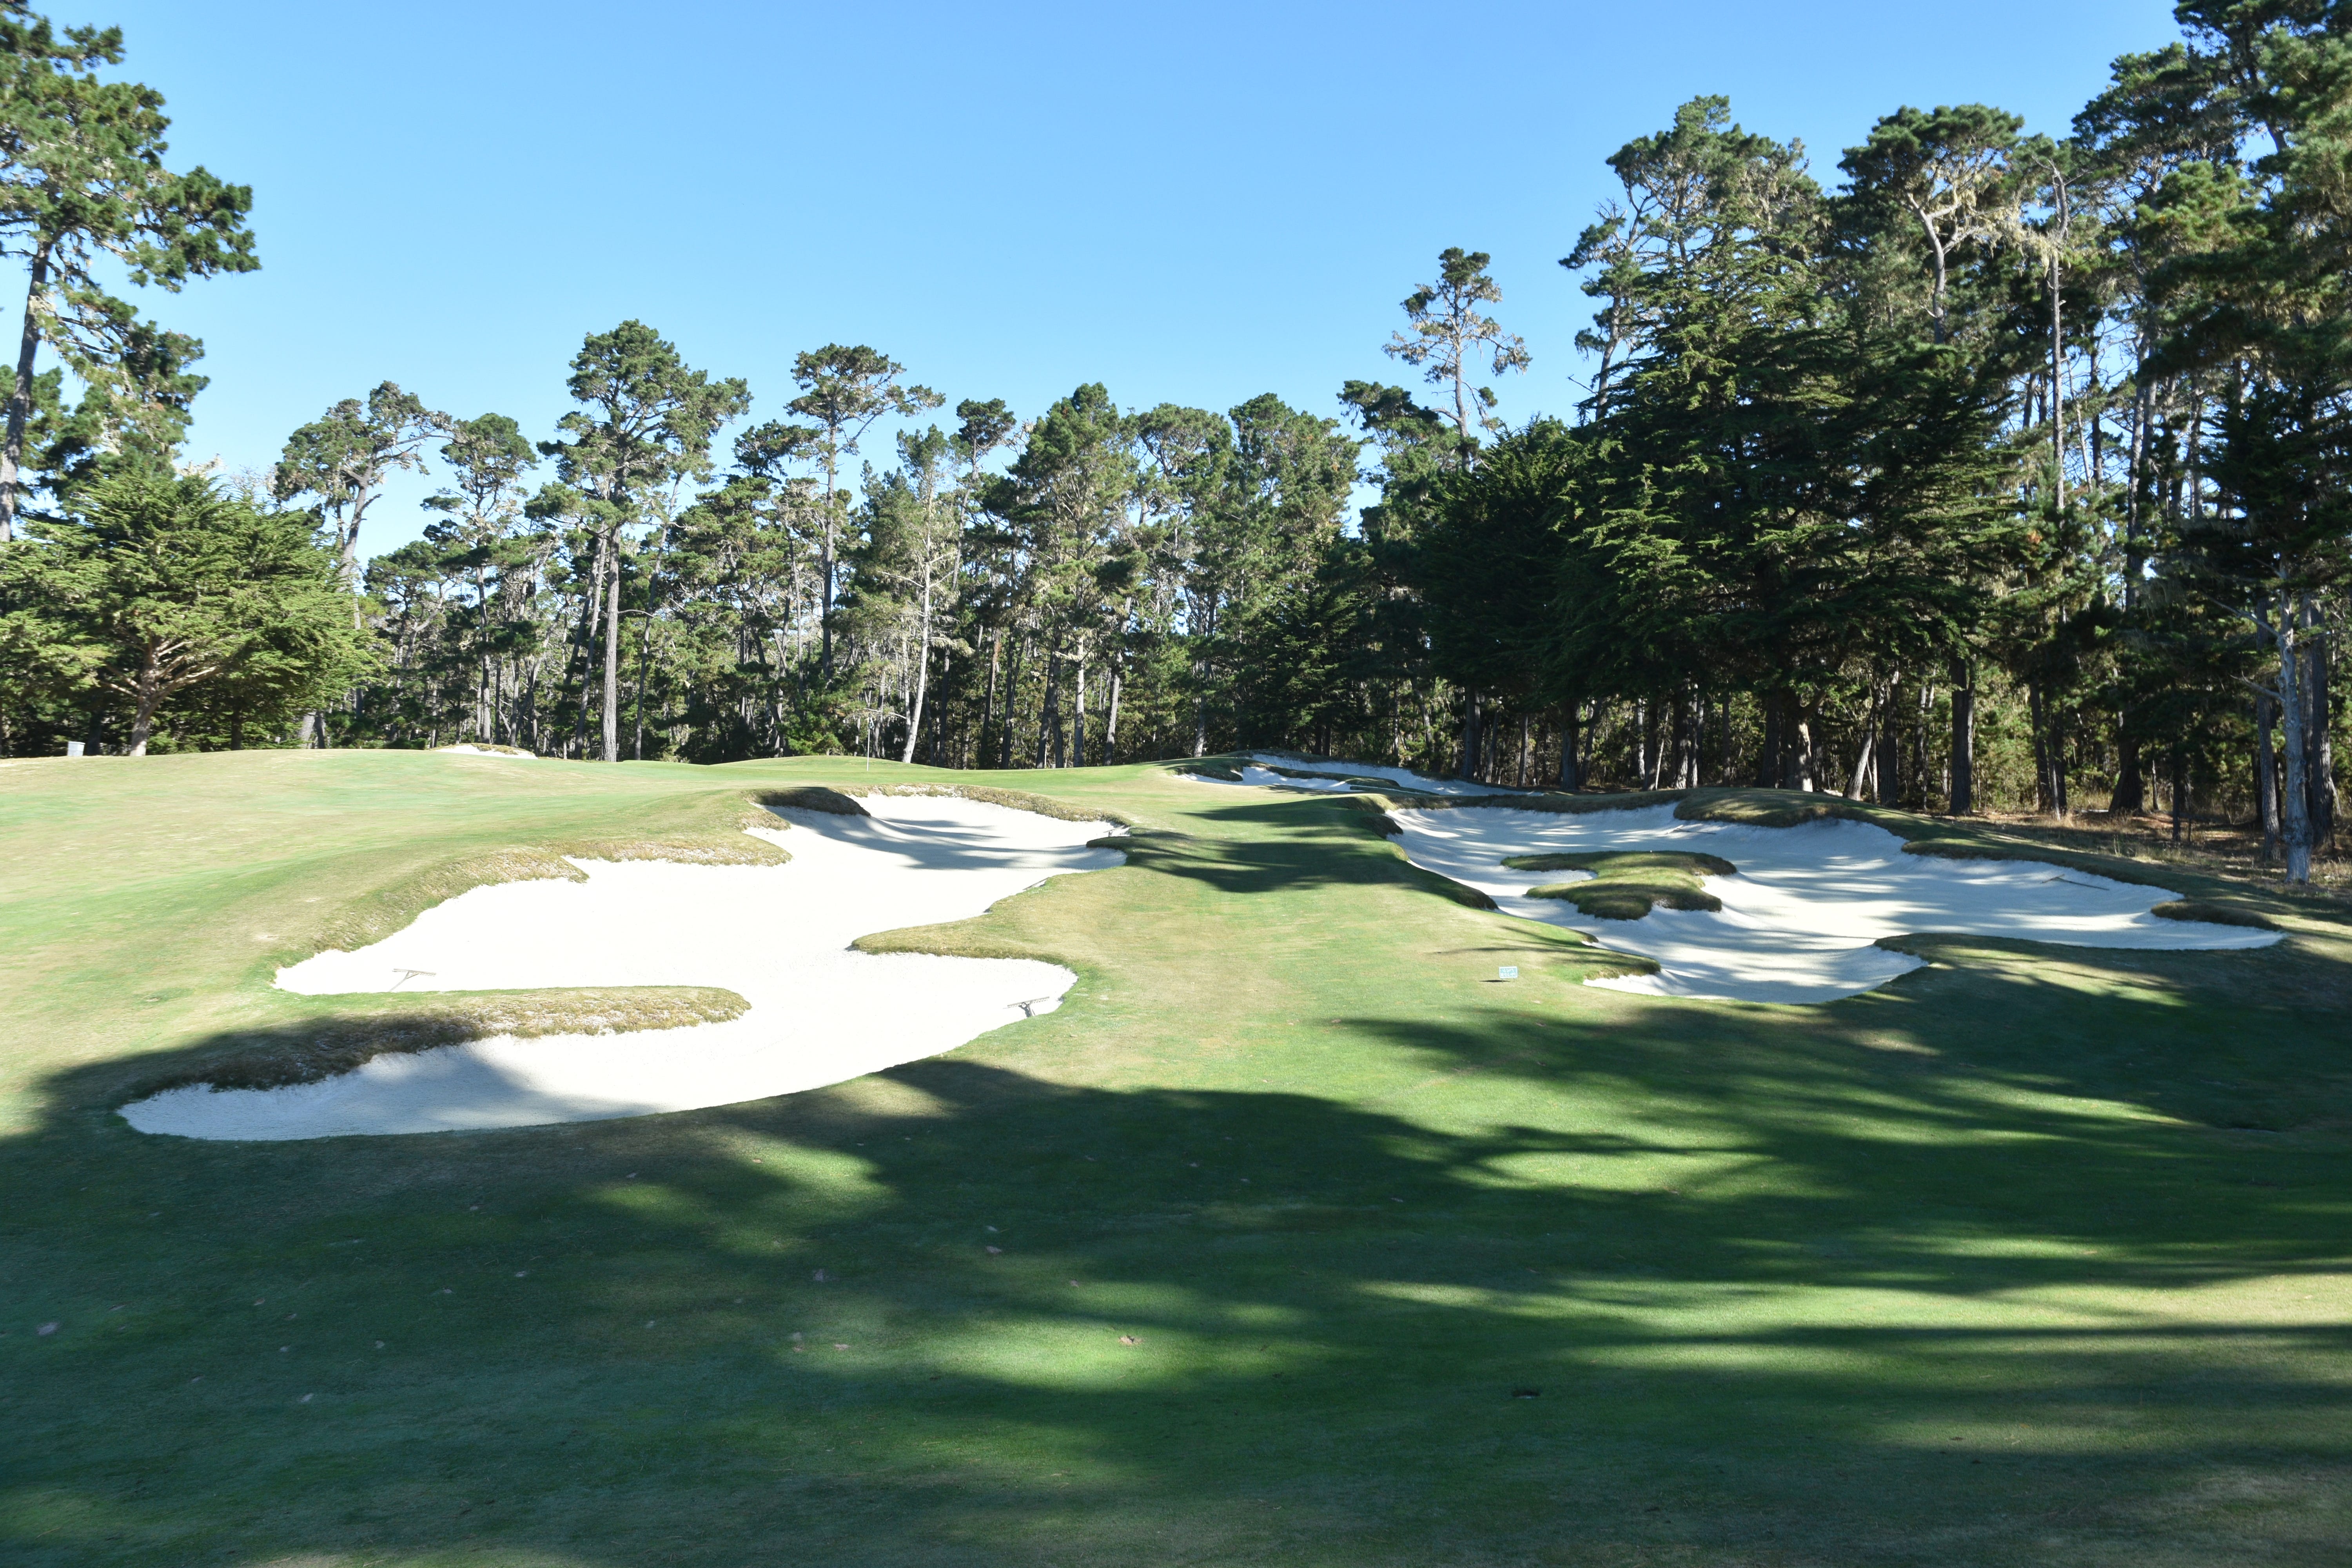
The 5th hole tee shot needs to navigate past the first series of fairway bunkers guarding the left corner of the dogleg. The fairway tilts and tumbles like a roller coaster ride and requires discipline to navigate the cleverly designed bunkers
The first left fairway bunker of the 5th hole
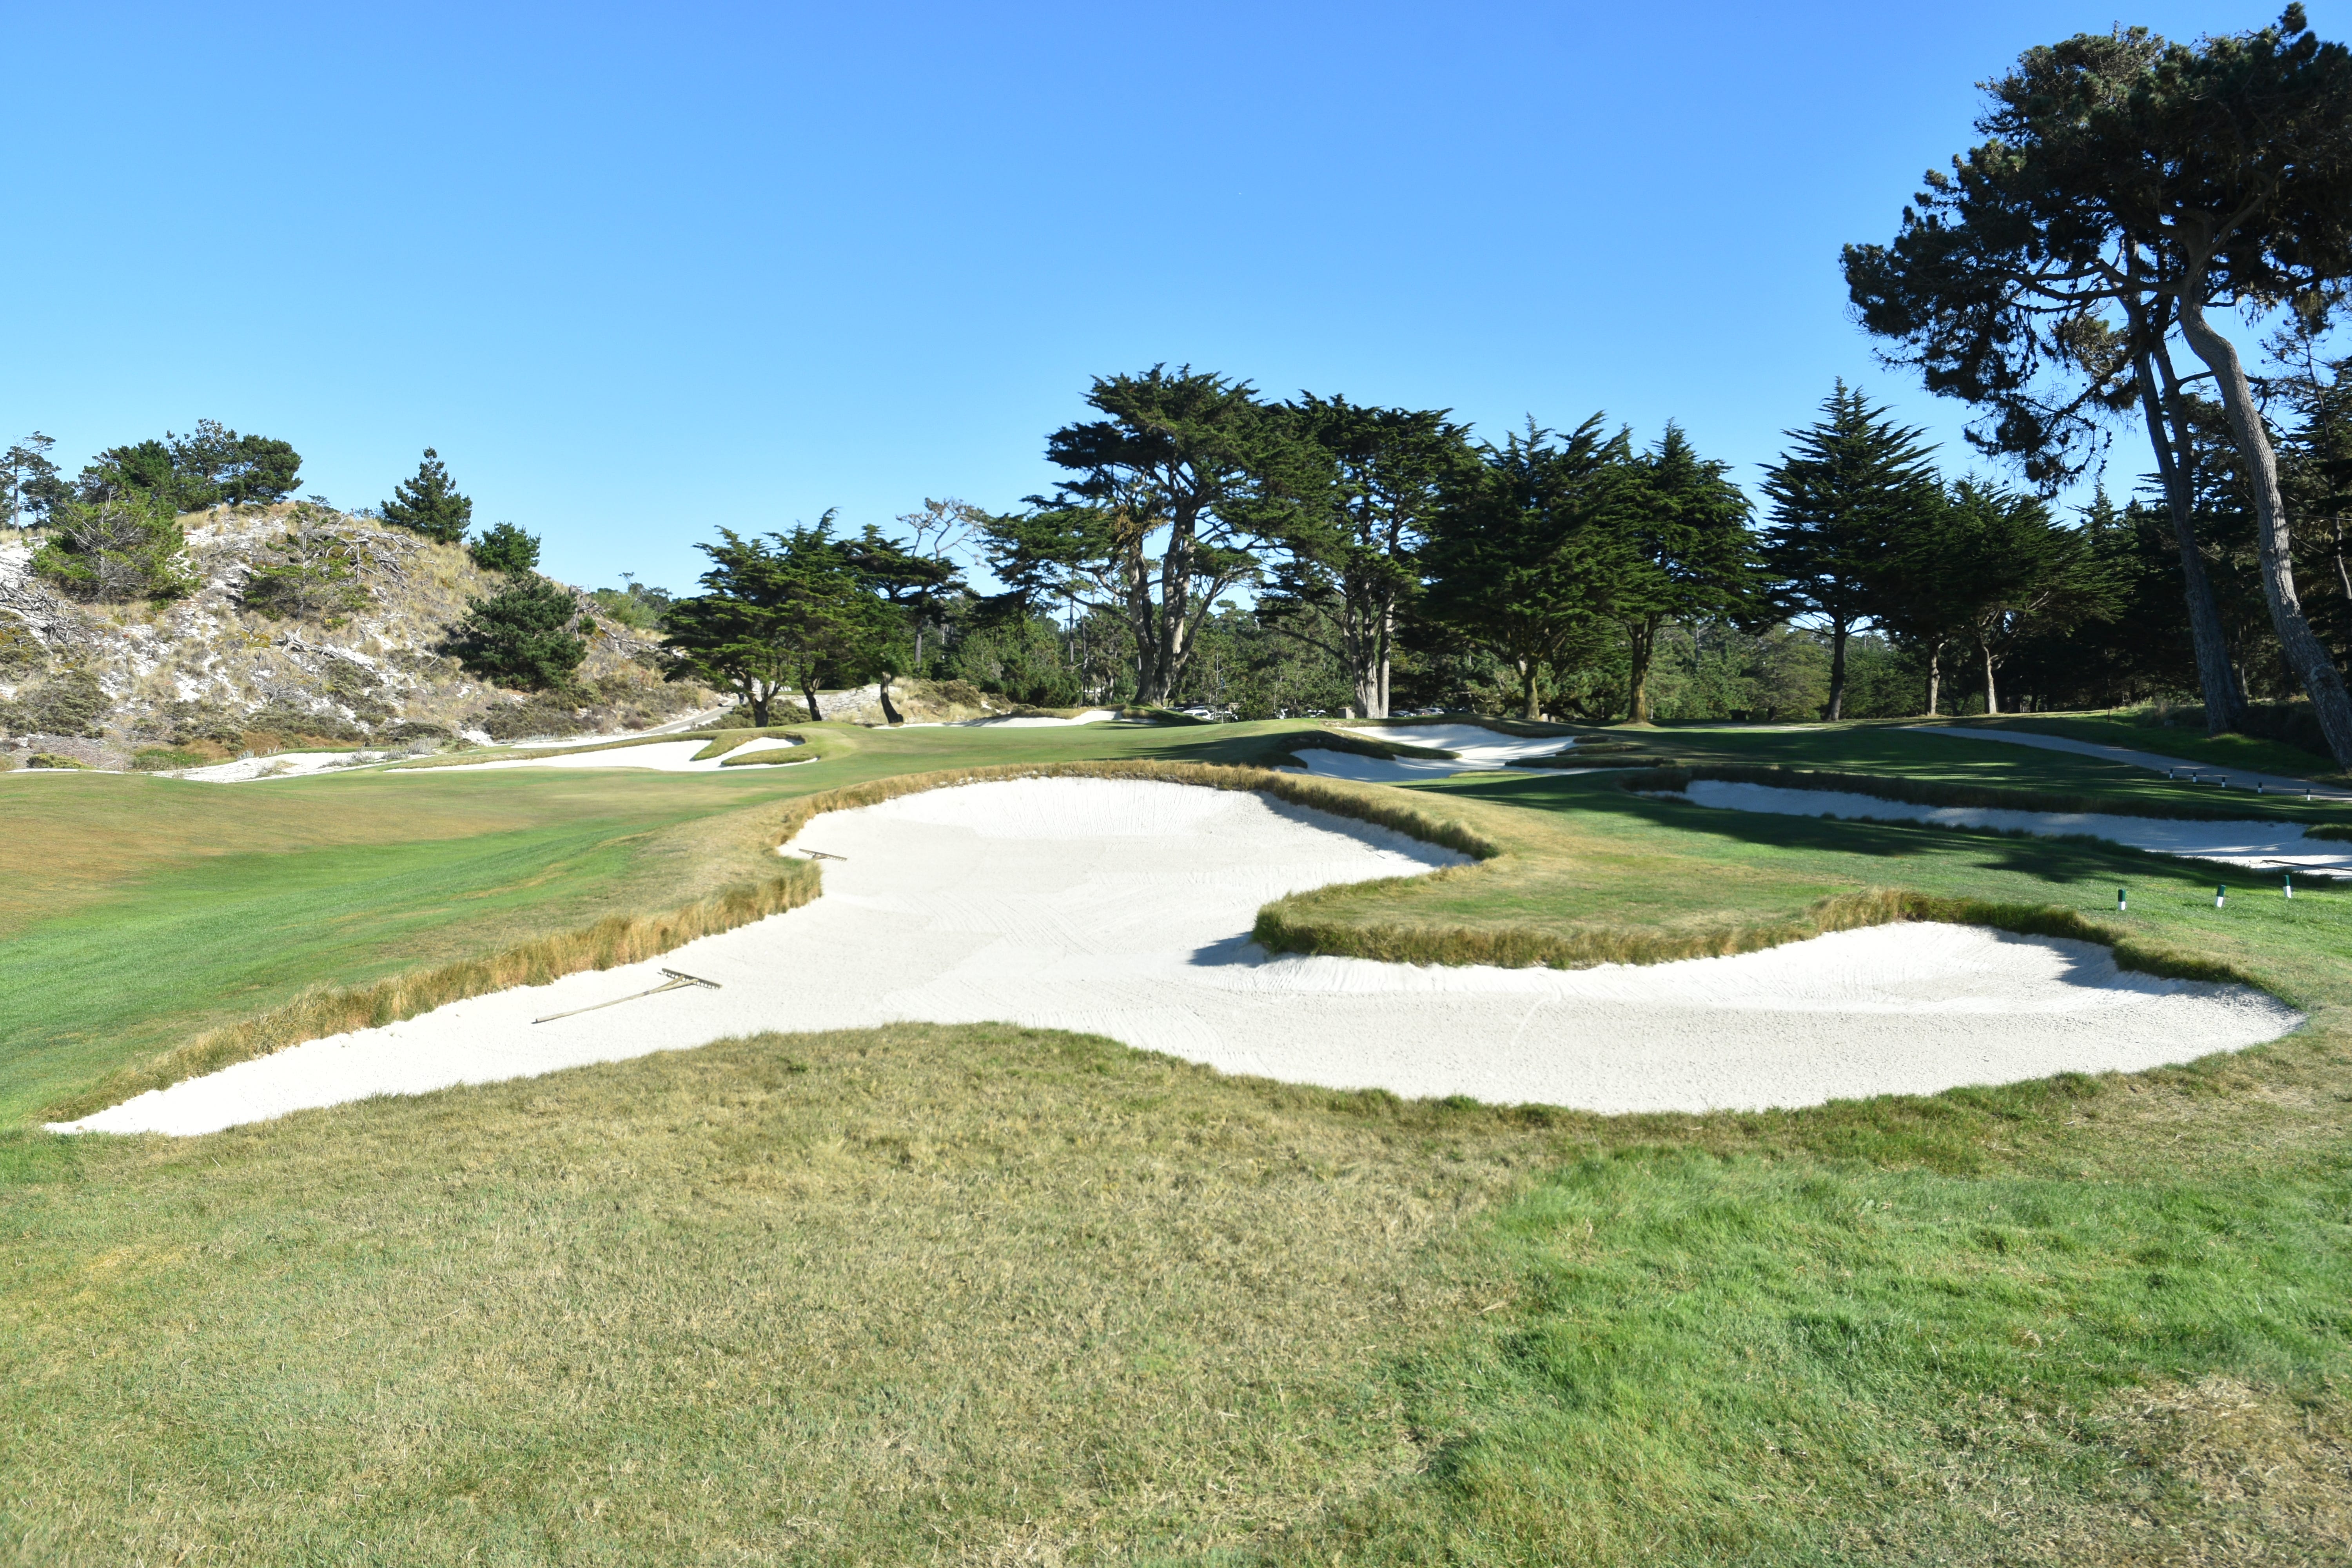
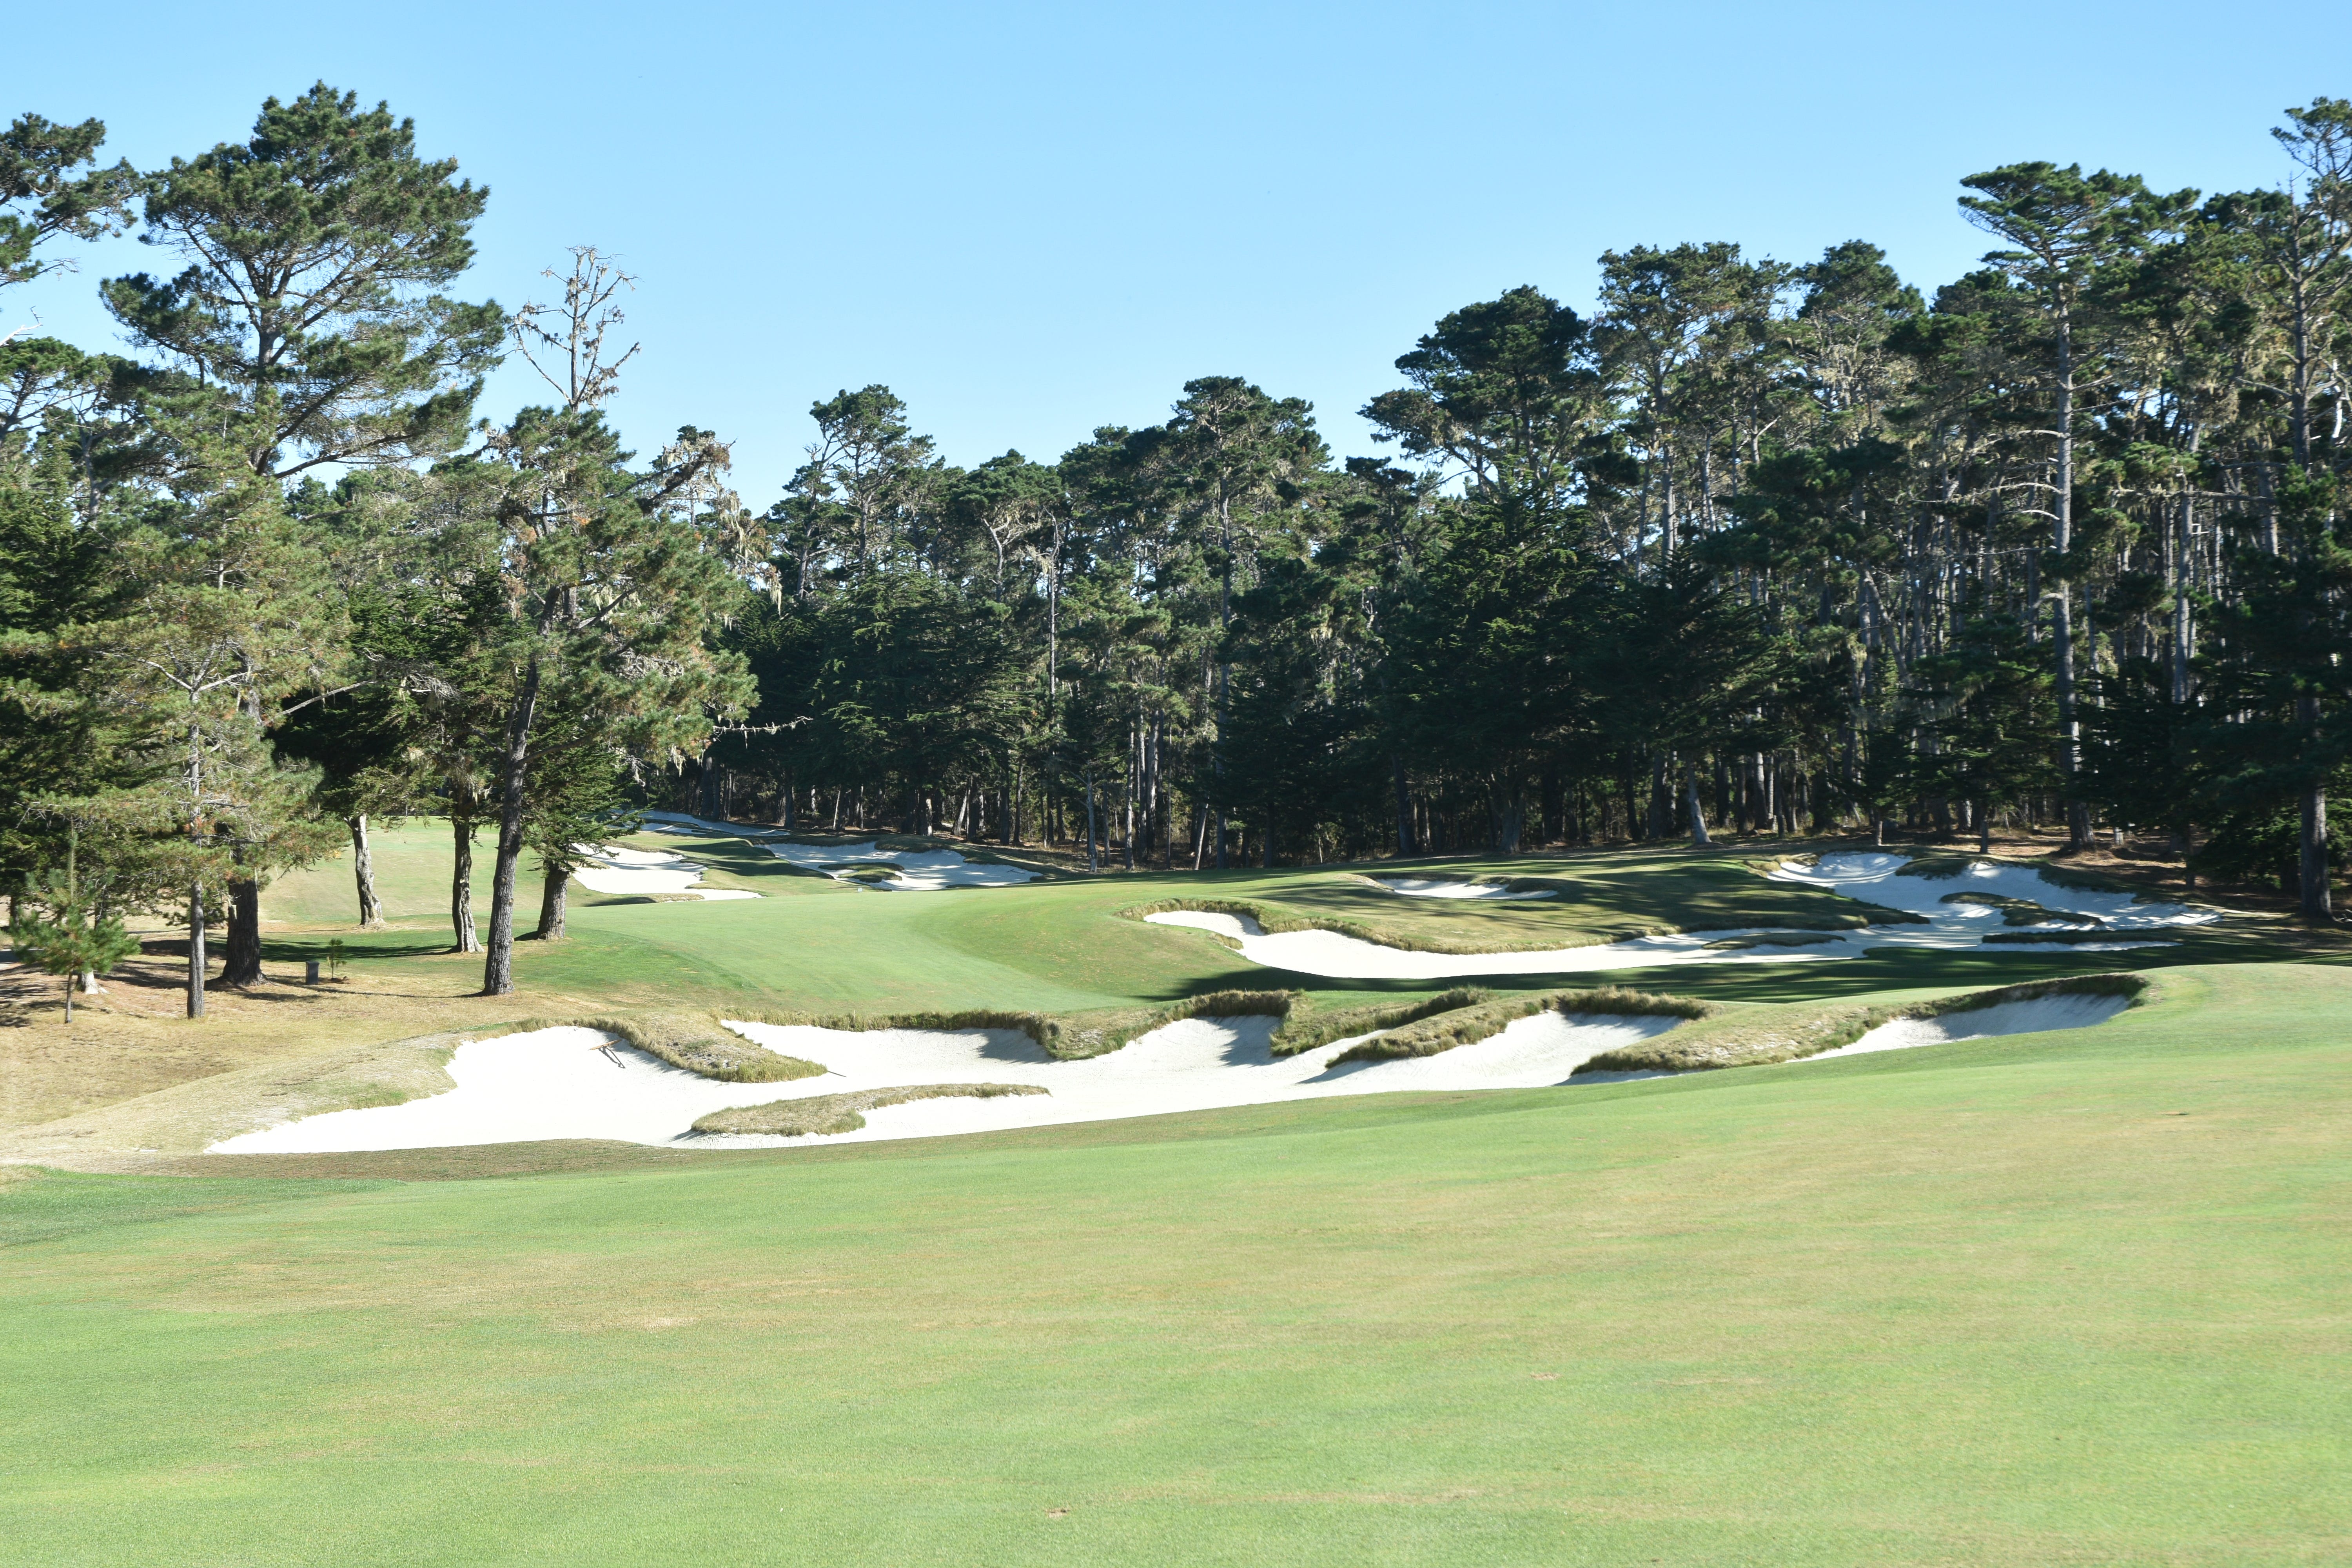
The second left fairway bunker in the foreground, and the right fairway cross bunker out in the distance. Although these two bunkers appear next to each other, they are 80 yards apart from each other! Alister Mackenzie was a master at optical illusions with his bunker design
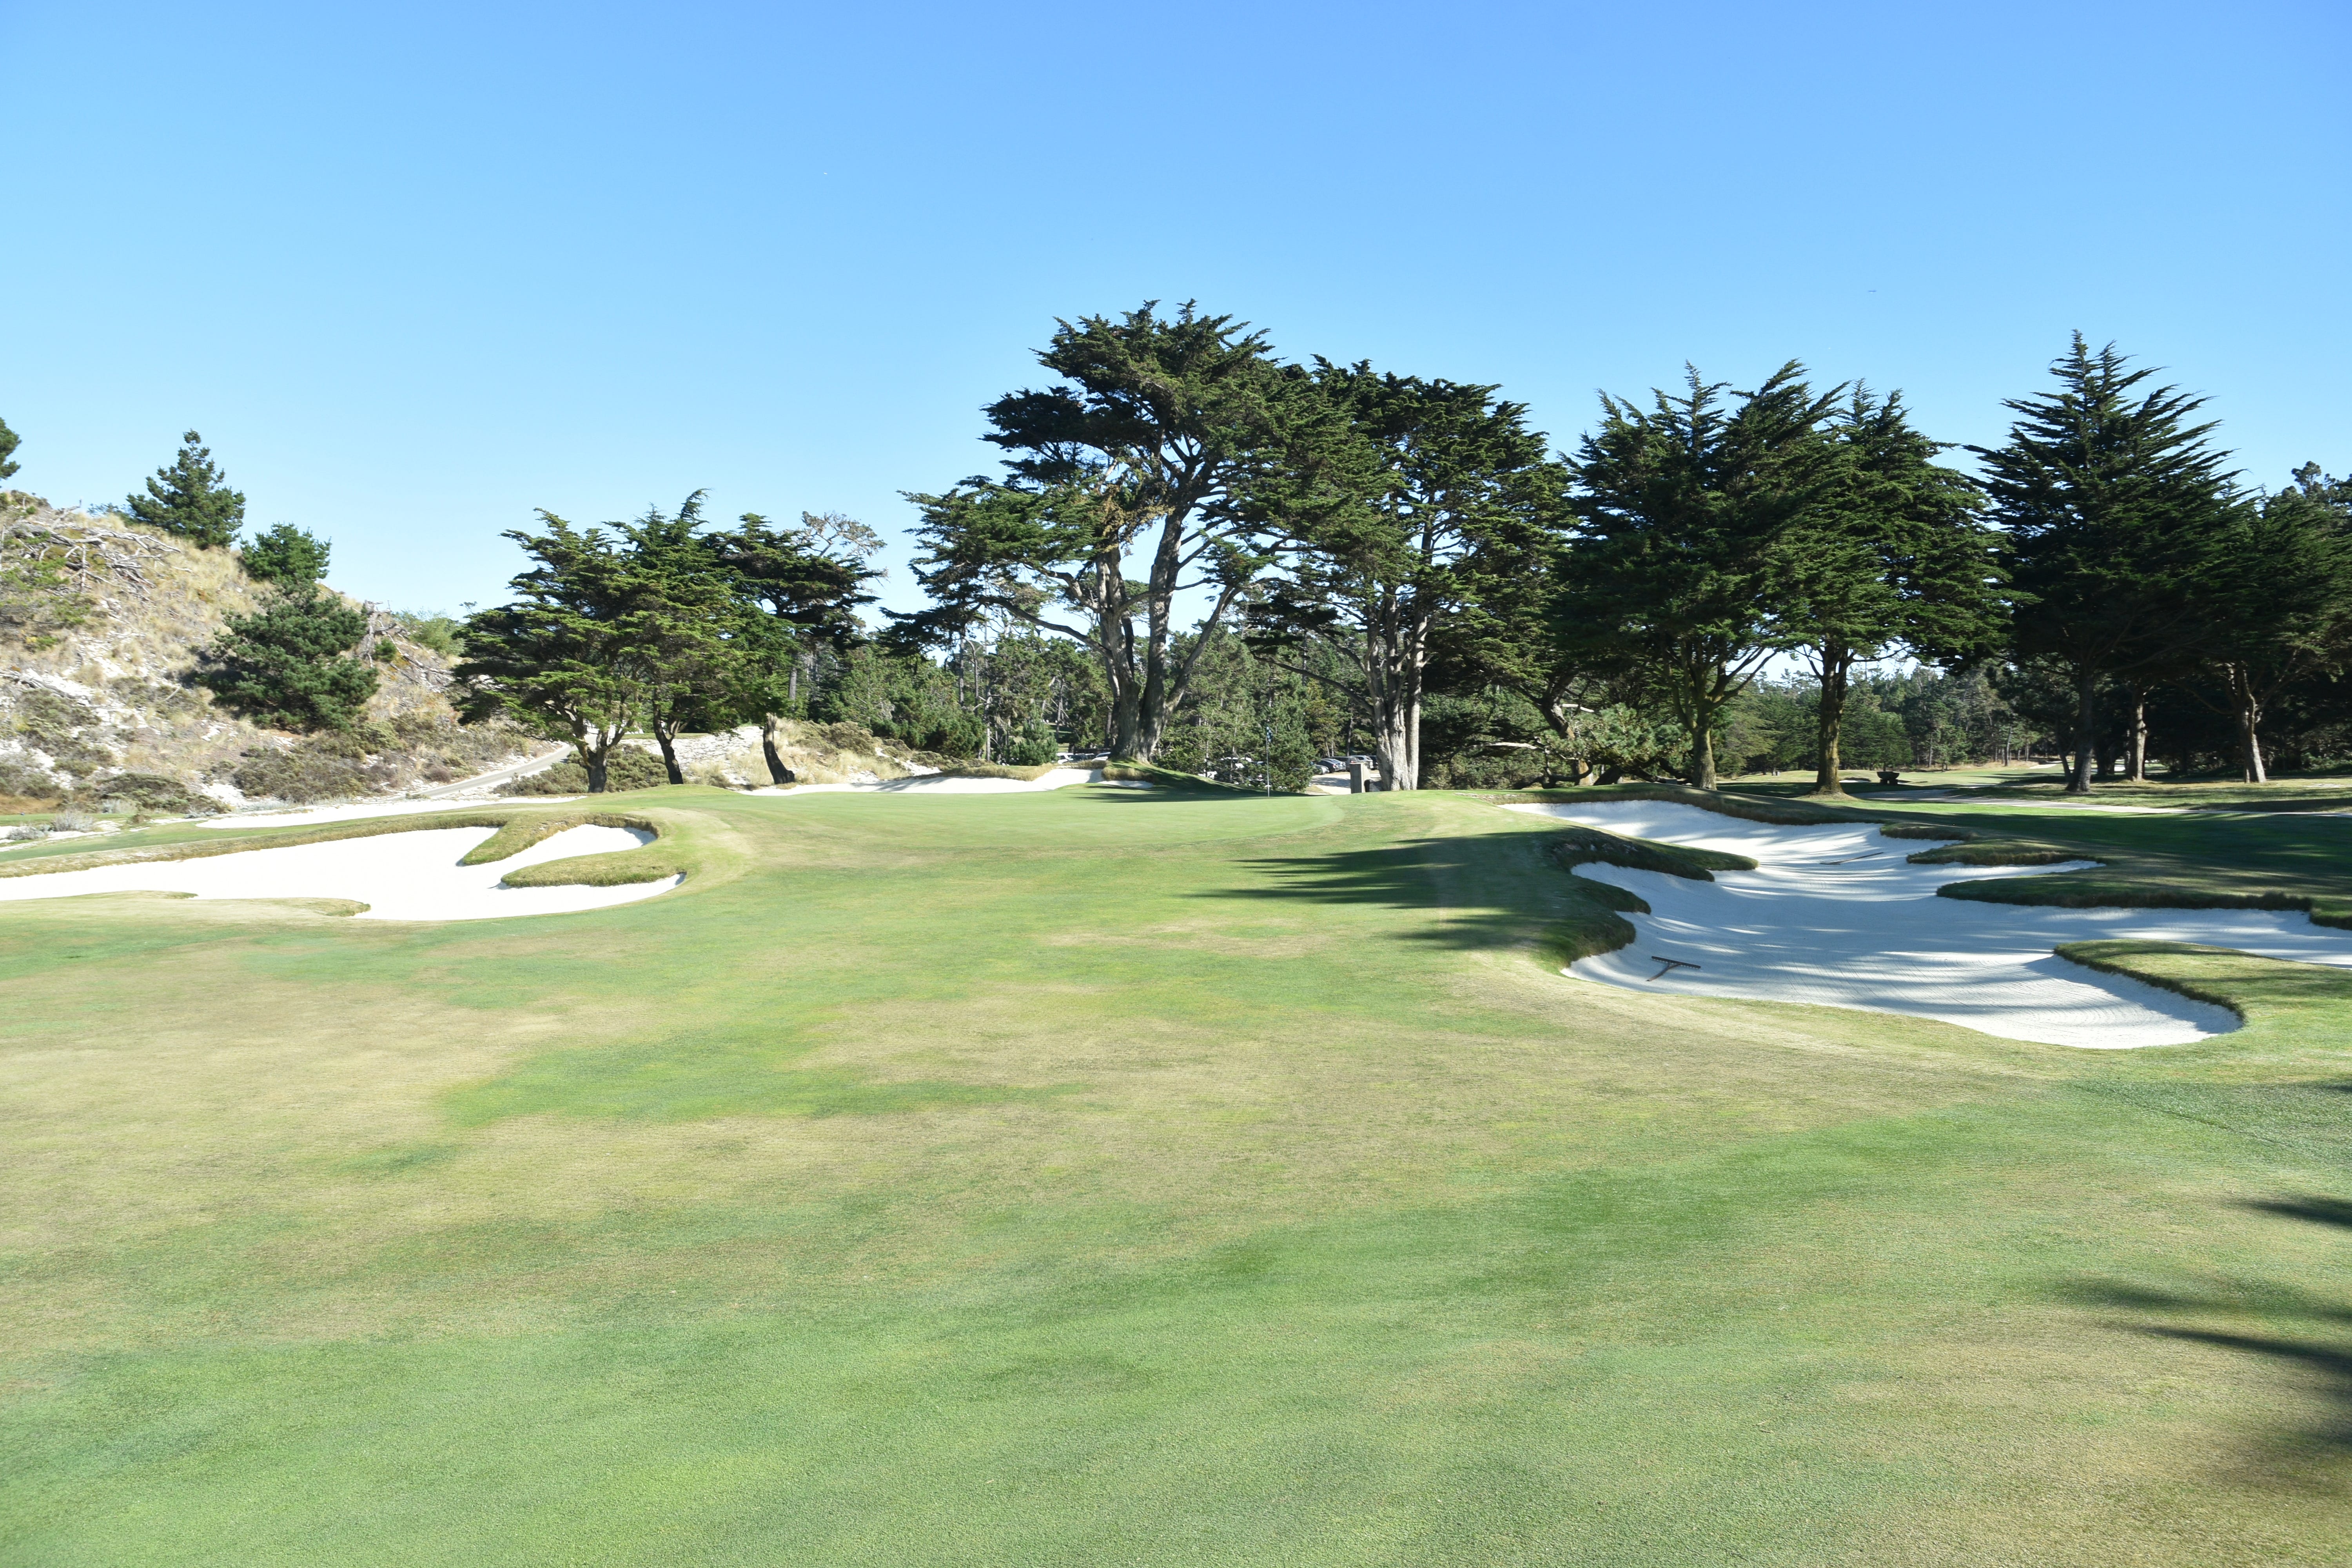
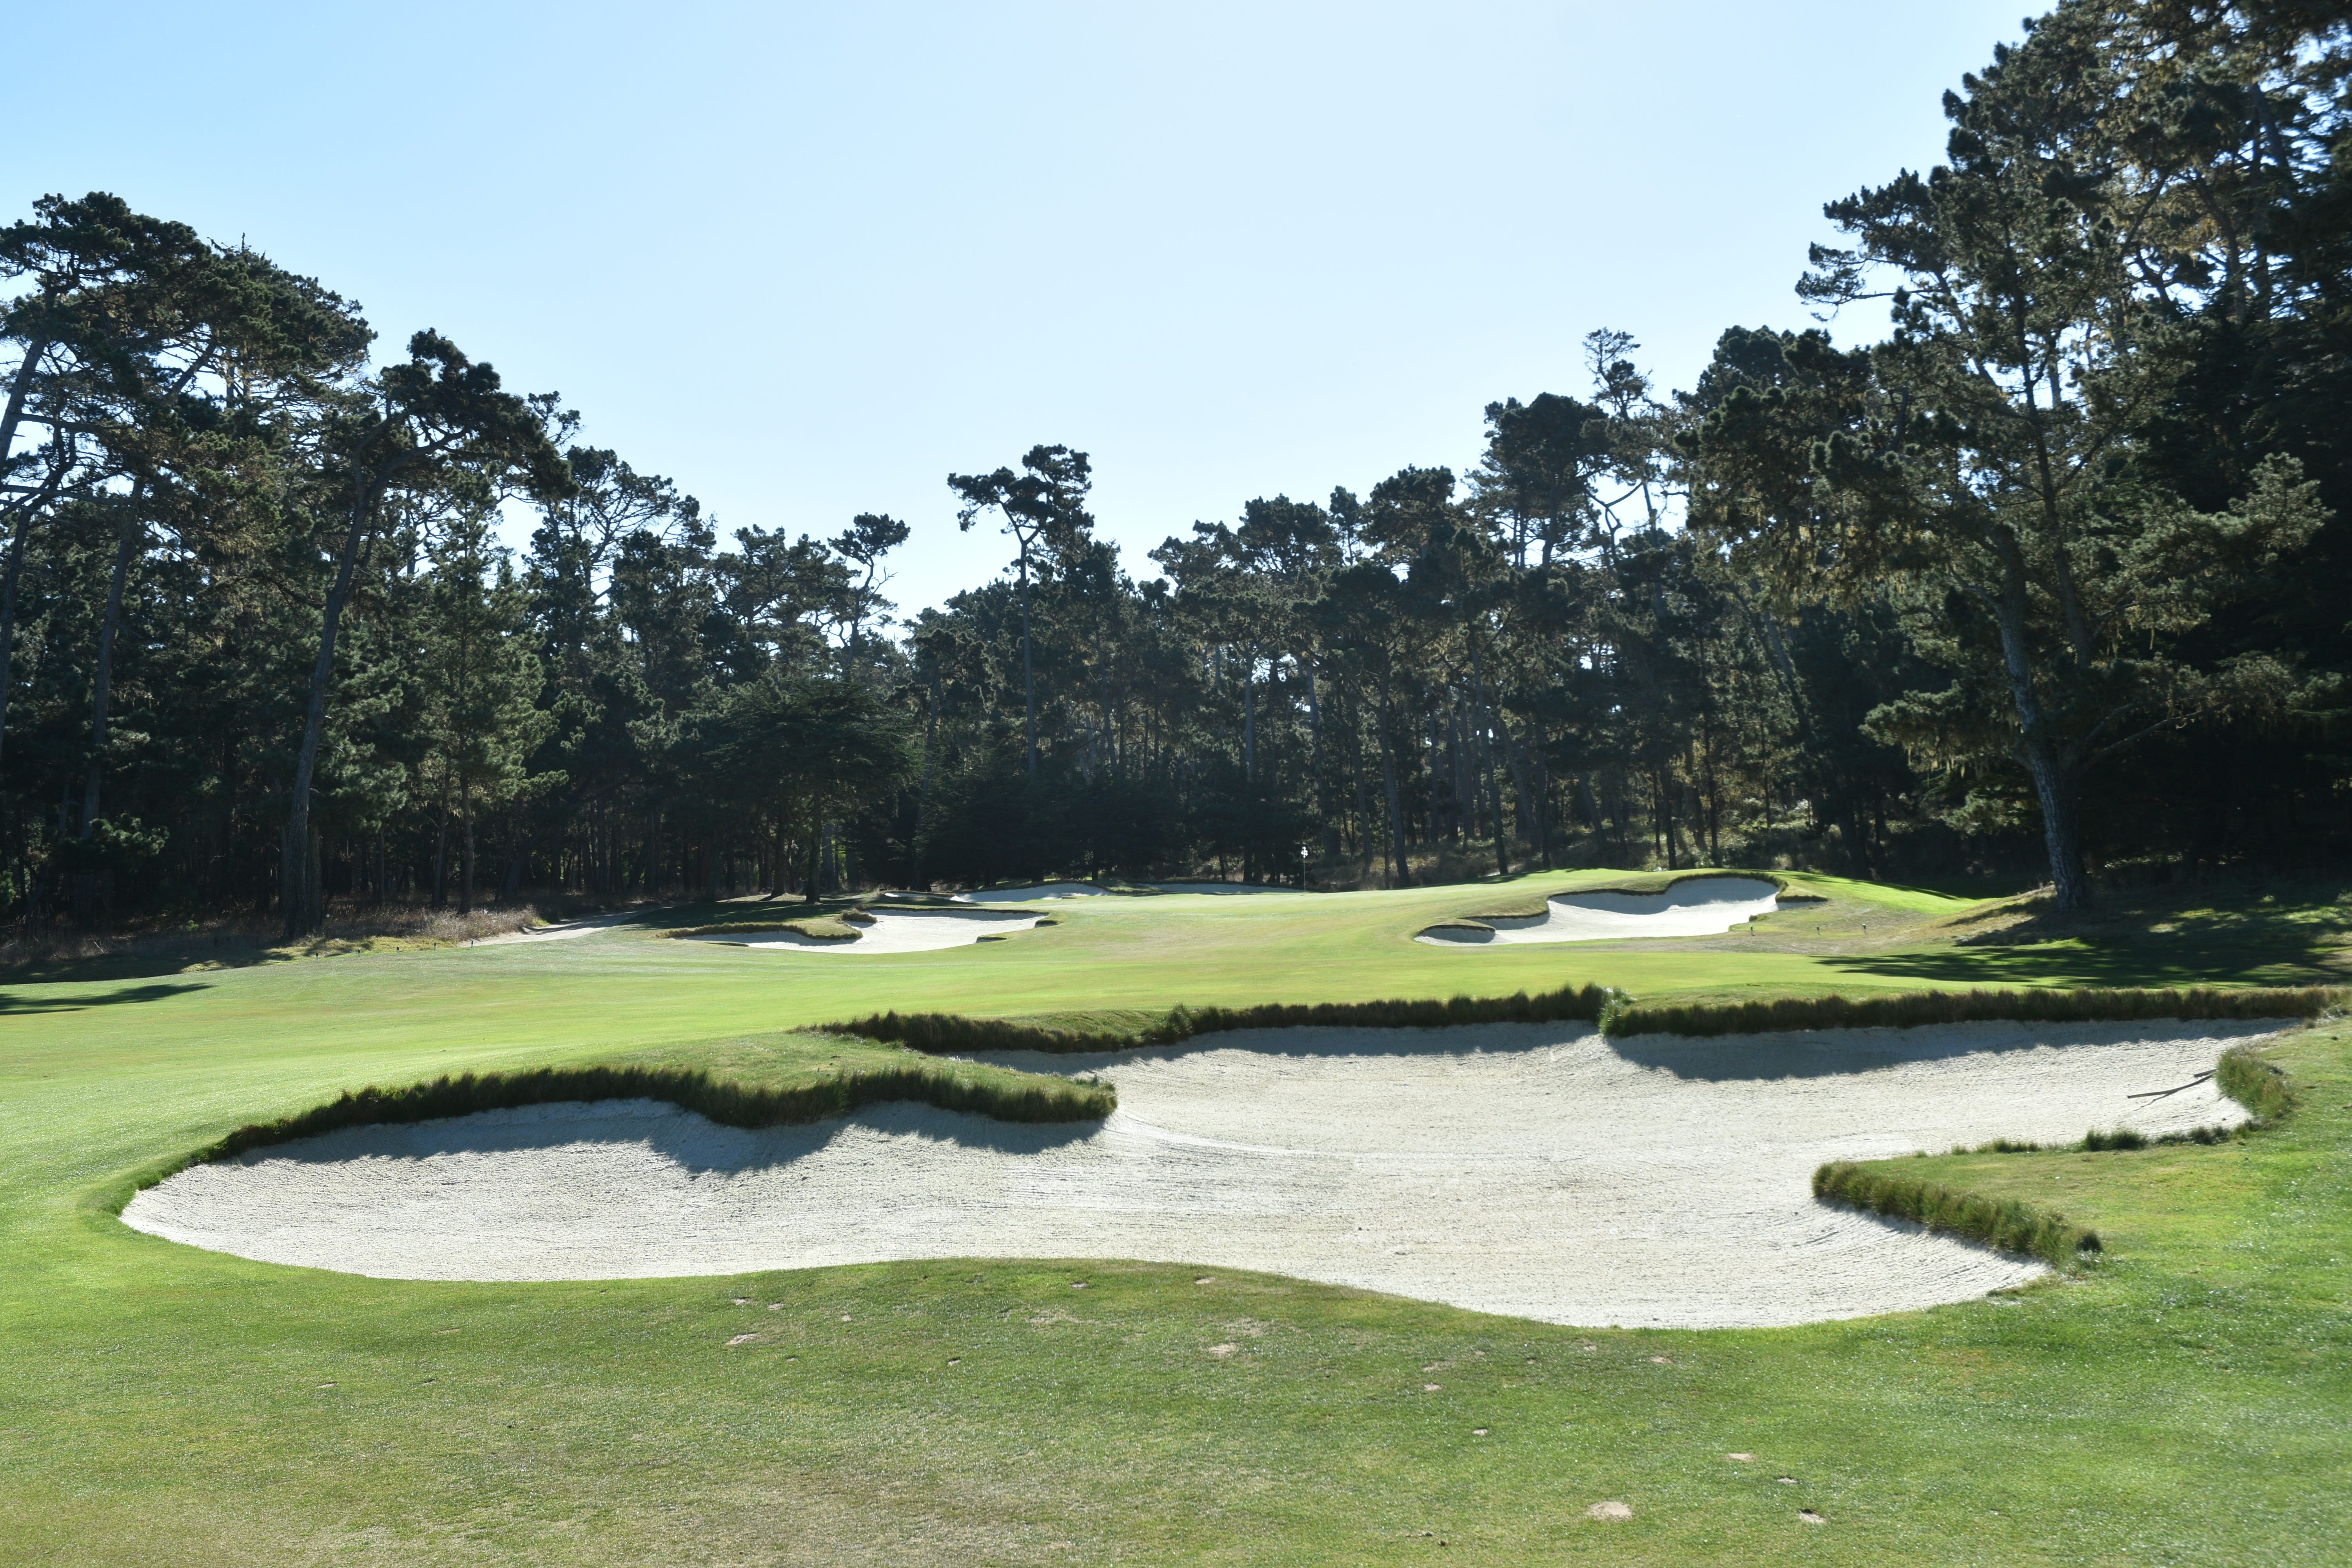
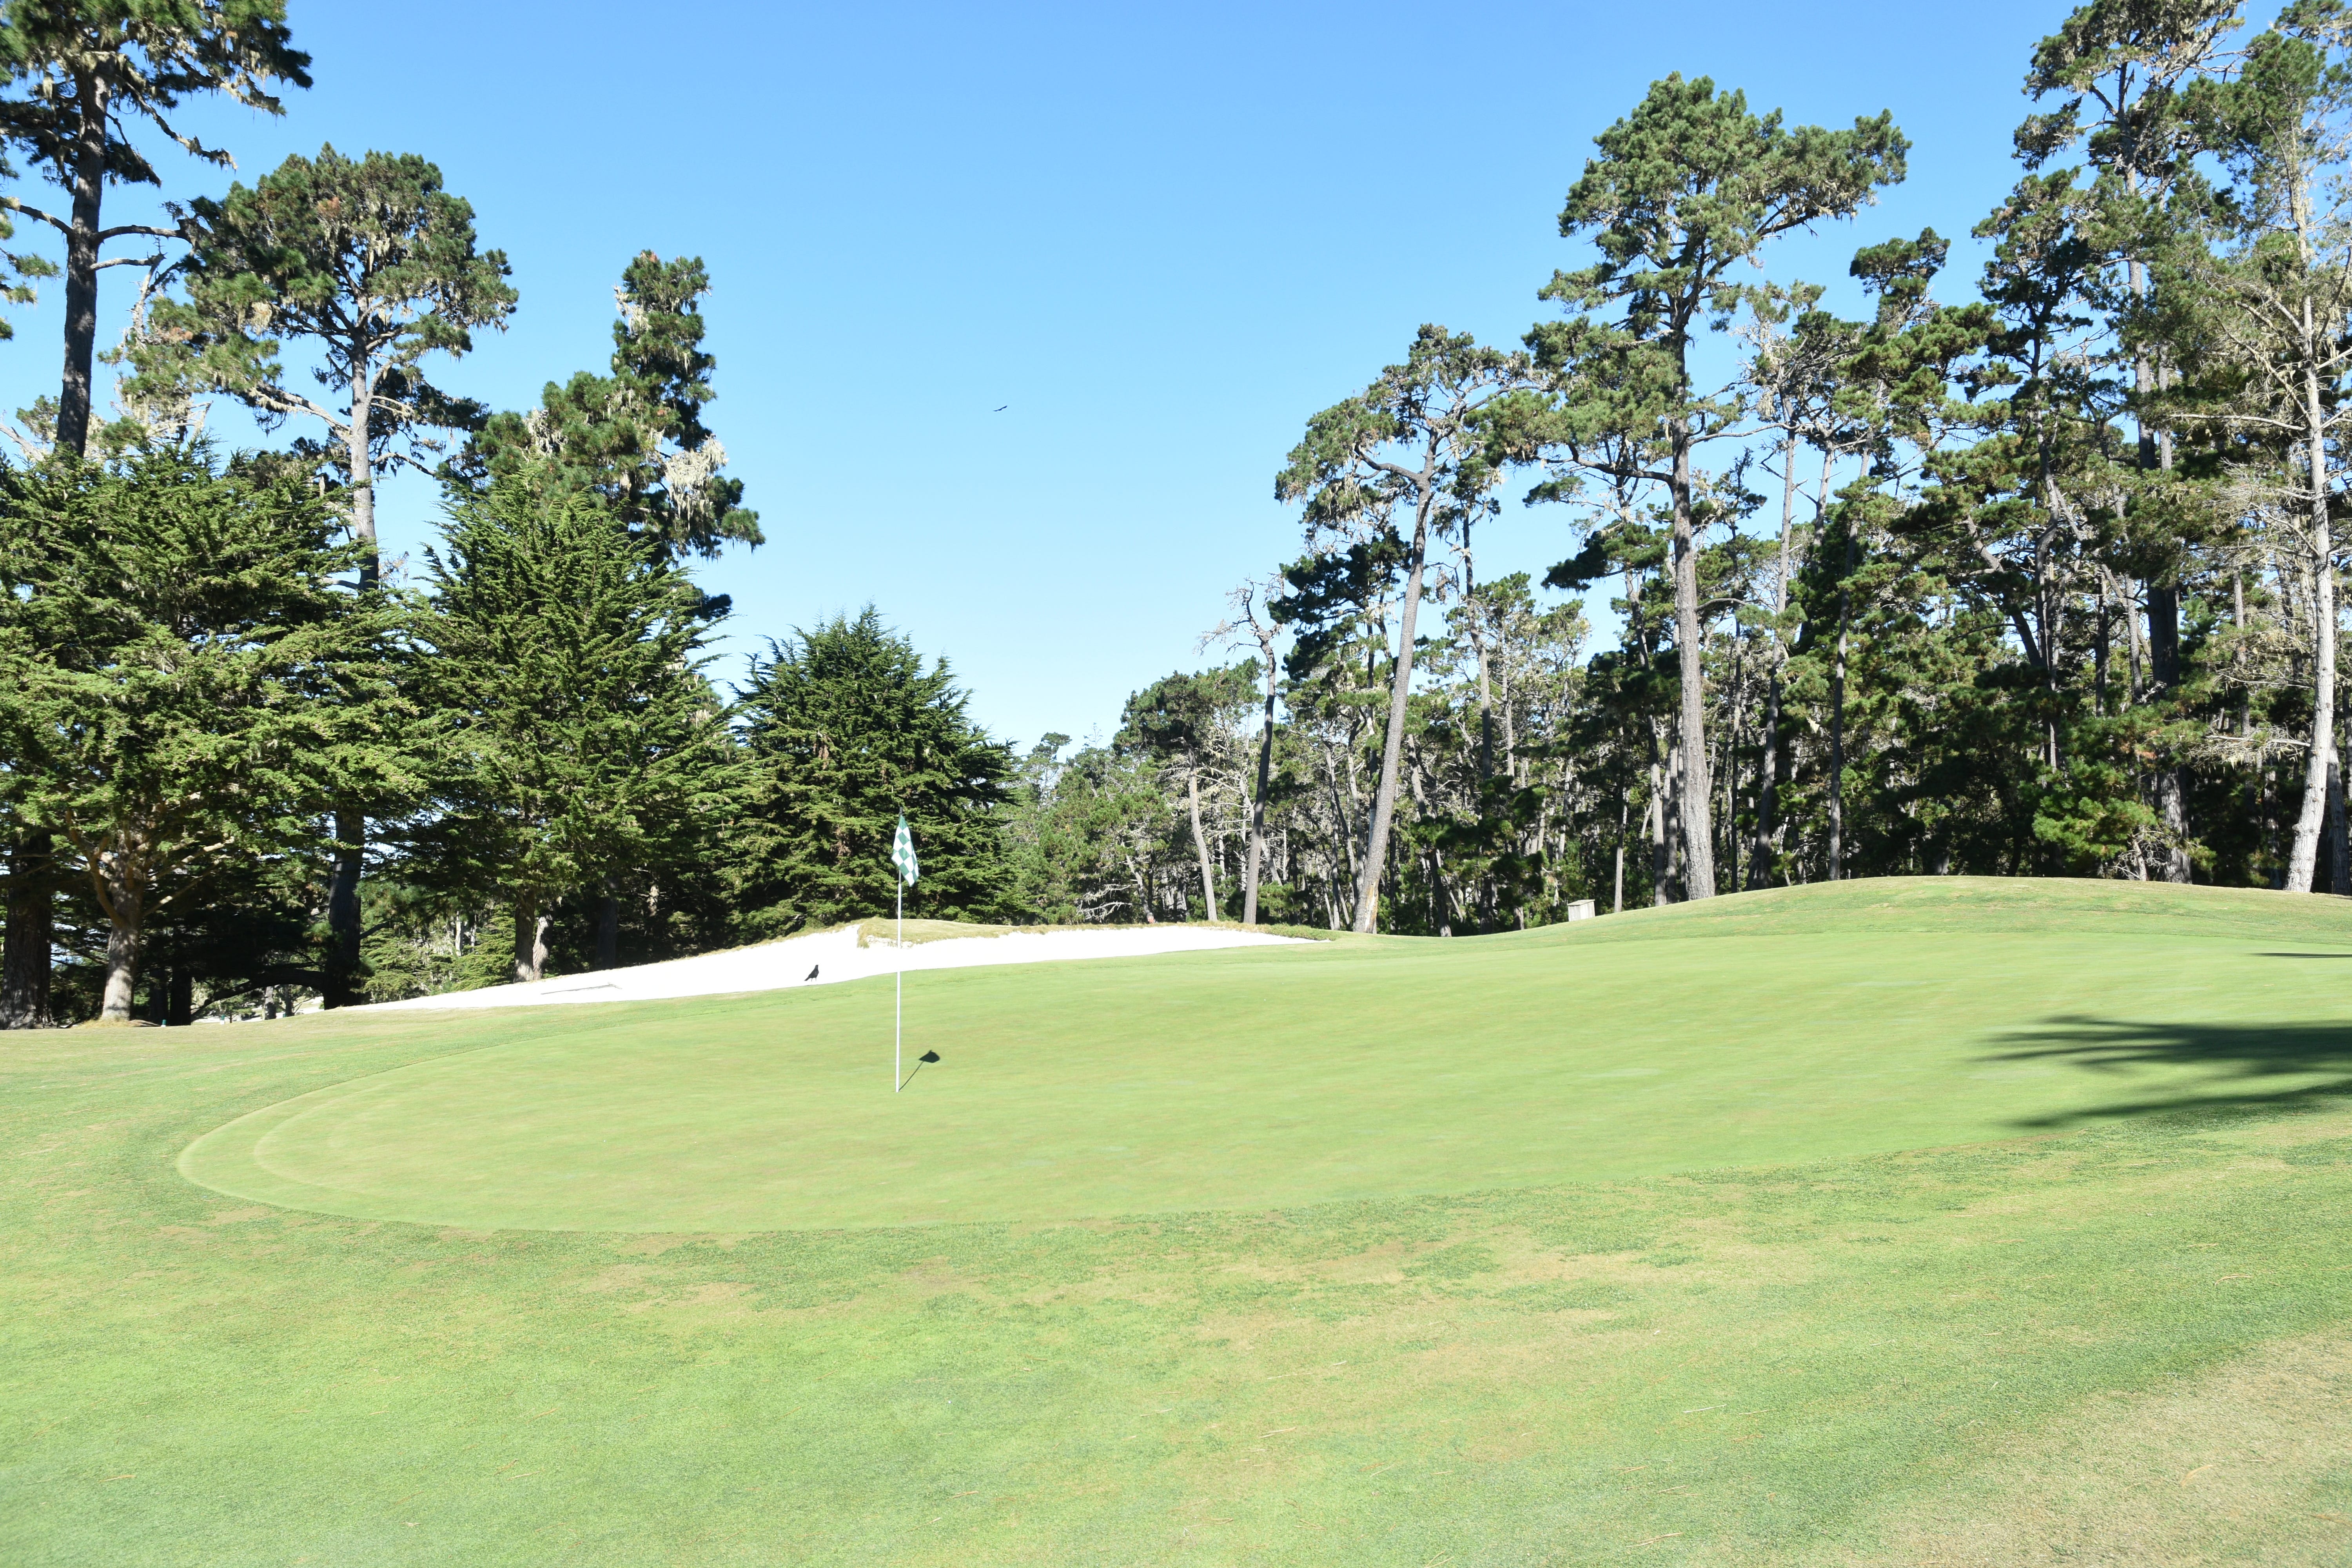
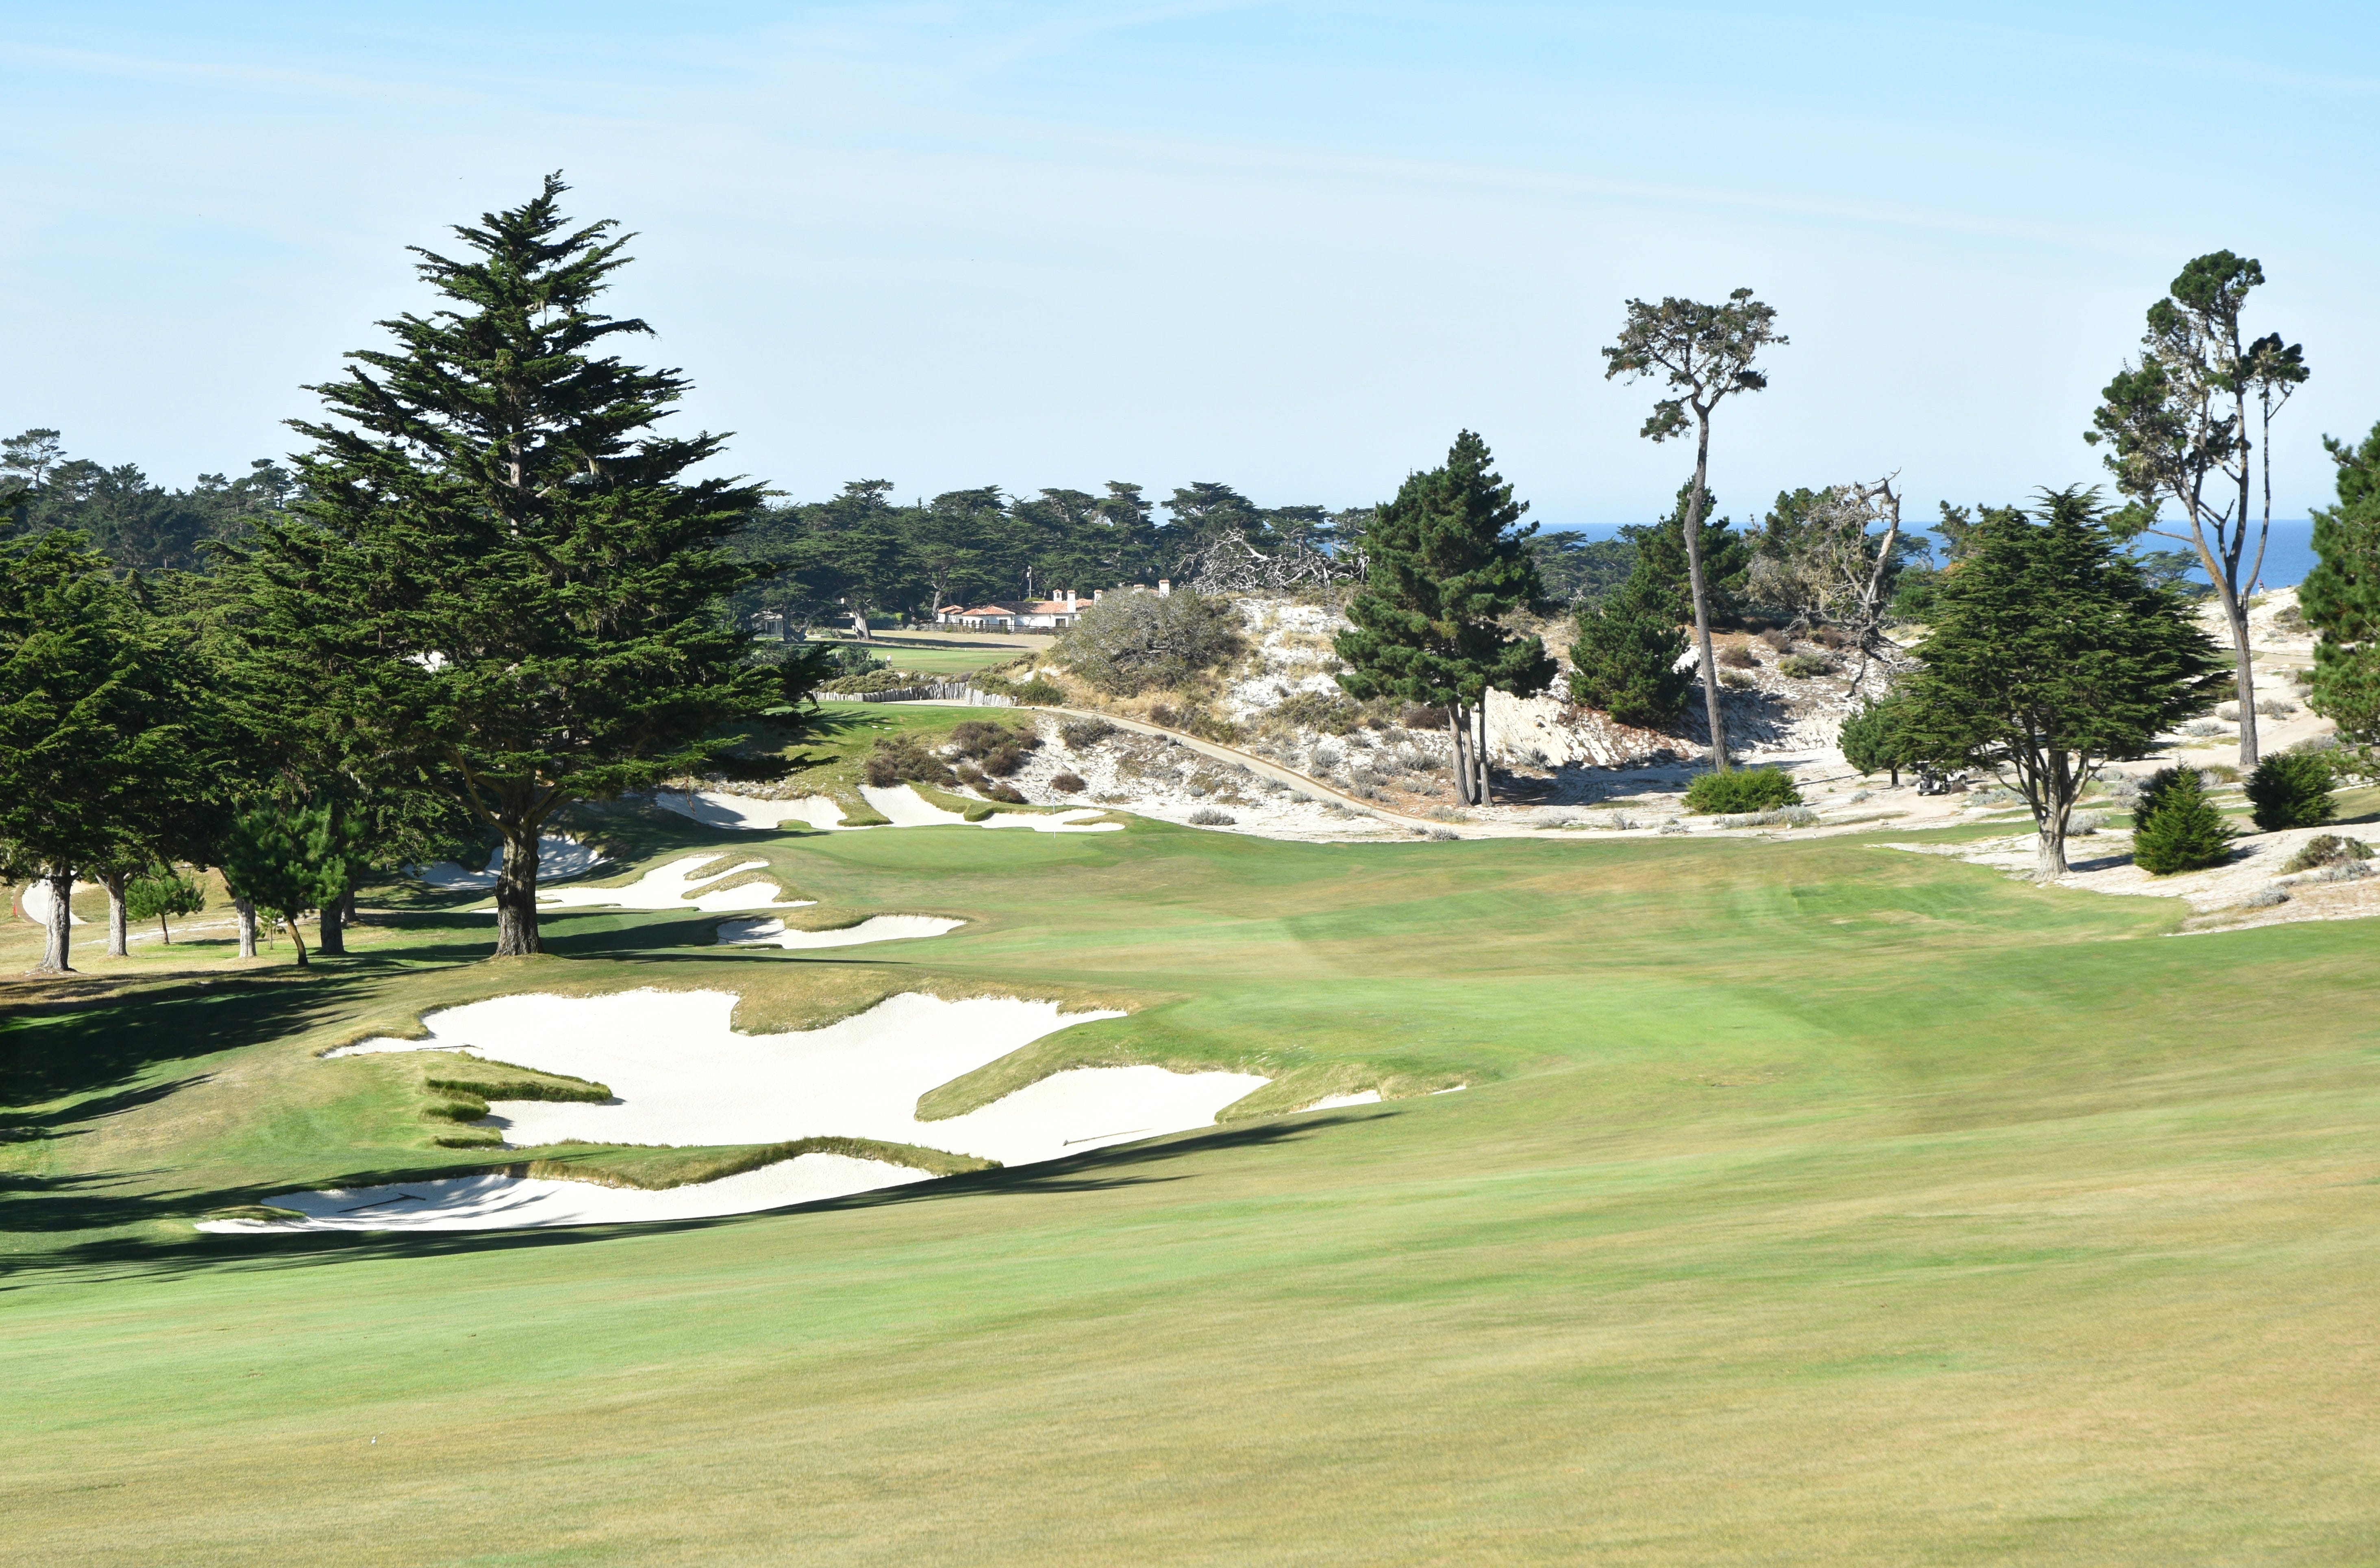
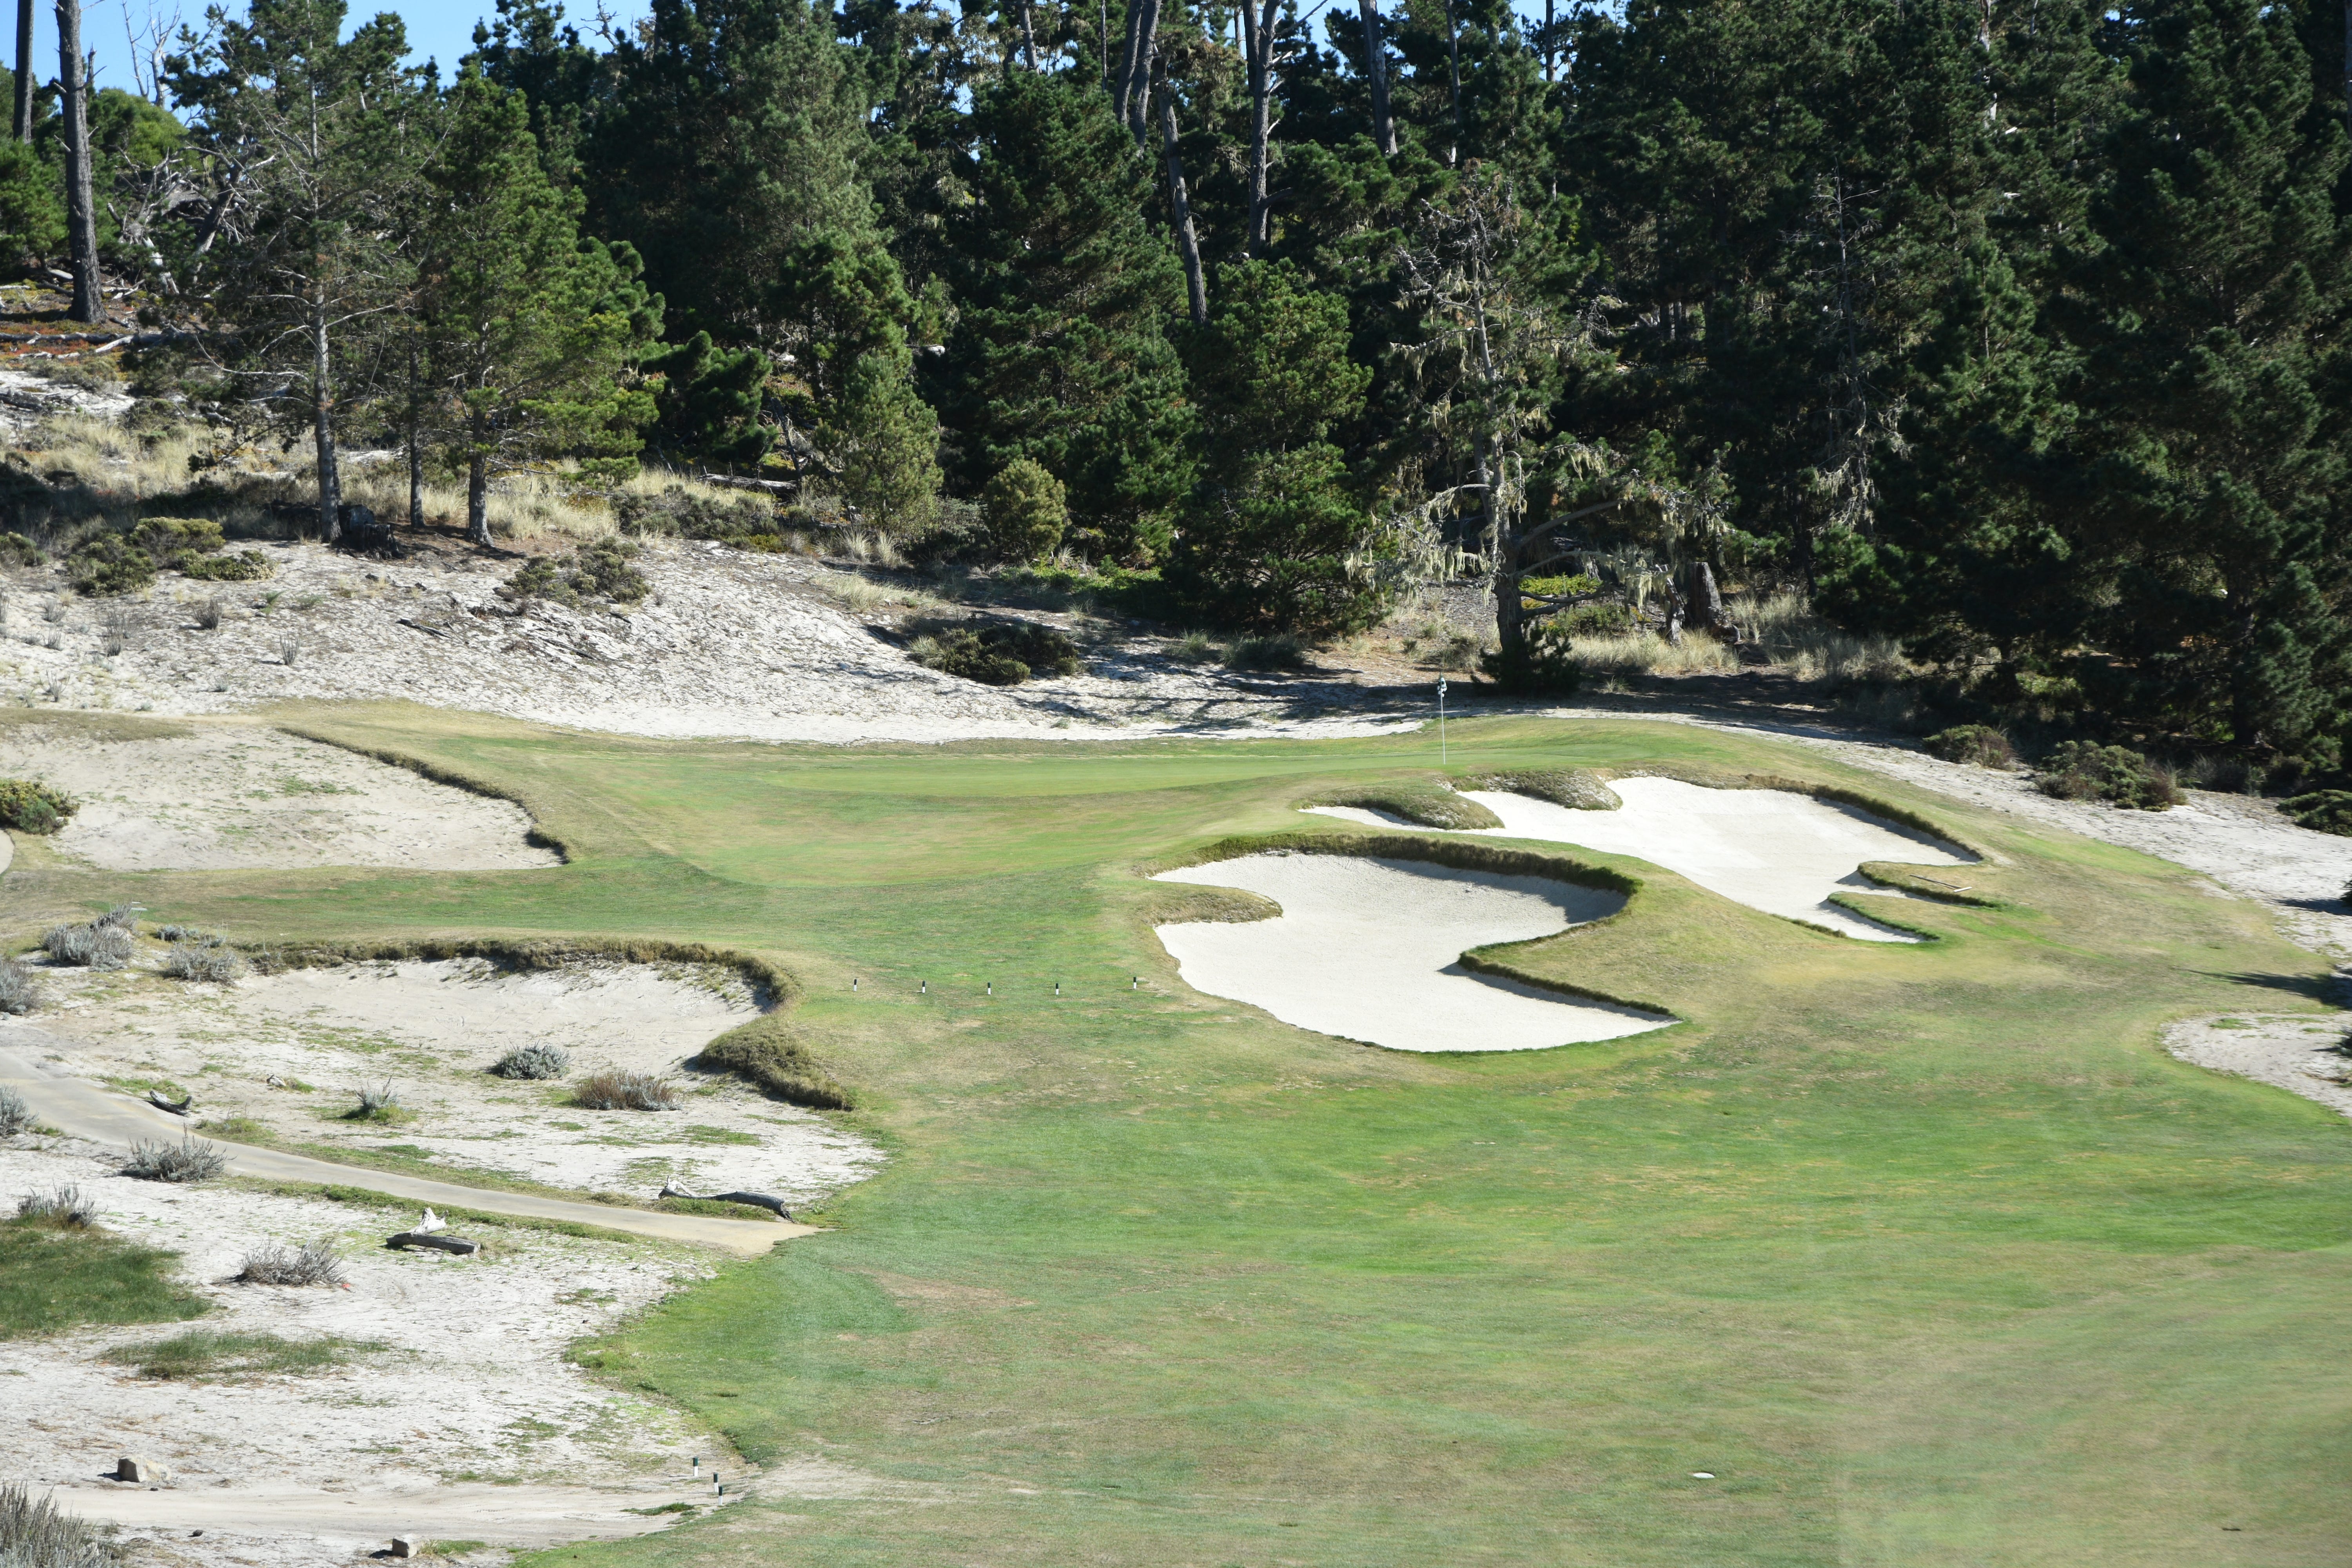
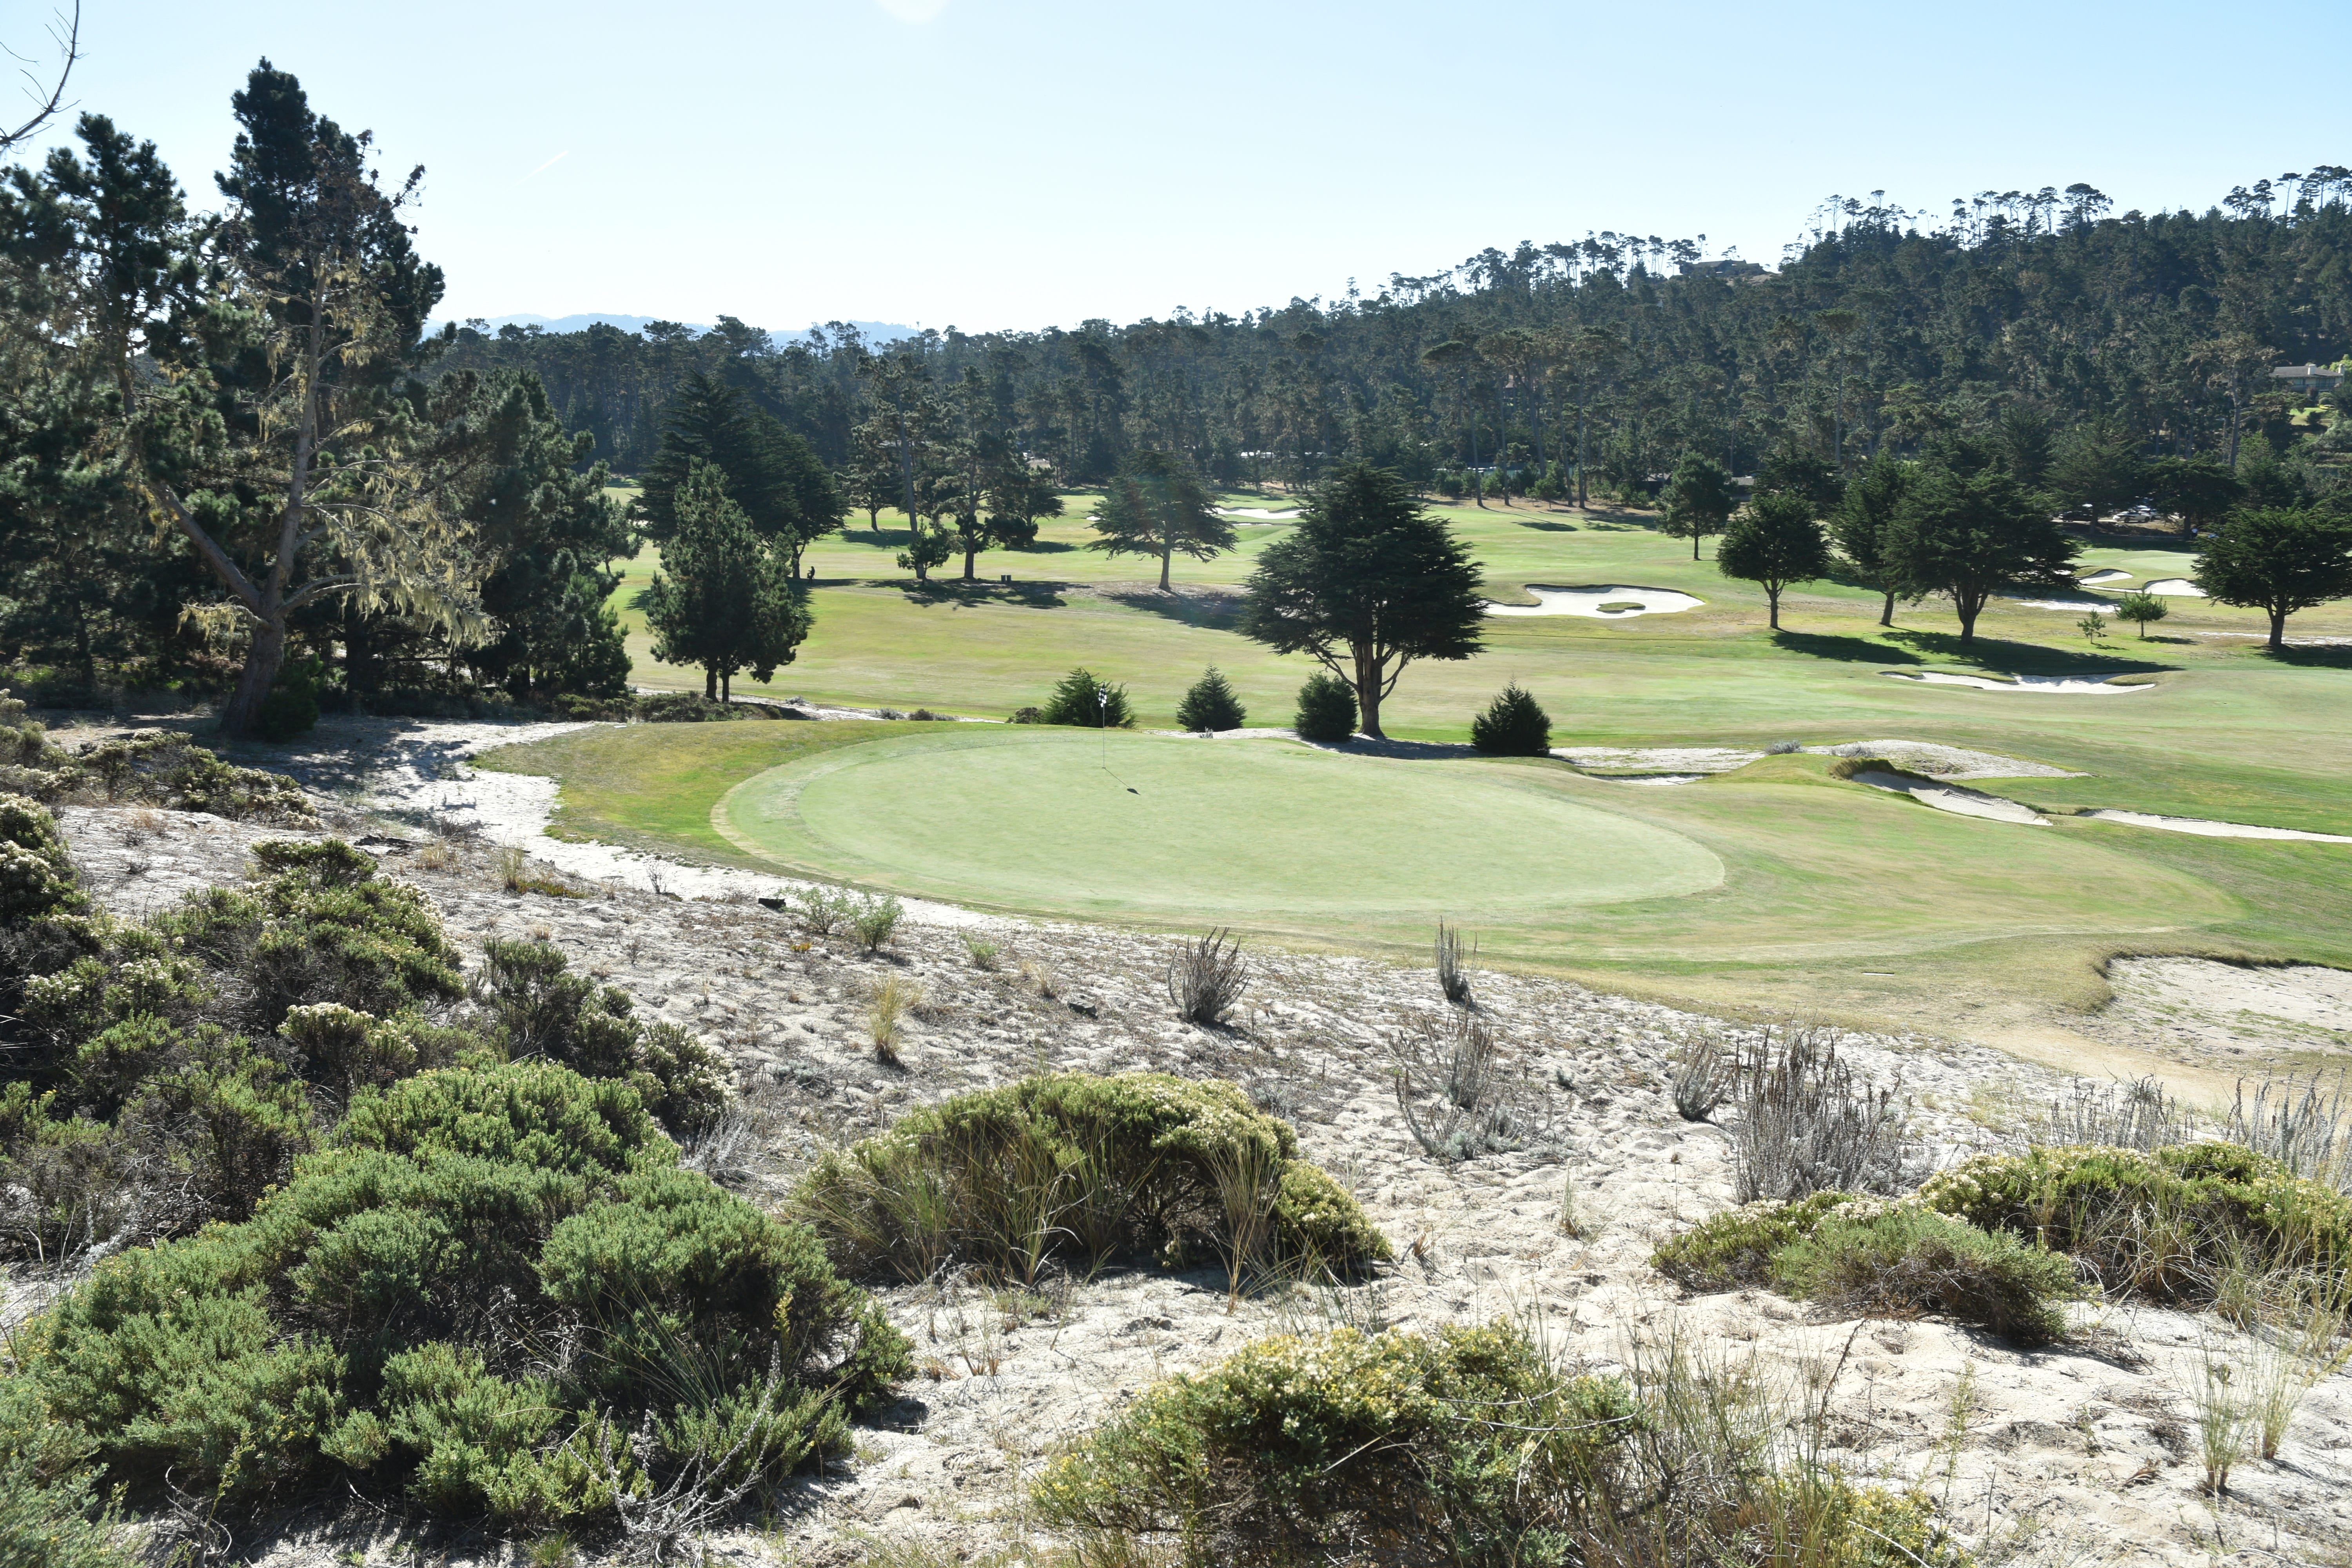
The 5th hole approach — the green is perched up high on top of a knoll
Another vantage point of the massive right fairway cross bunker
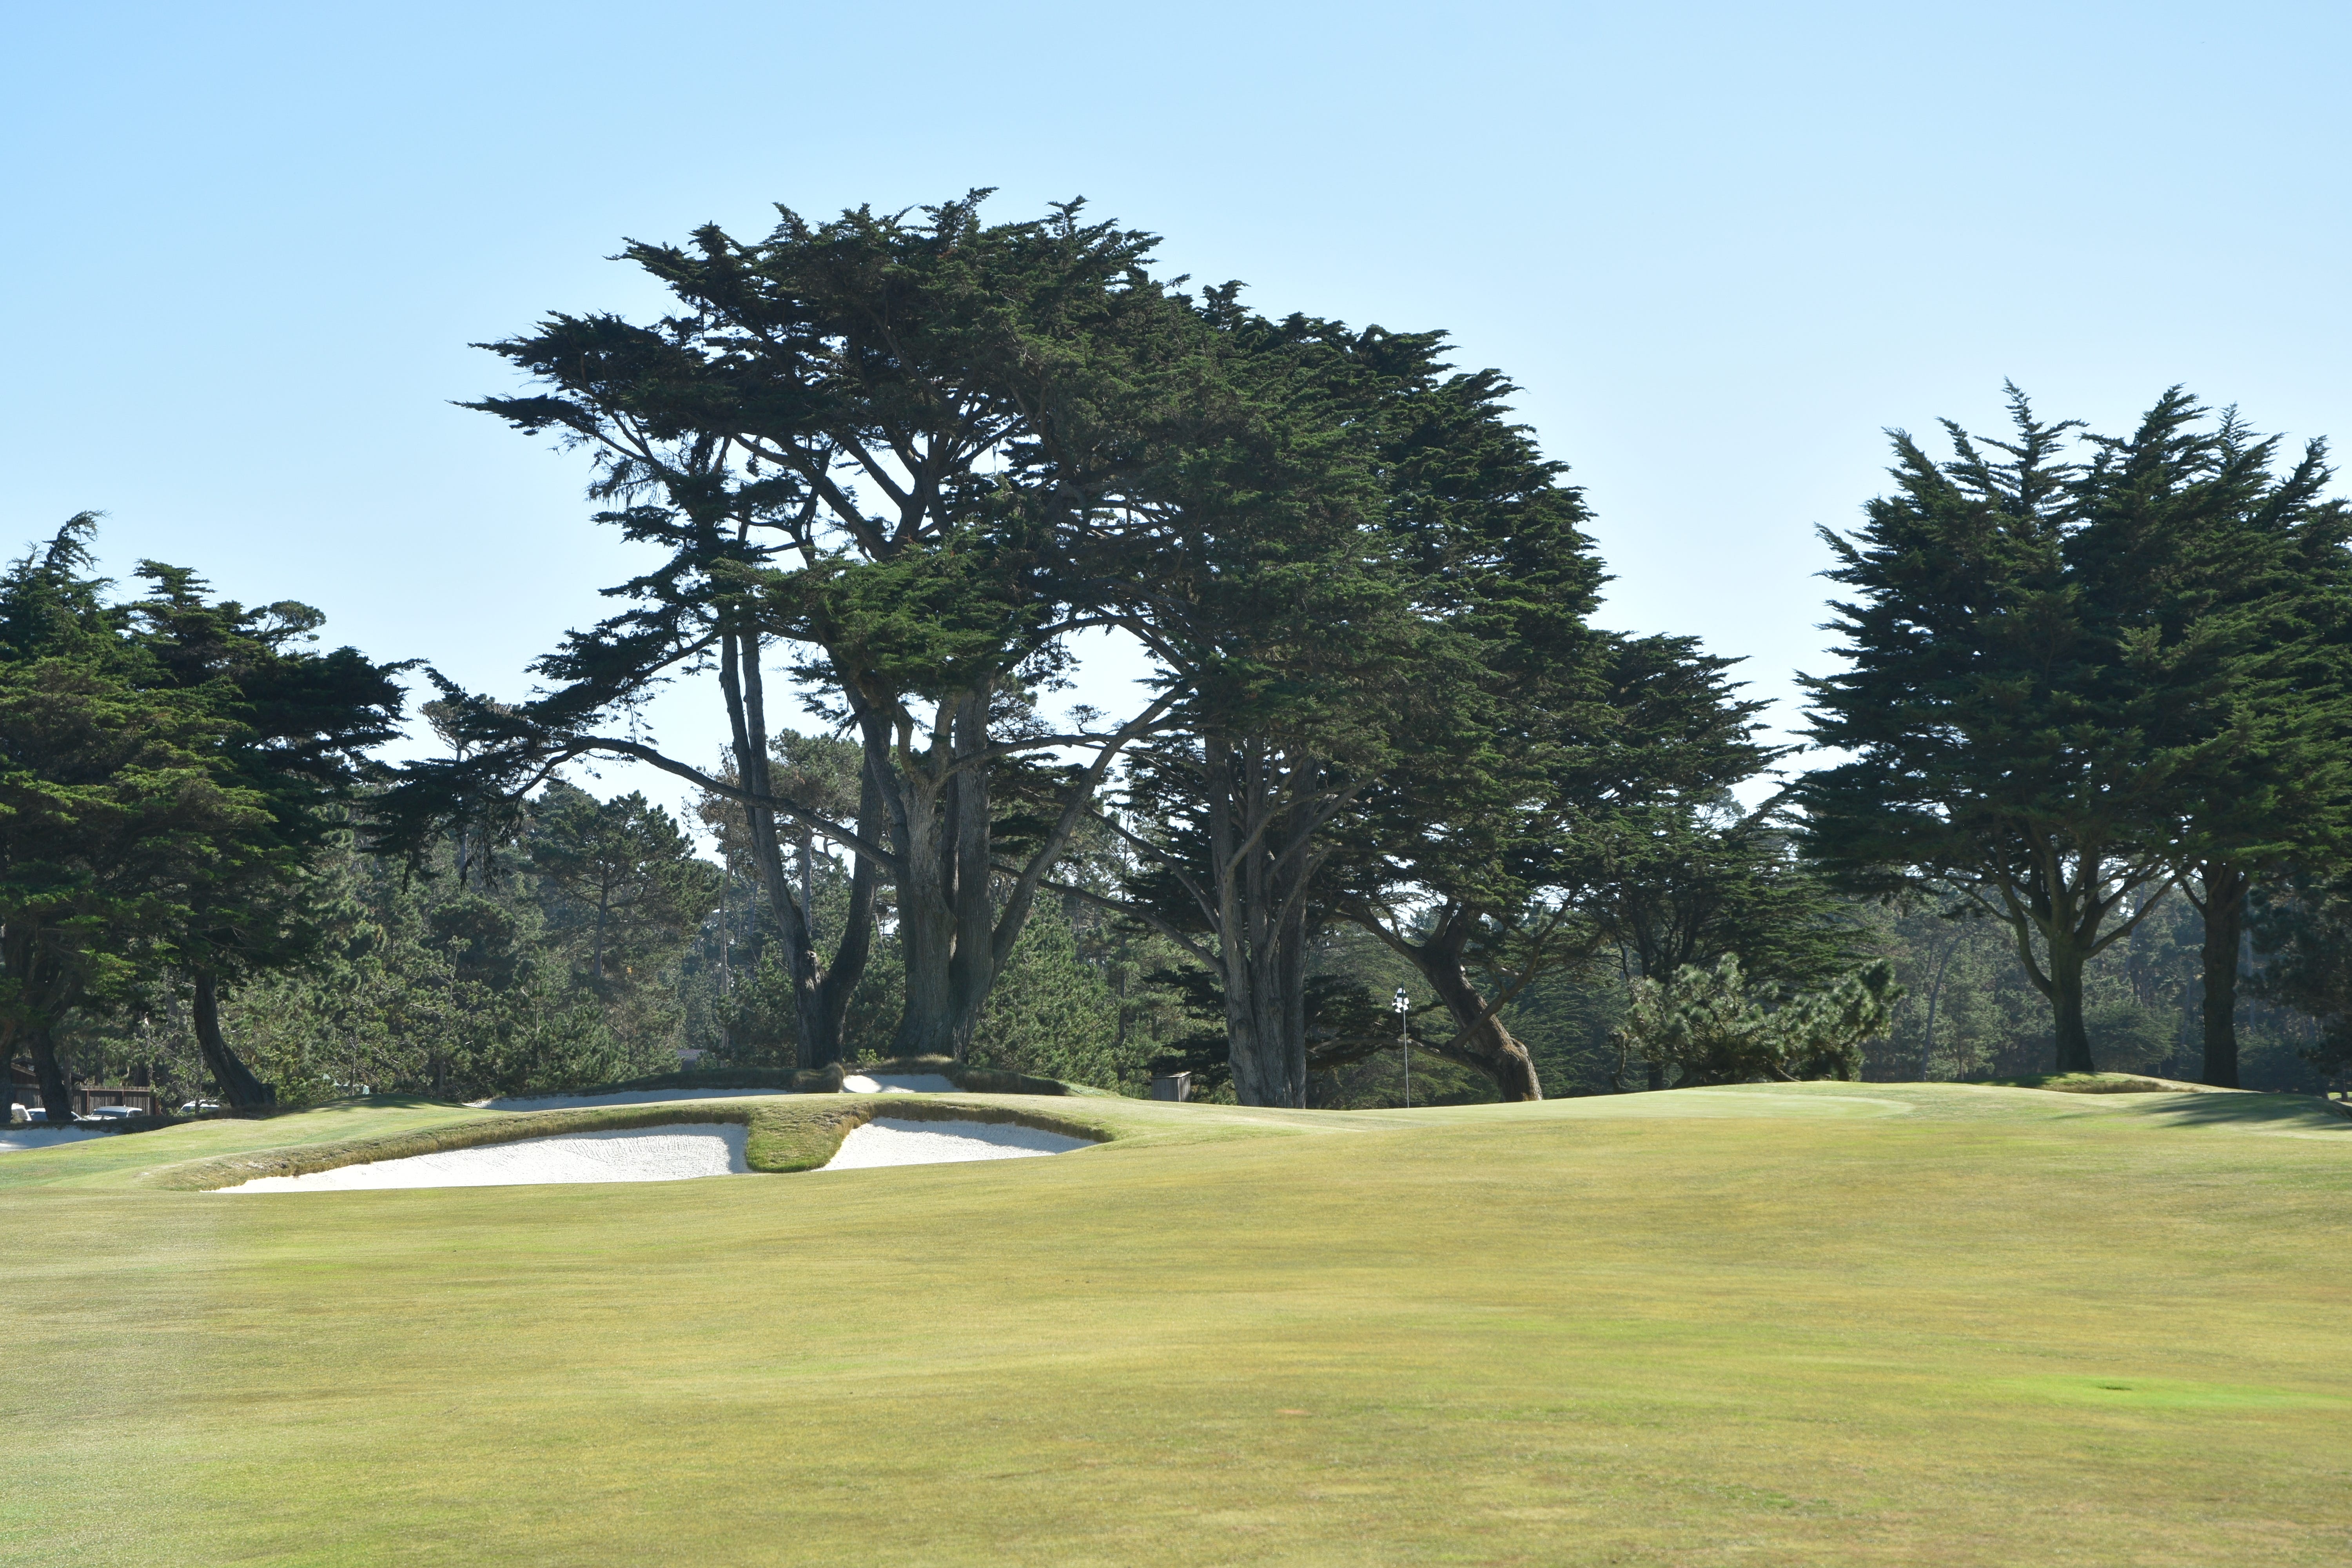
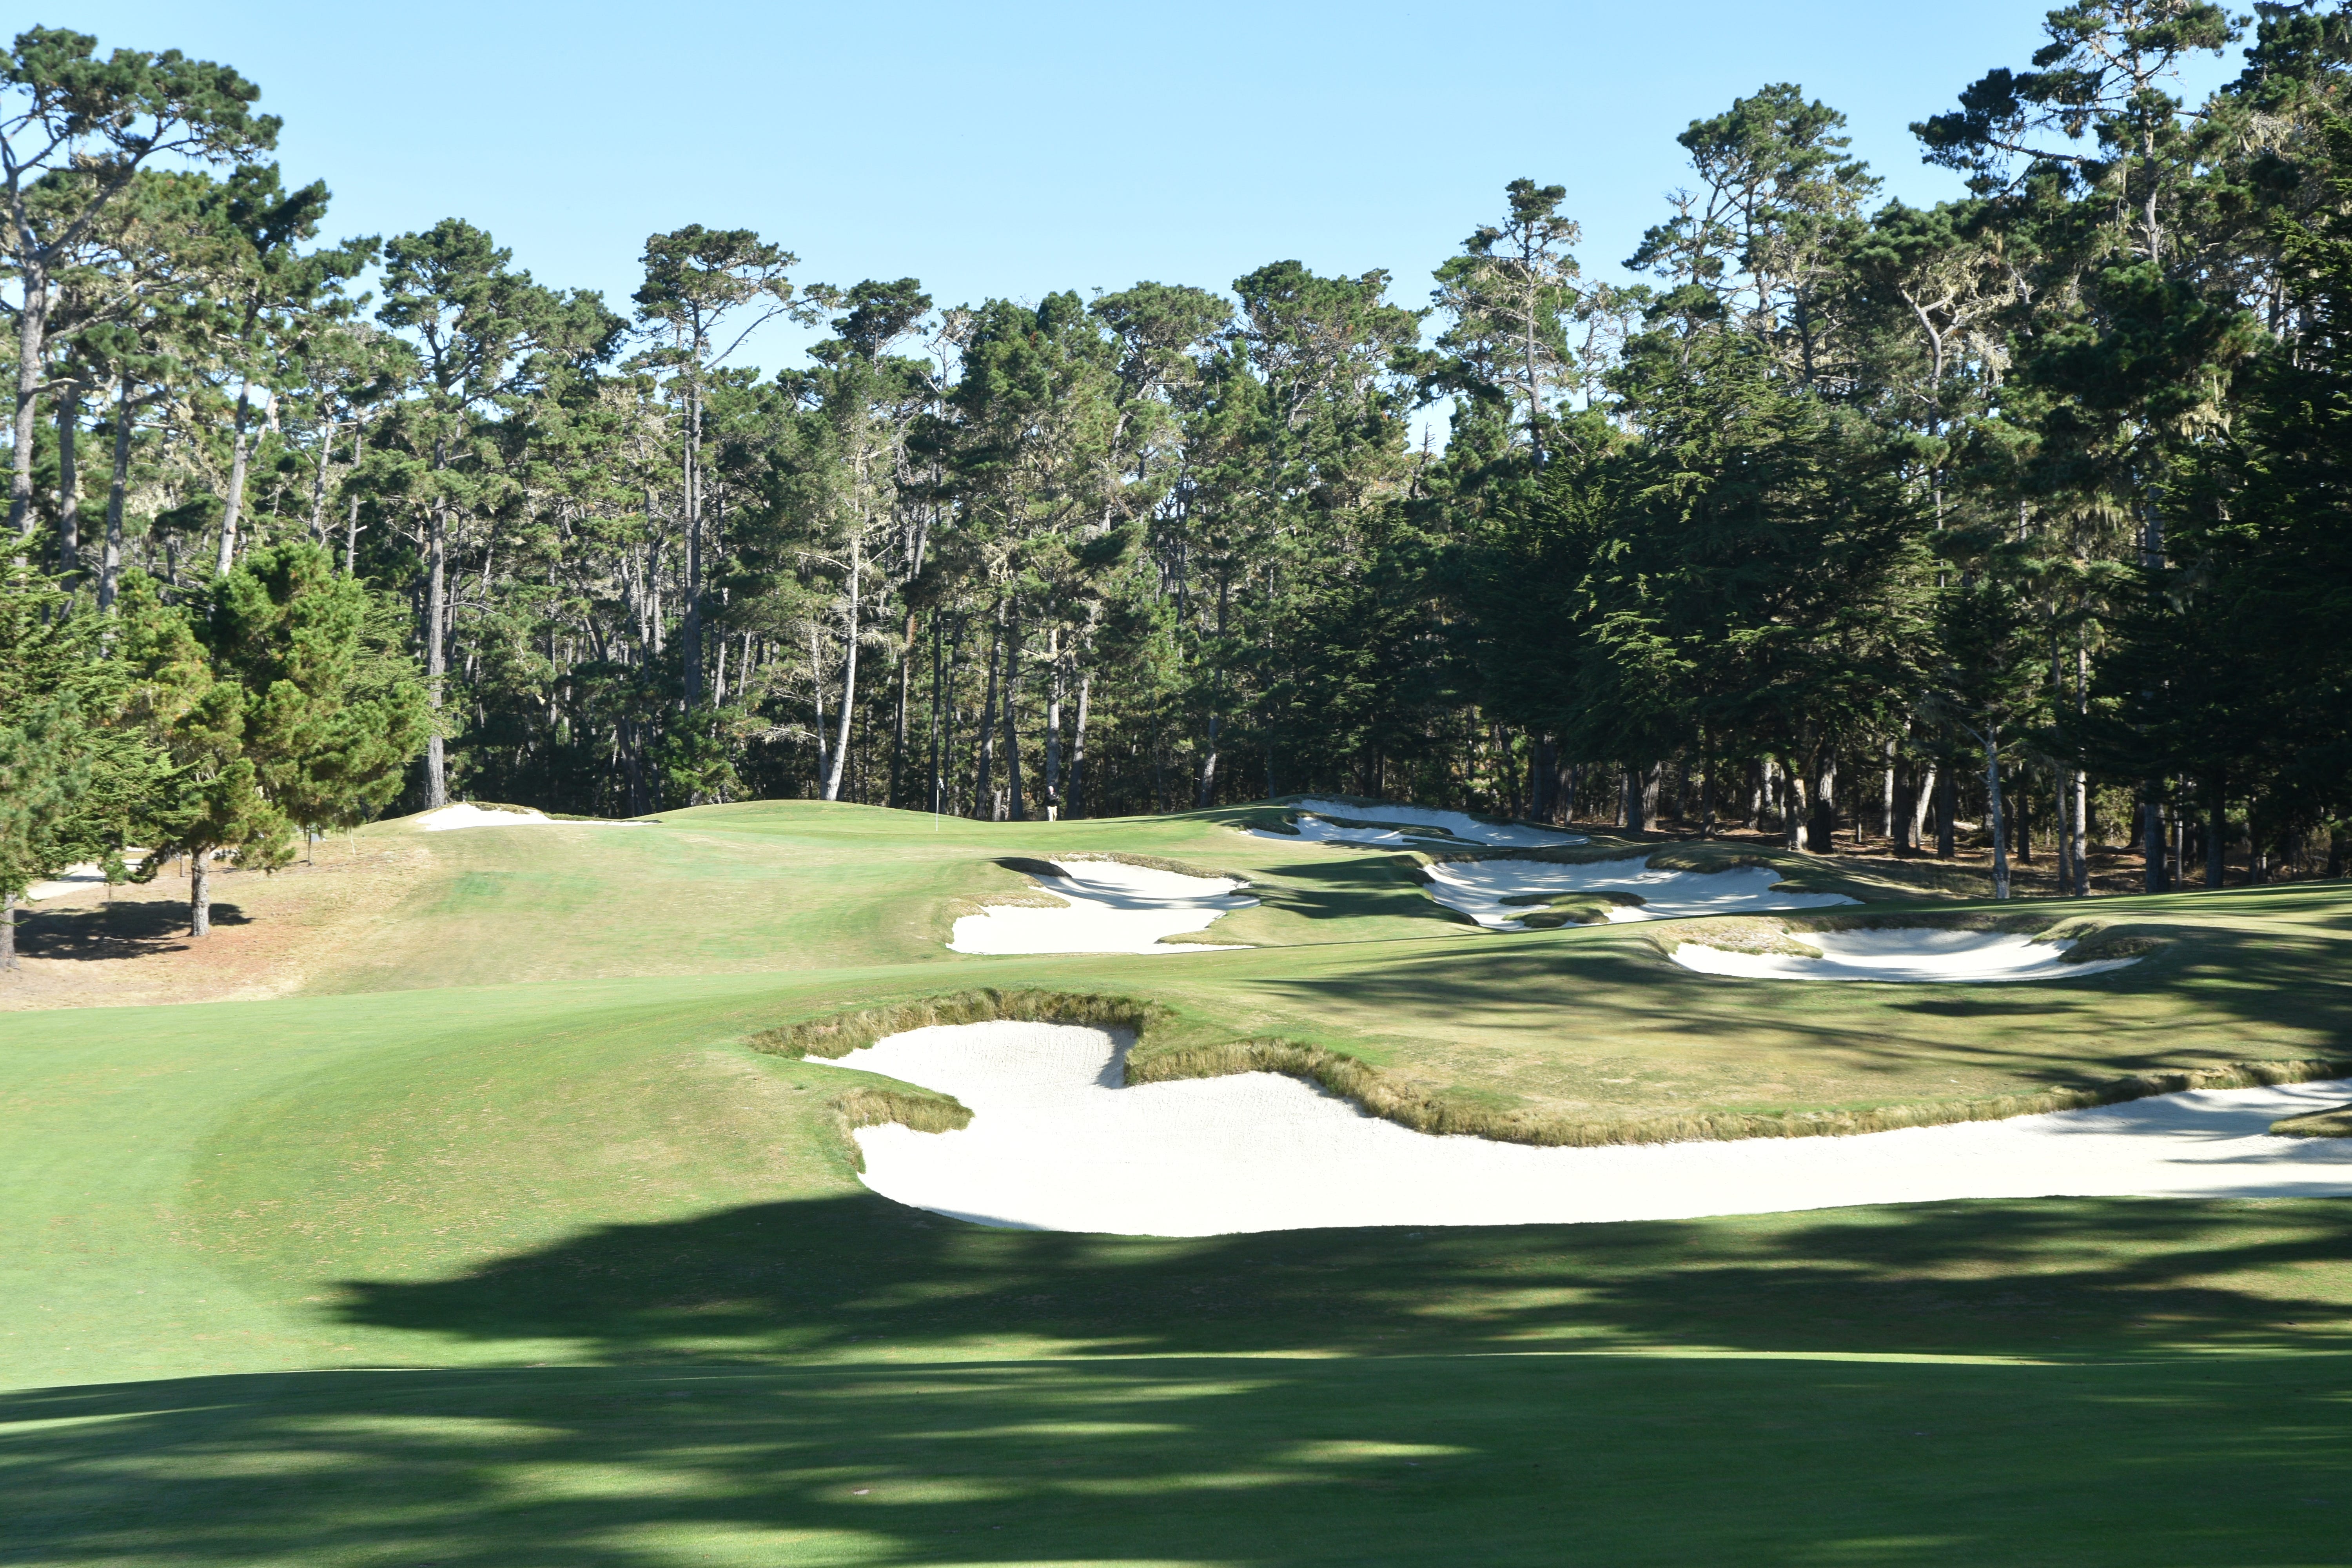
As a player climbs up the 5th hole fairway, two gigantic bunkers to the right of the green reveal themselves — while also appearing to be near the green, they are actually 30 yards short of it
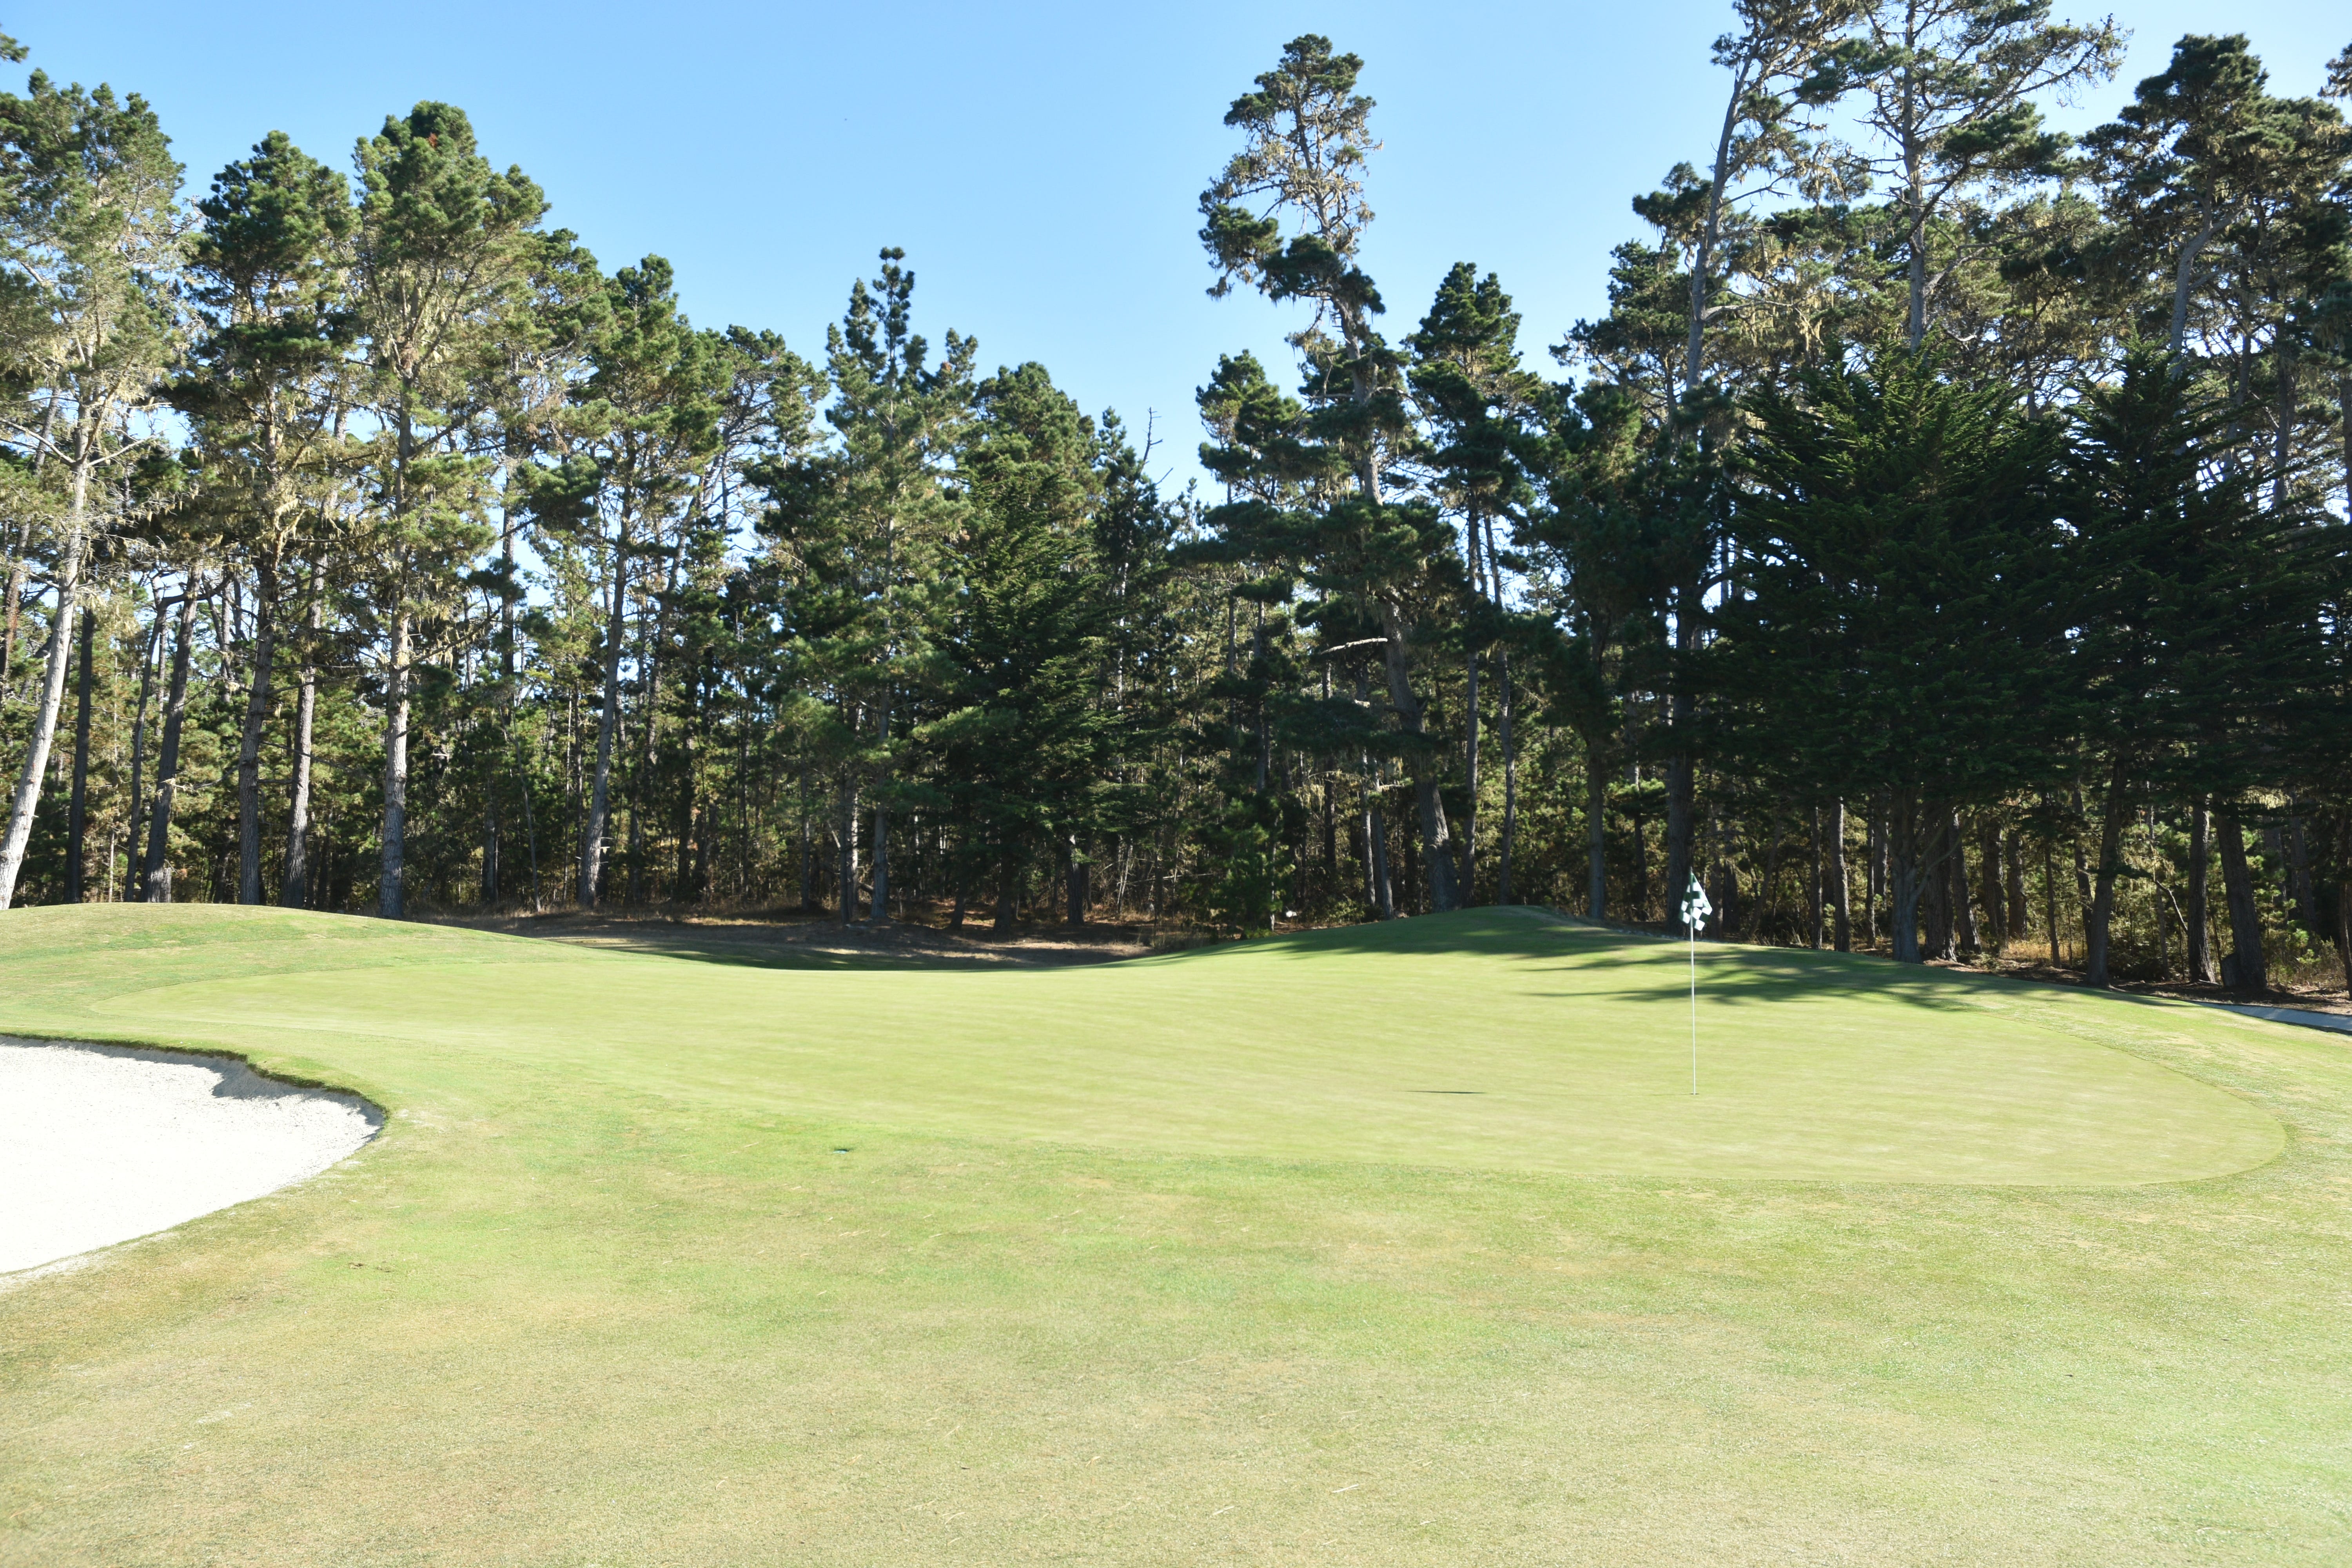
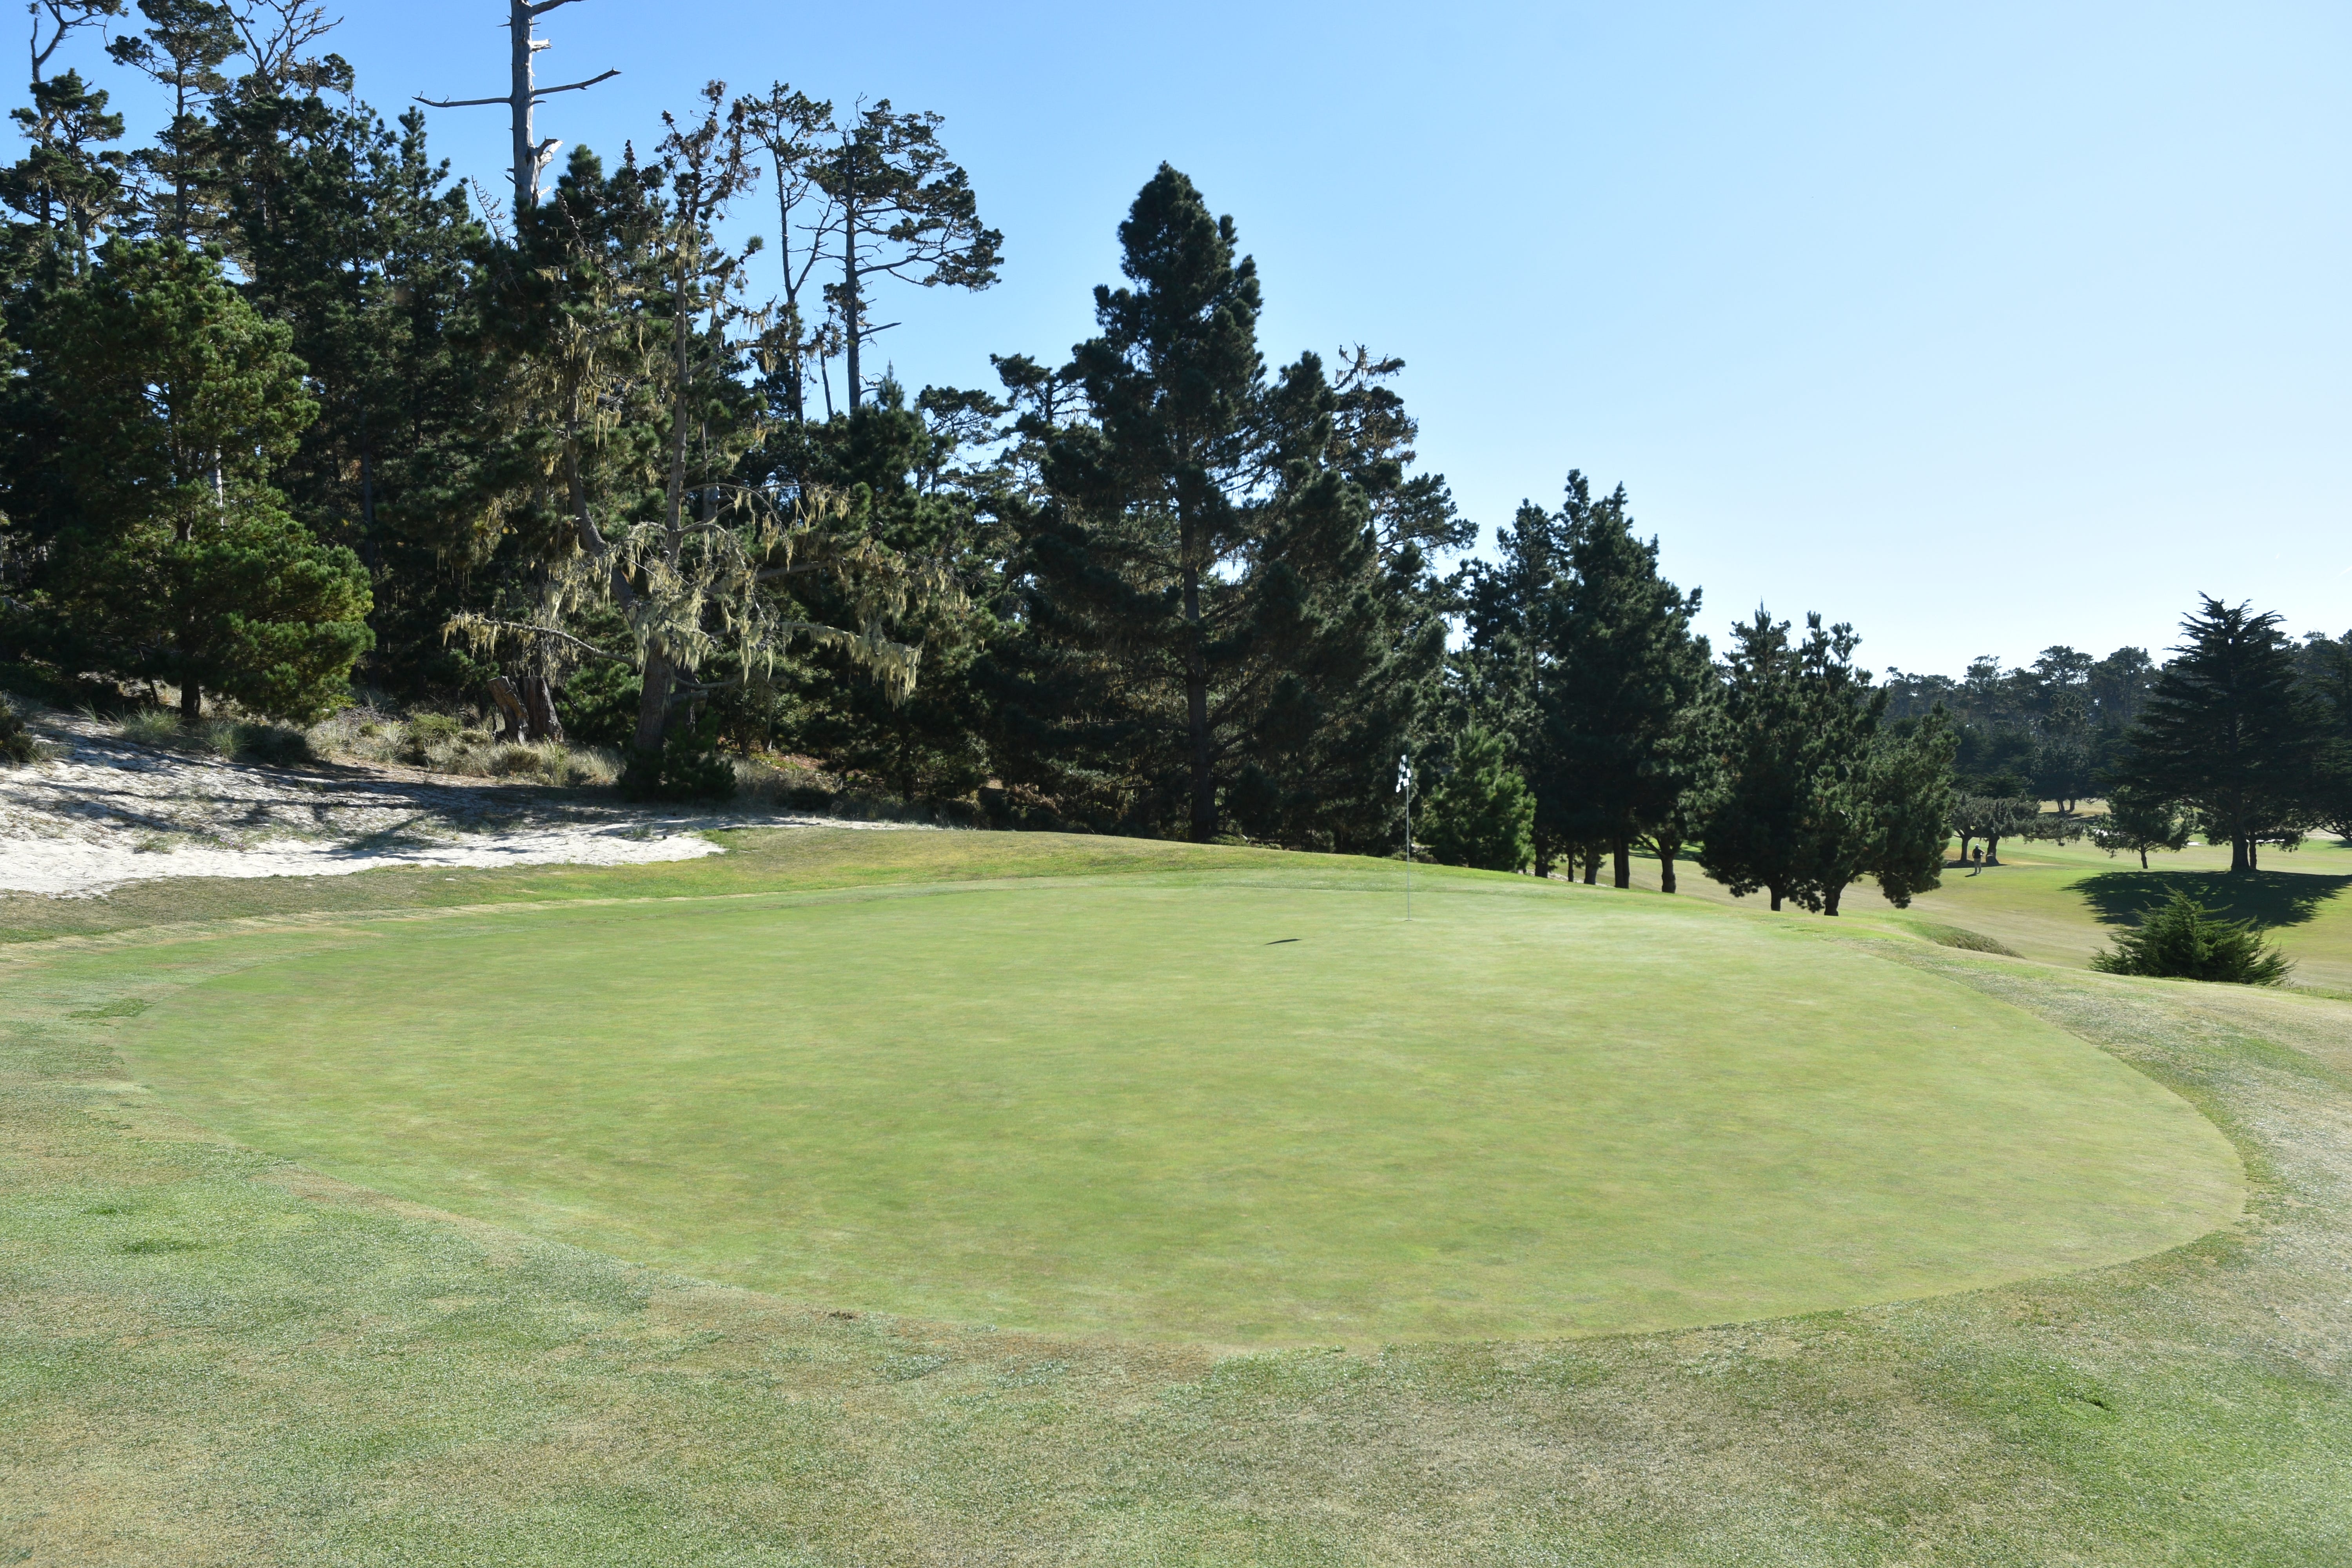
The 5th hole green viewed from the front right — the green is two-tiered and being above the hole is quite treacherous
The 5th hole green viewed from the front left
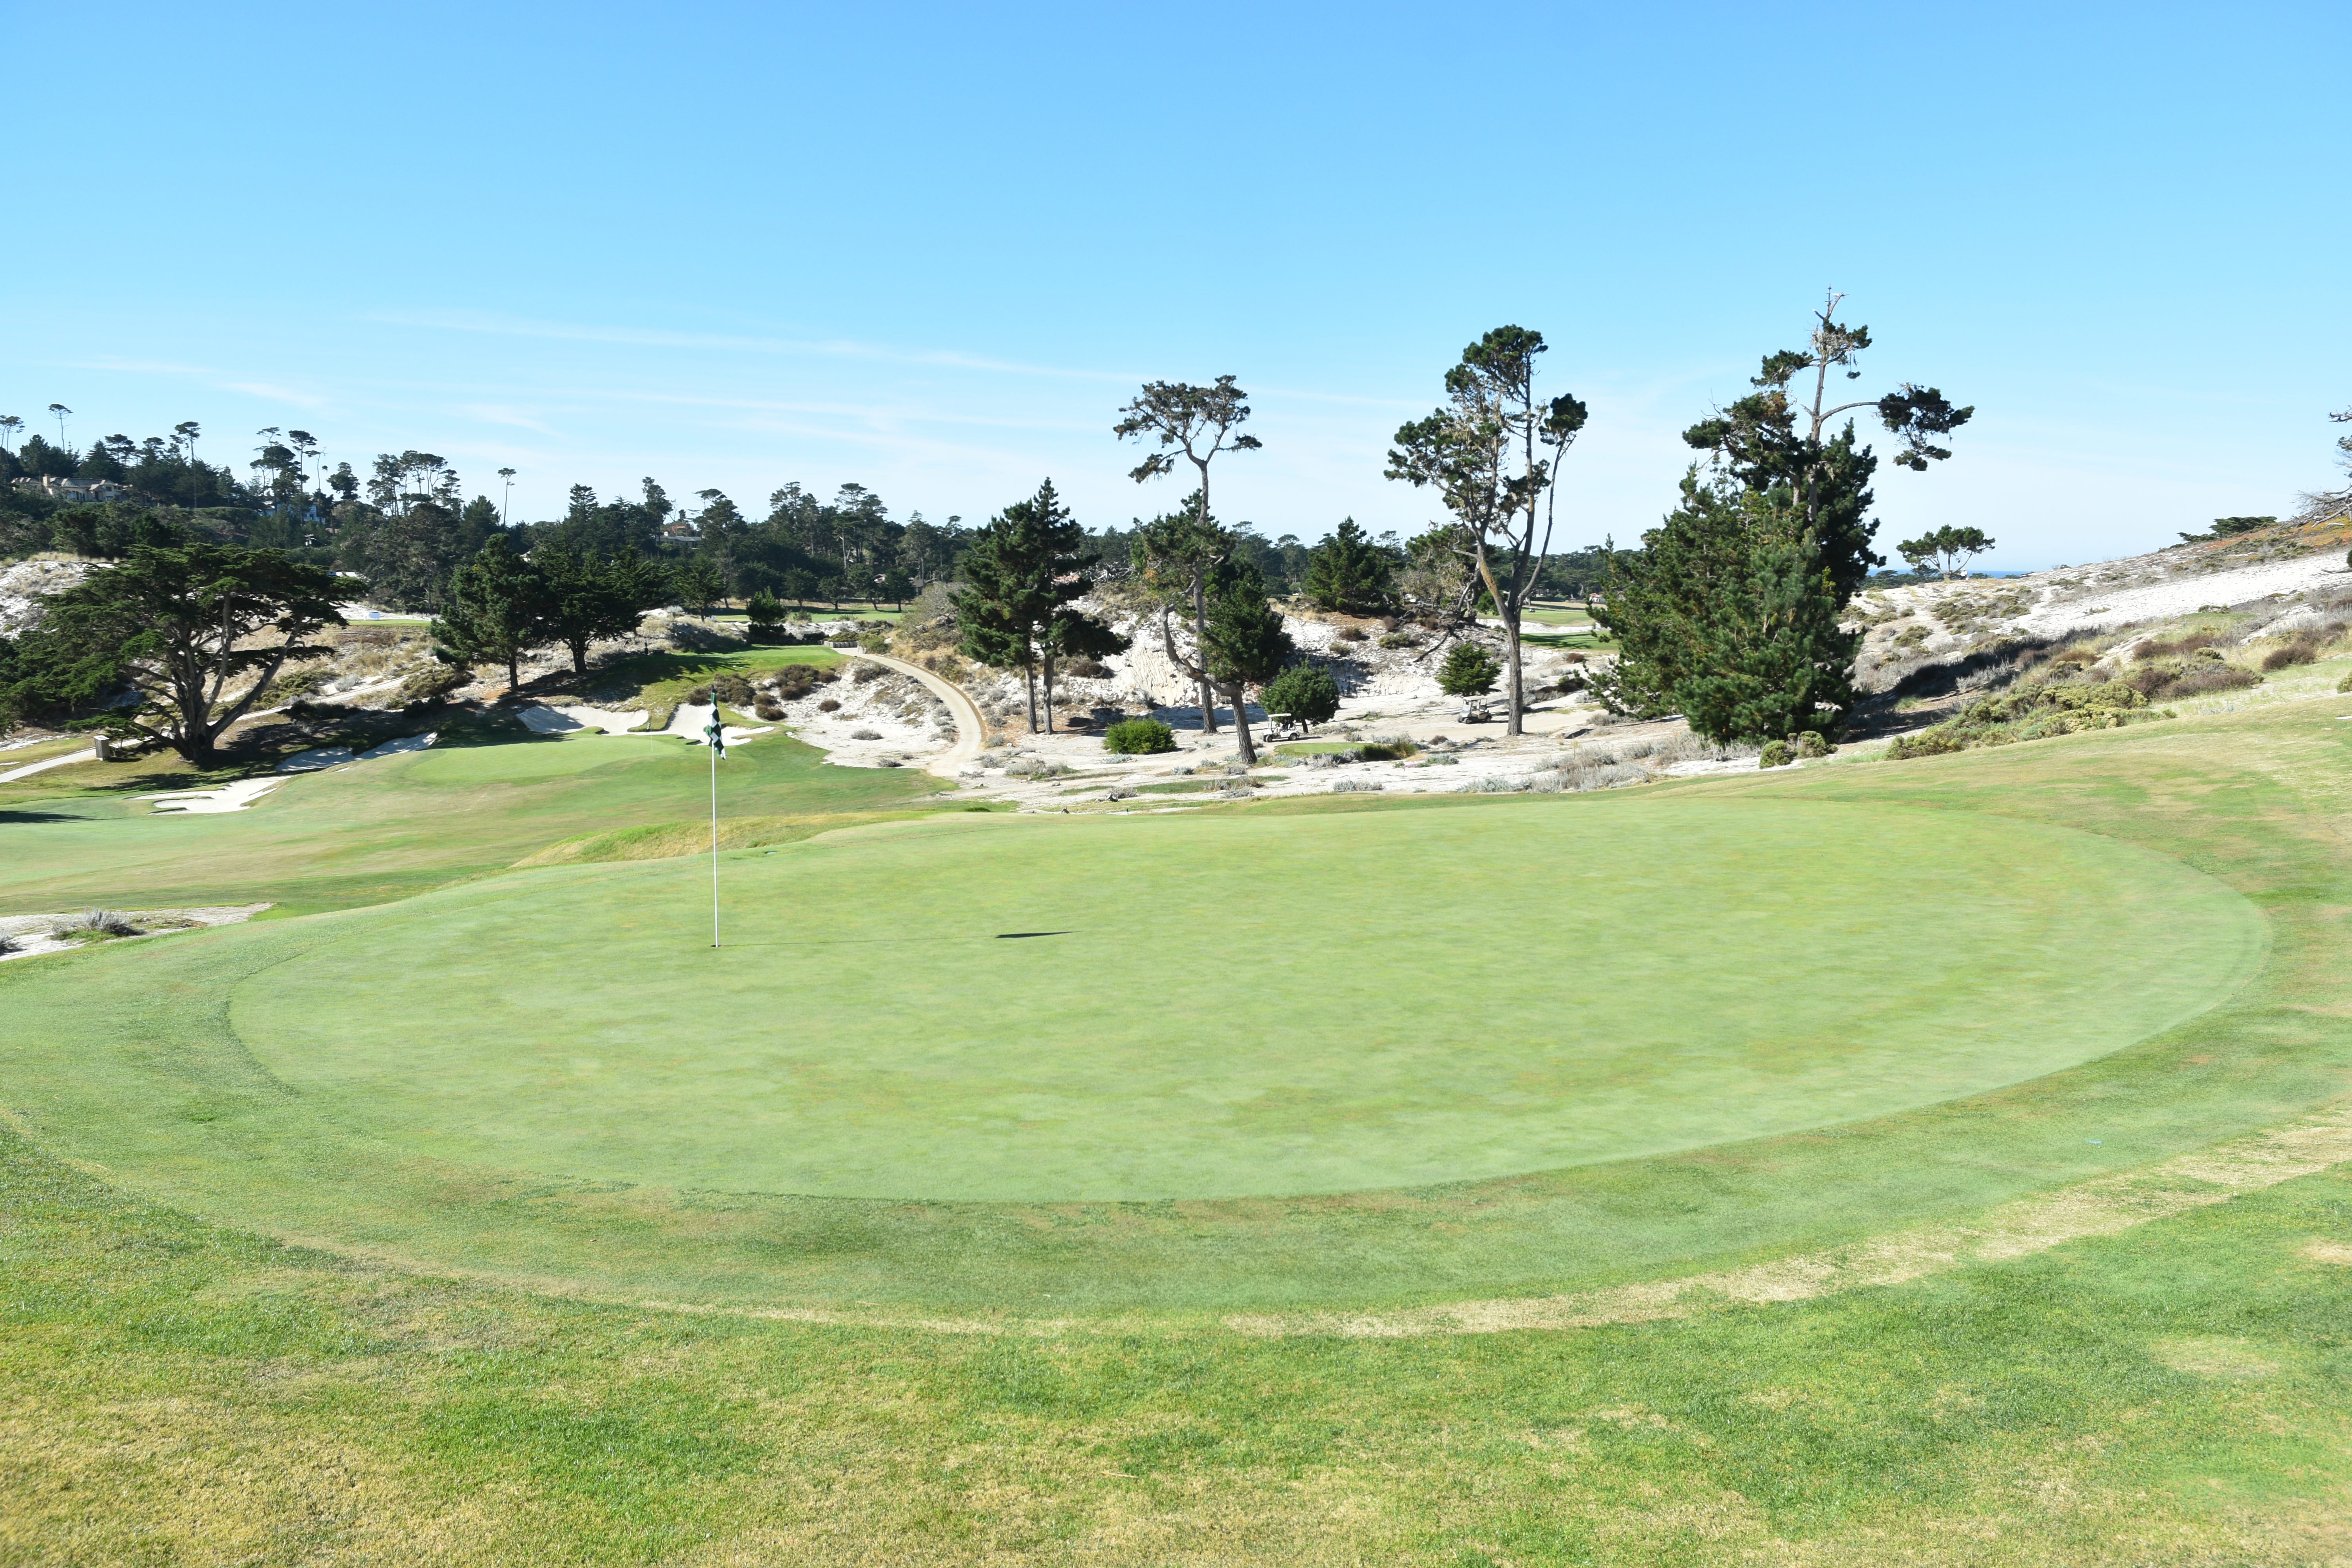
The 5th hole green viewed from the back
Hole 6: Par 5, 521 Yards
The 6th hole is another par-5 hole that takes the player back towards the ocean
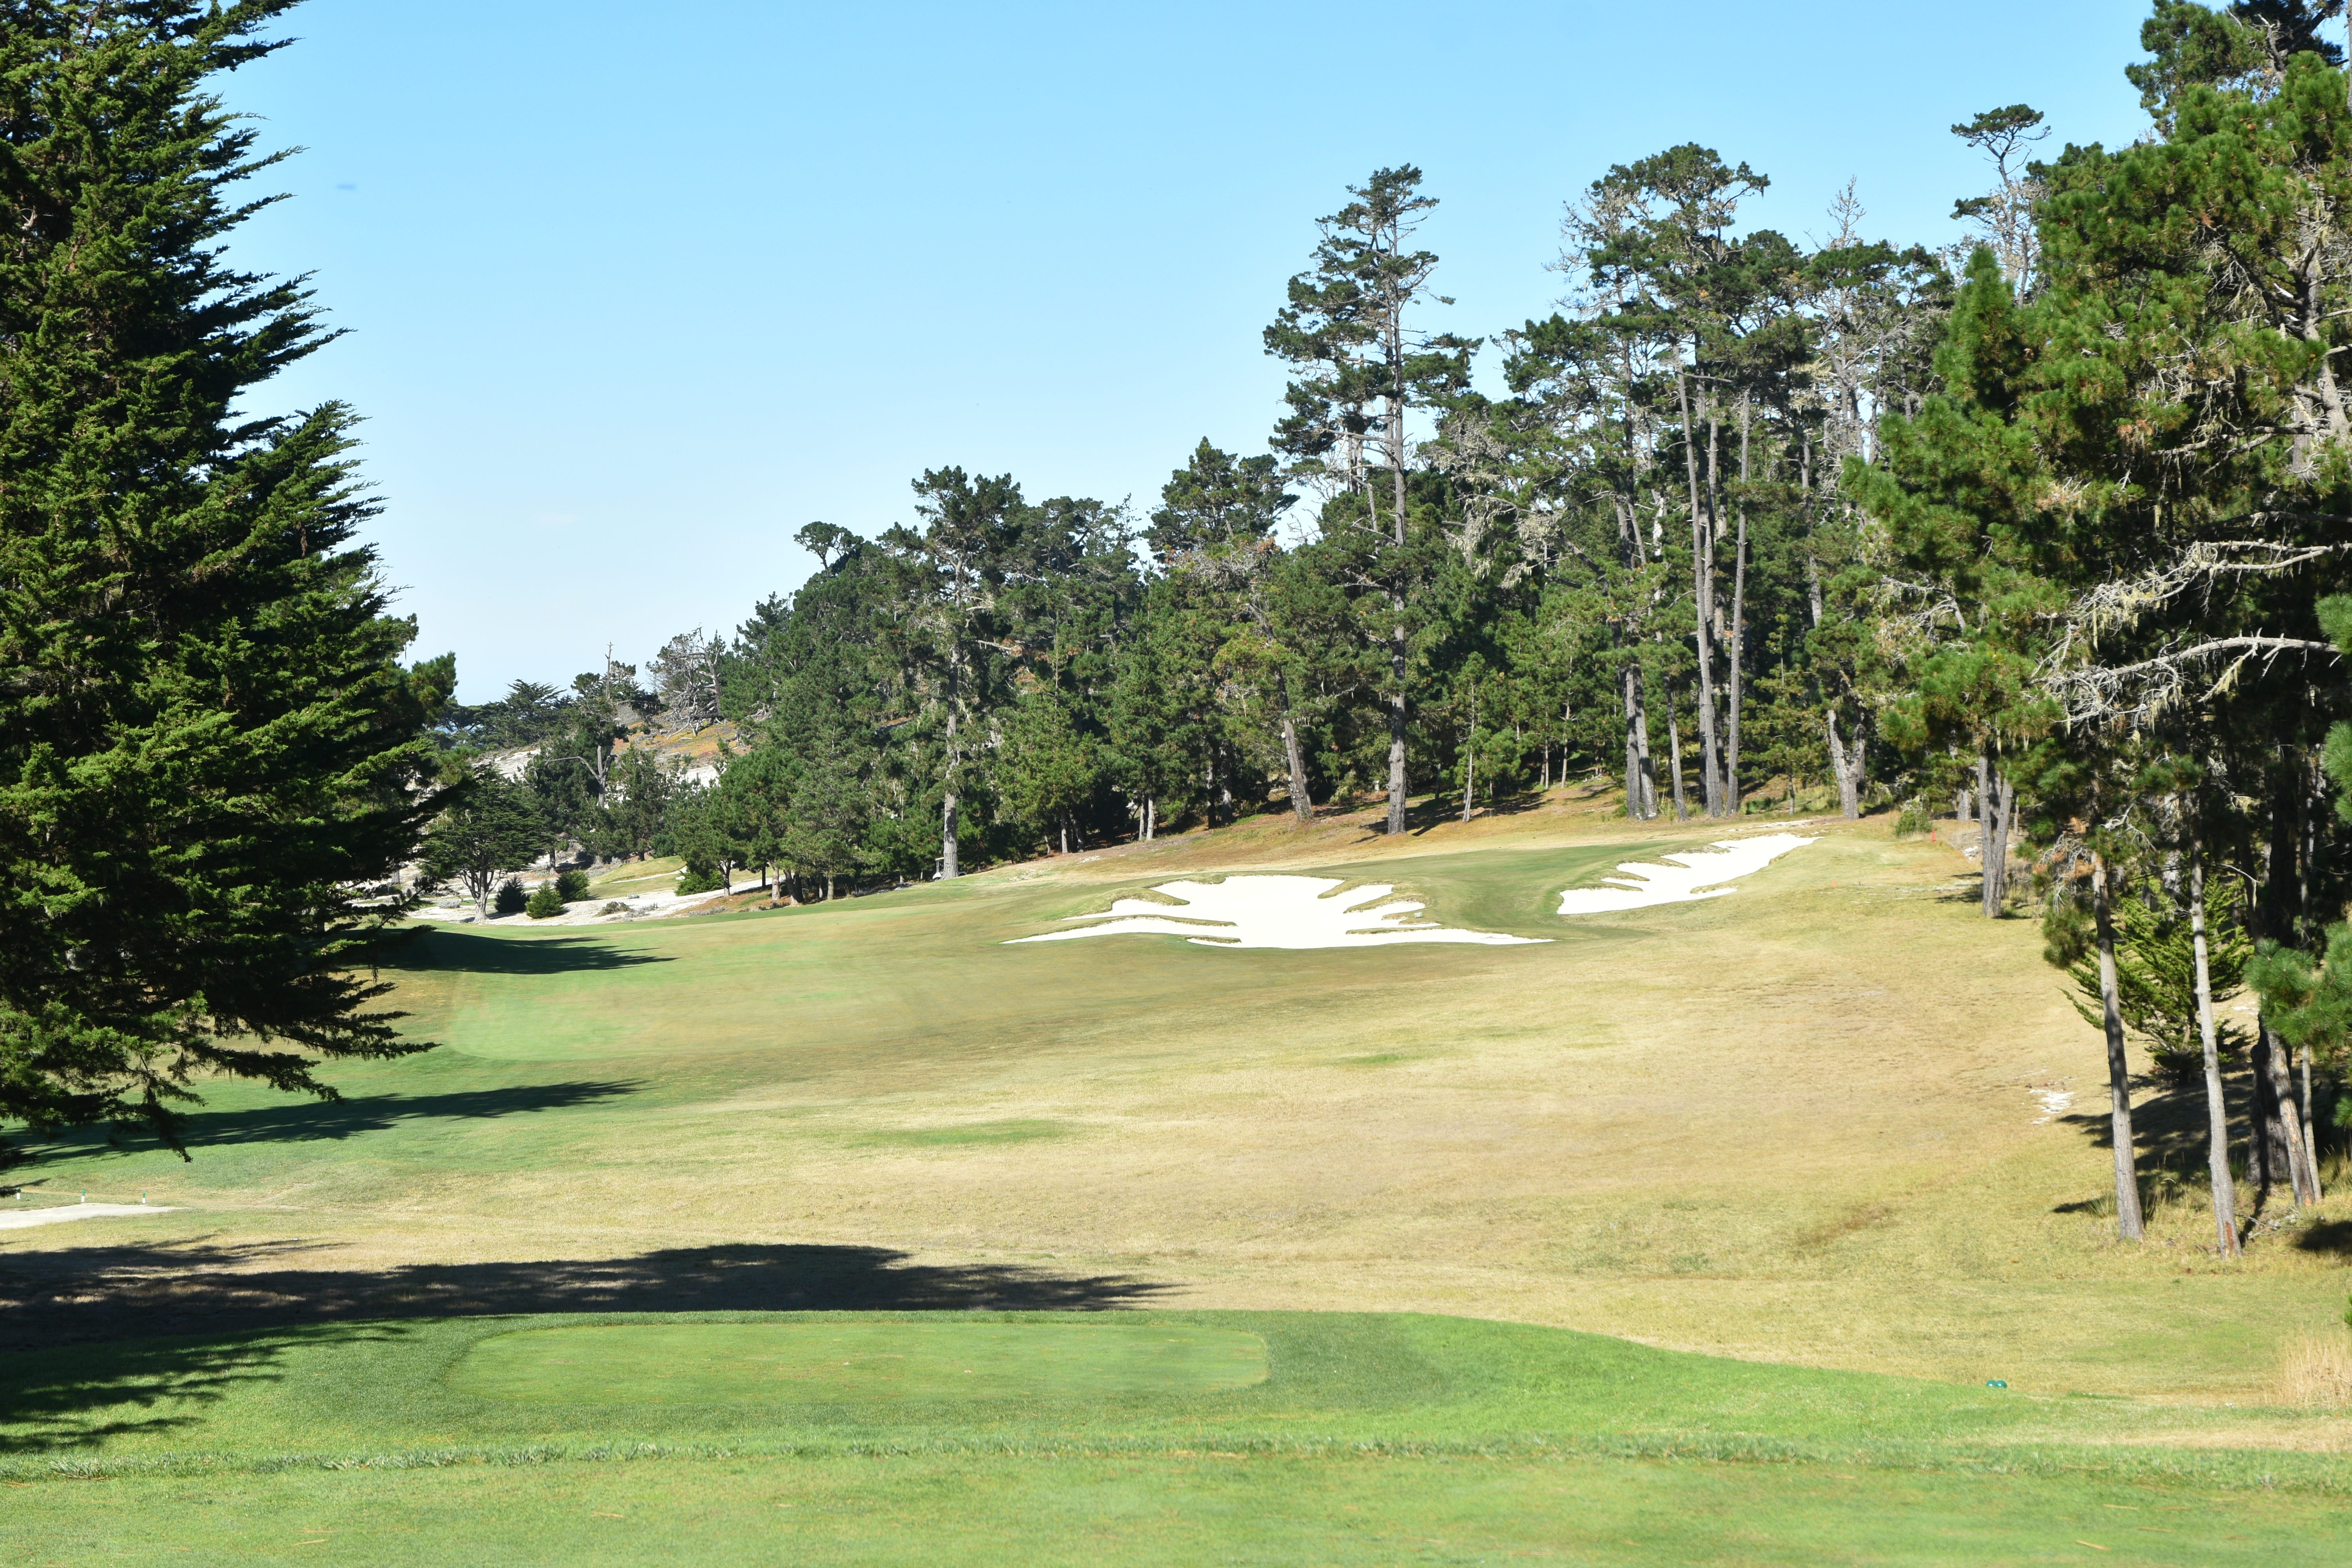
The 6th hole tee shot from the back tee box
The 6th hole tee shot requires a 210-yard carry over the two right fairway bunkers. Once past them, the ball will hit the fairway slope and roll significantly downhill to gain a further distance advantage
Once carrying the two right fairway bunkers, a player has to be mindful of not rolling into the left fairway bunker which is about 300 yards from the back tee
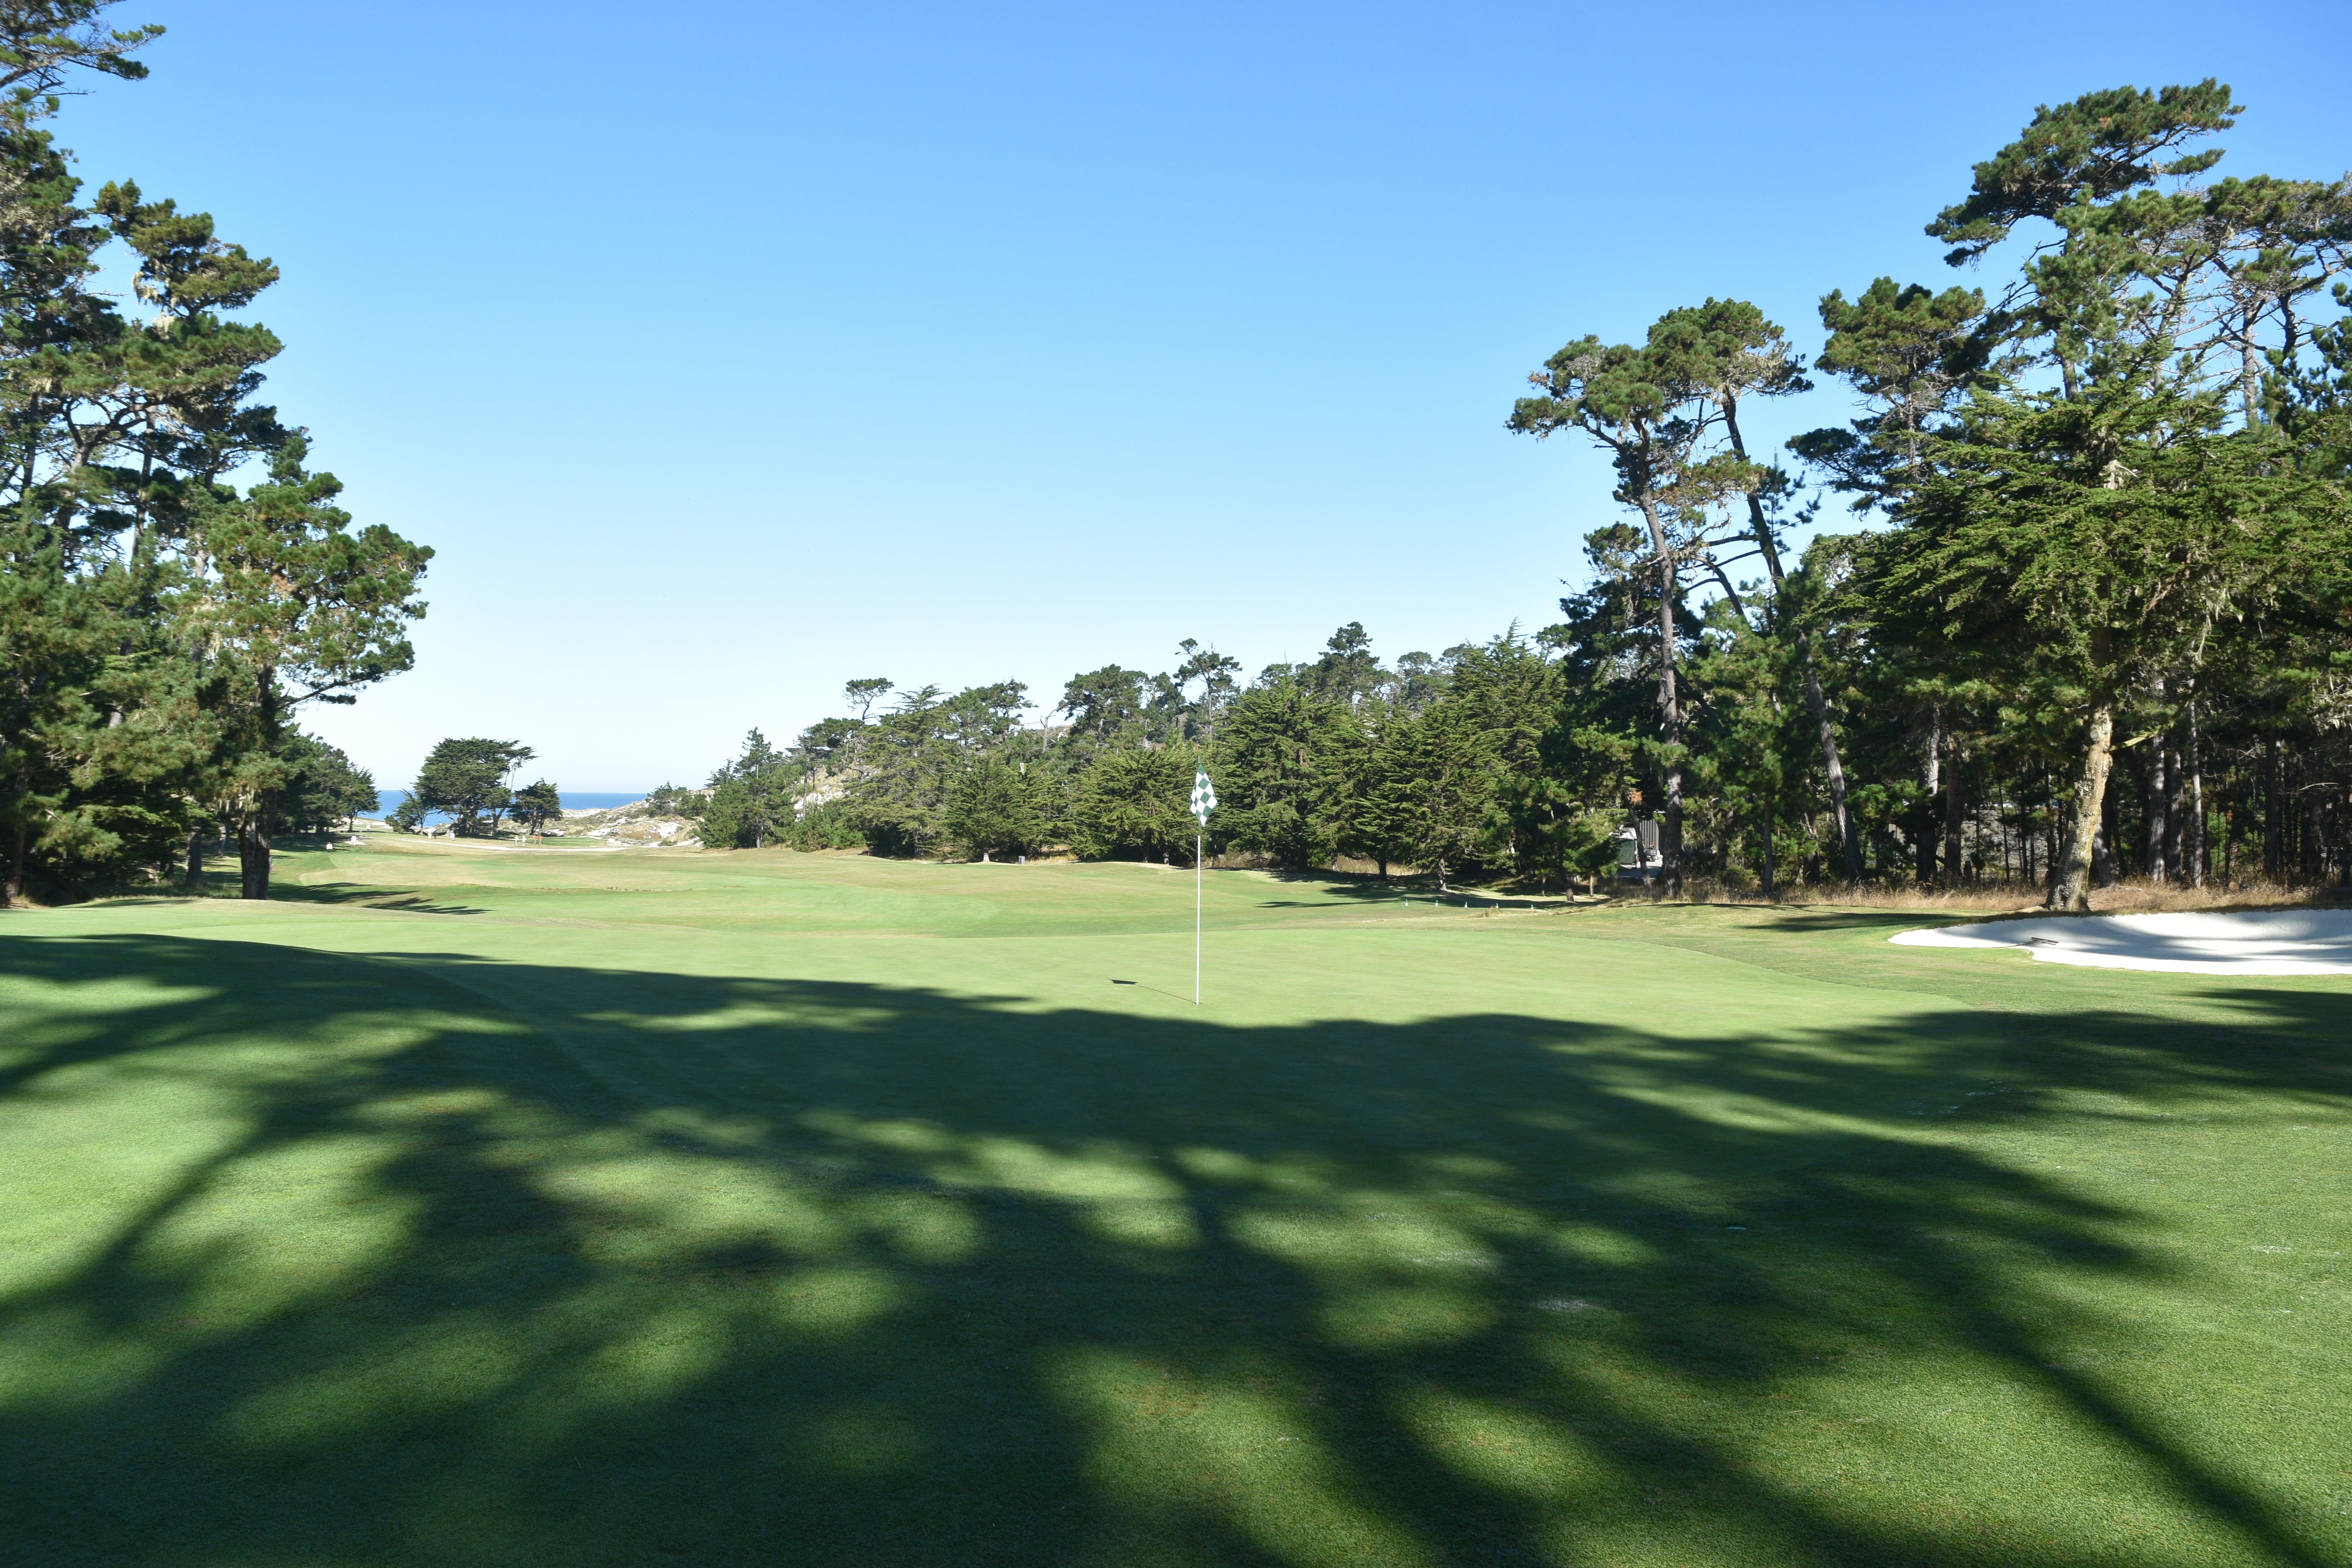
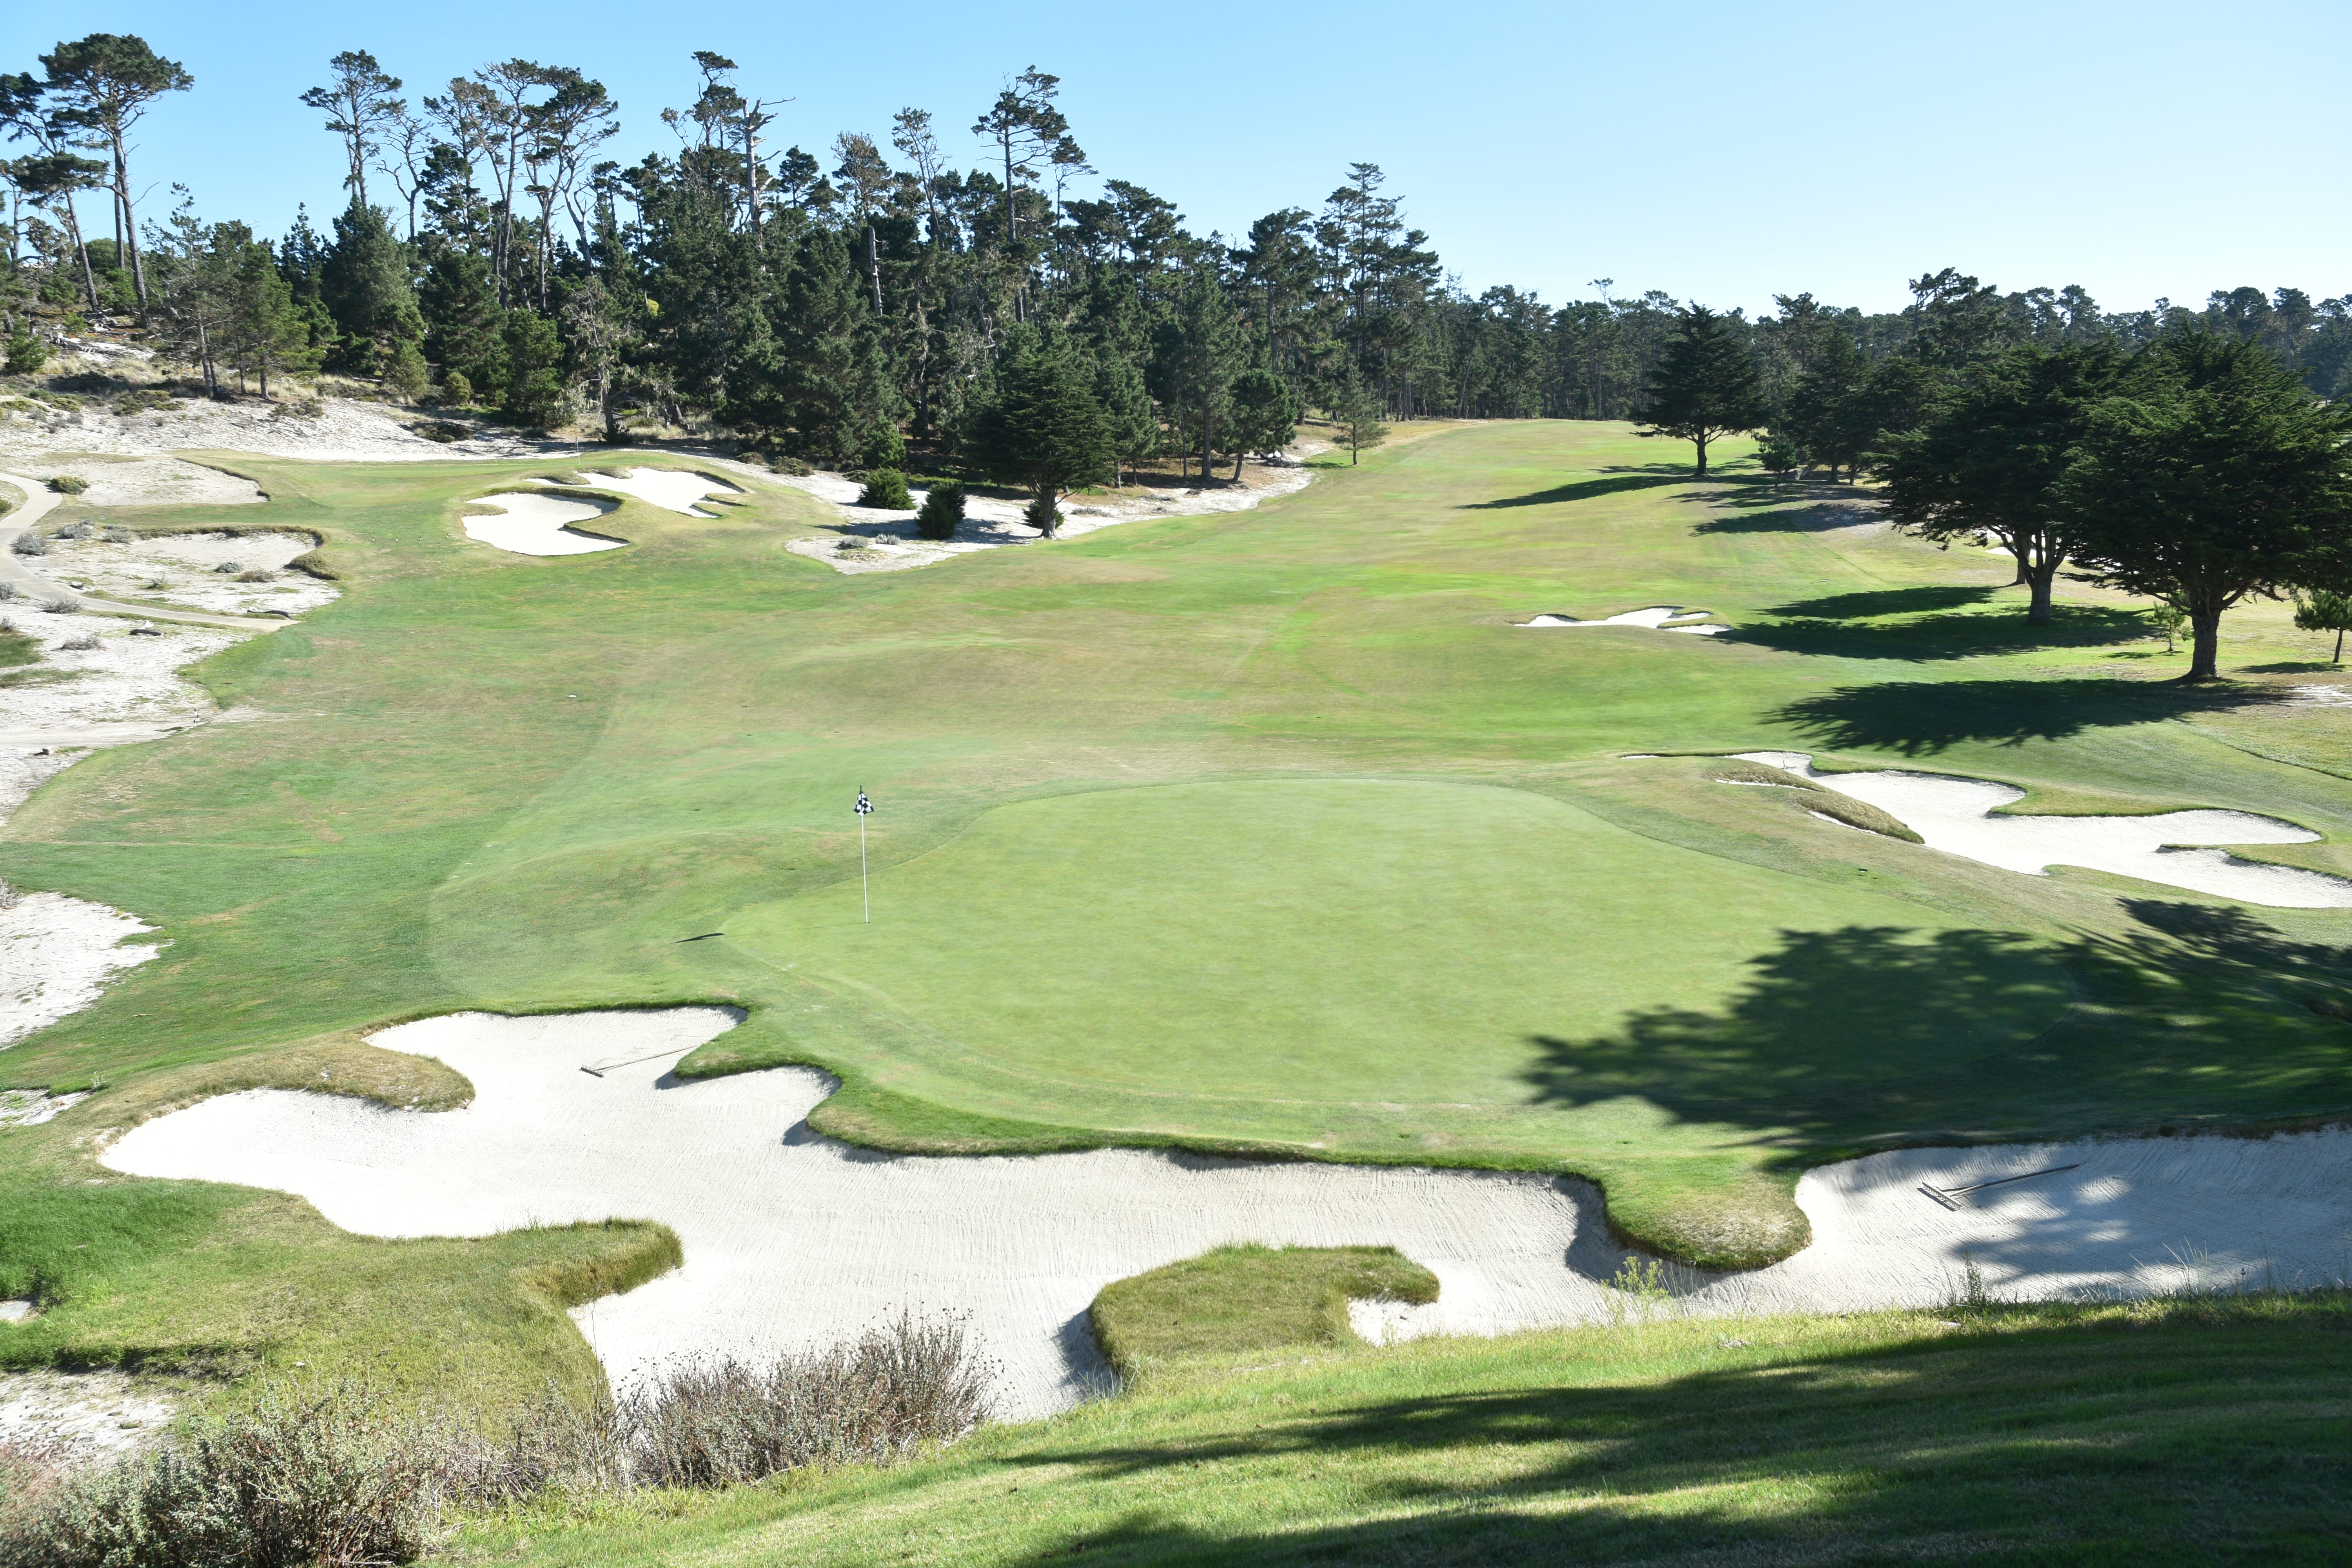
The 6th hole approach — the front of the green is open to allow for running shots to bounce up onto the green
The 6th approach from 65 yards away
The left green side bunker of the 6th hole
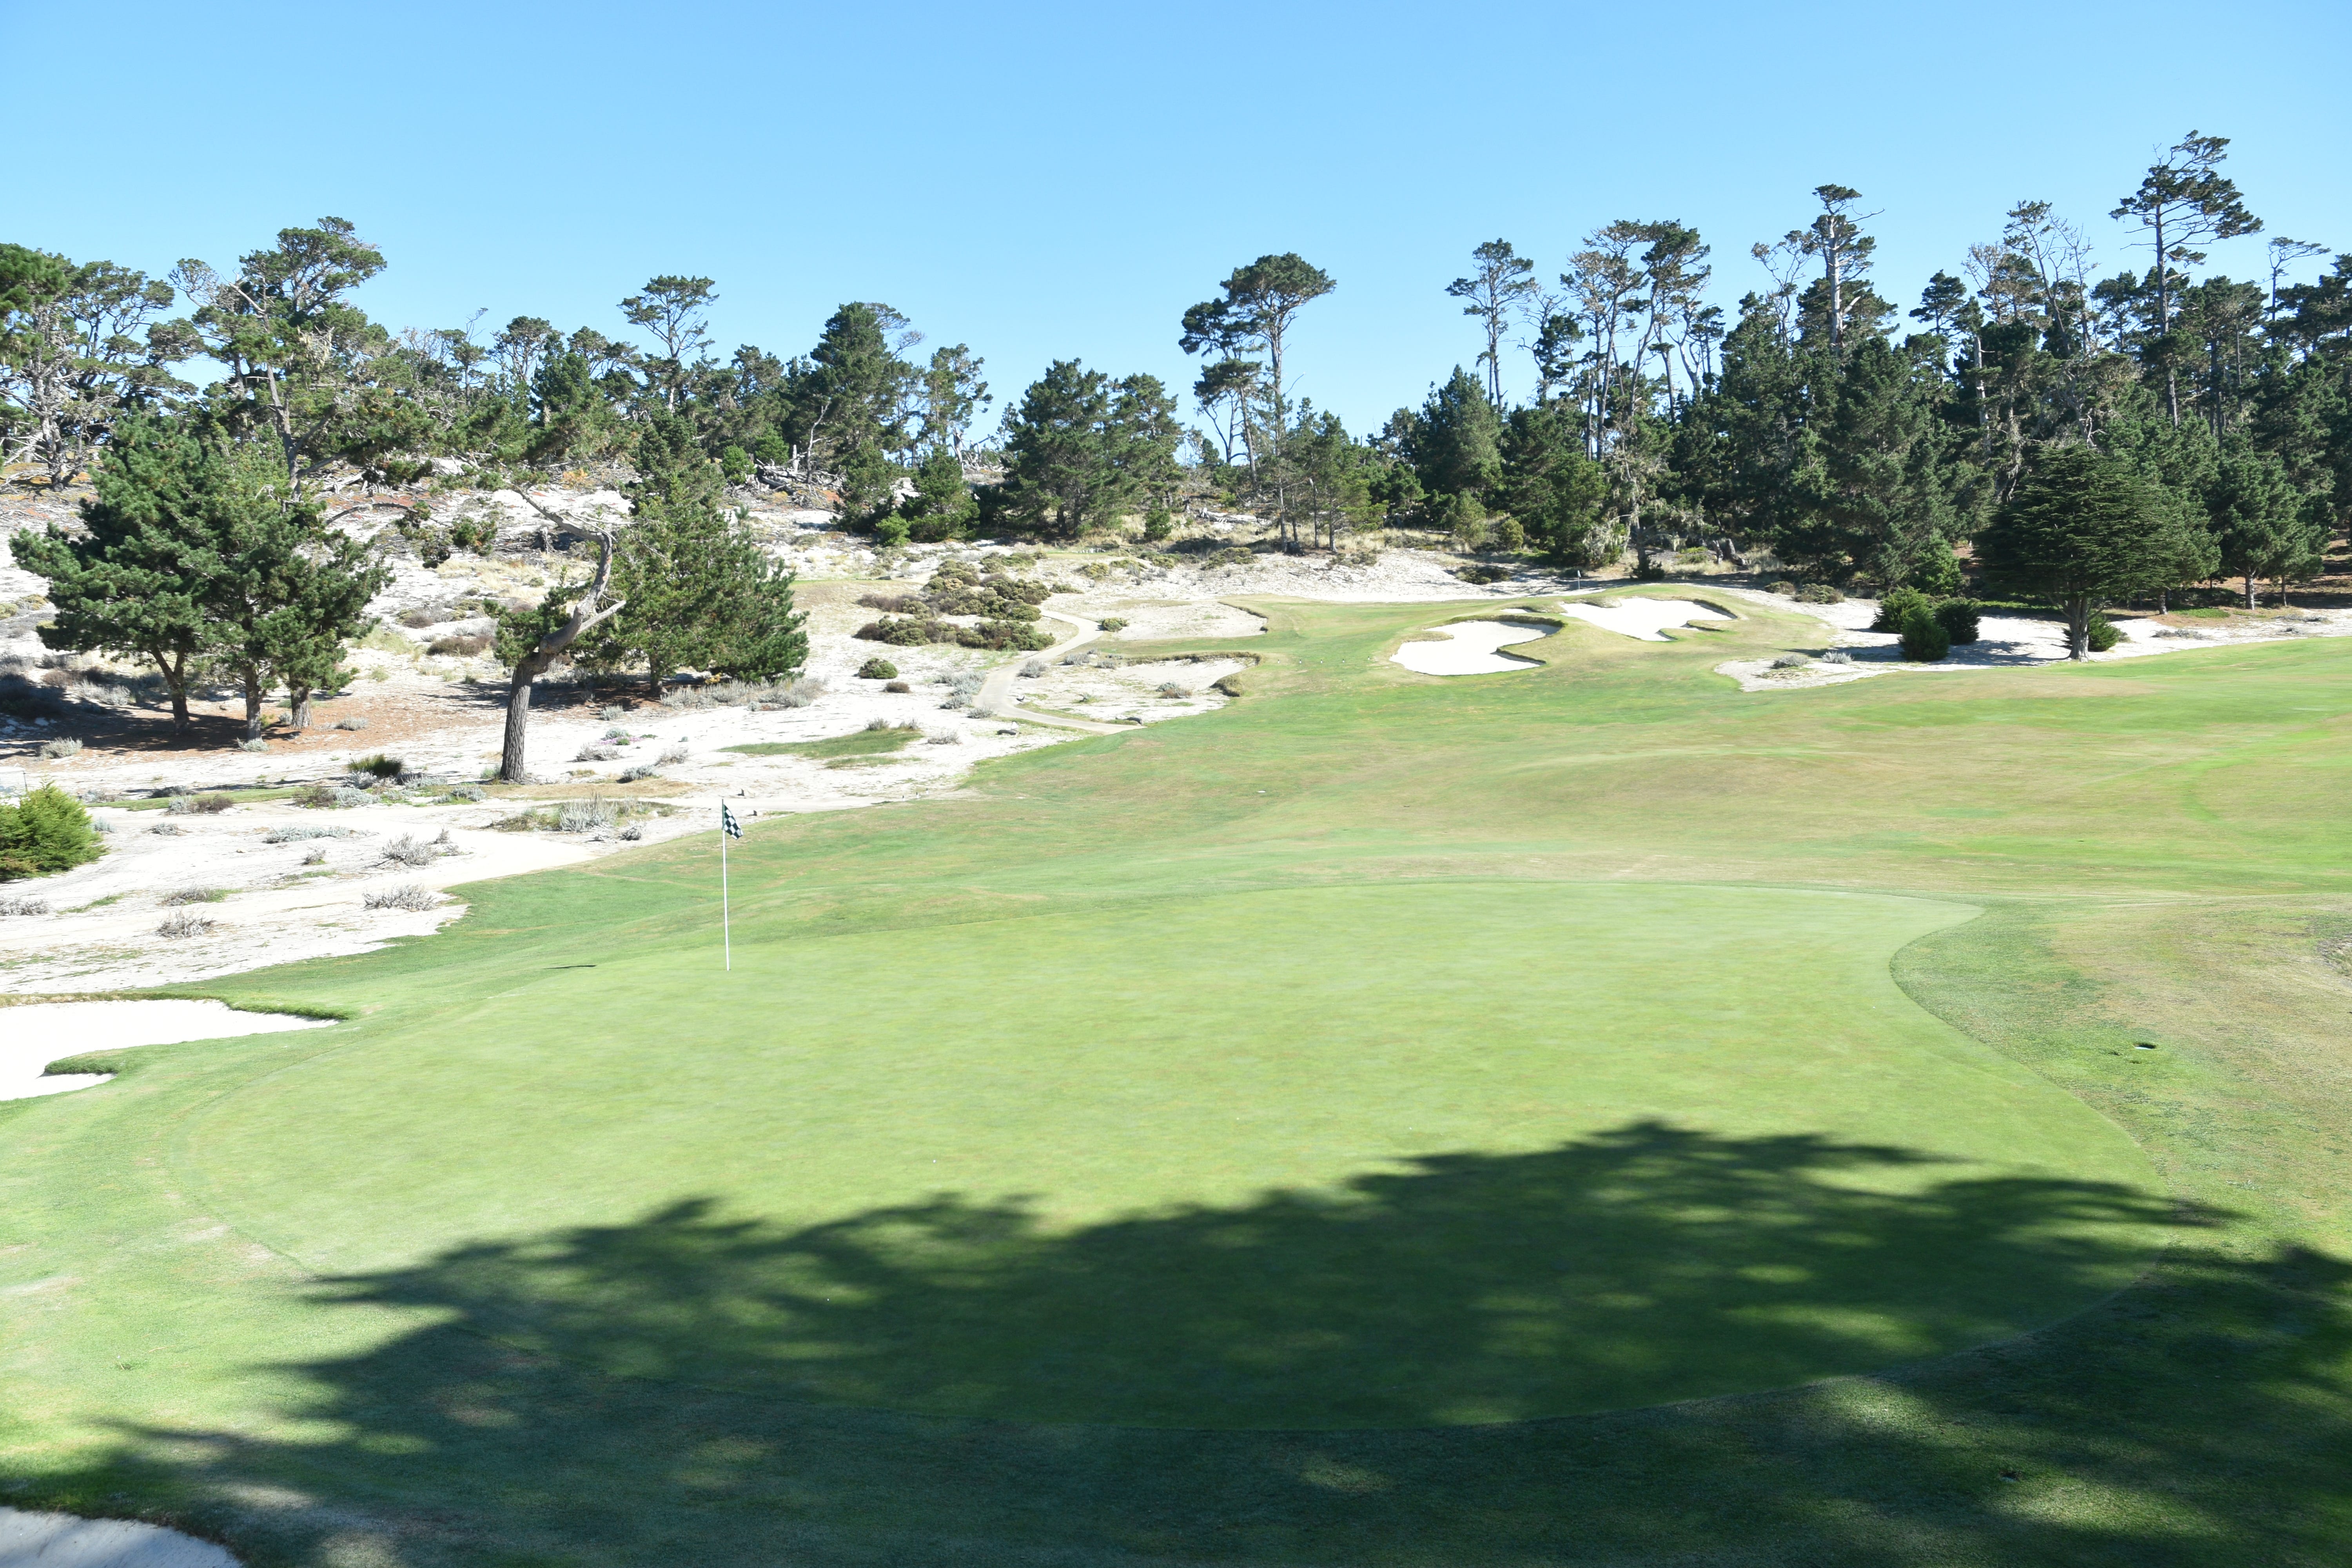
The 6th hole green viewed from the front
The 6th hole green viewed from the back left — the upcoming 7th hole looms in the background
The 6th hole green viewed from the back
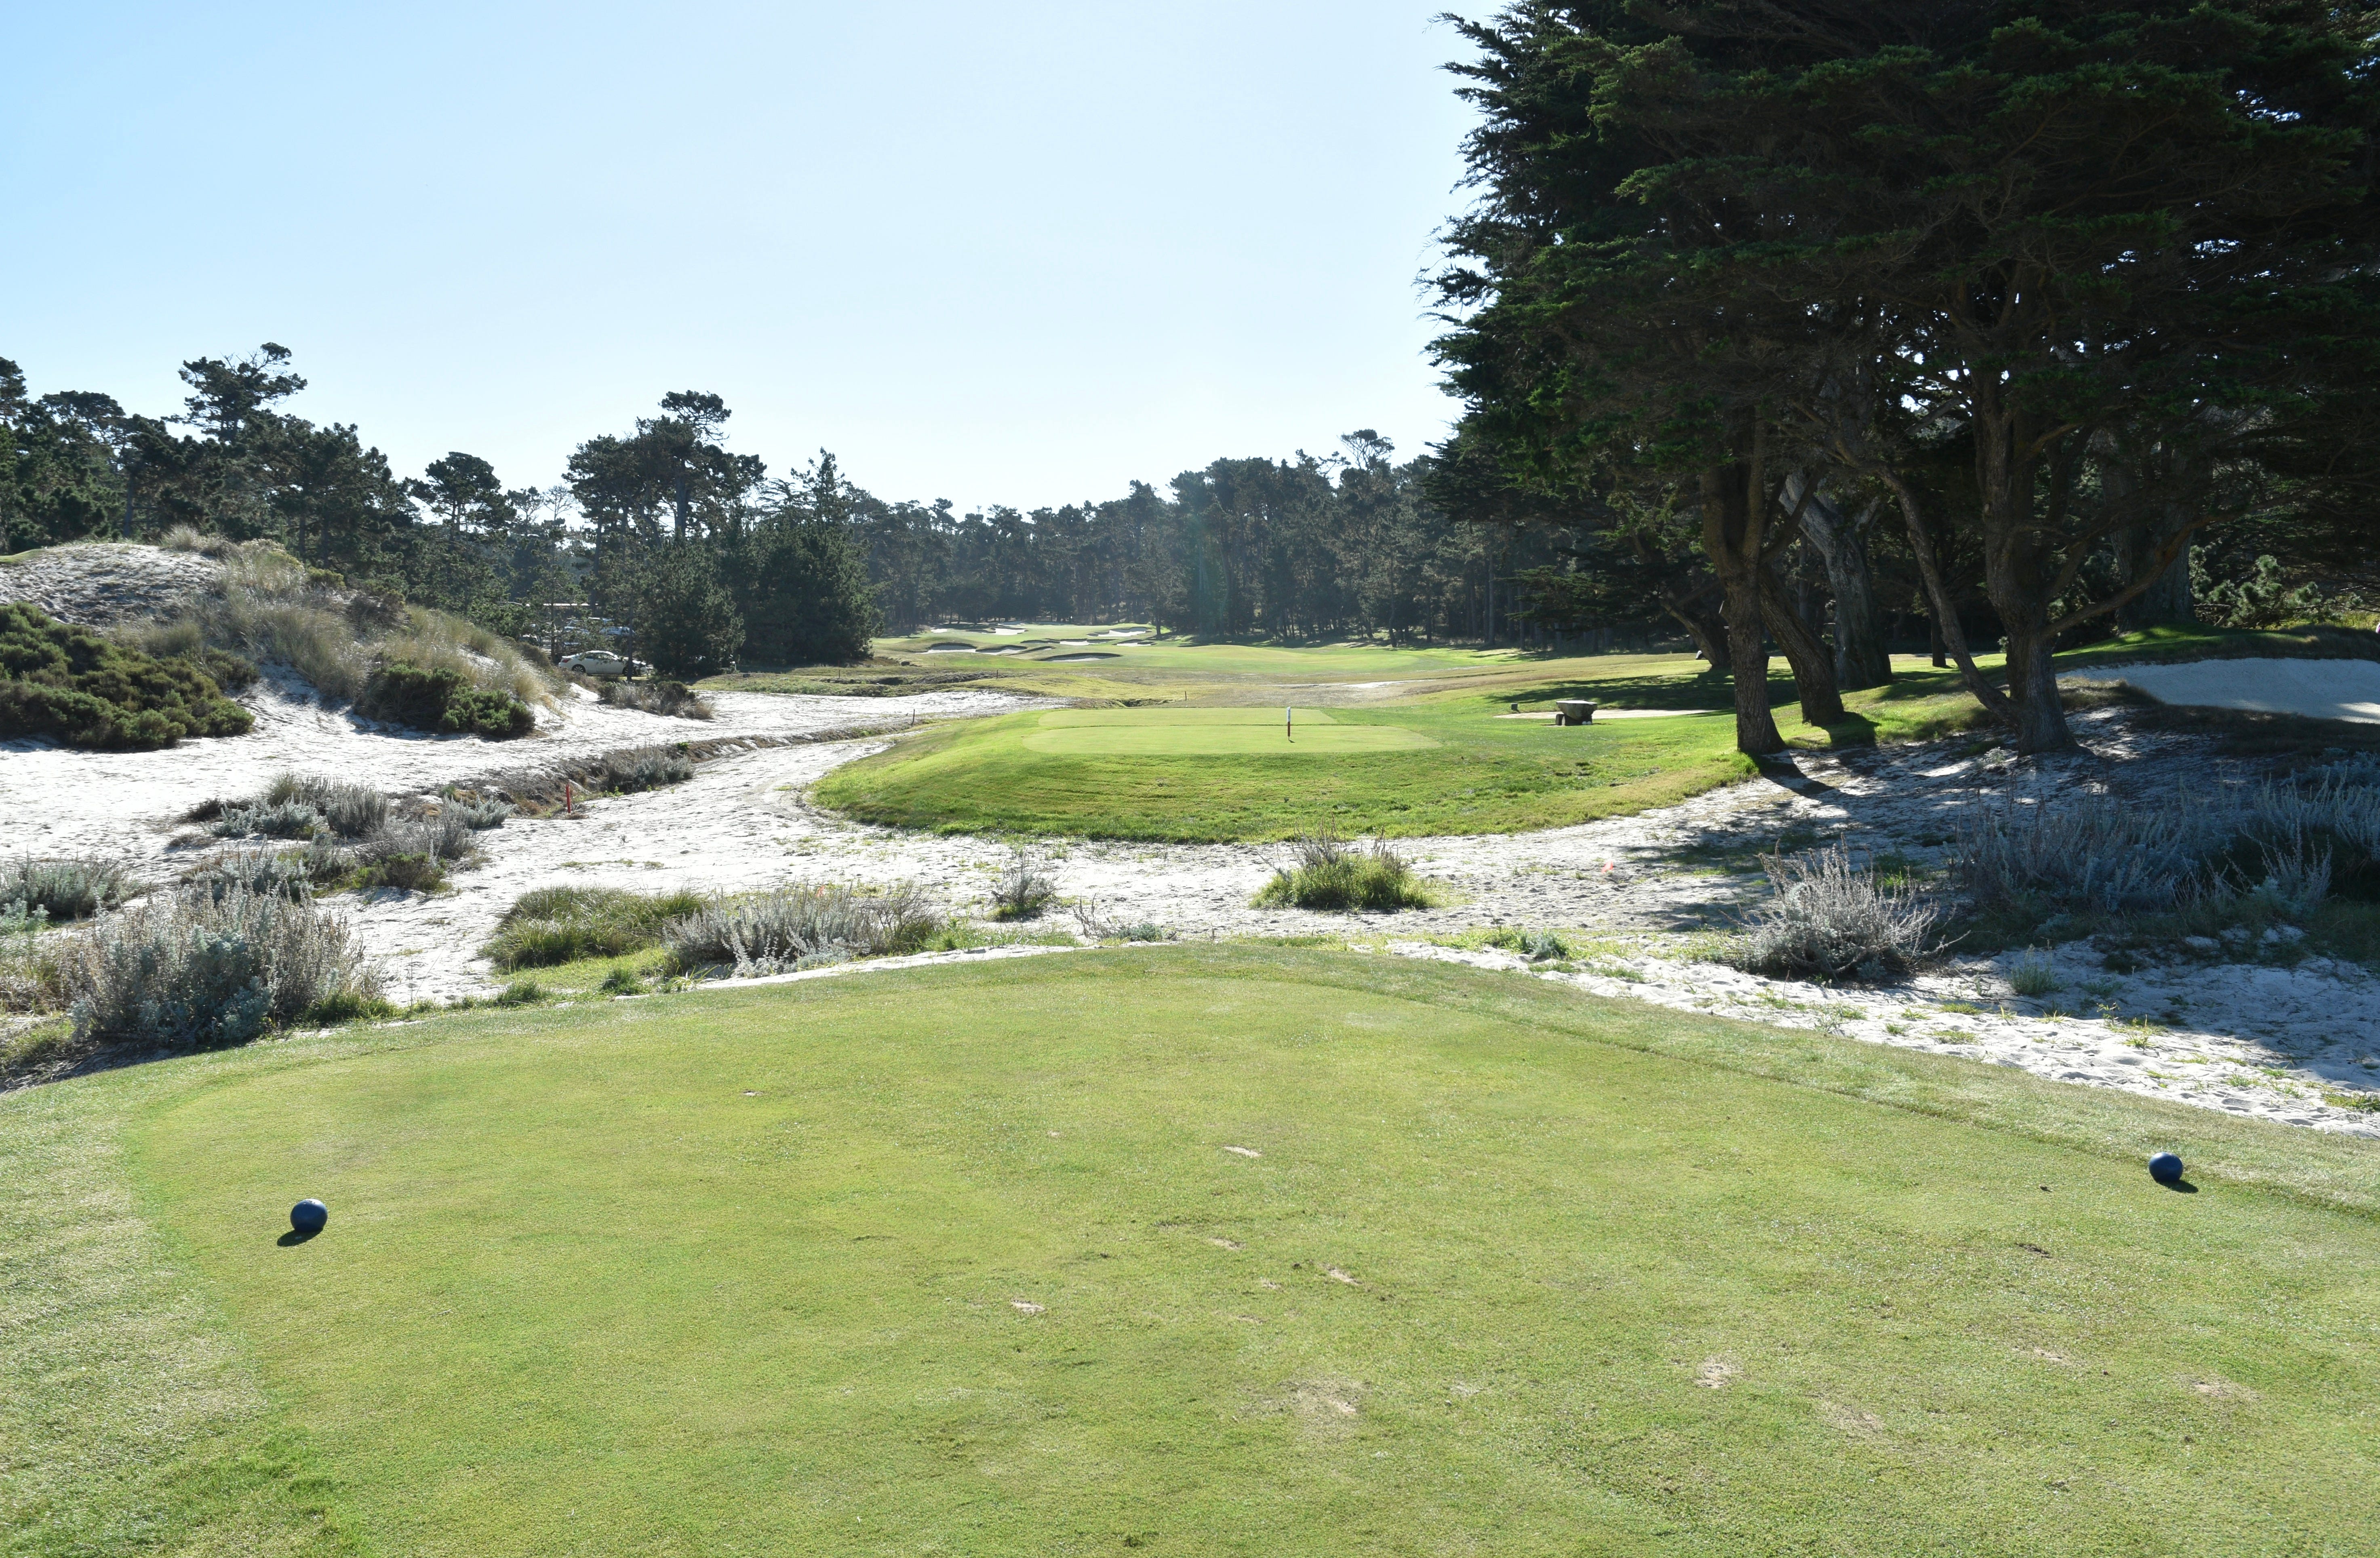
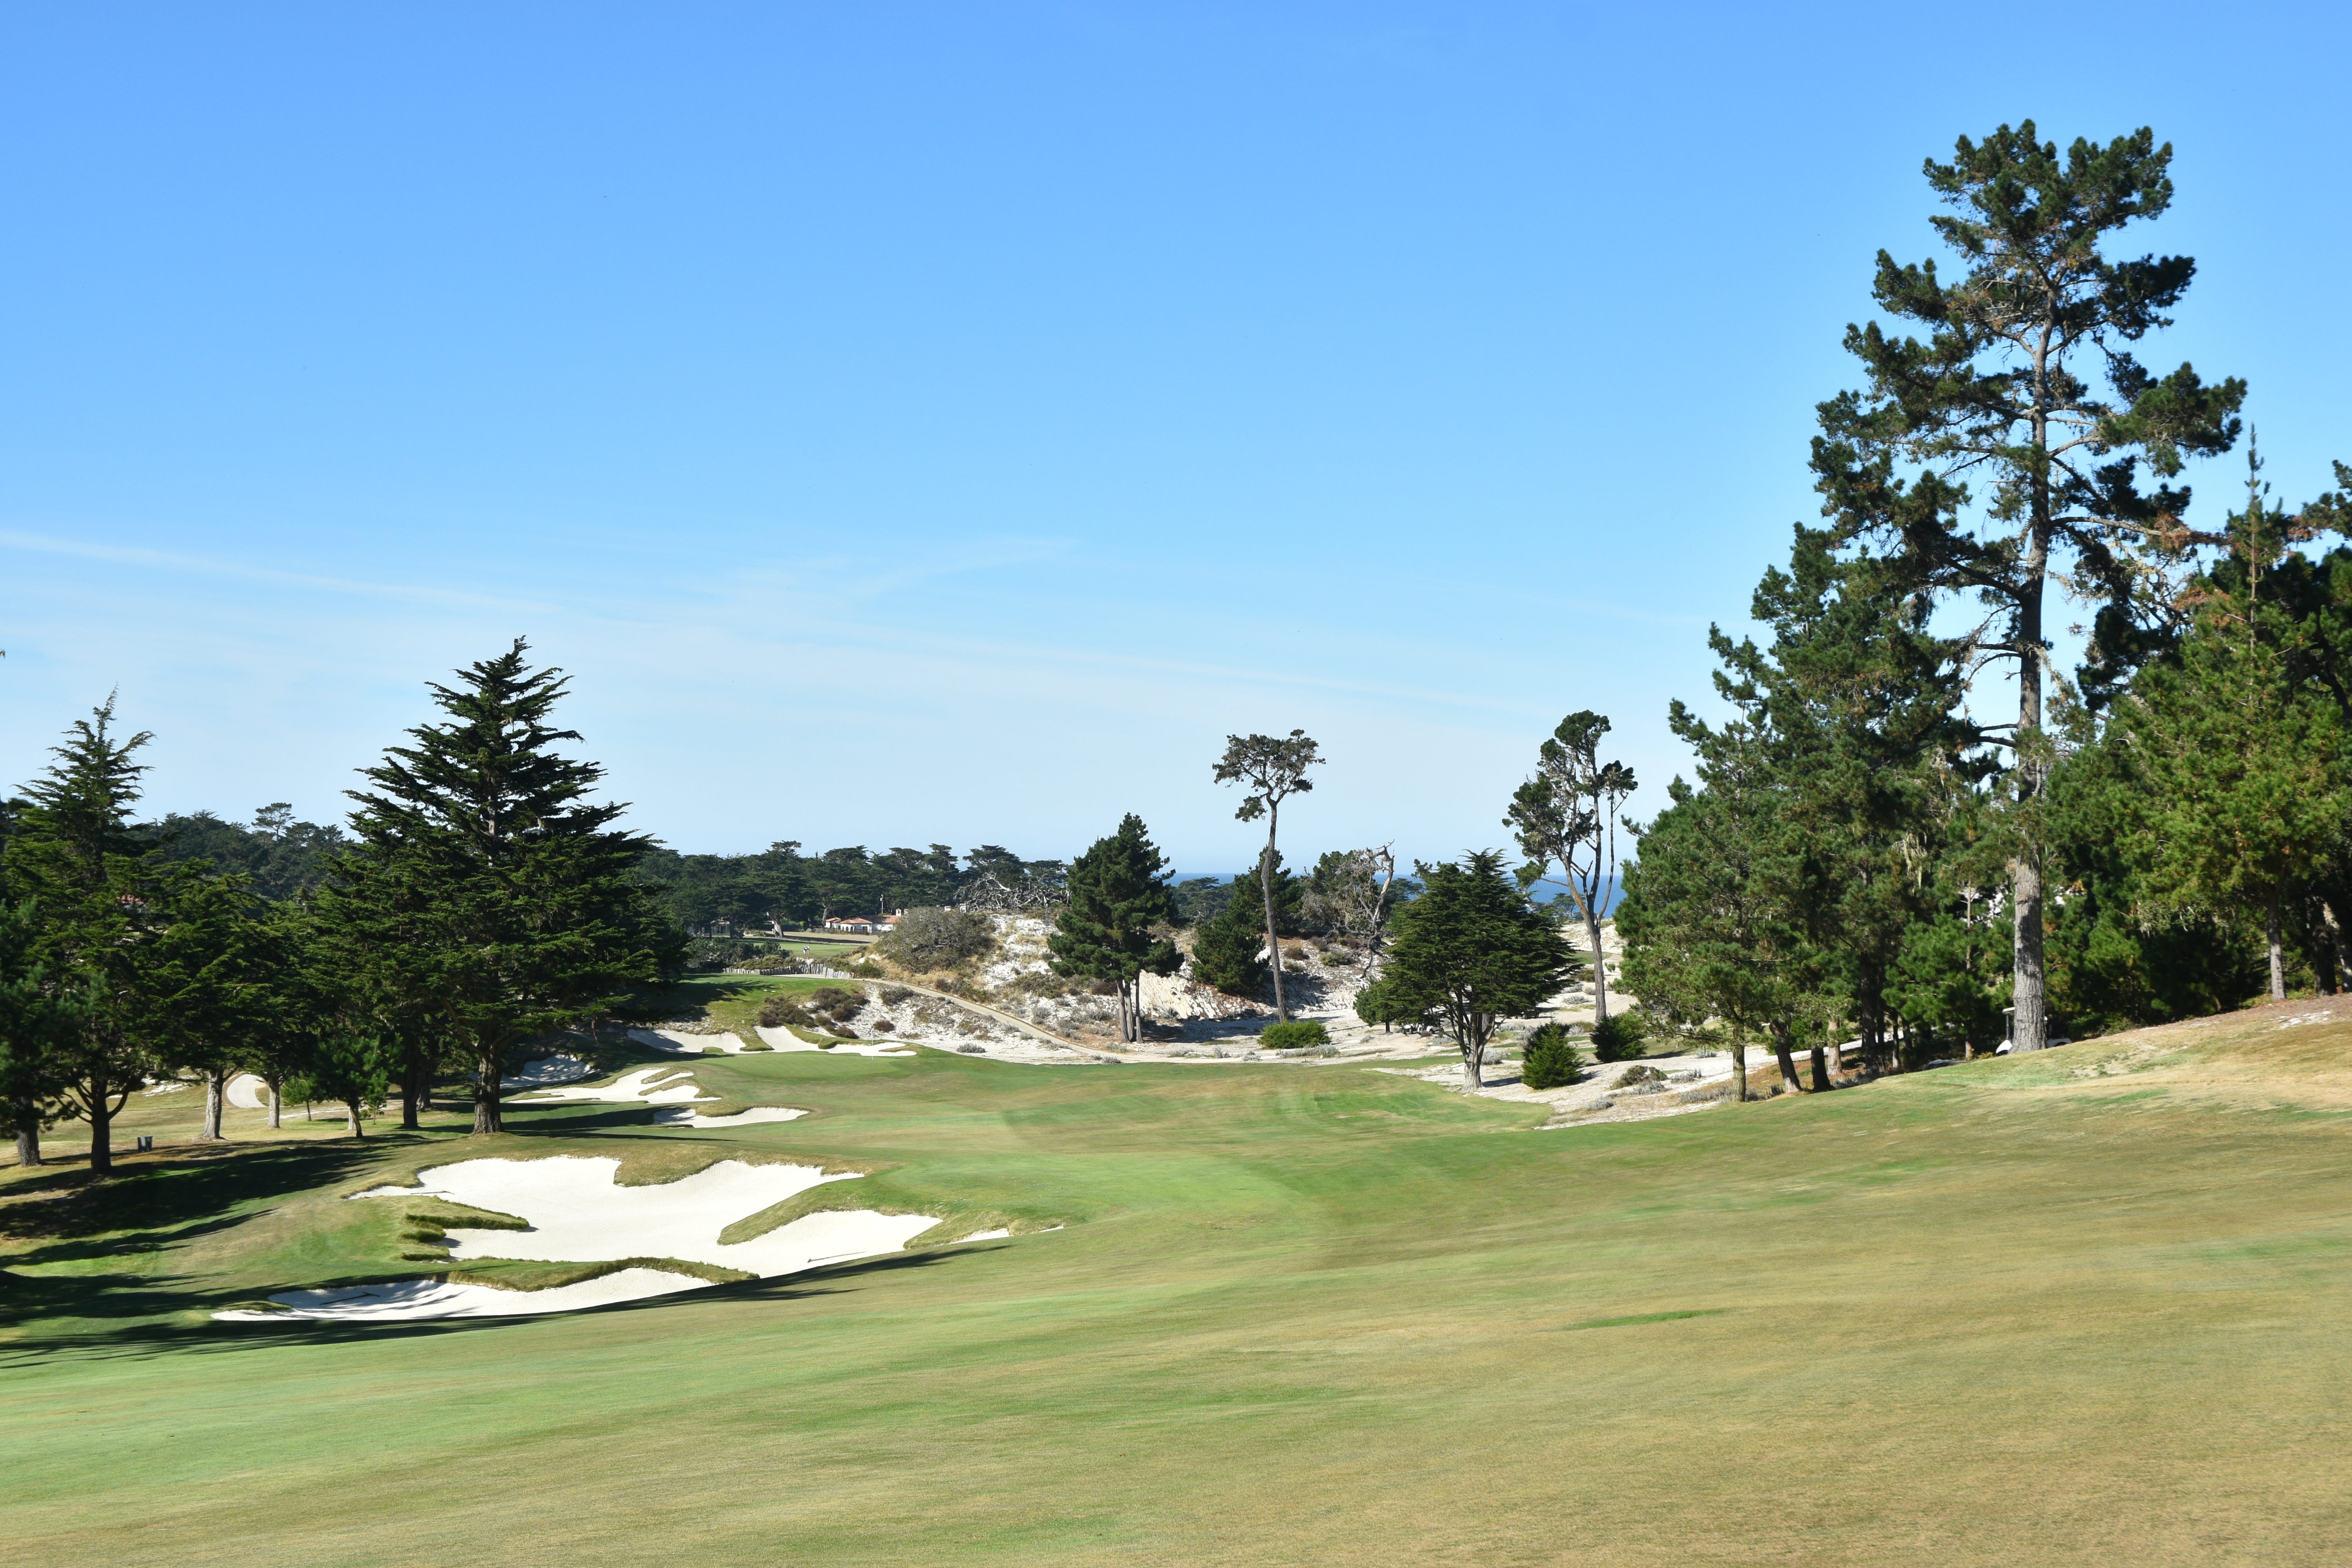
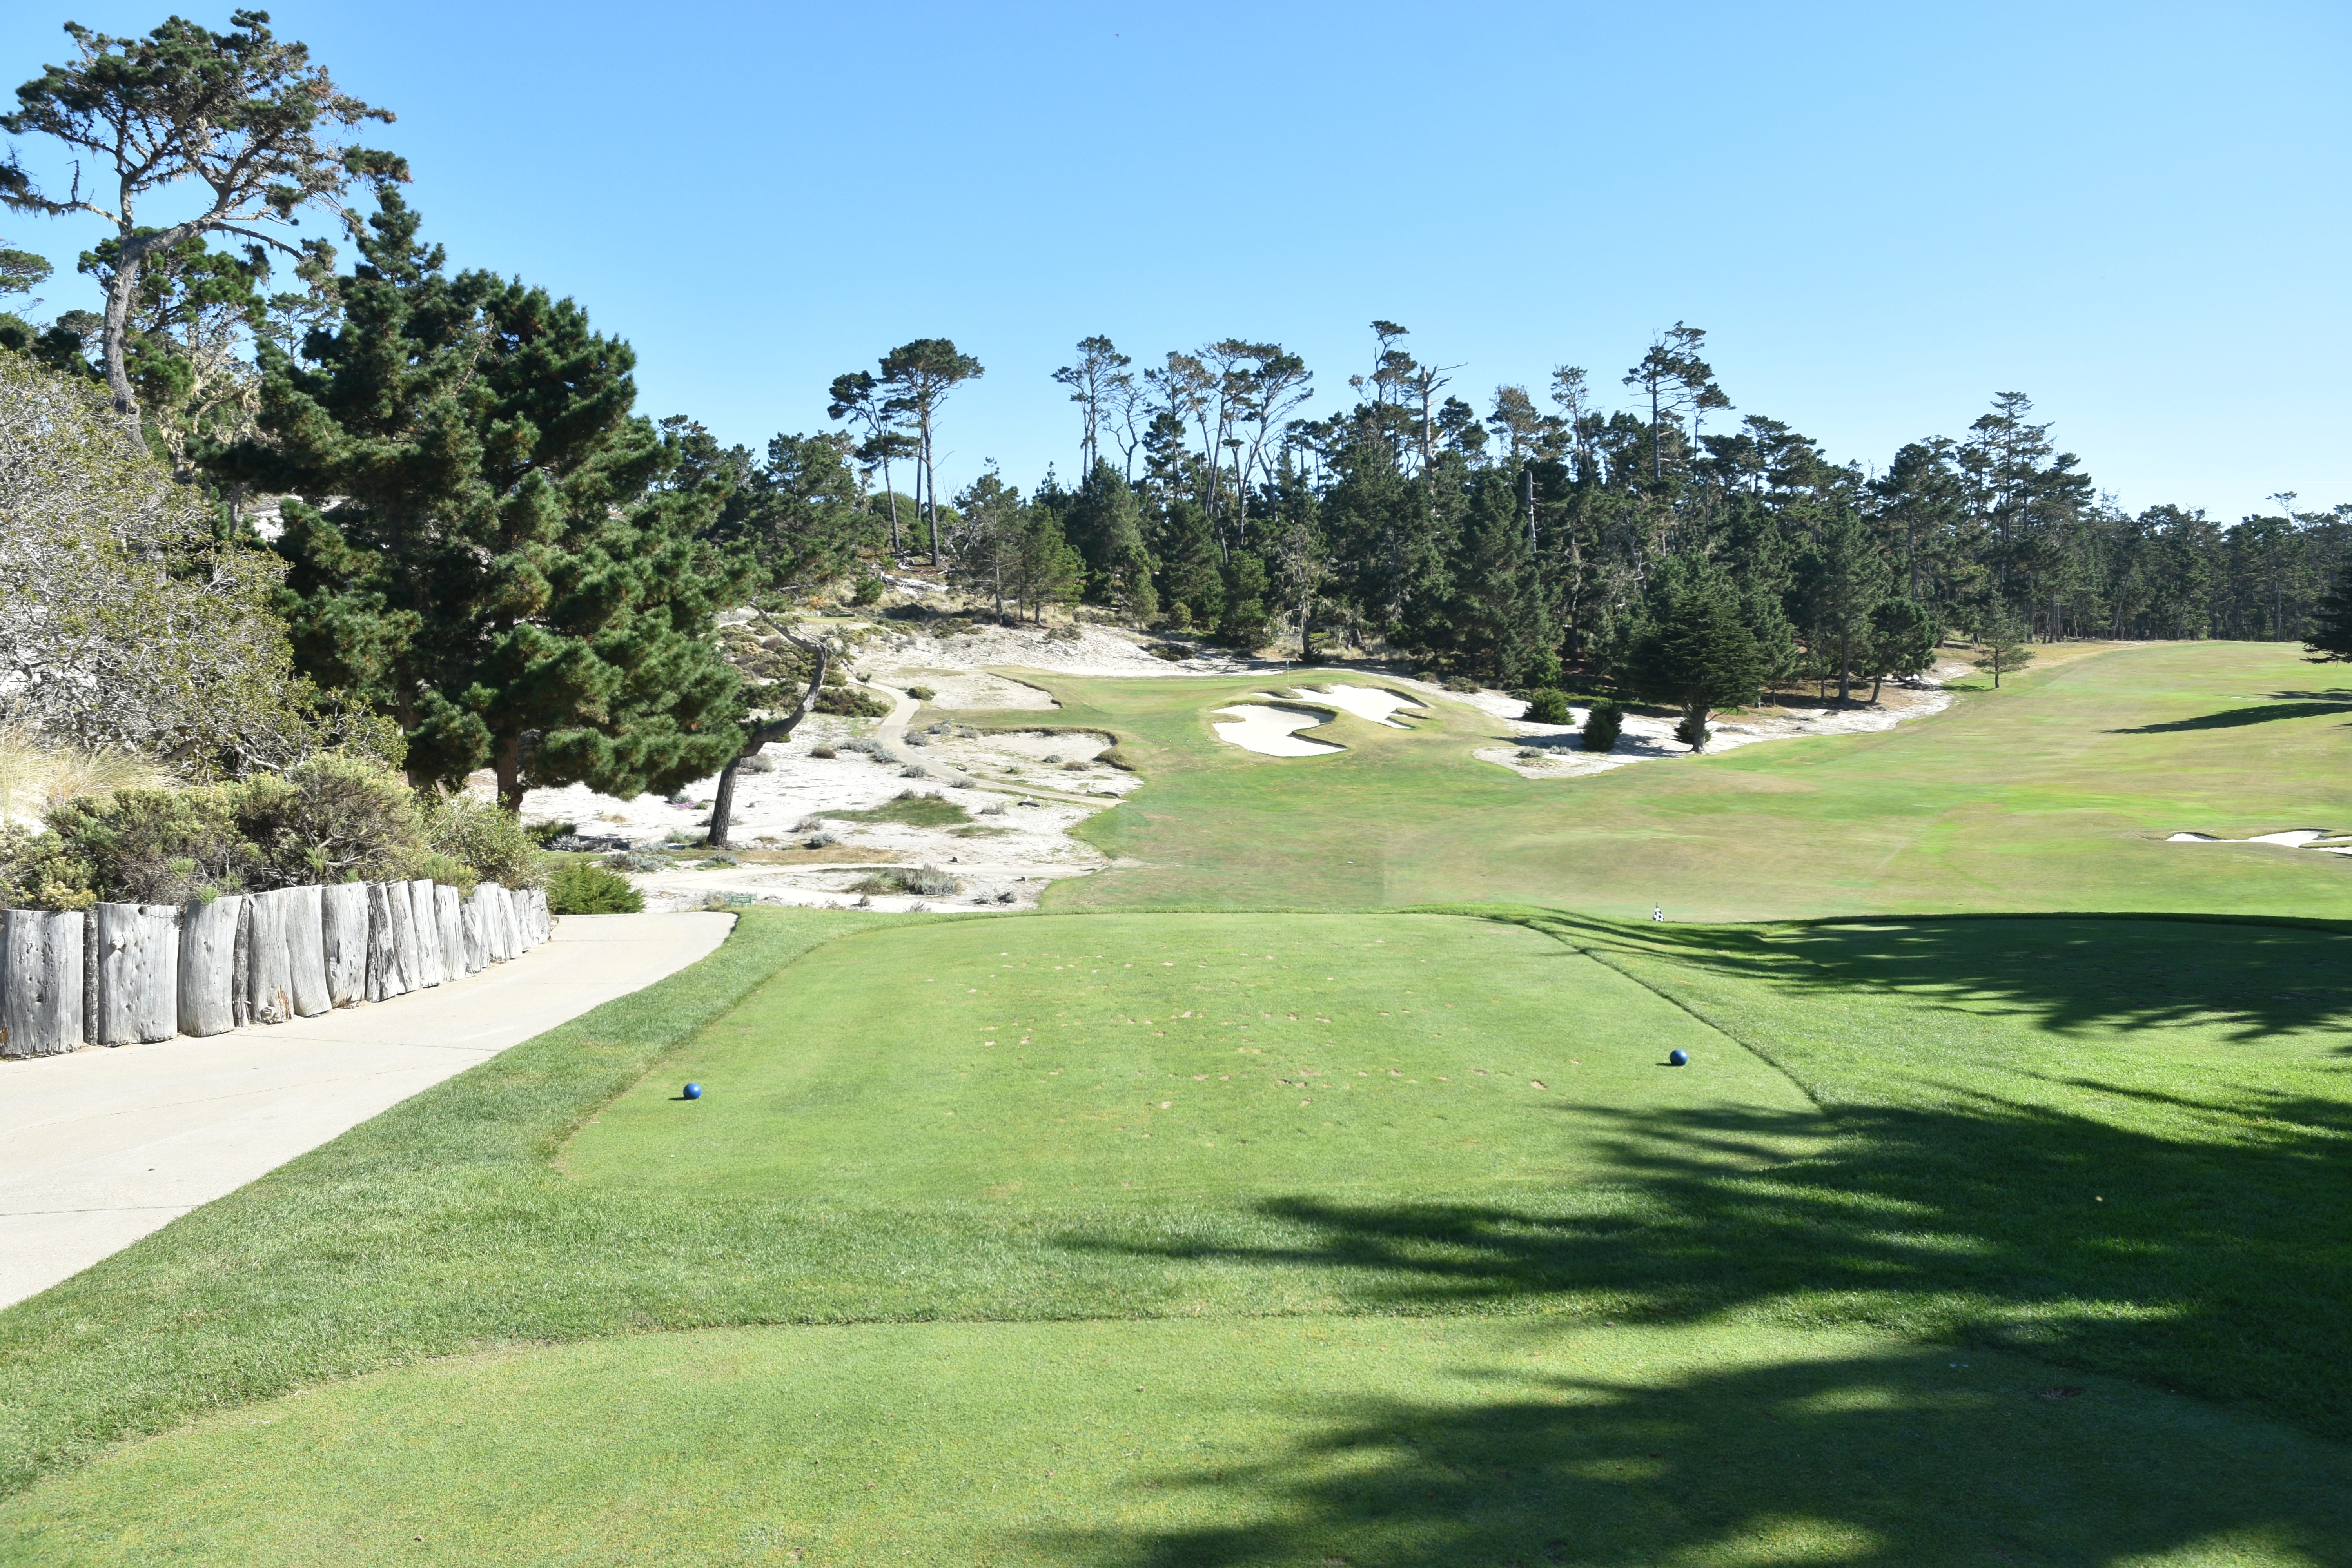
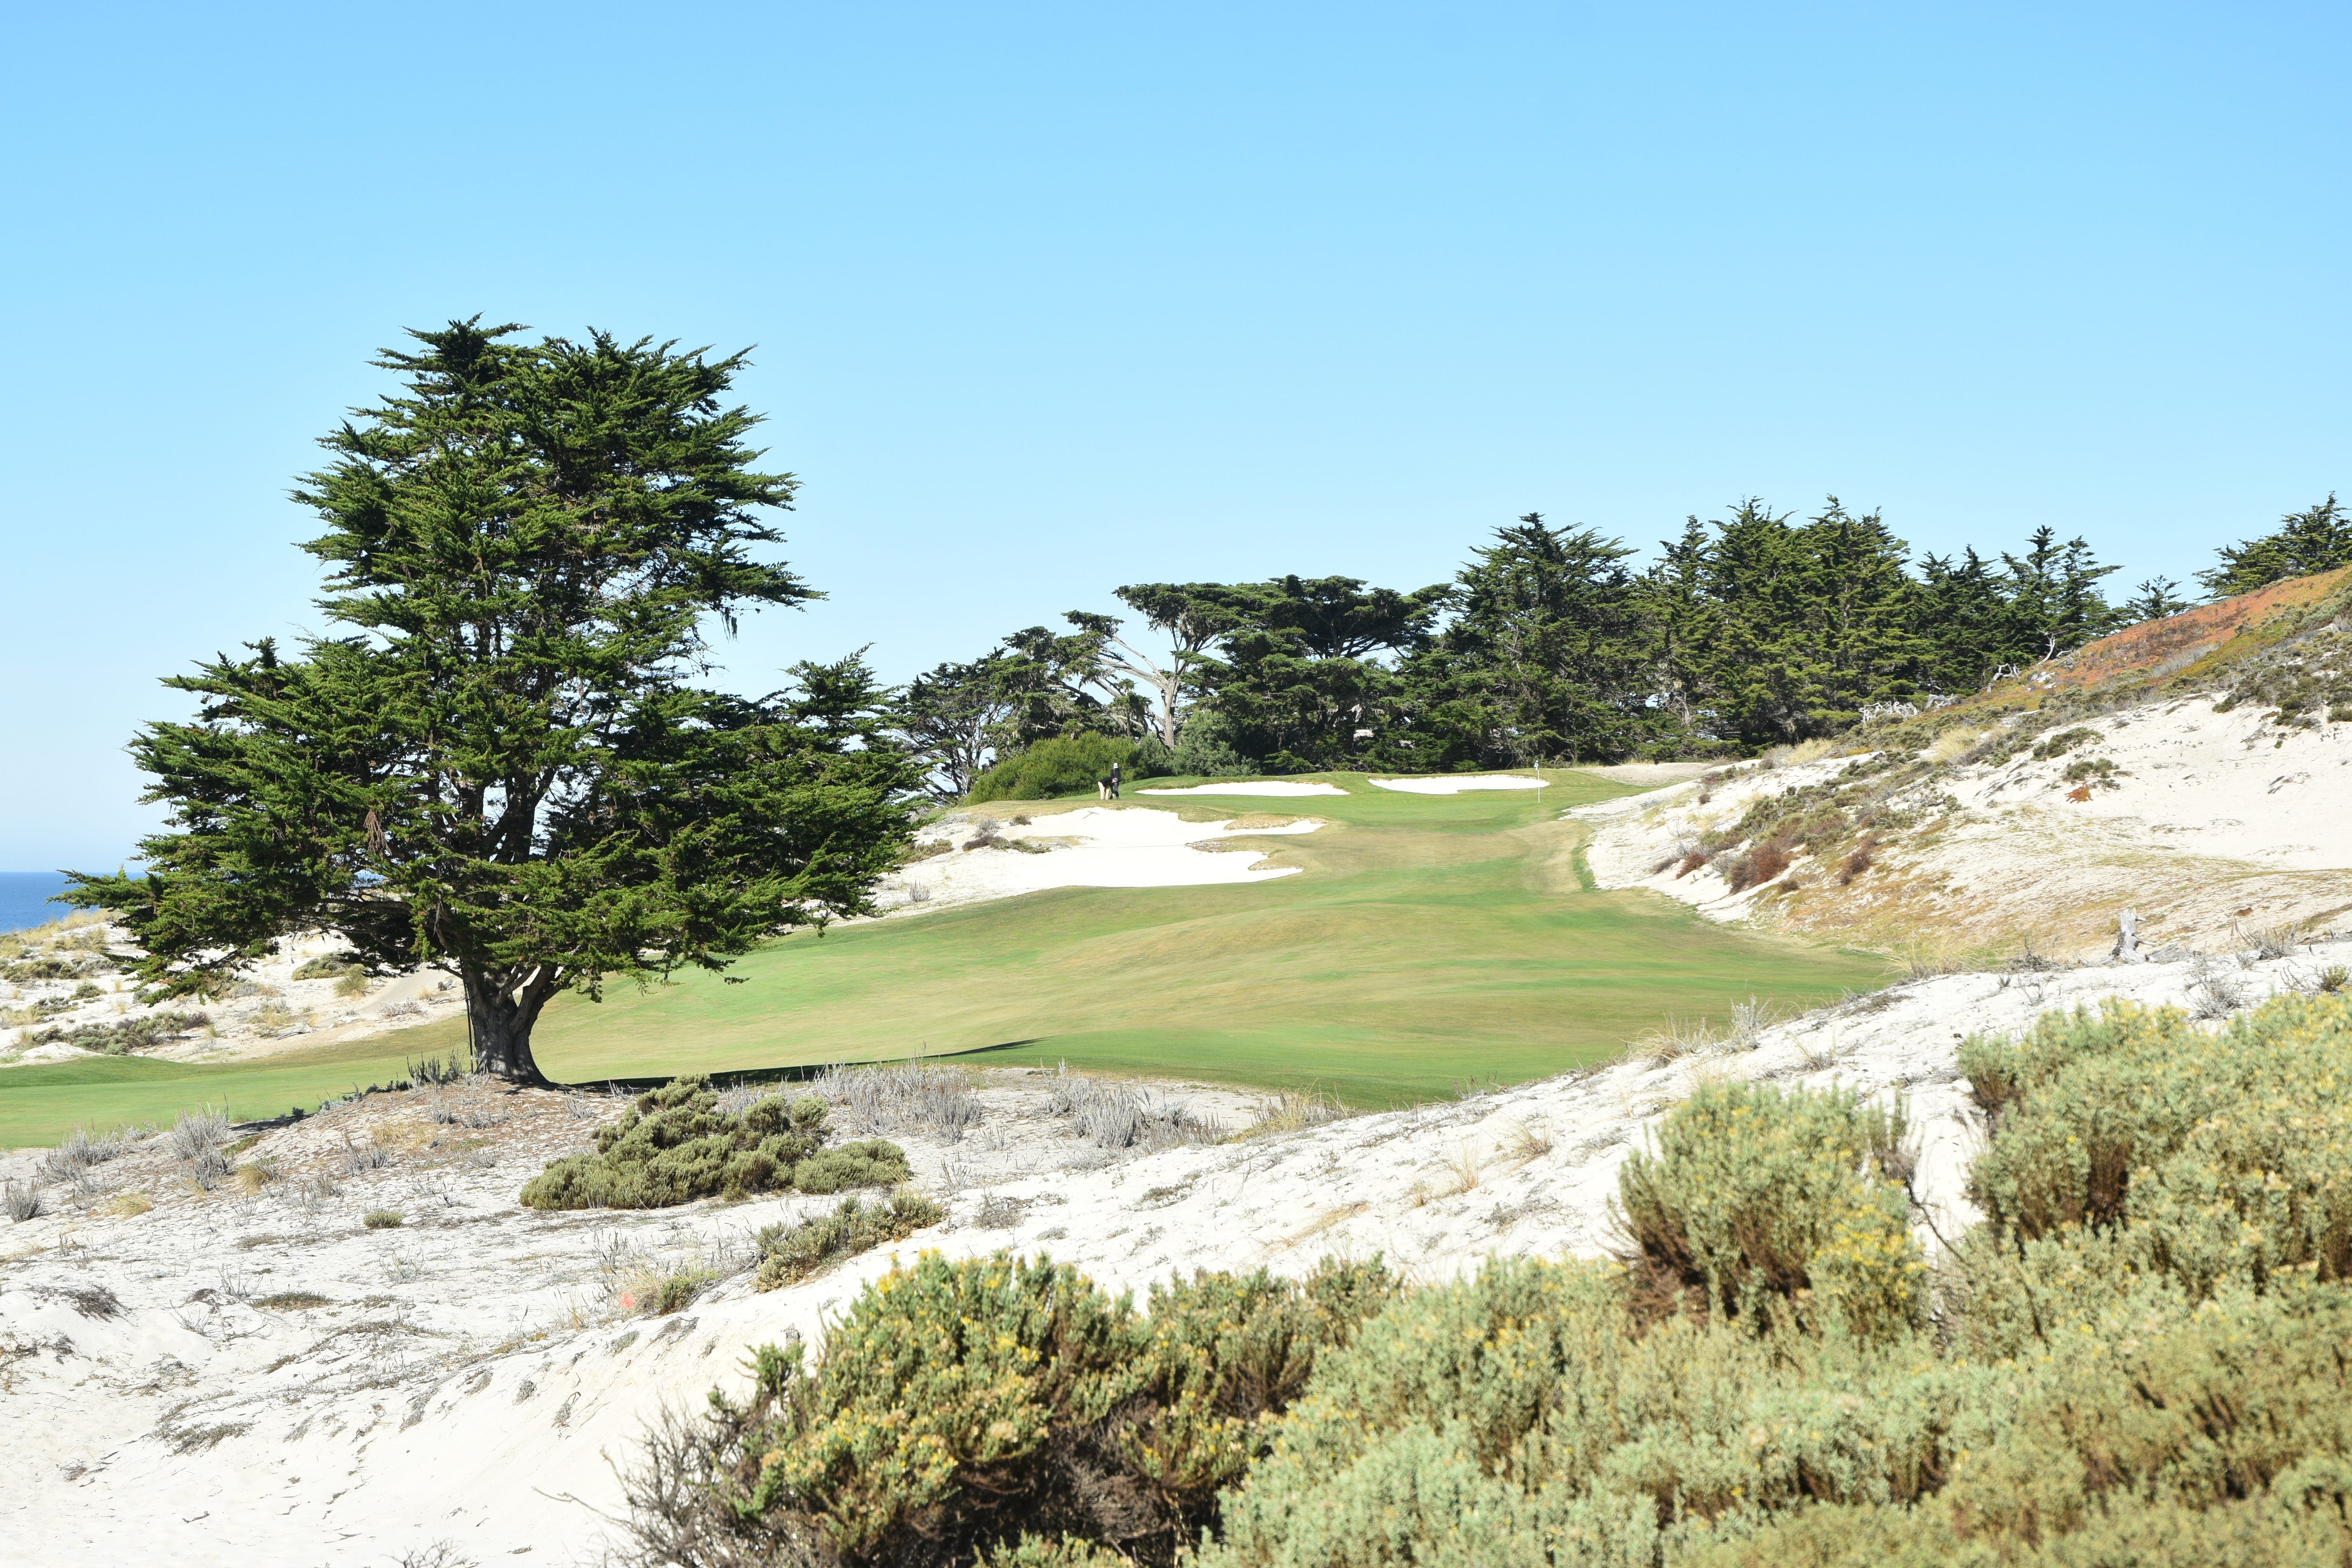
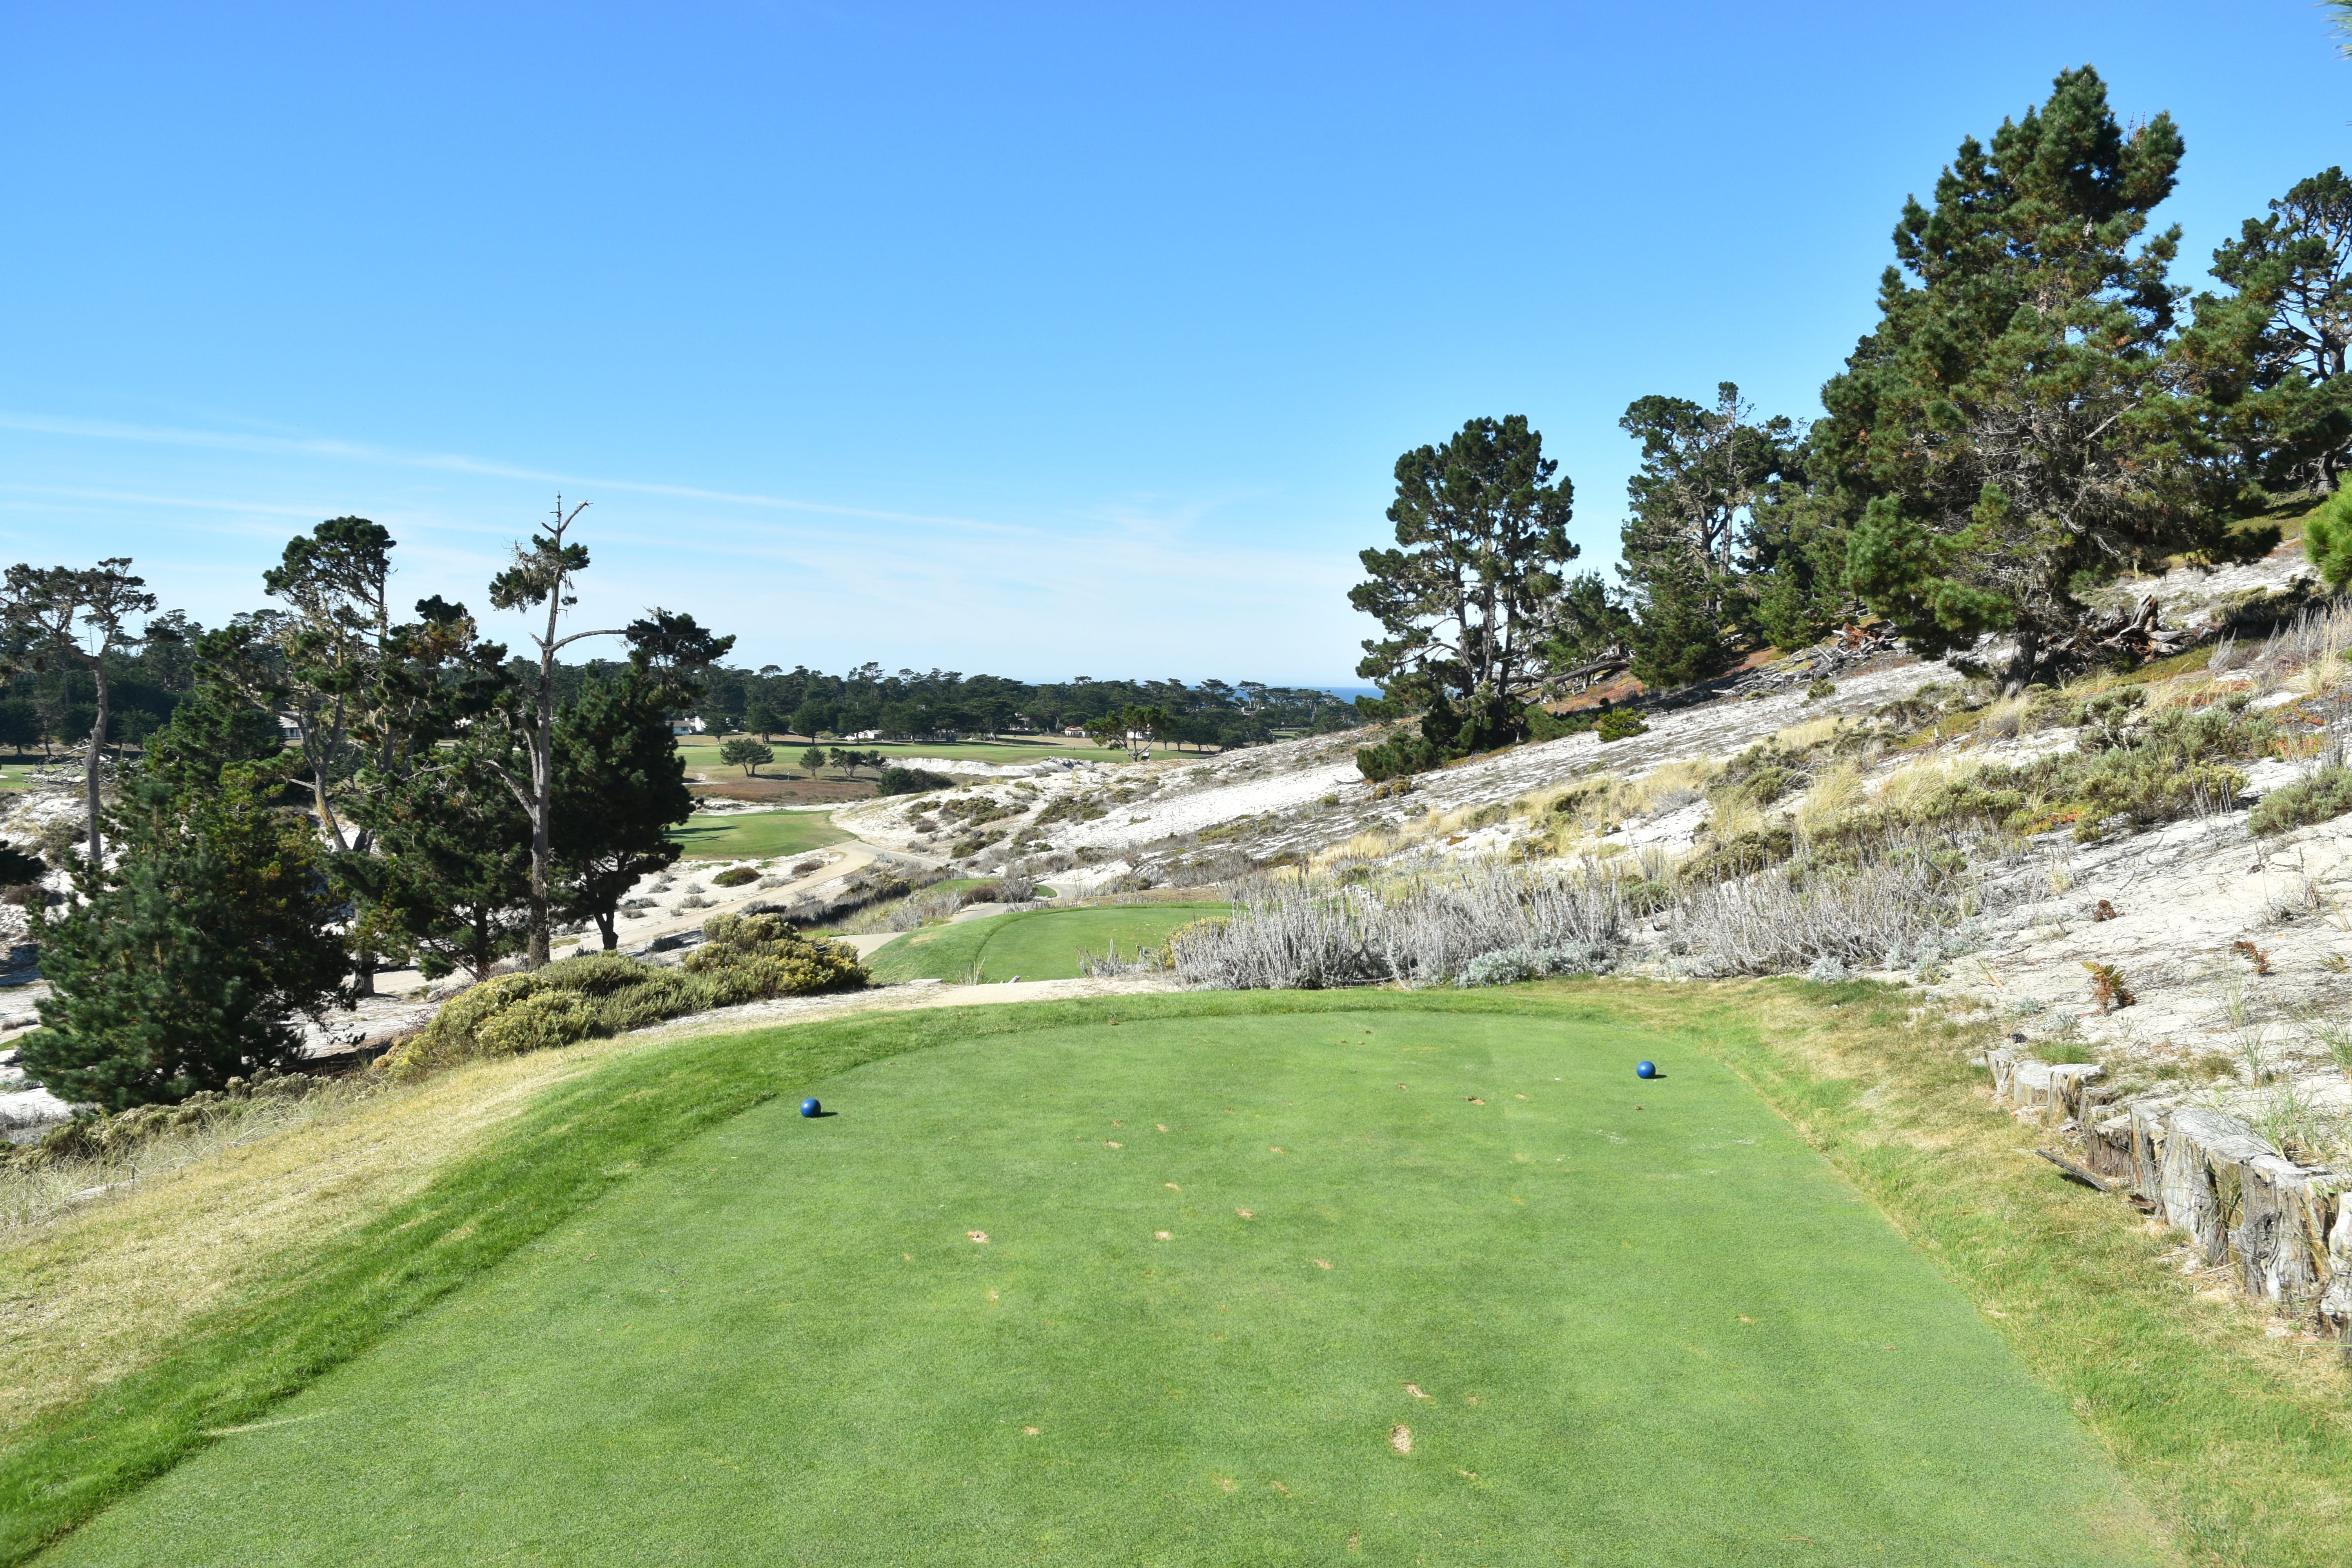
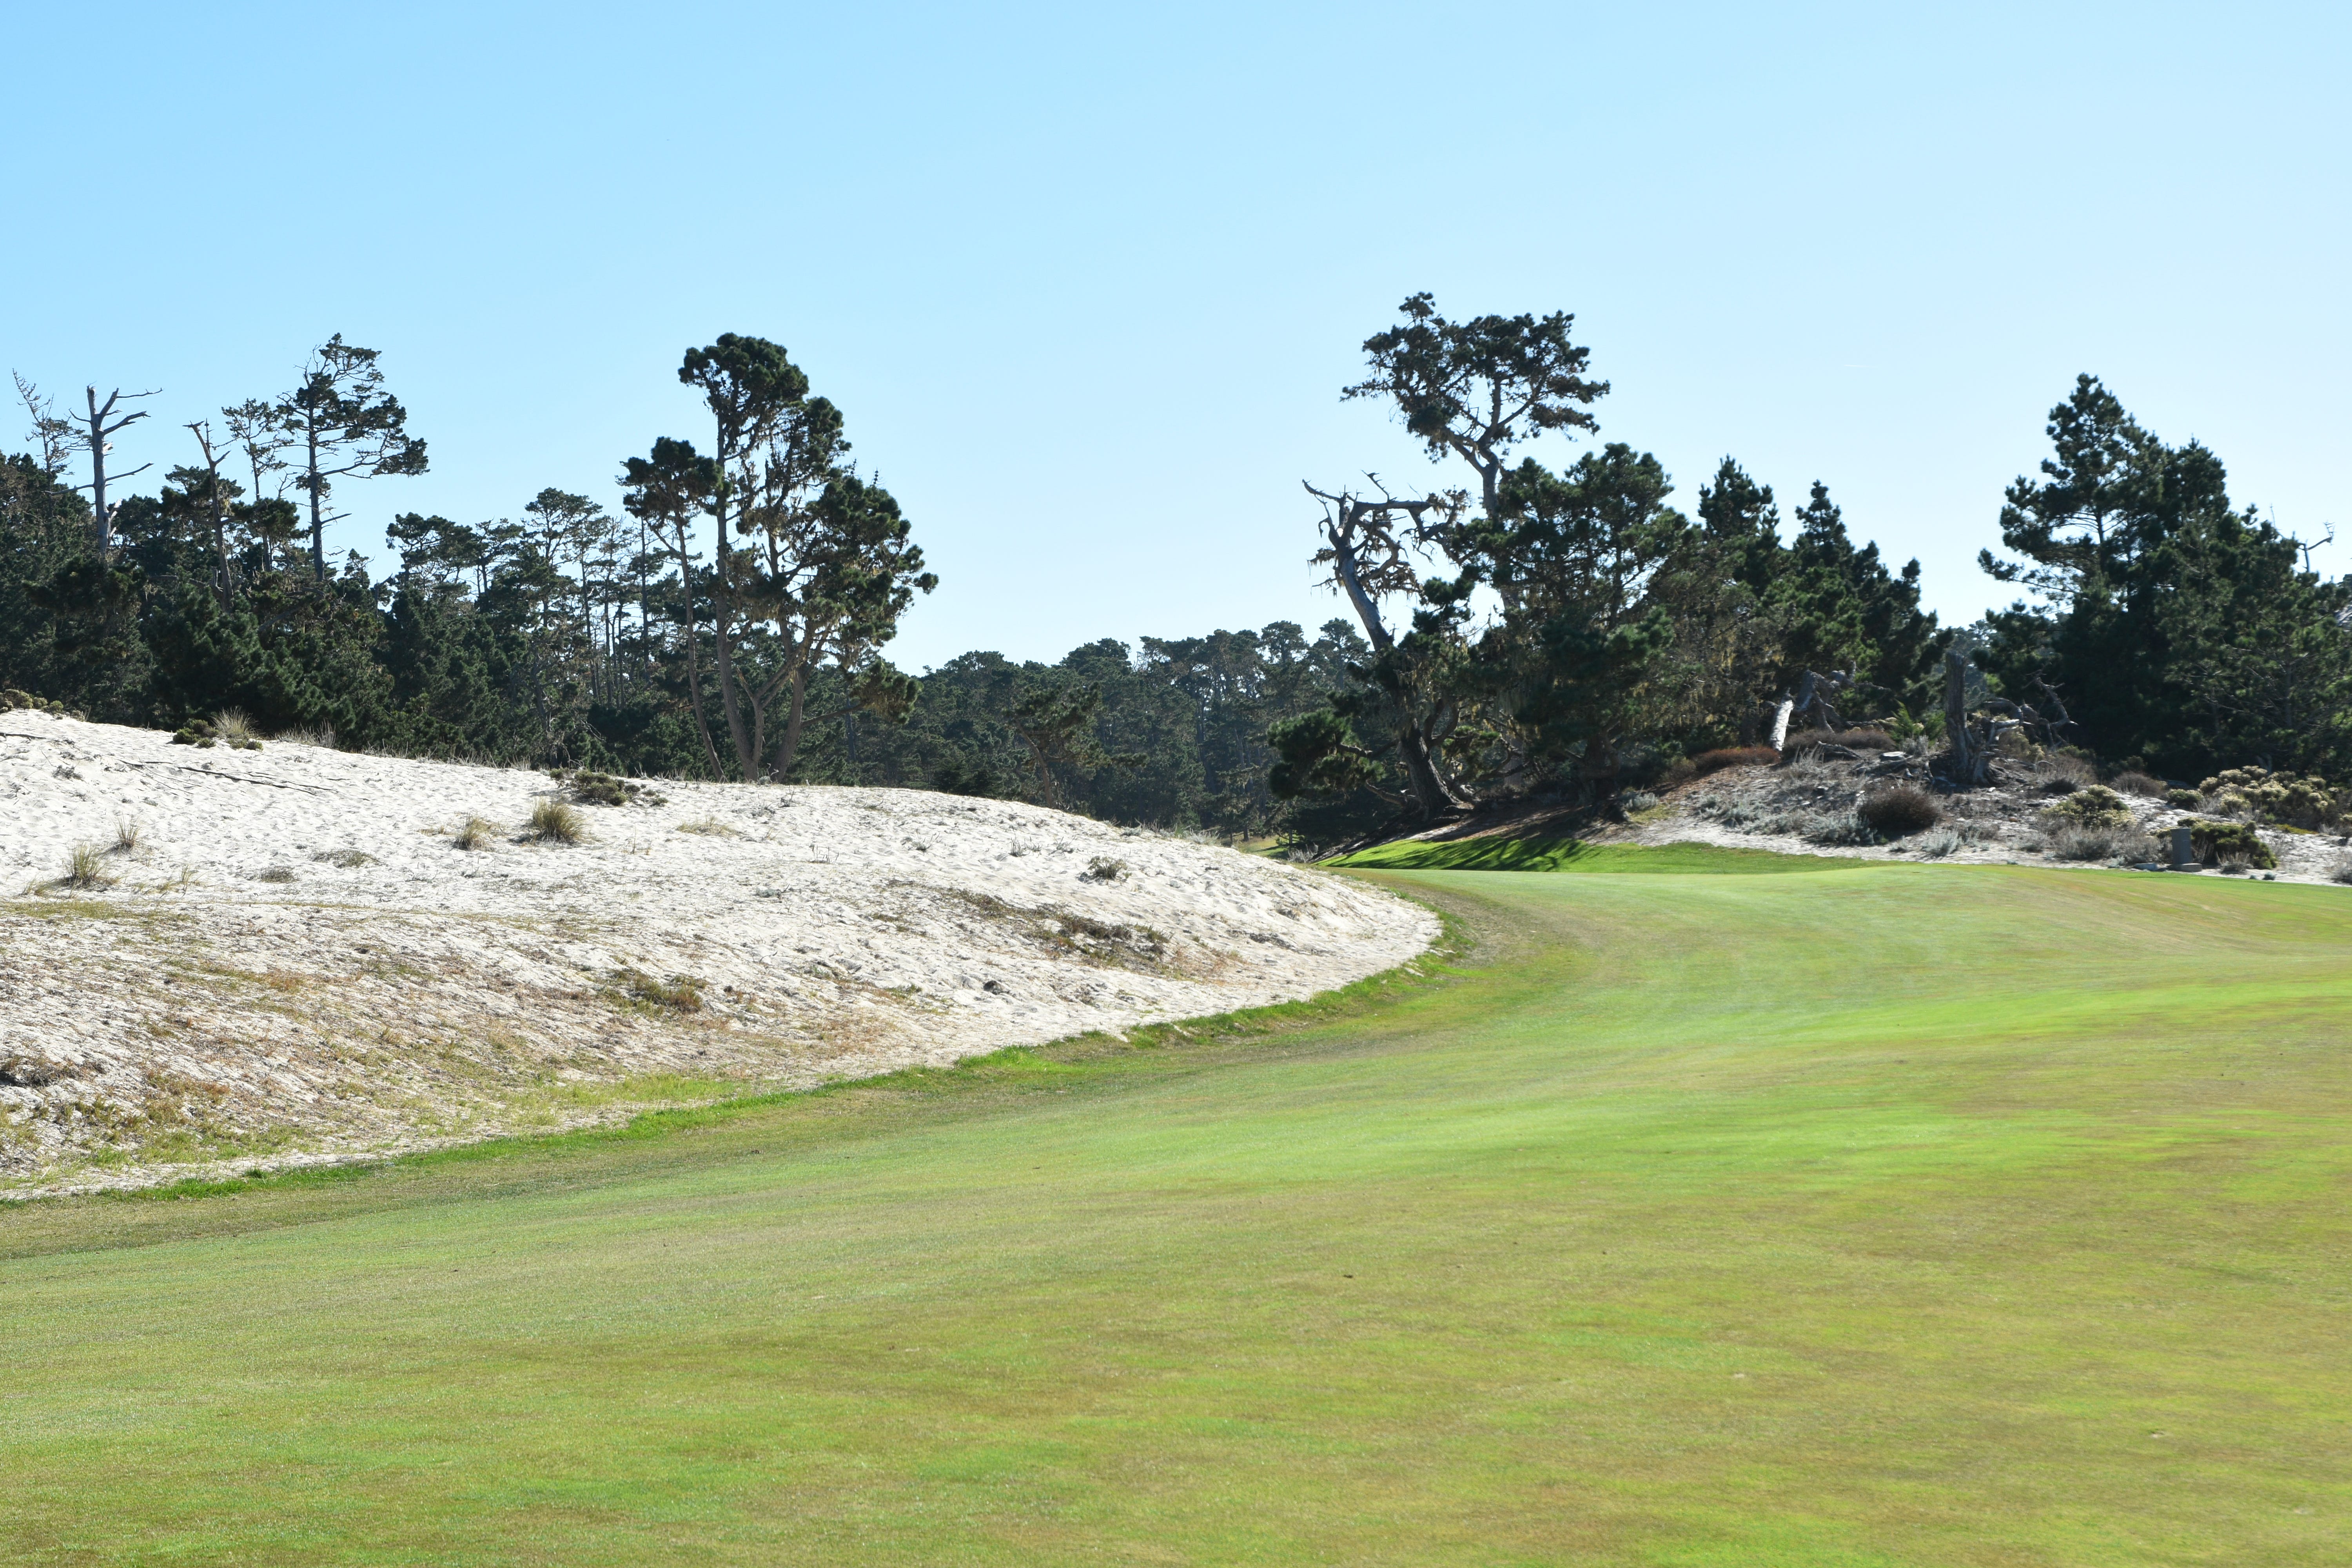
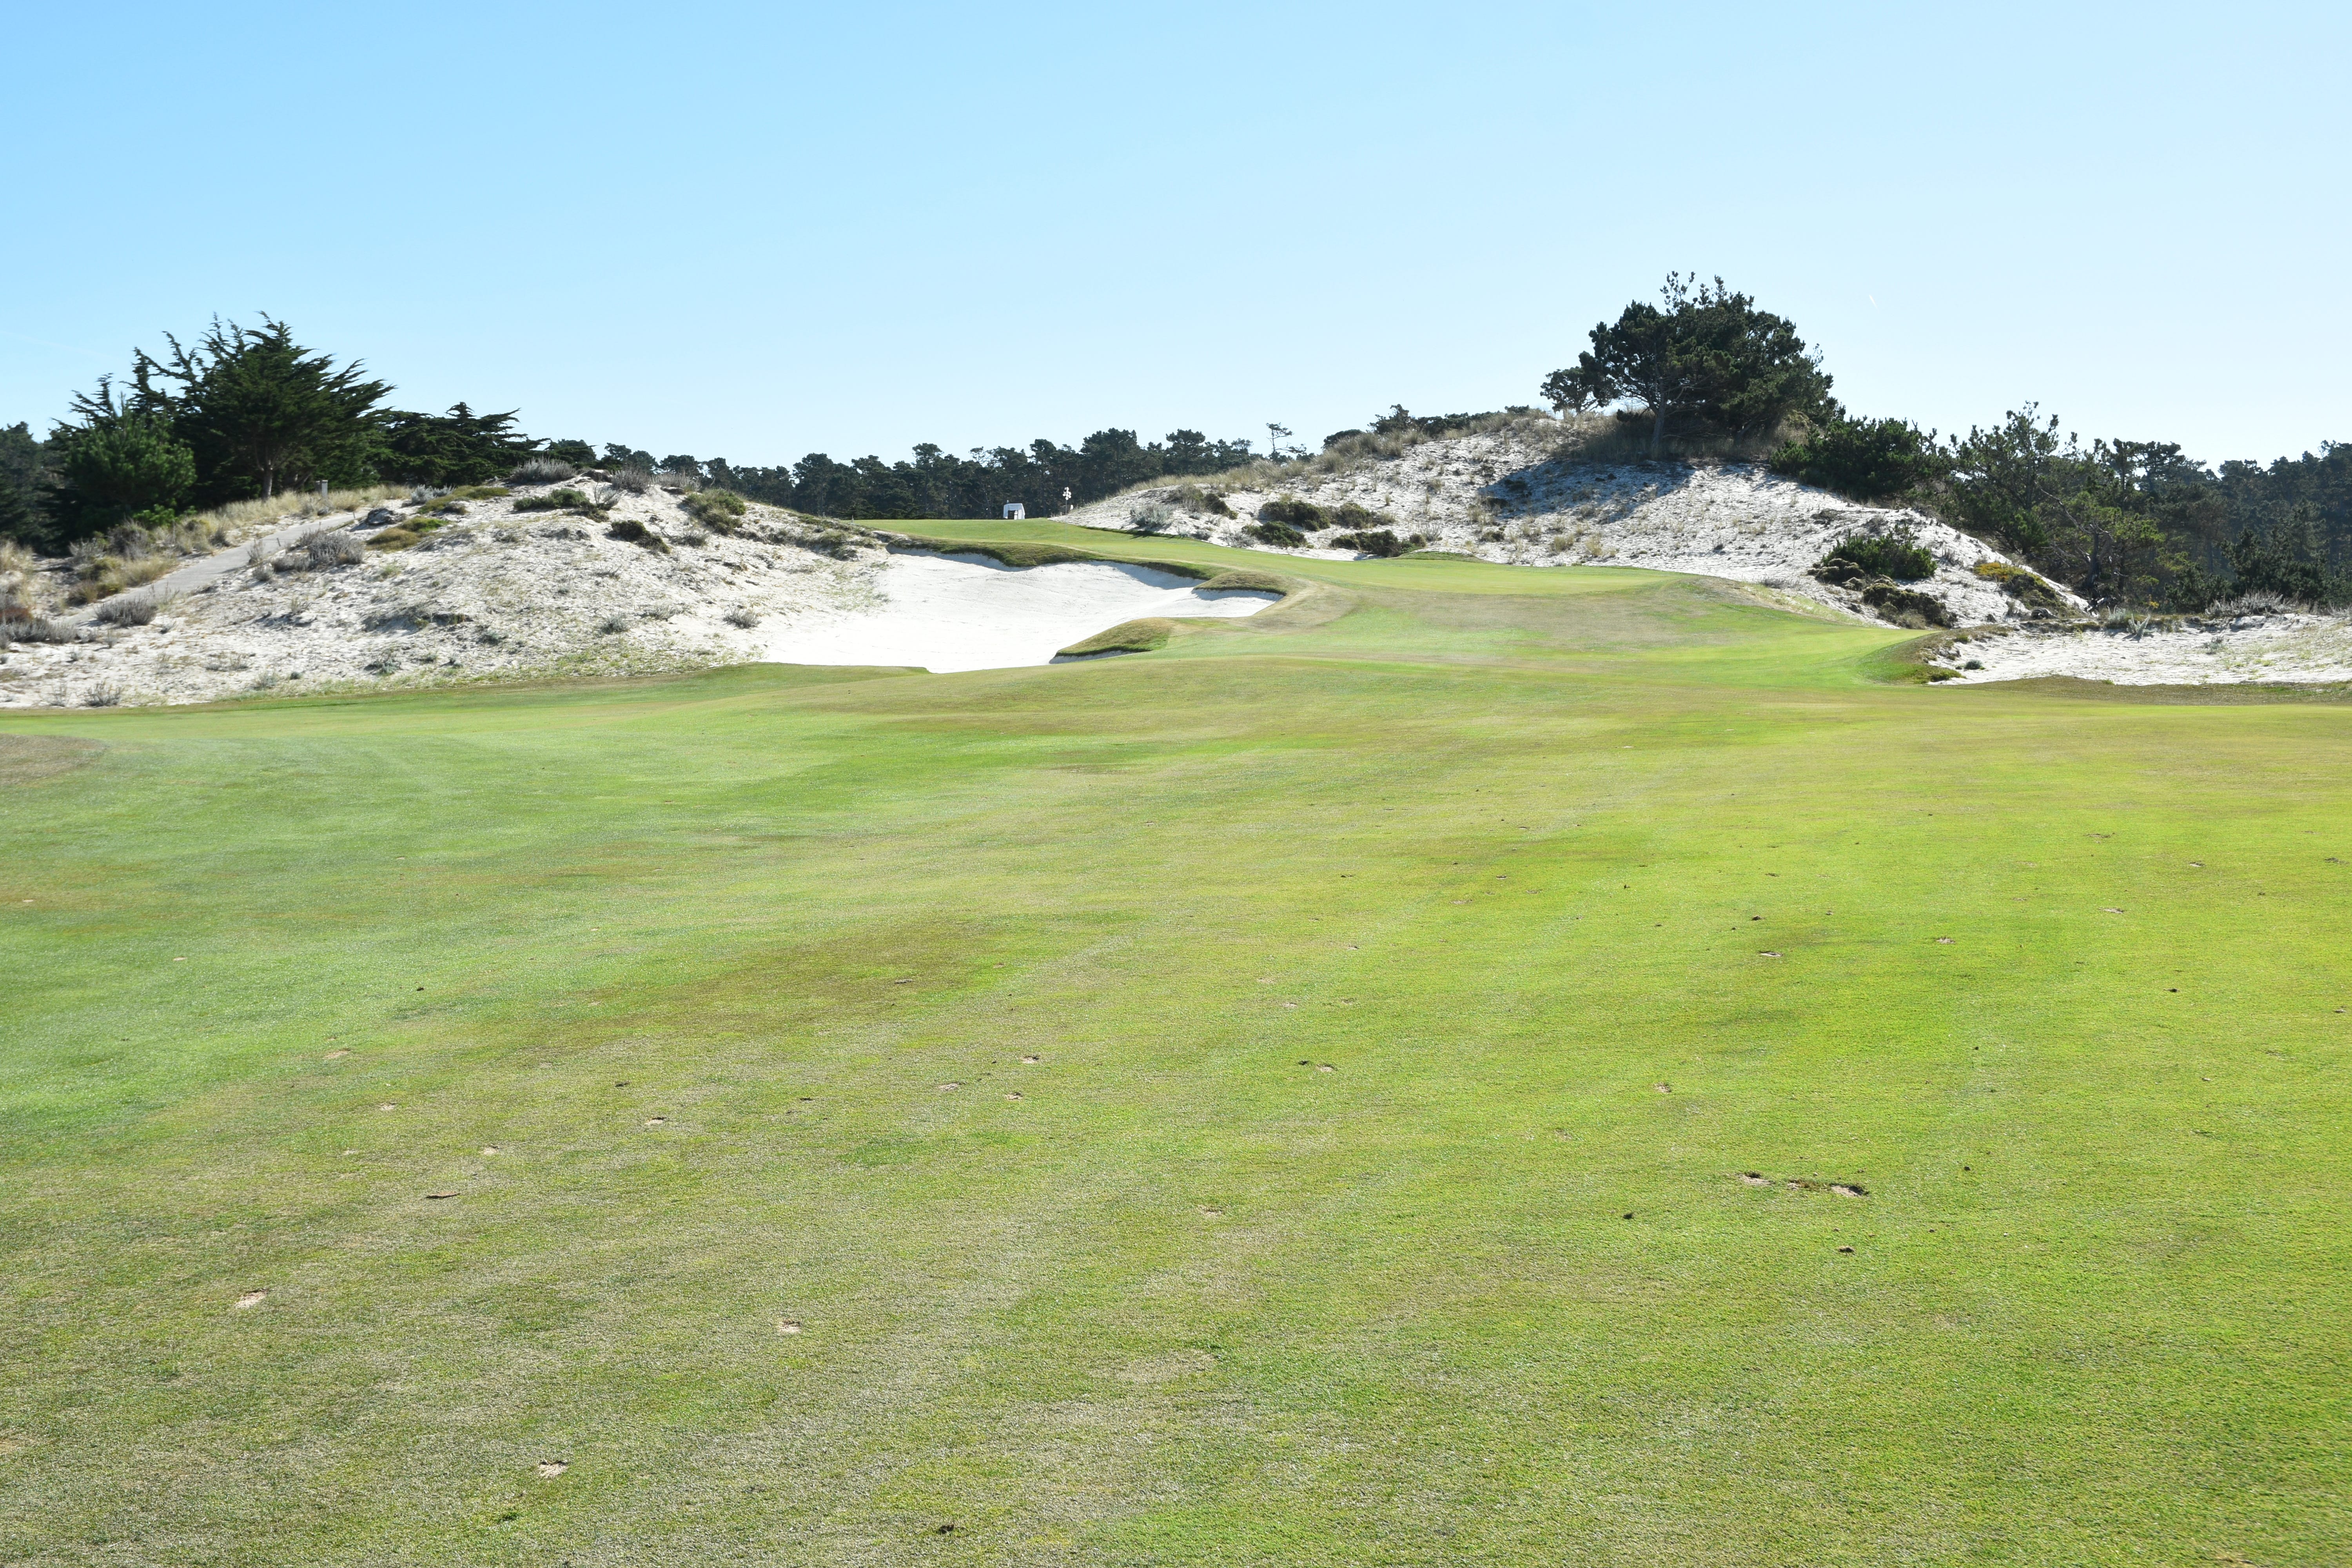
Hole 7: Par 3, 170 Yards
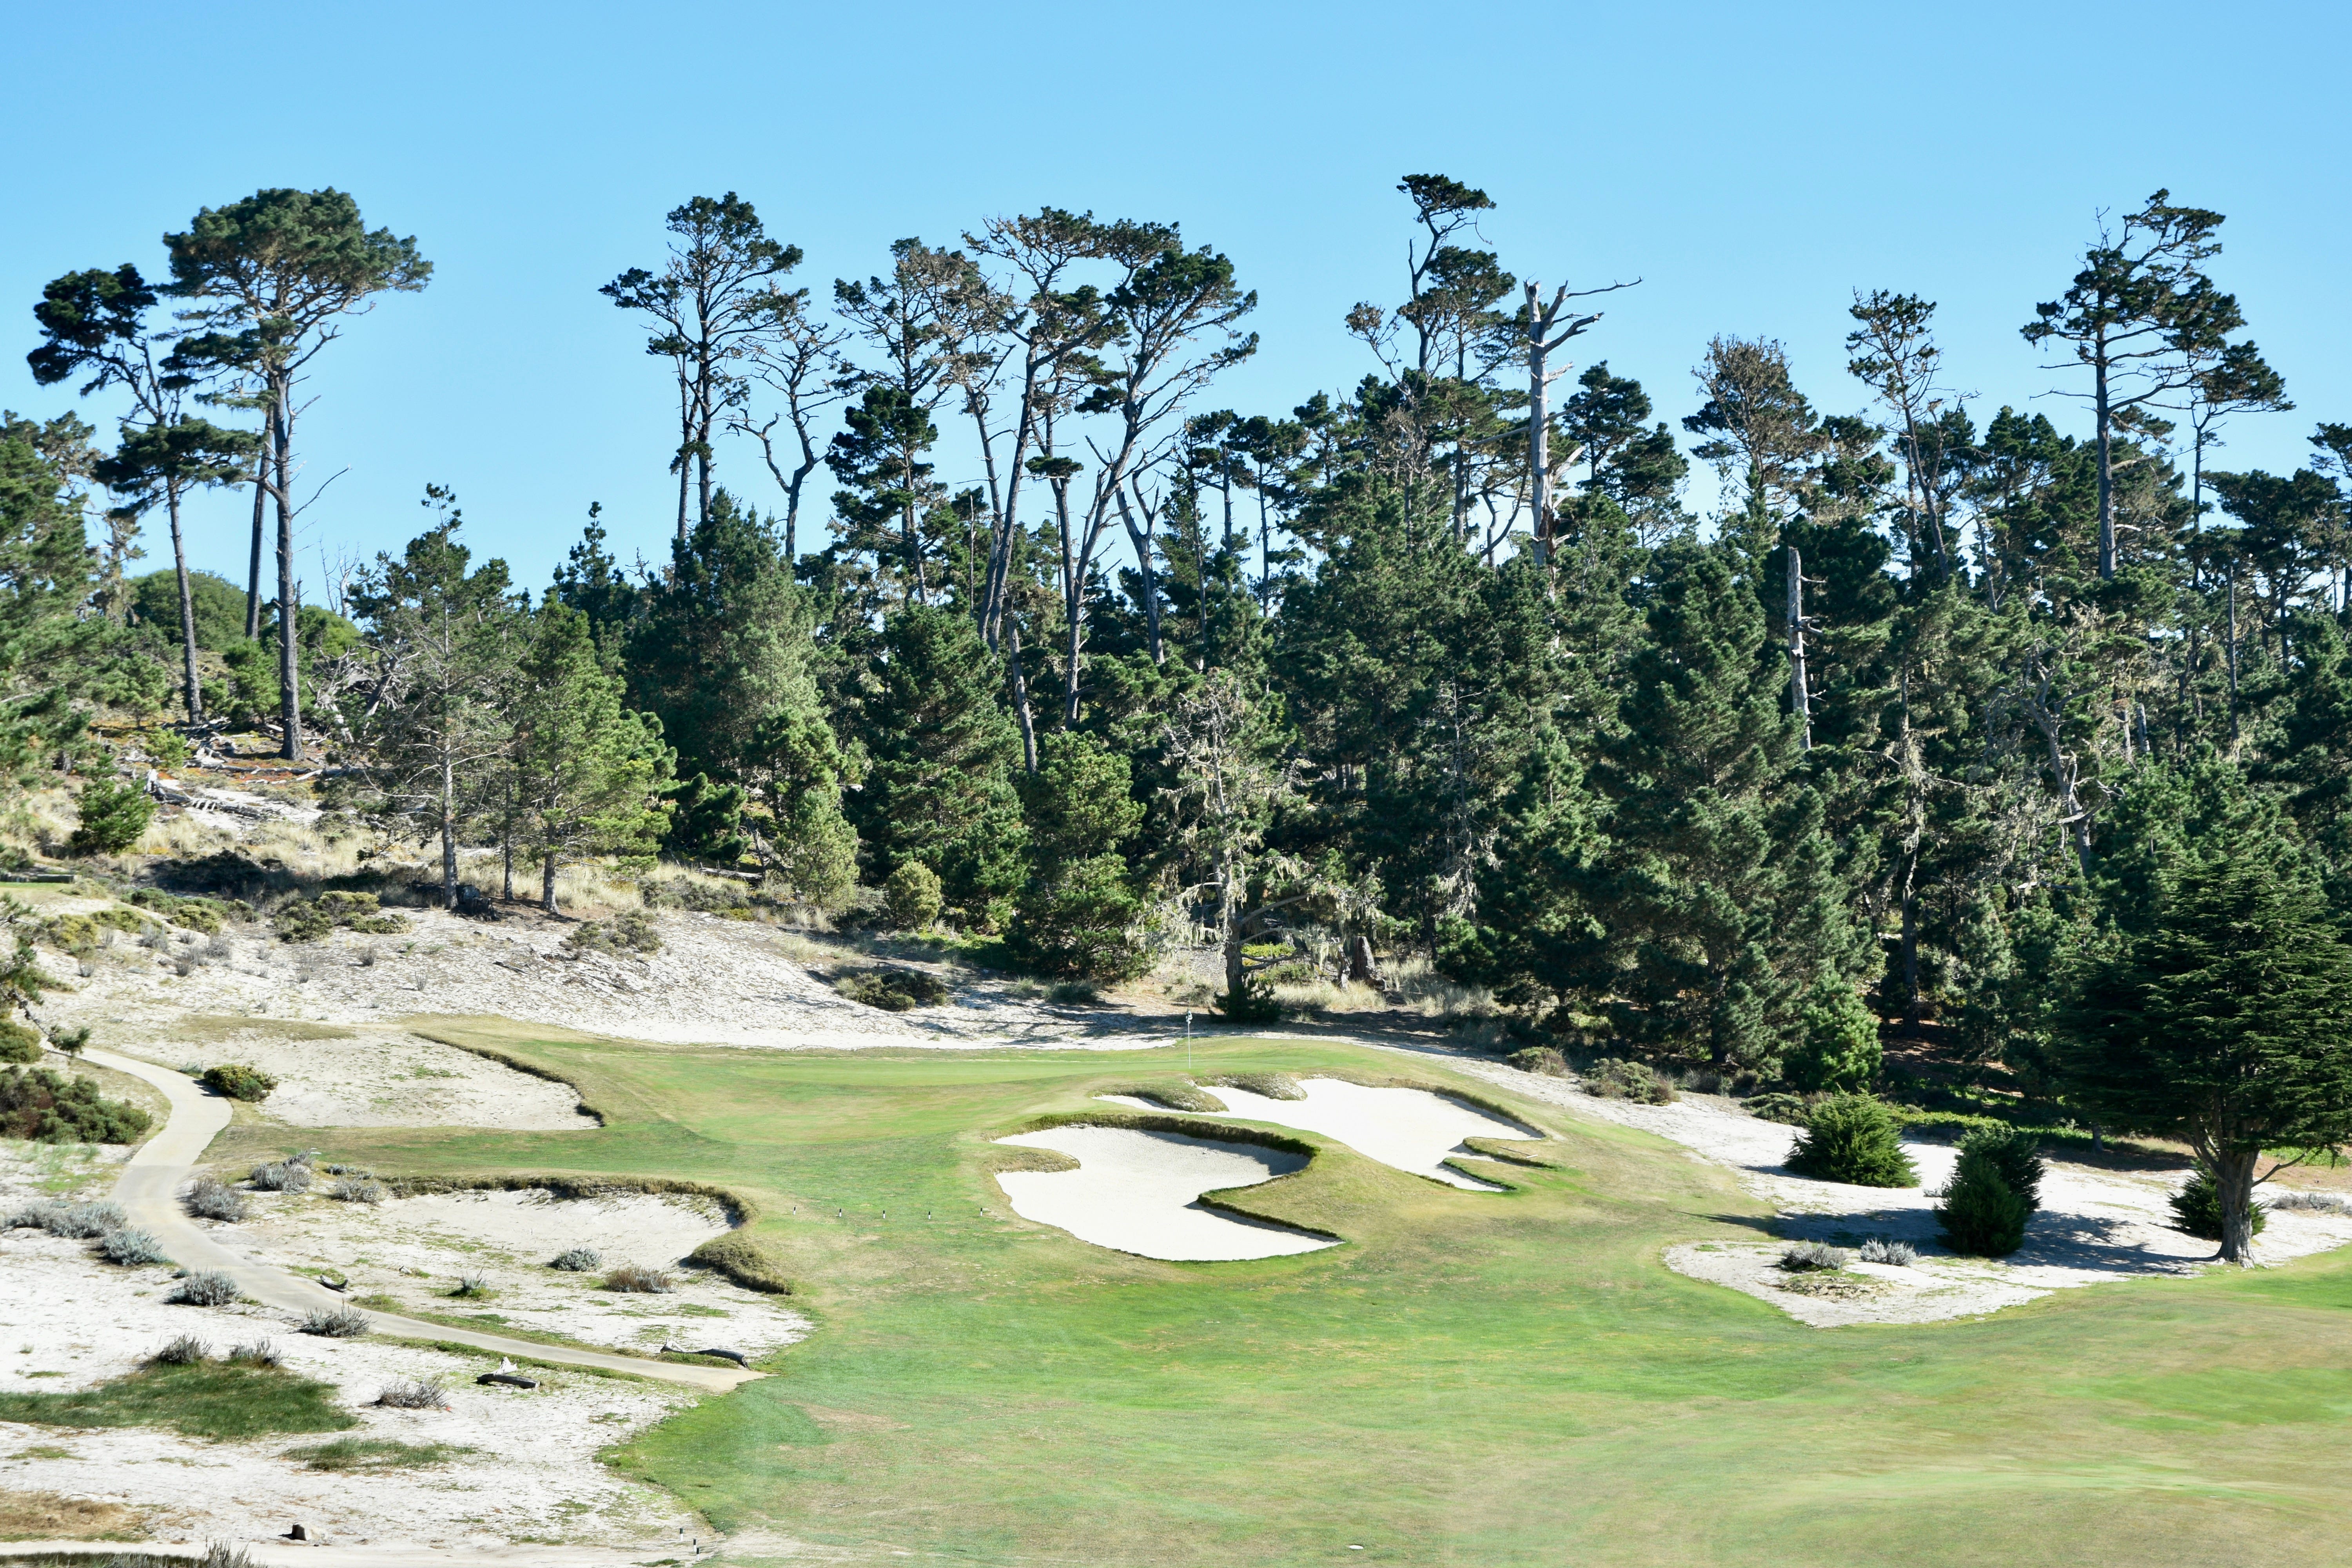
The 7th hole at Cypress Point — set atop a sand dune and requiring a deft approach
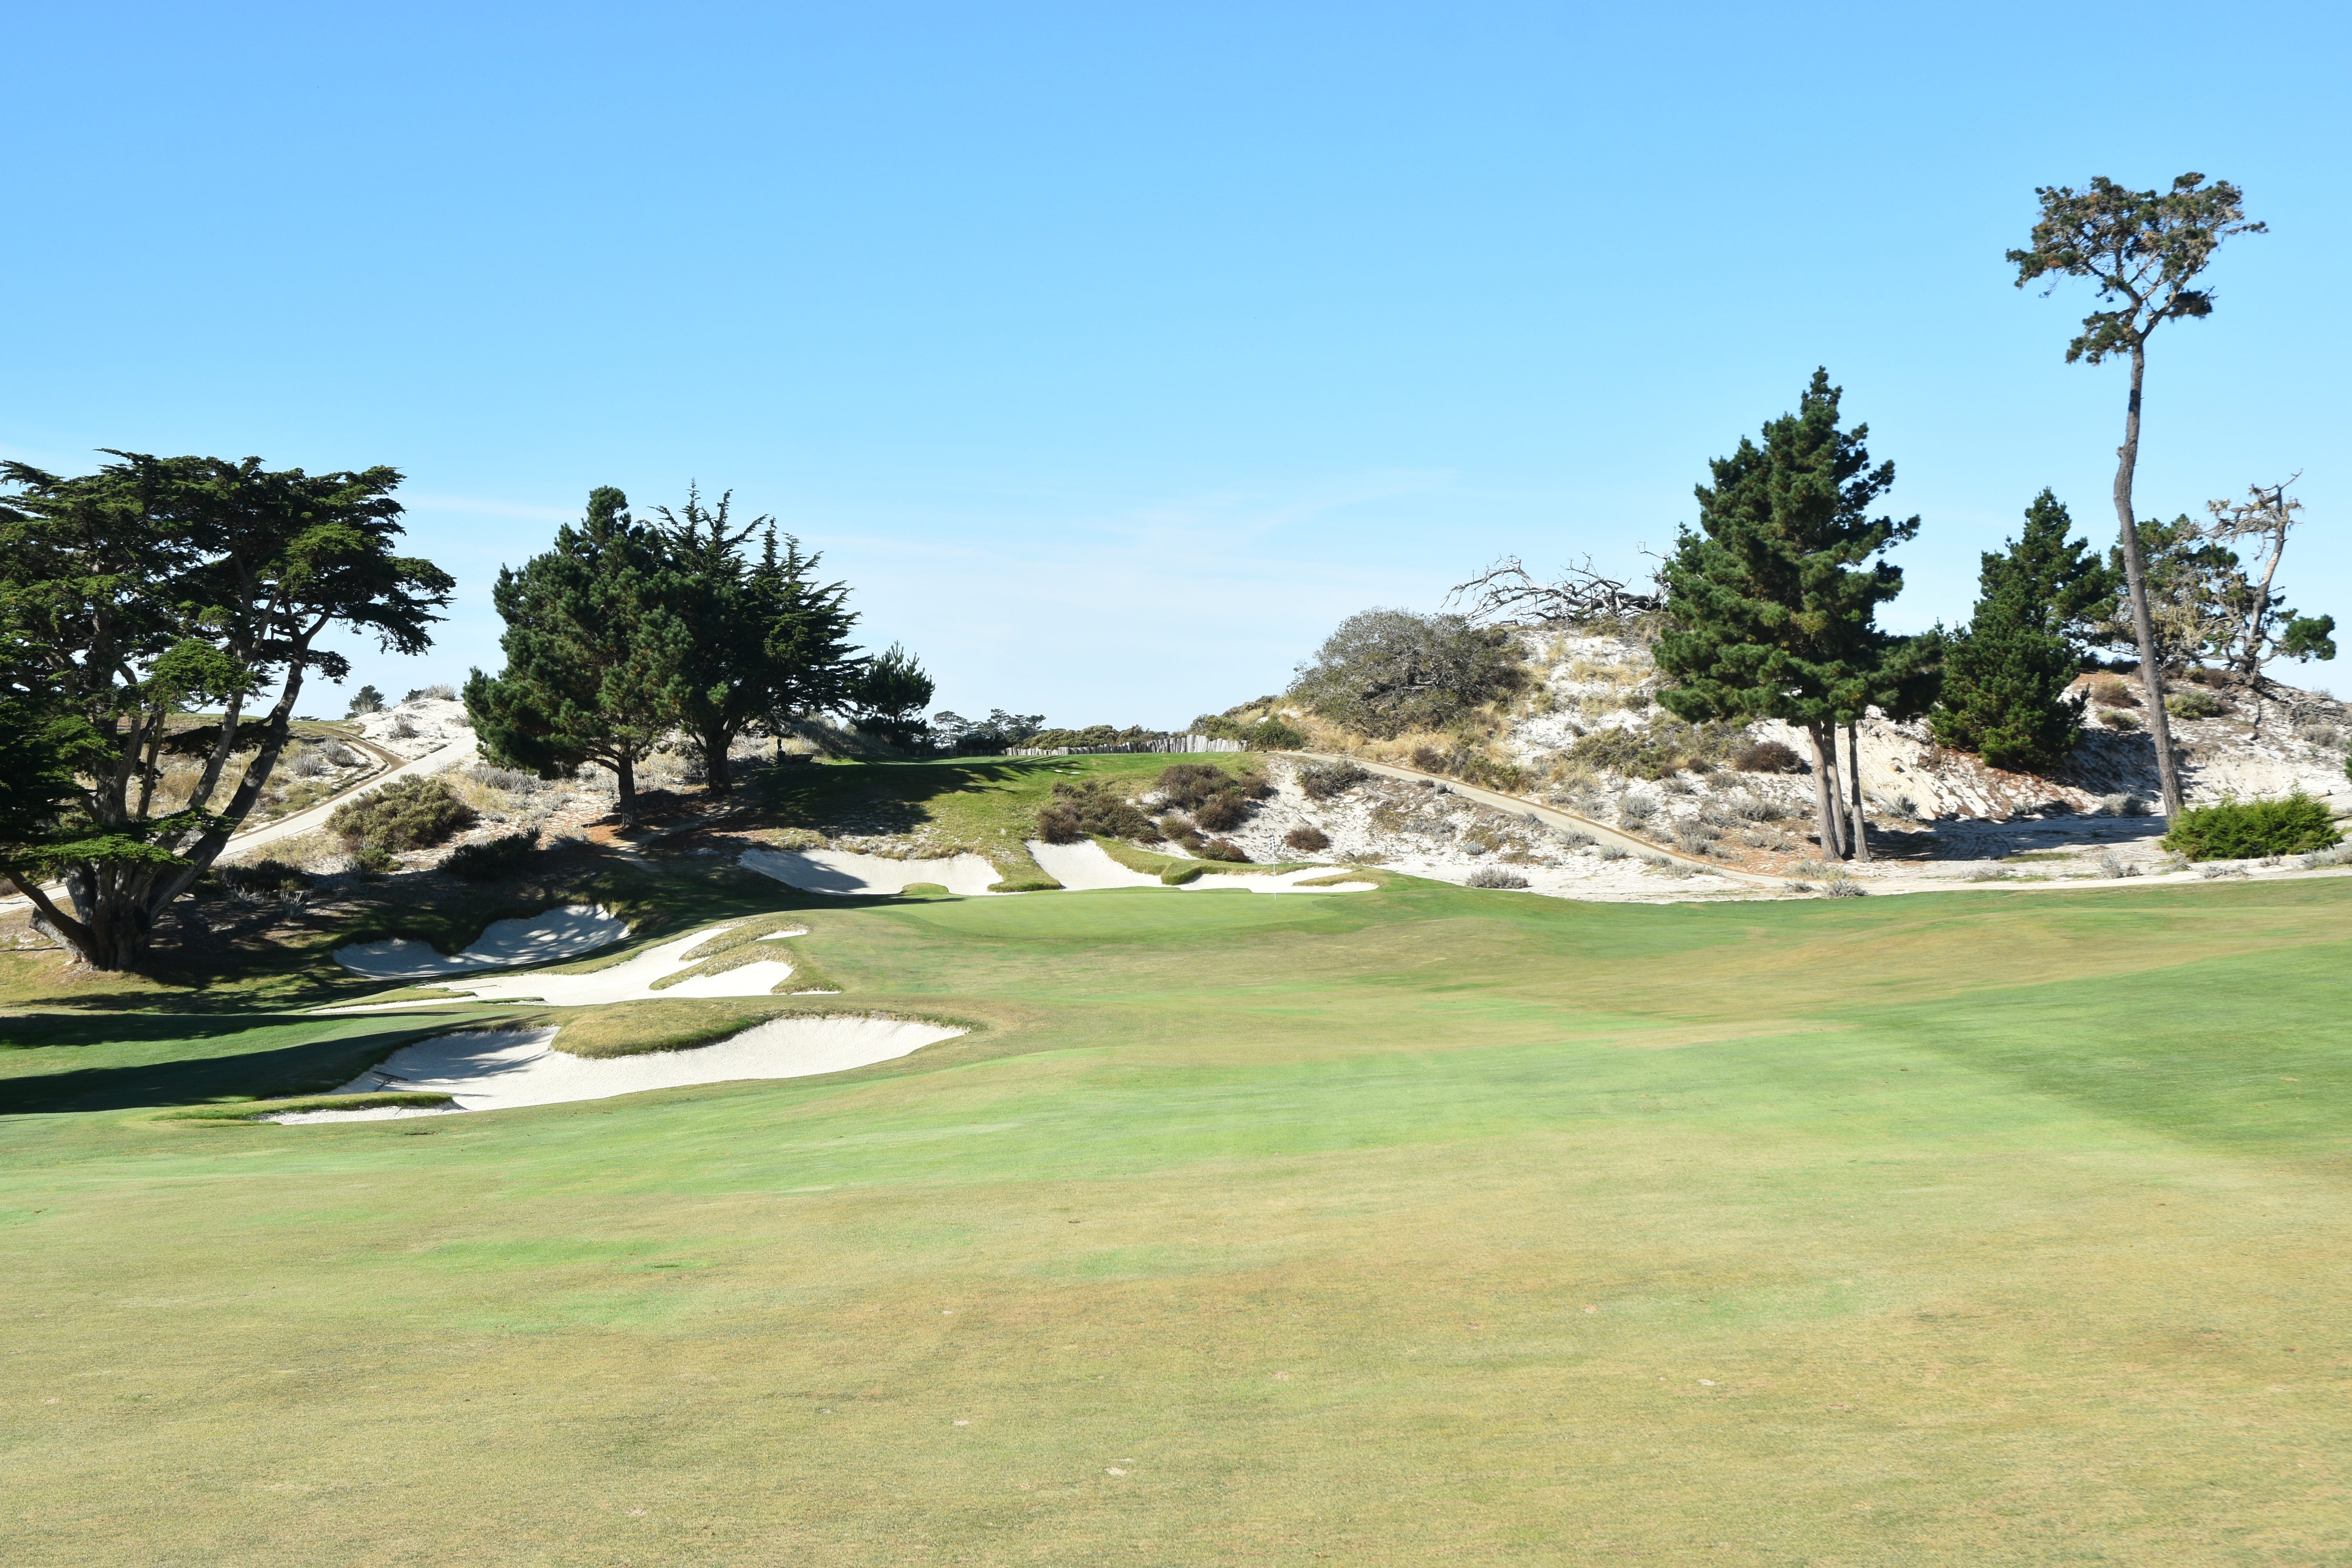
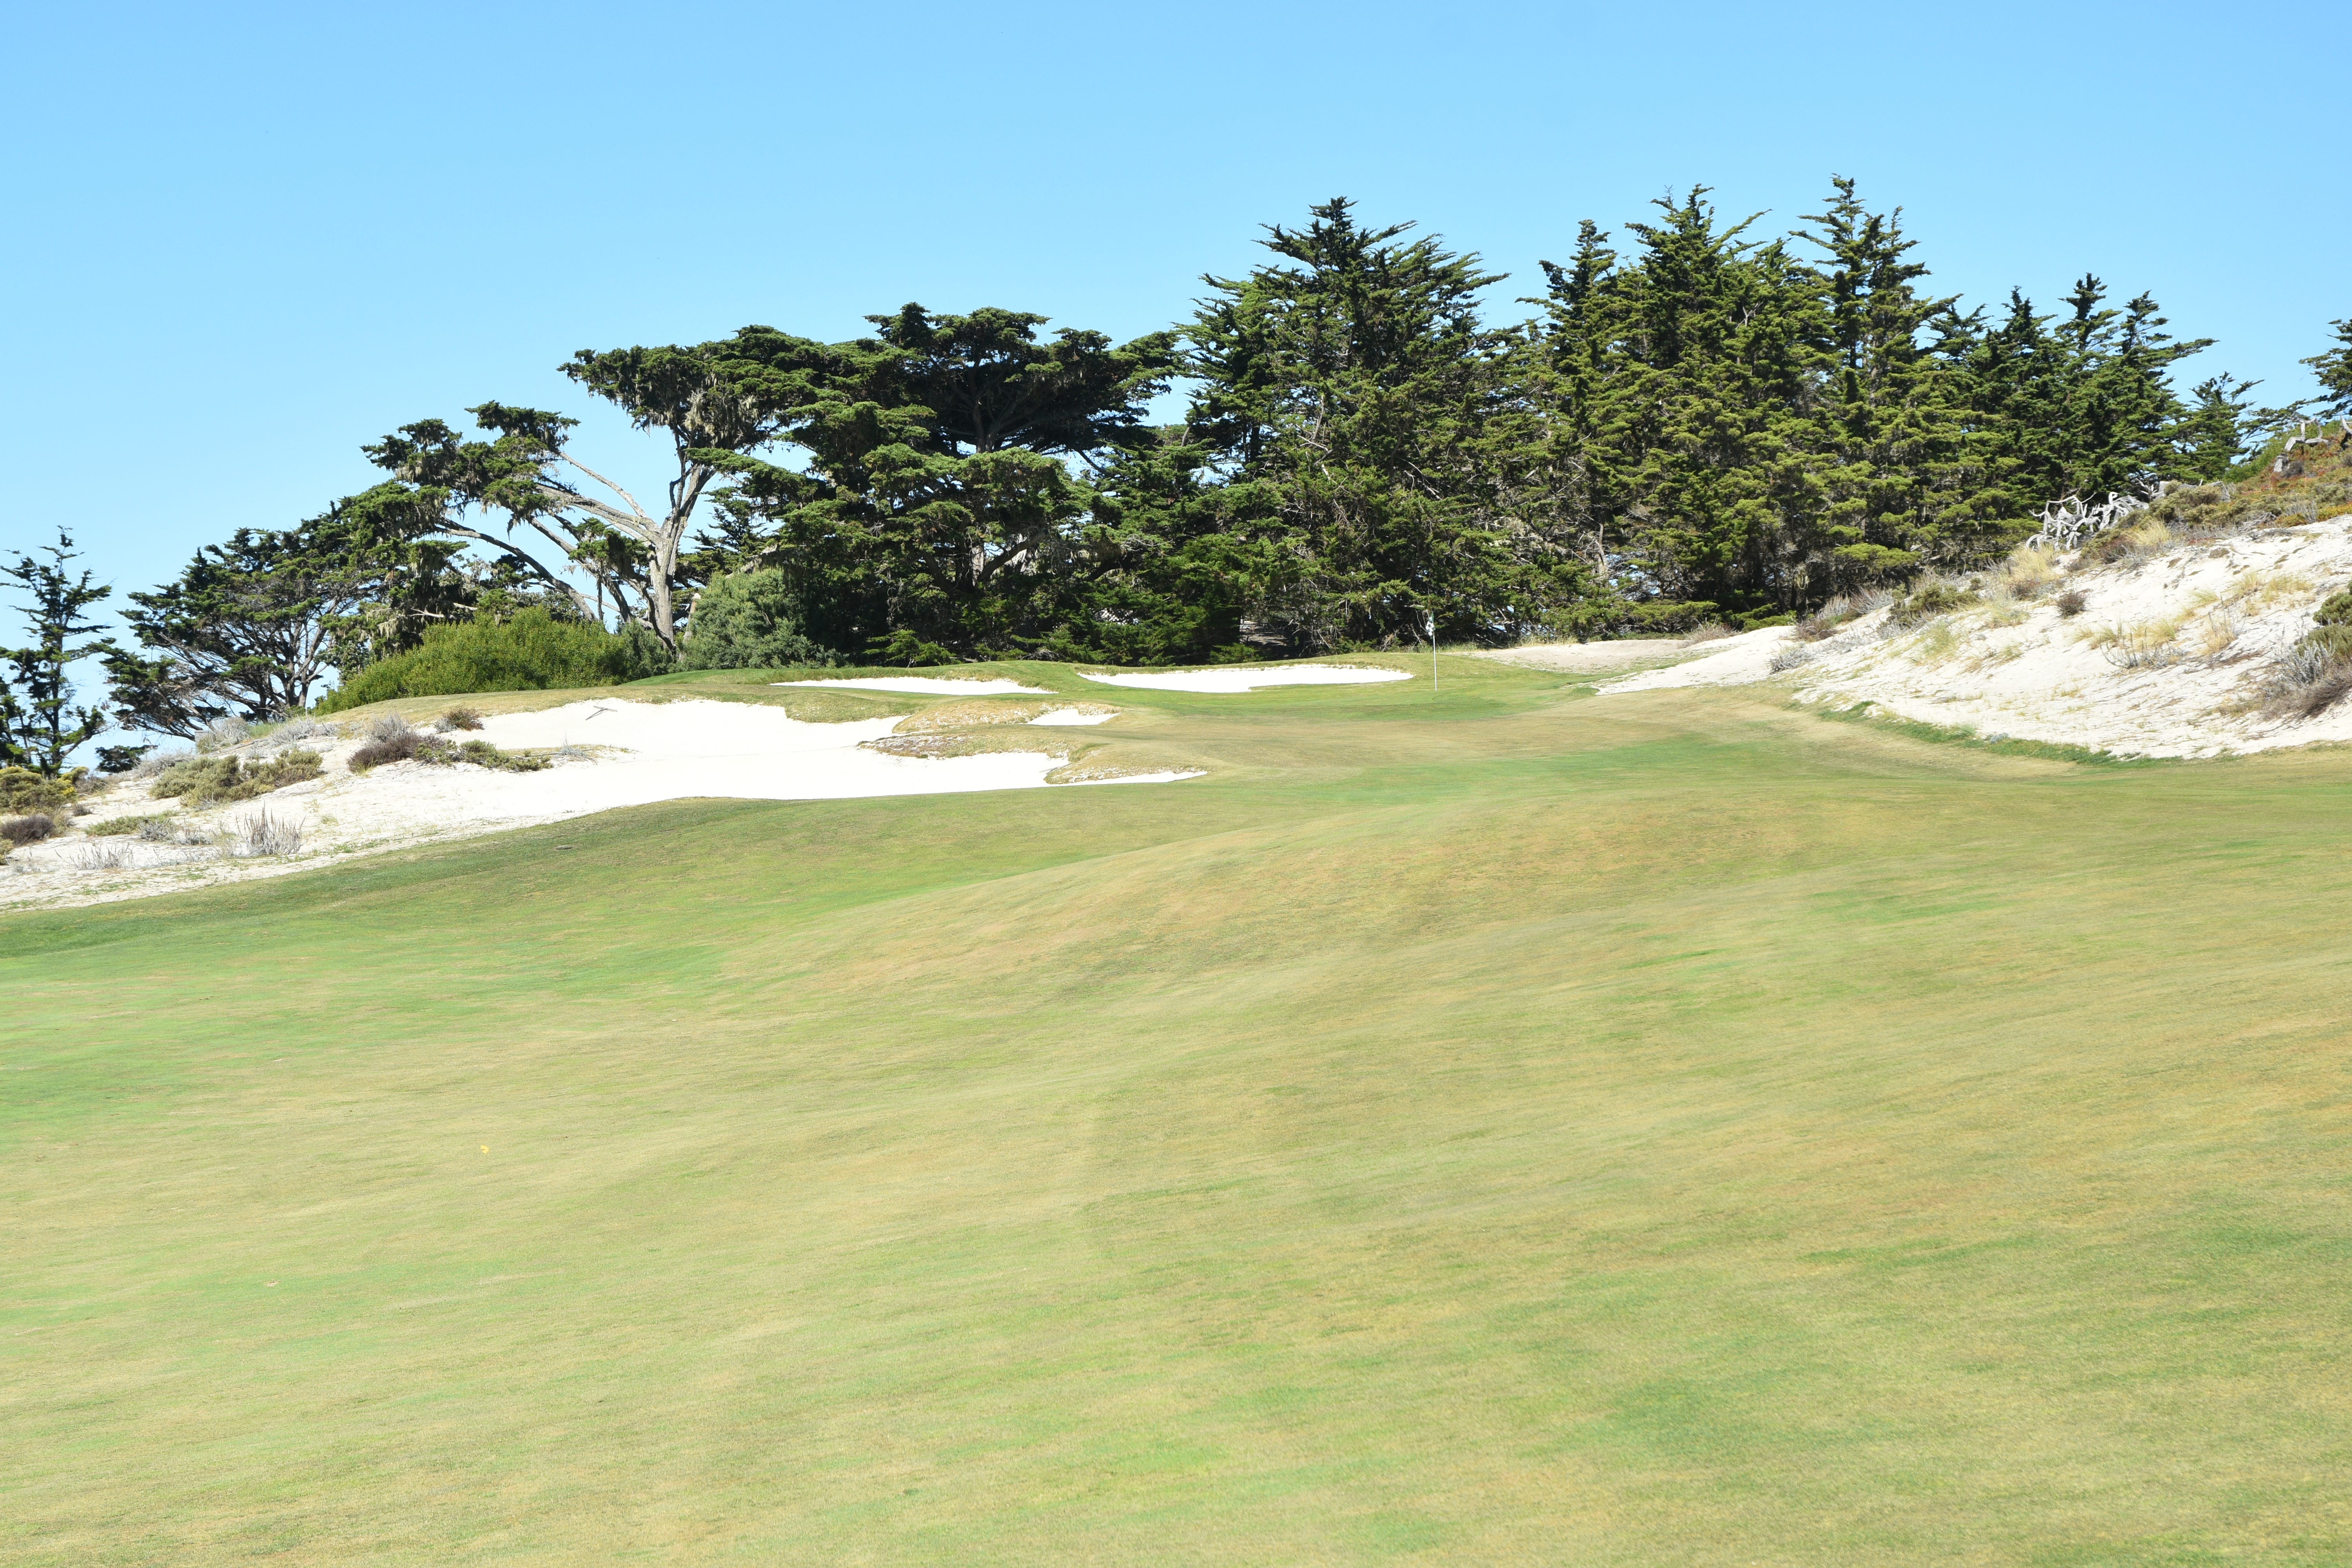
The 7th hole tee shot from the back tee — the approach shot is severely uphill to a small and roundish green
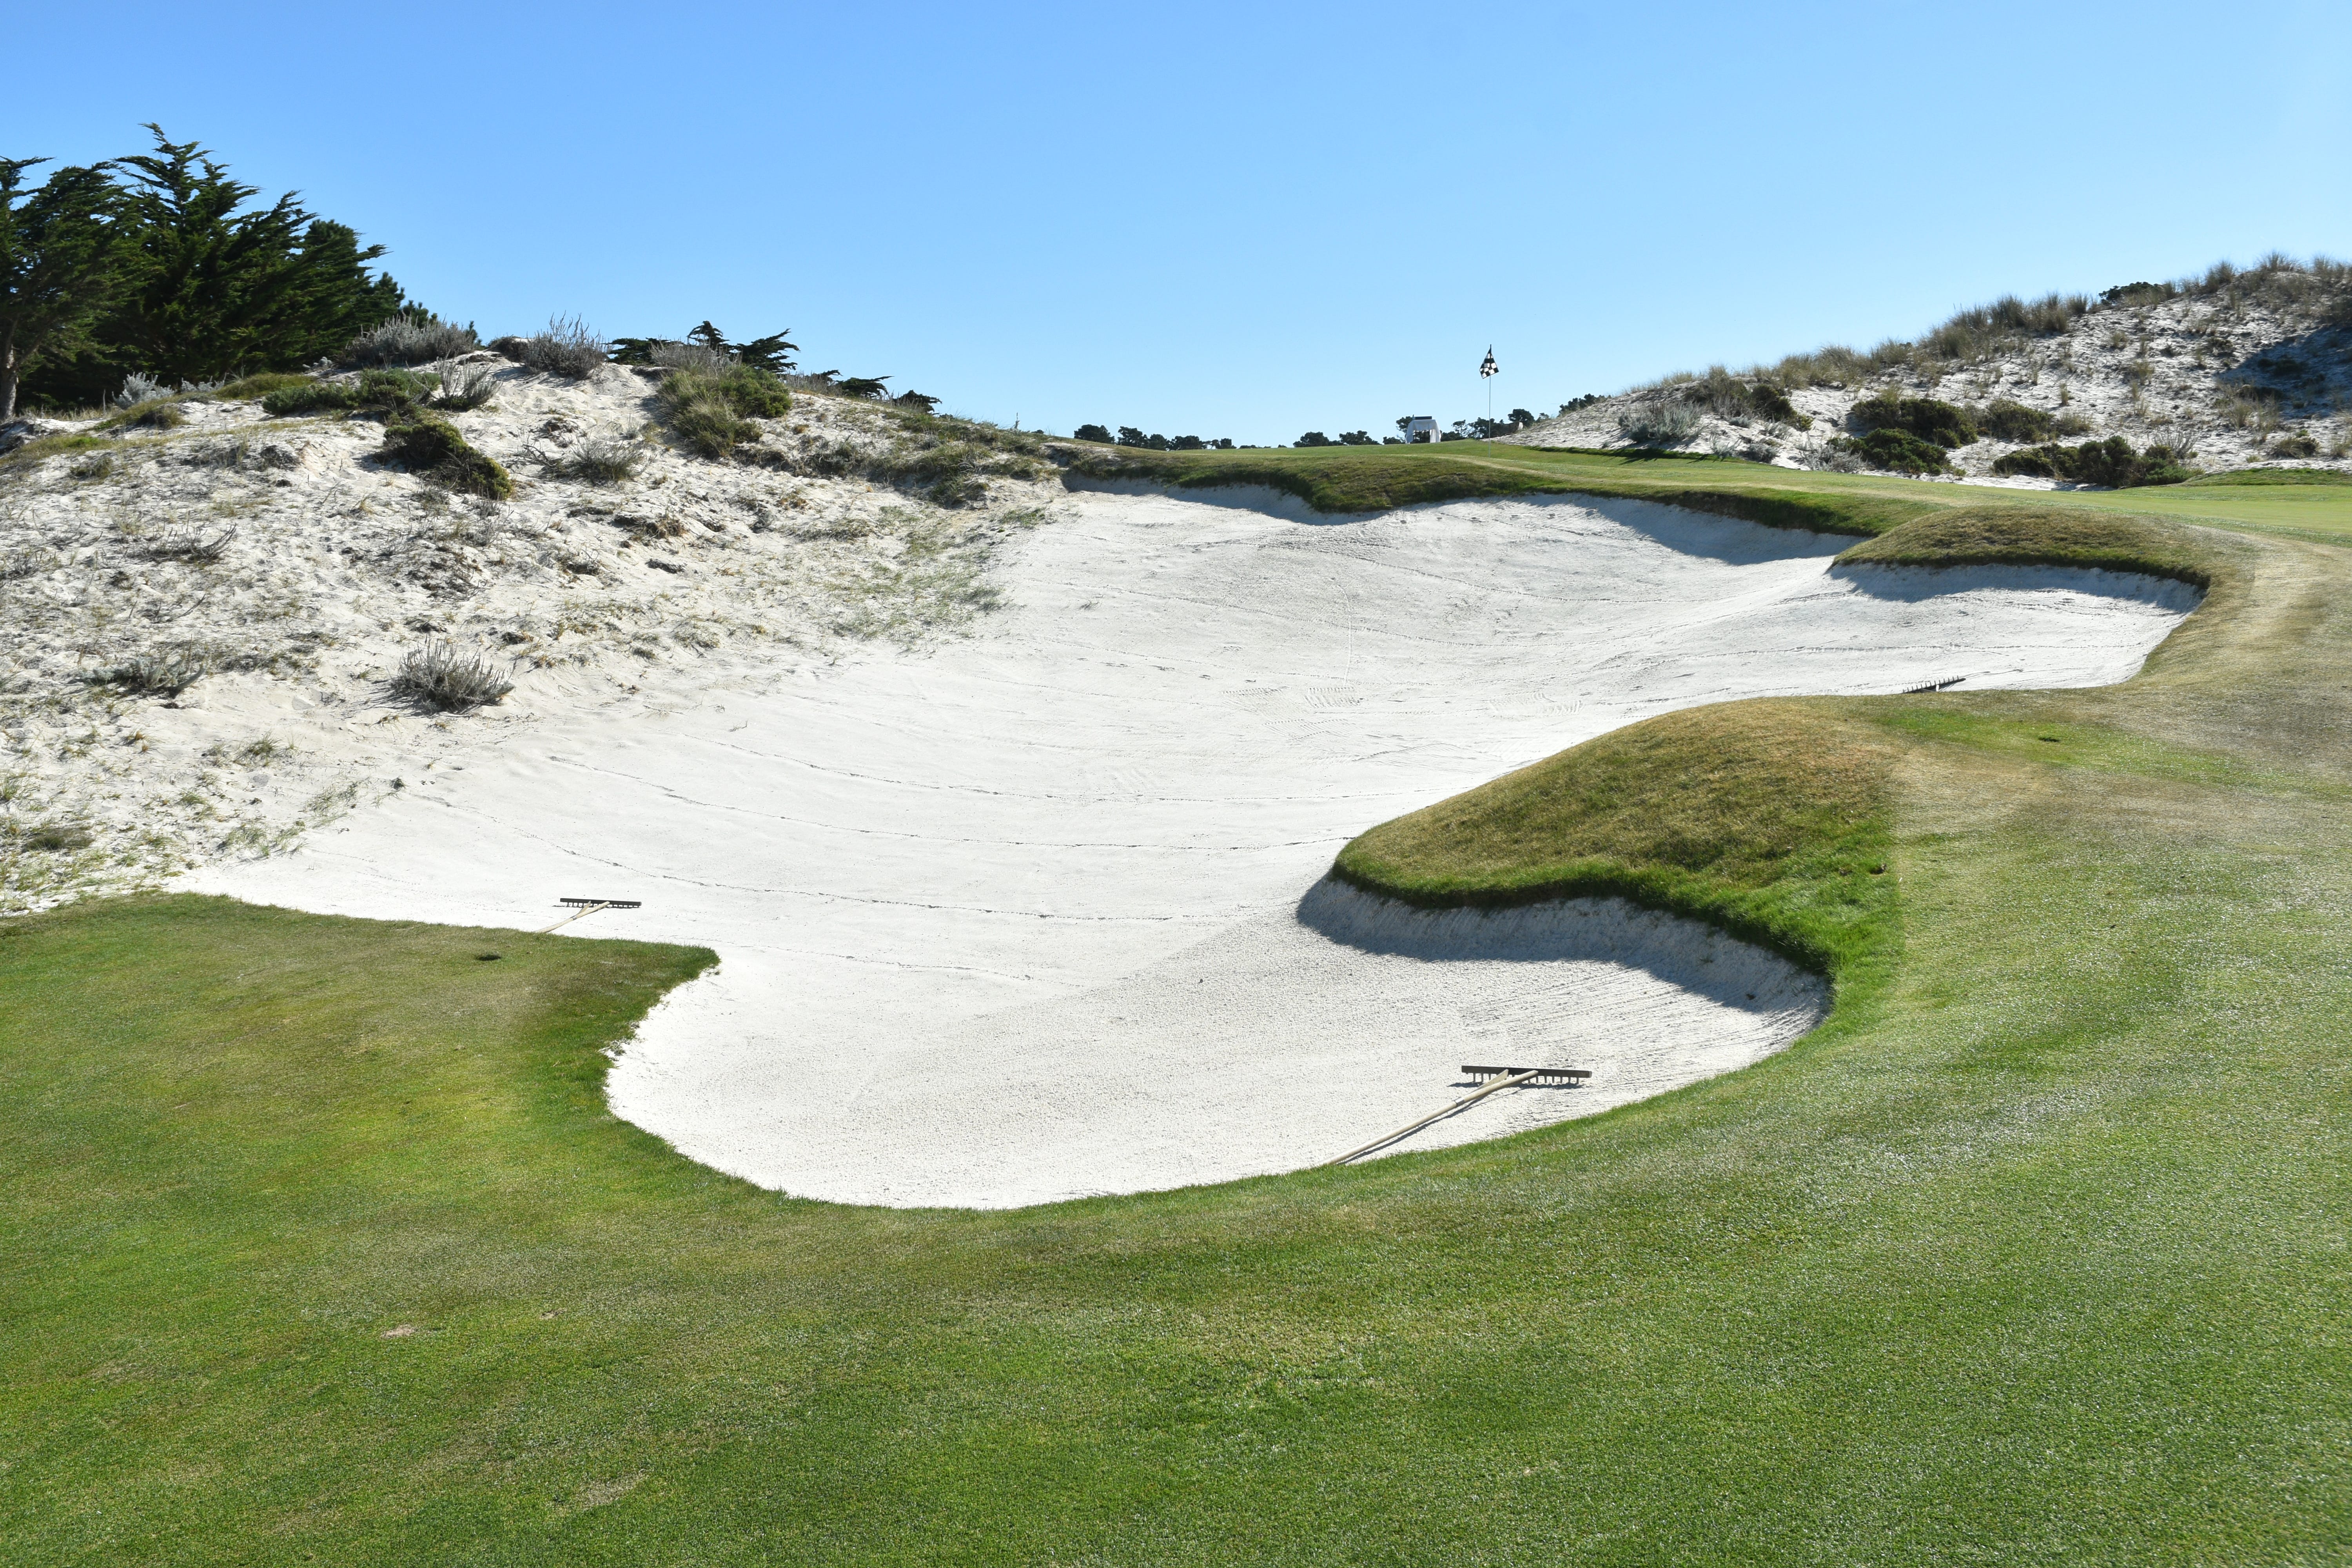
The 7th hole at Cypress Point is one of the better examples of showing the contrast of the grass and natural sandy areas
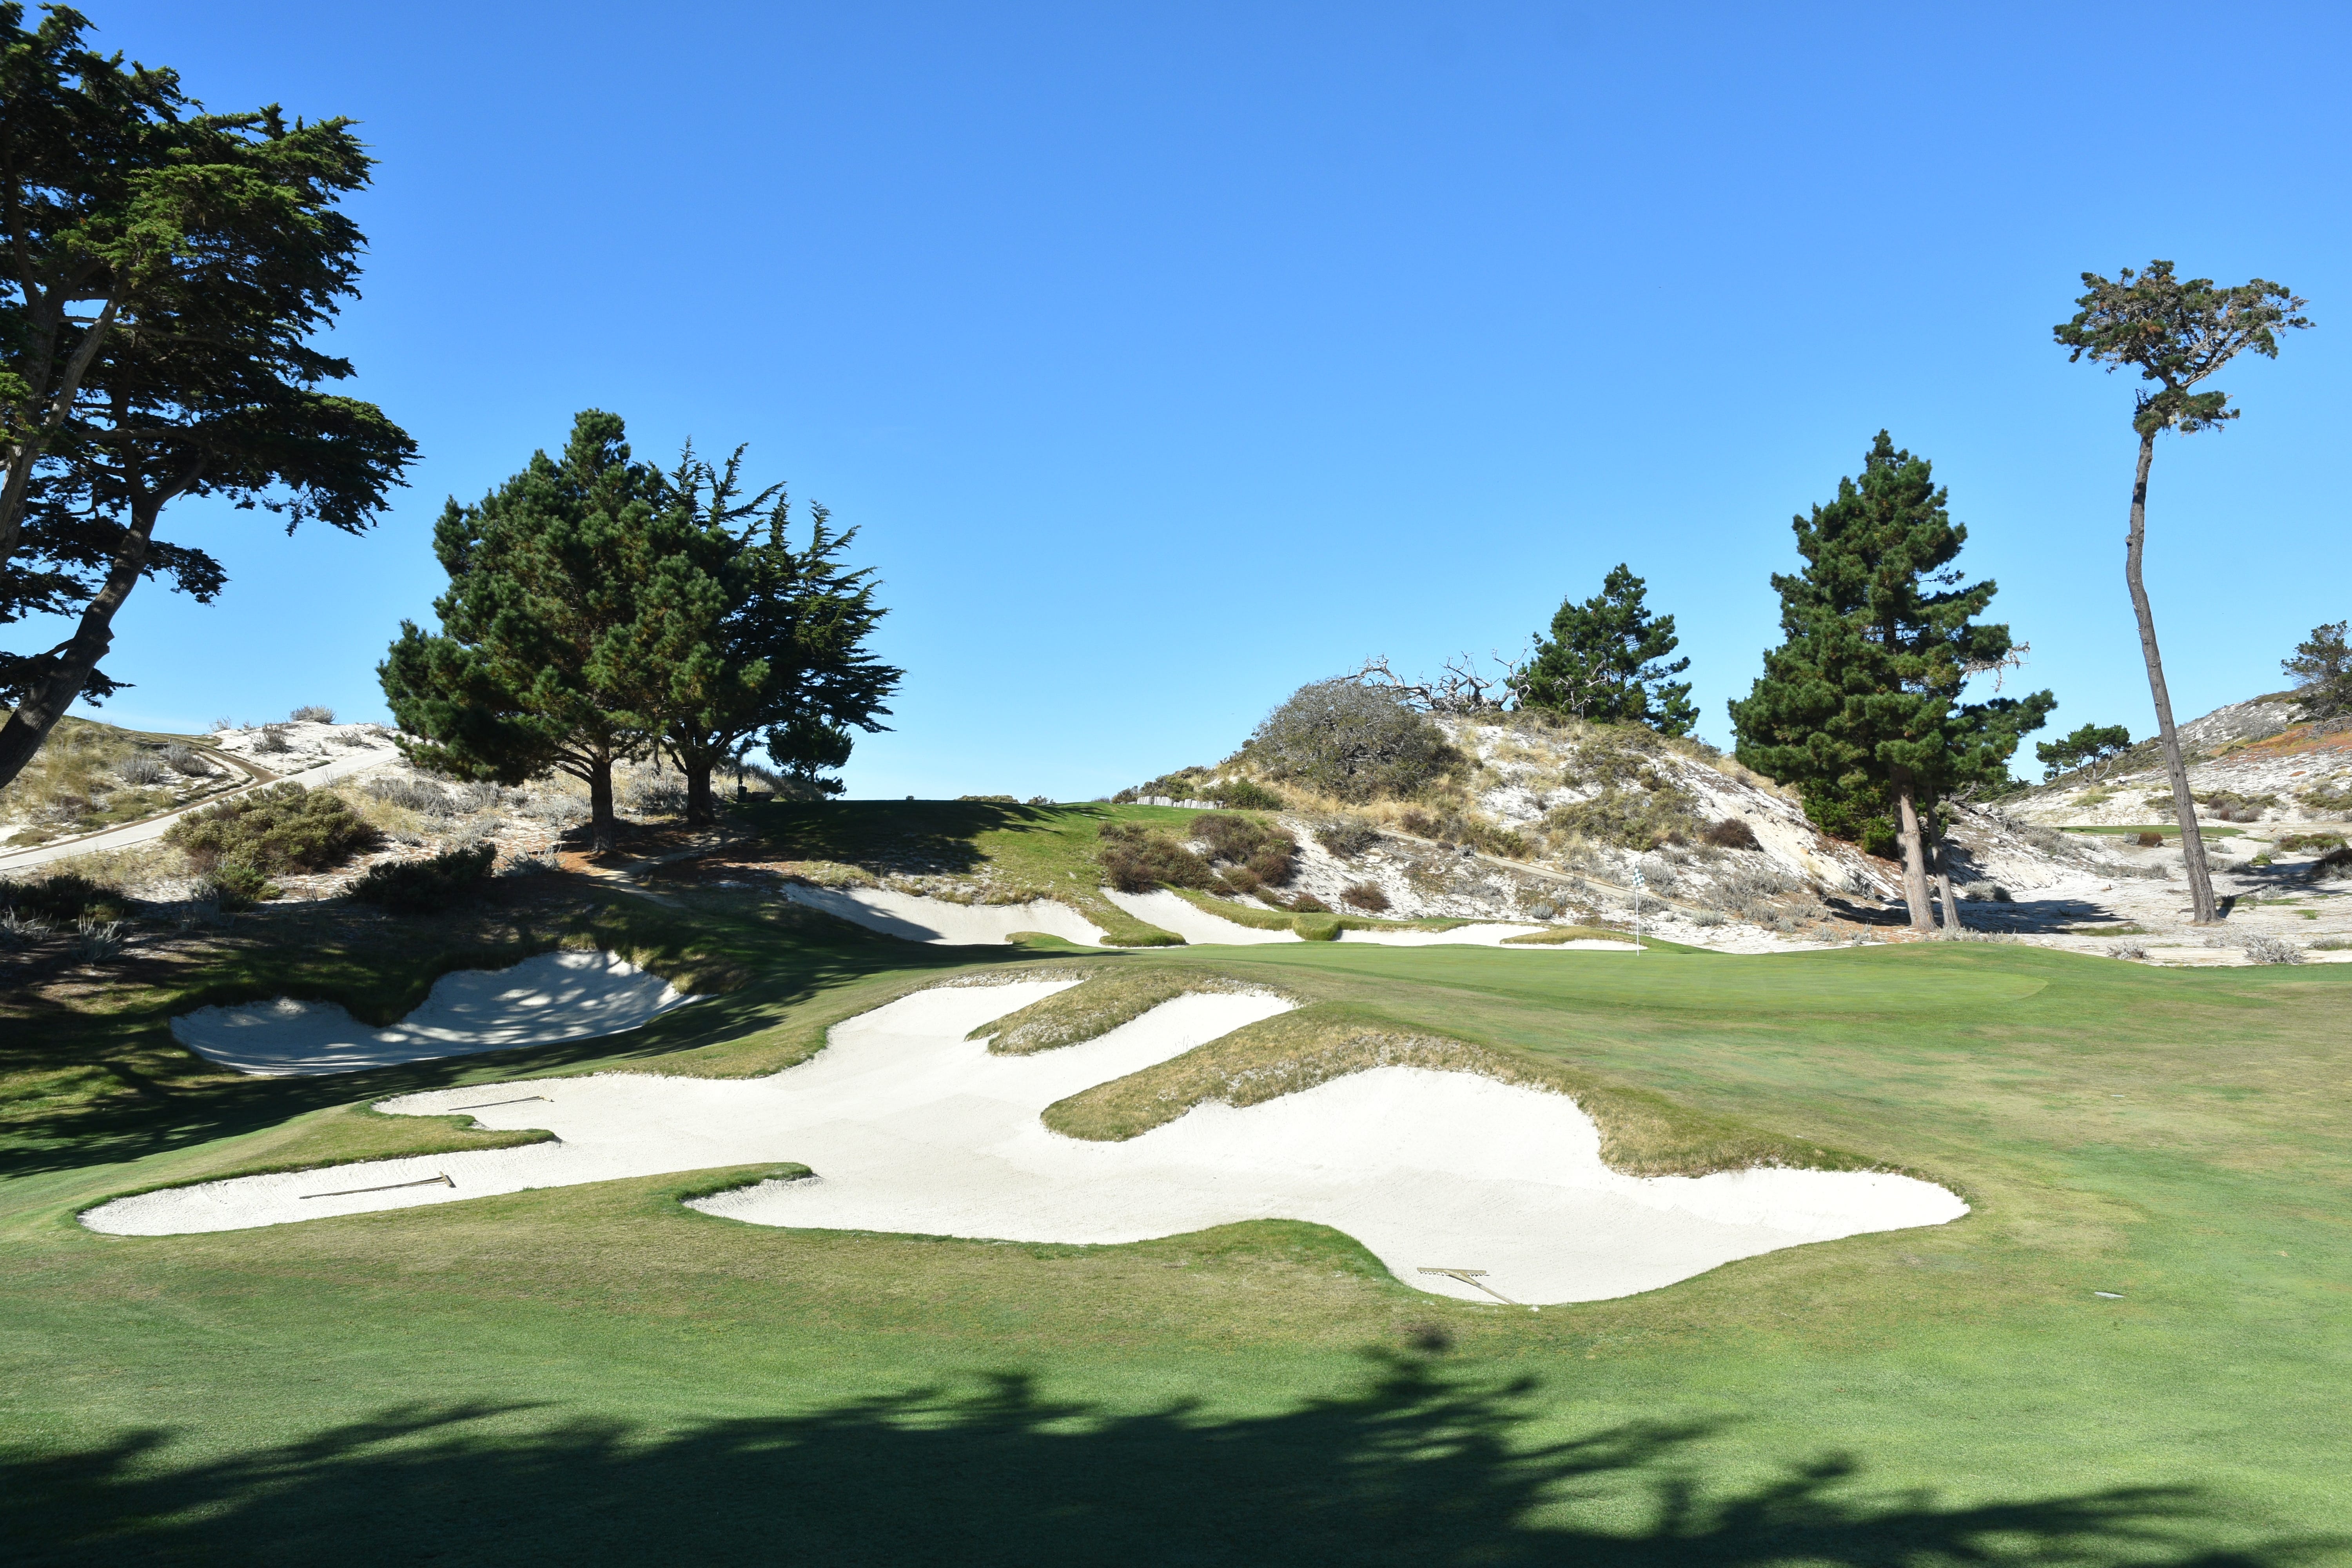
A closer look at the first green side bunker of the 7th hole
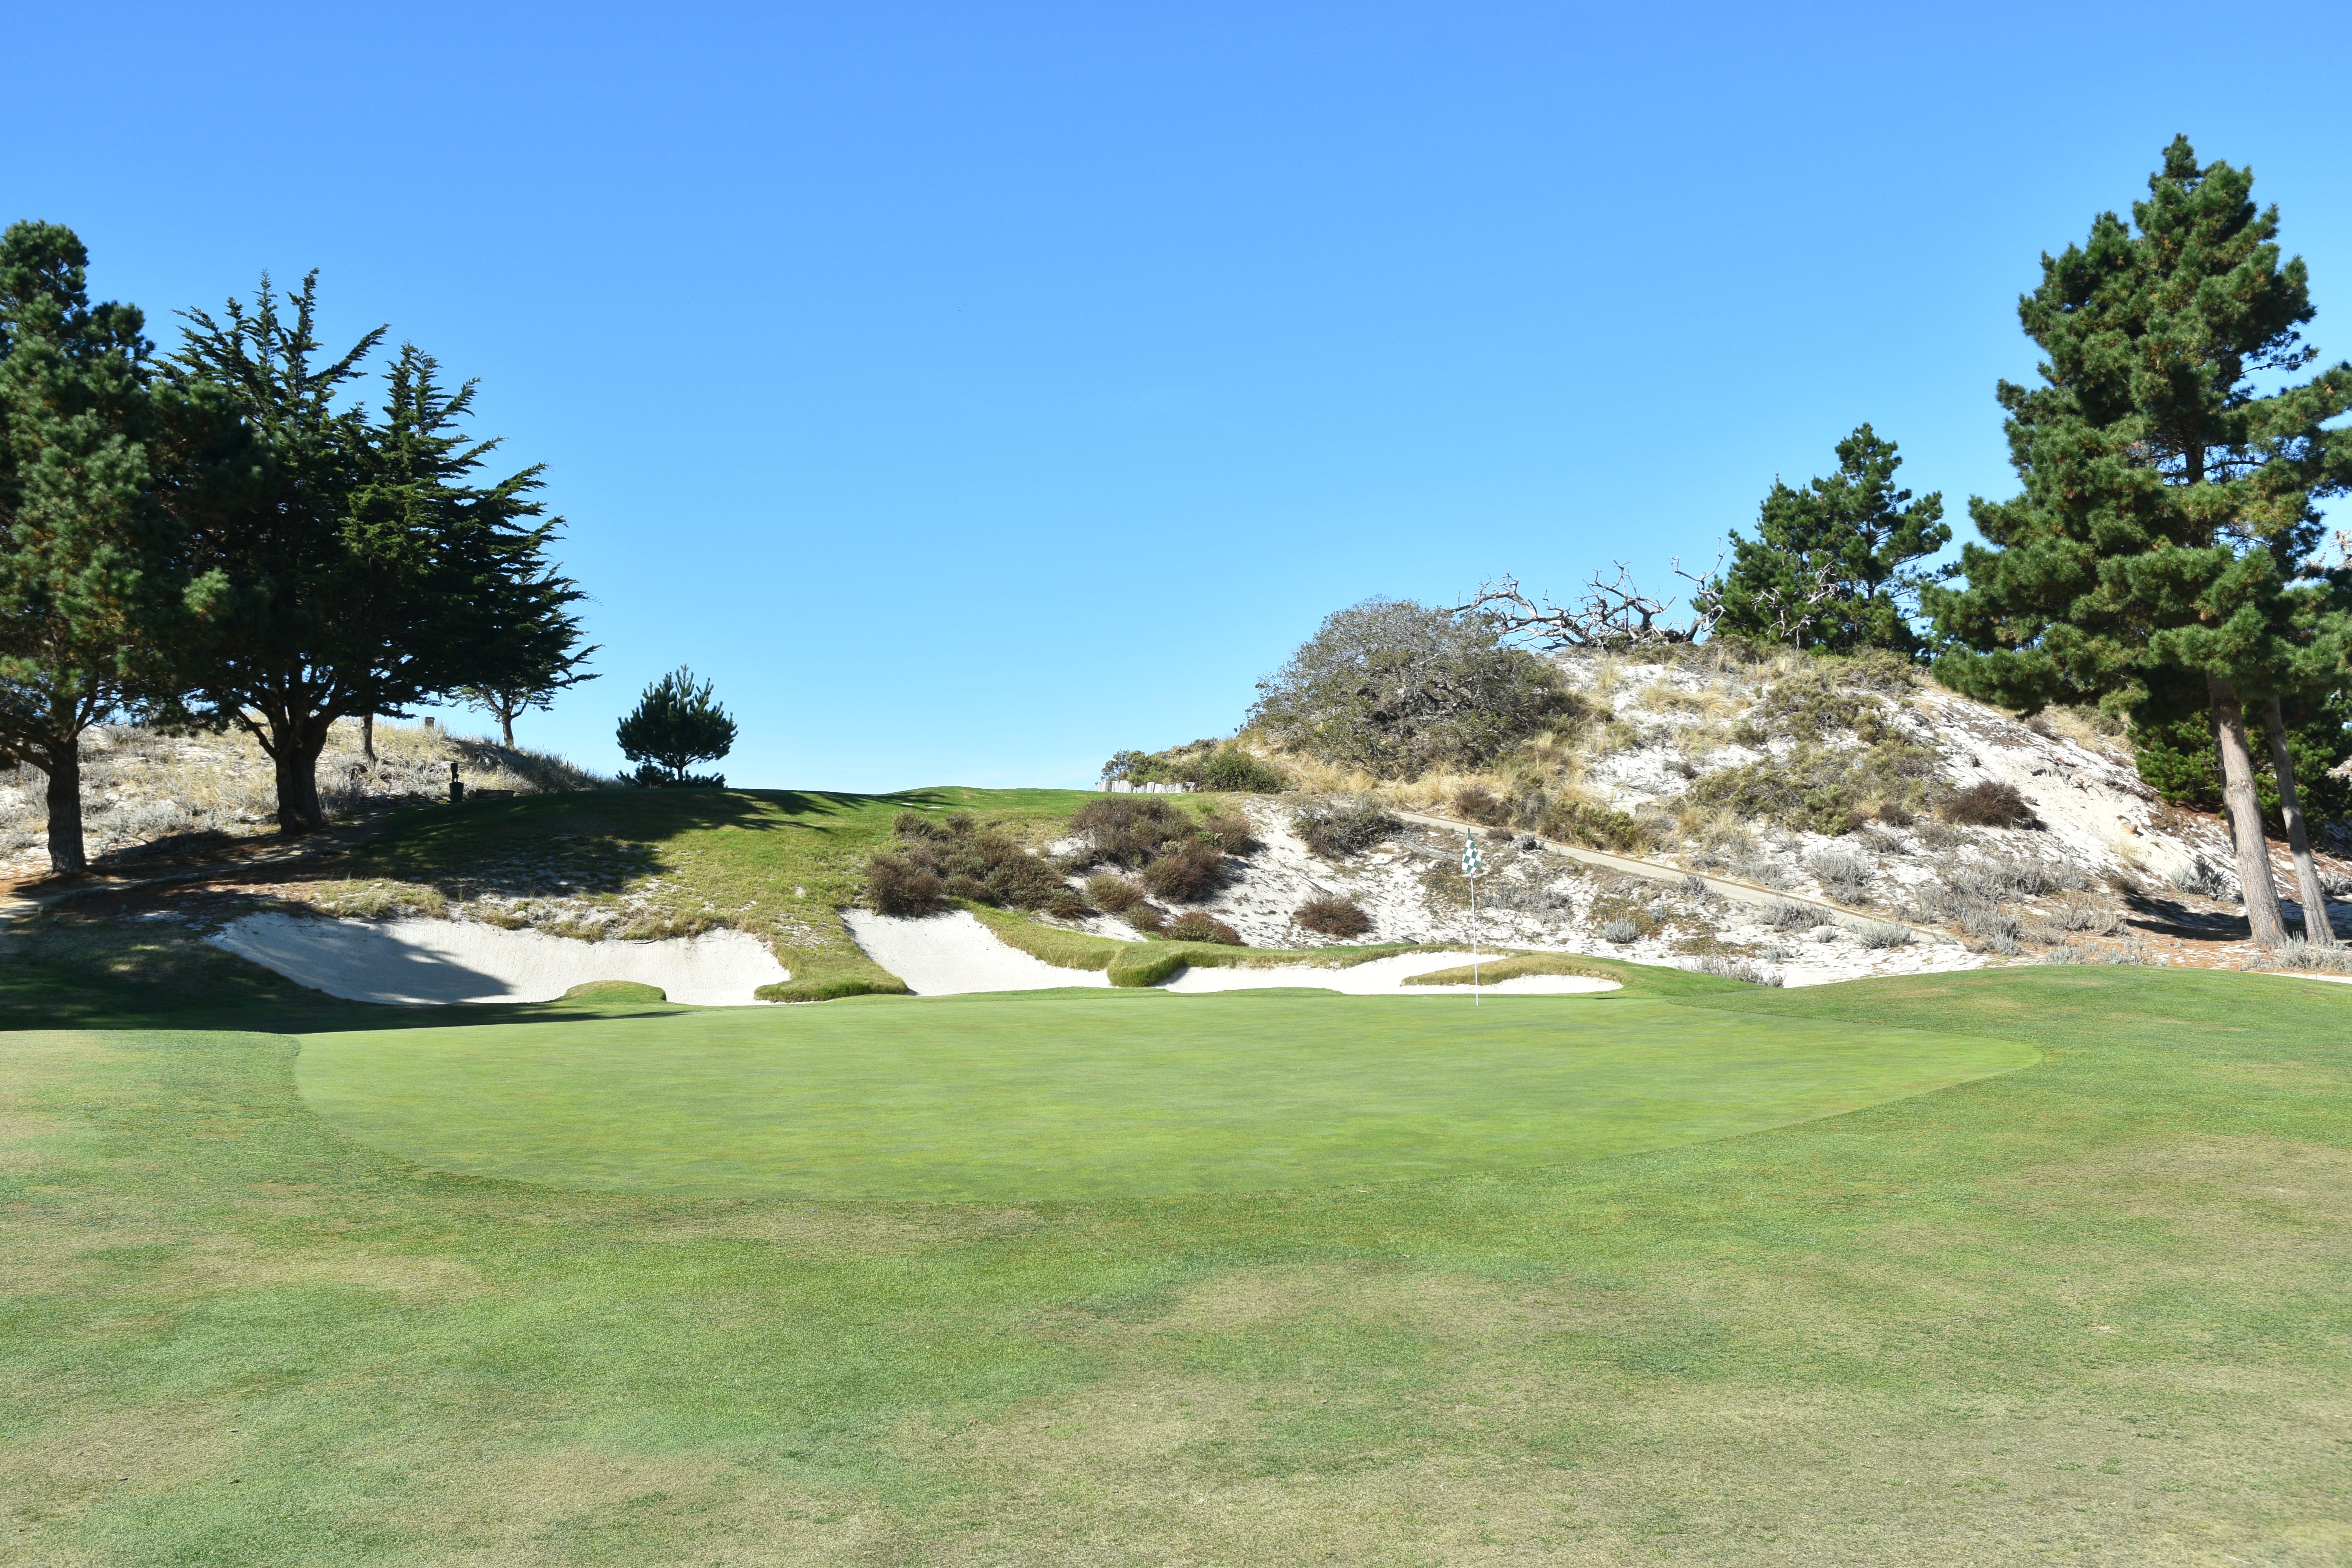
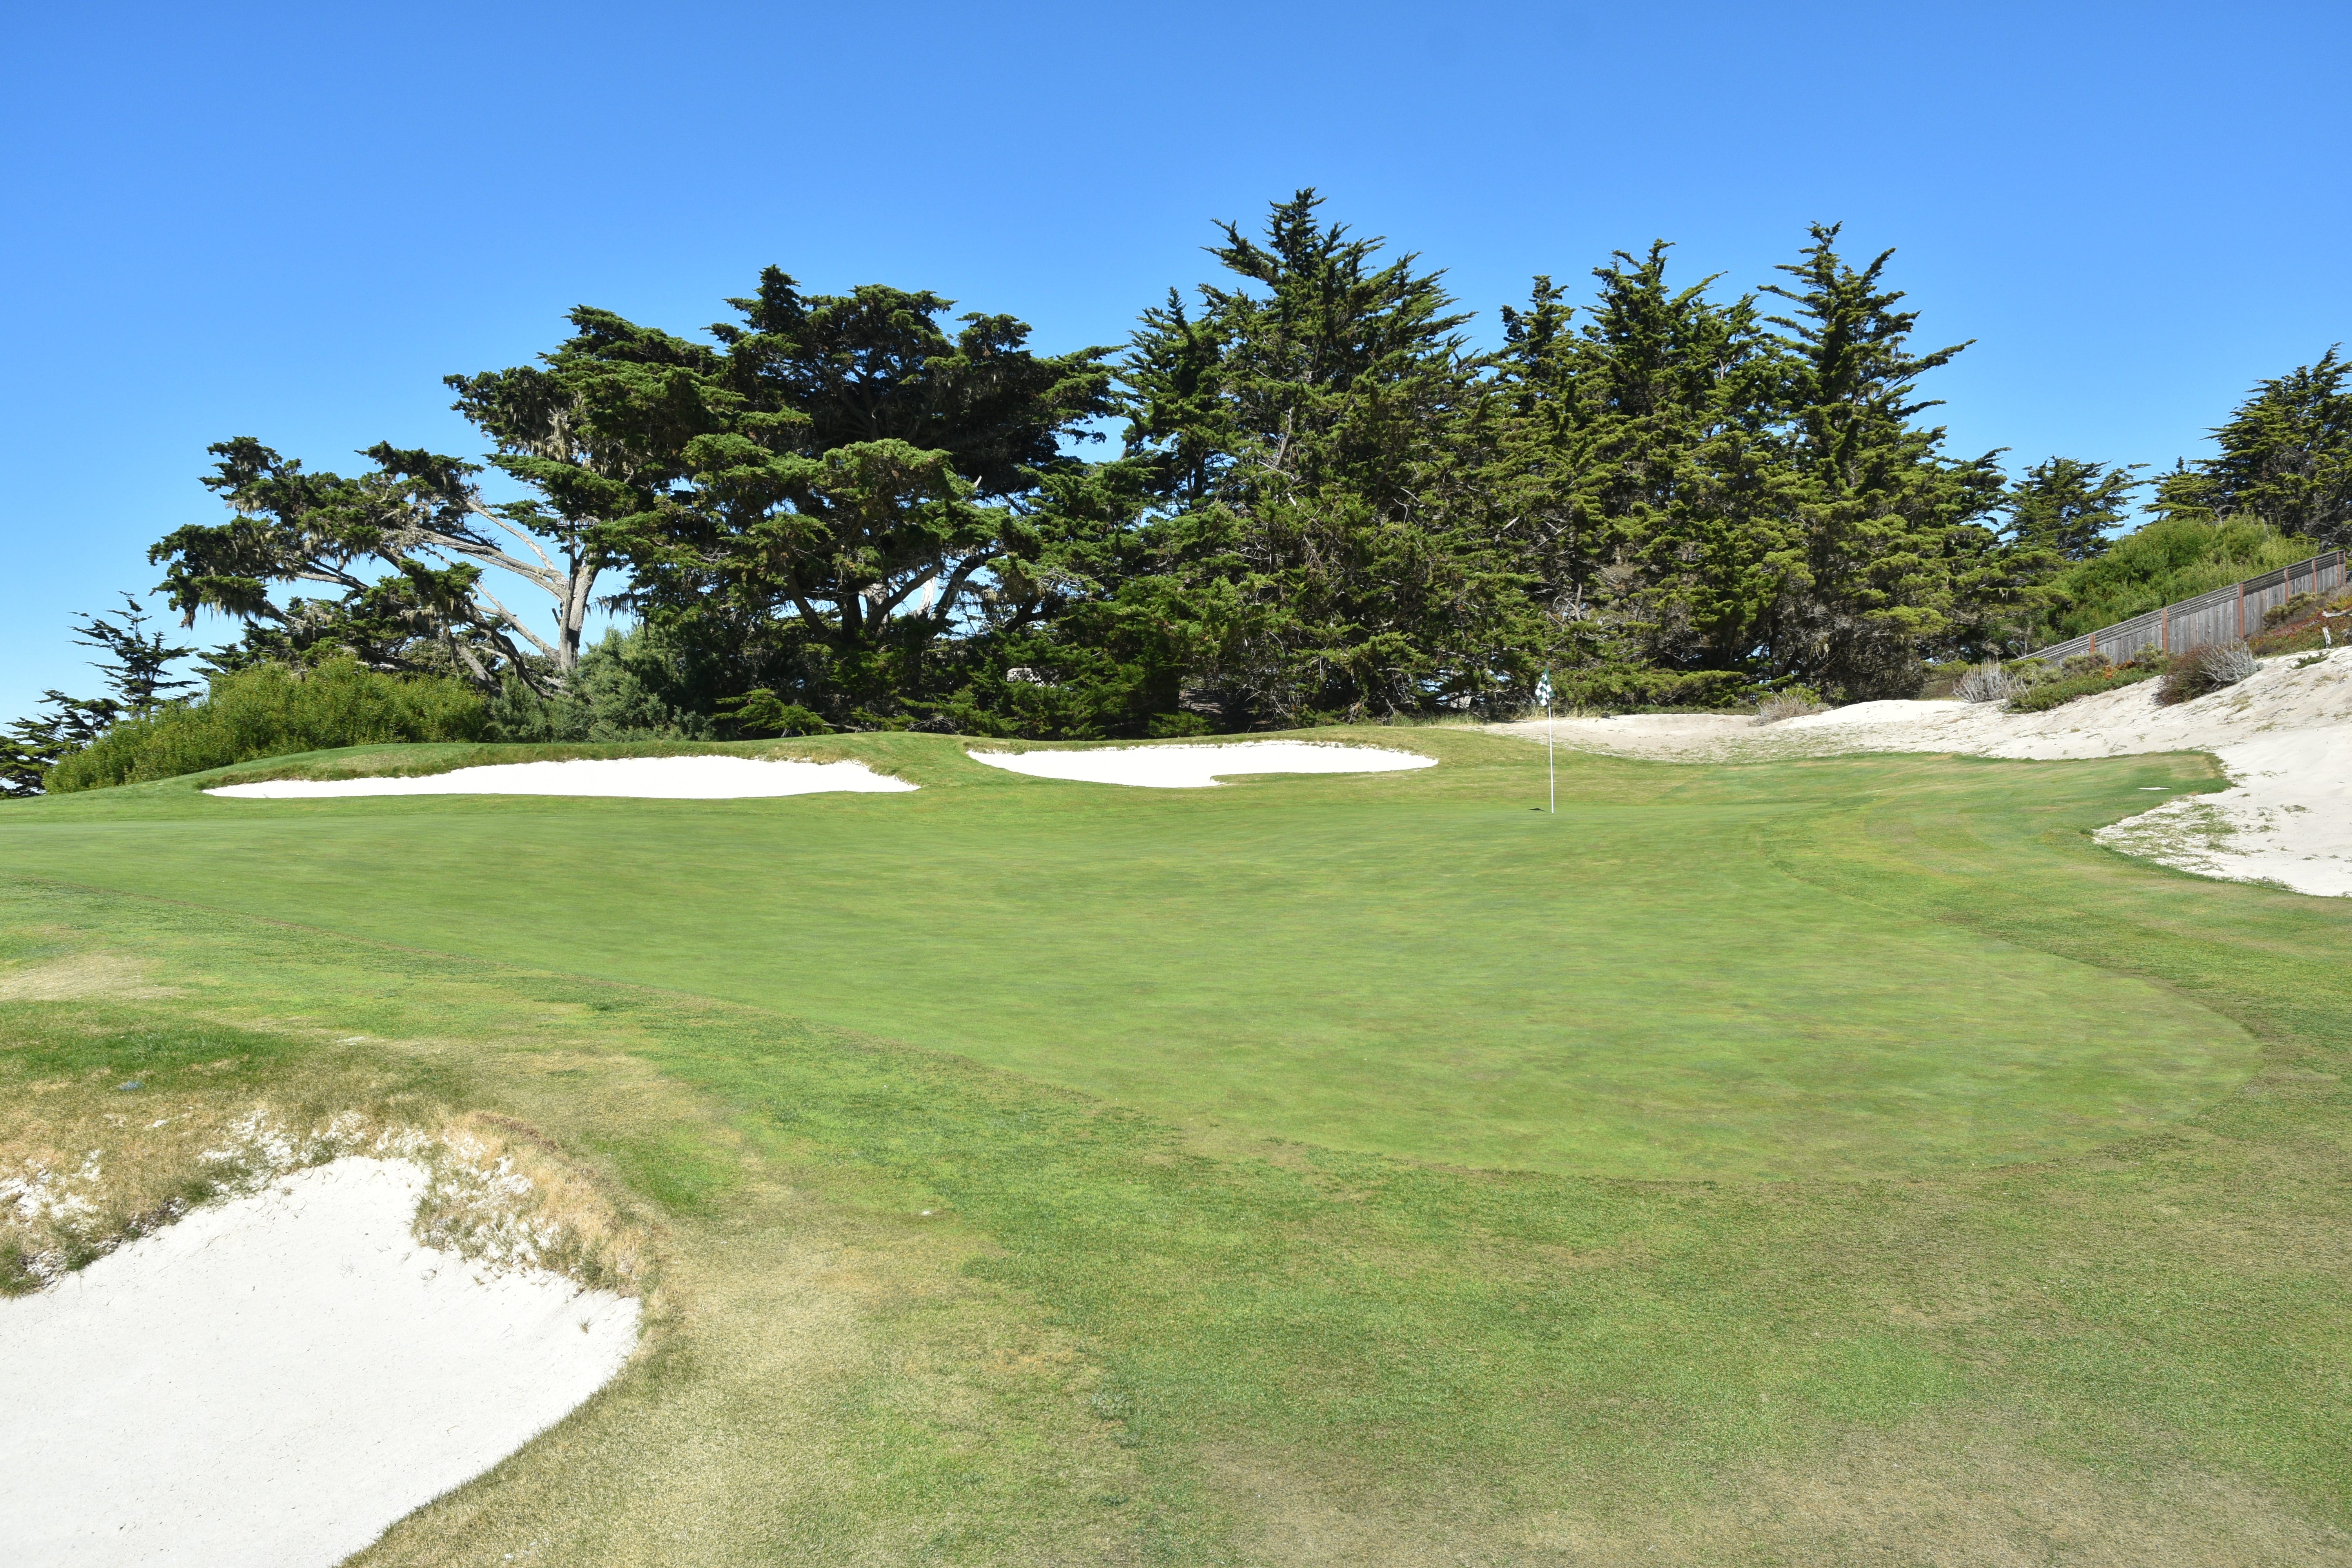
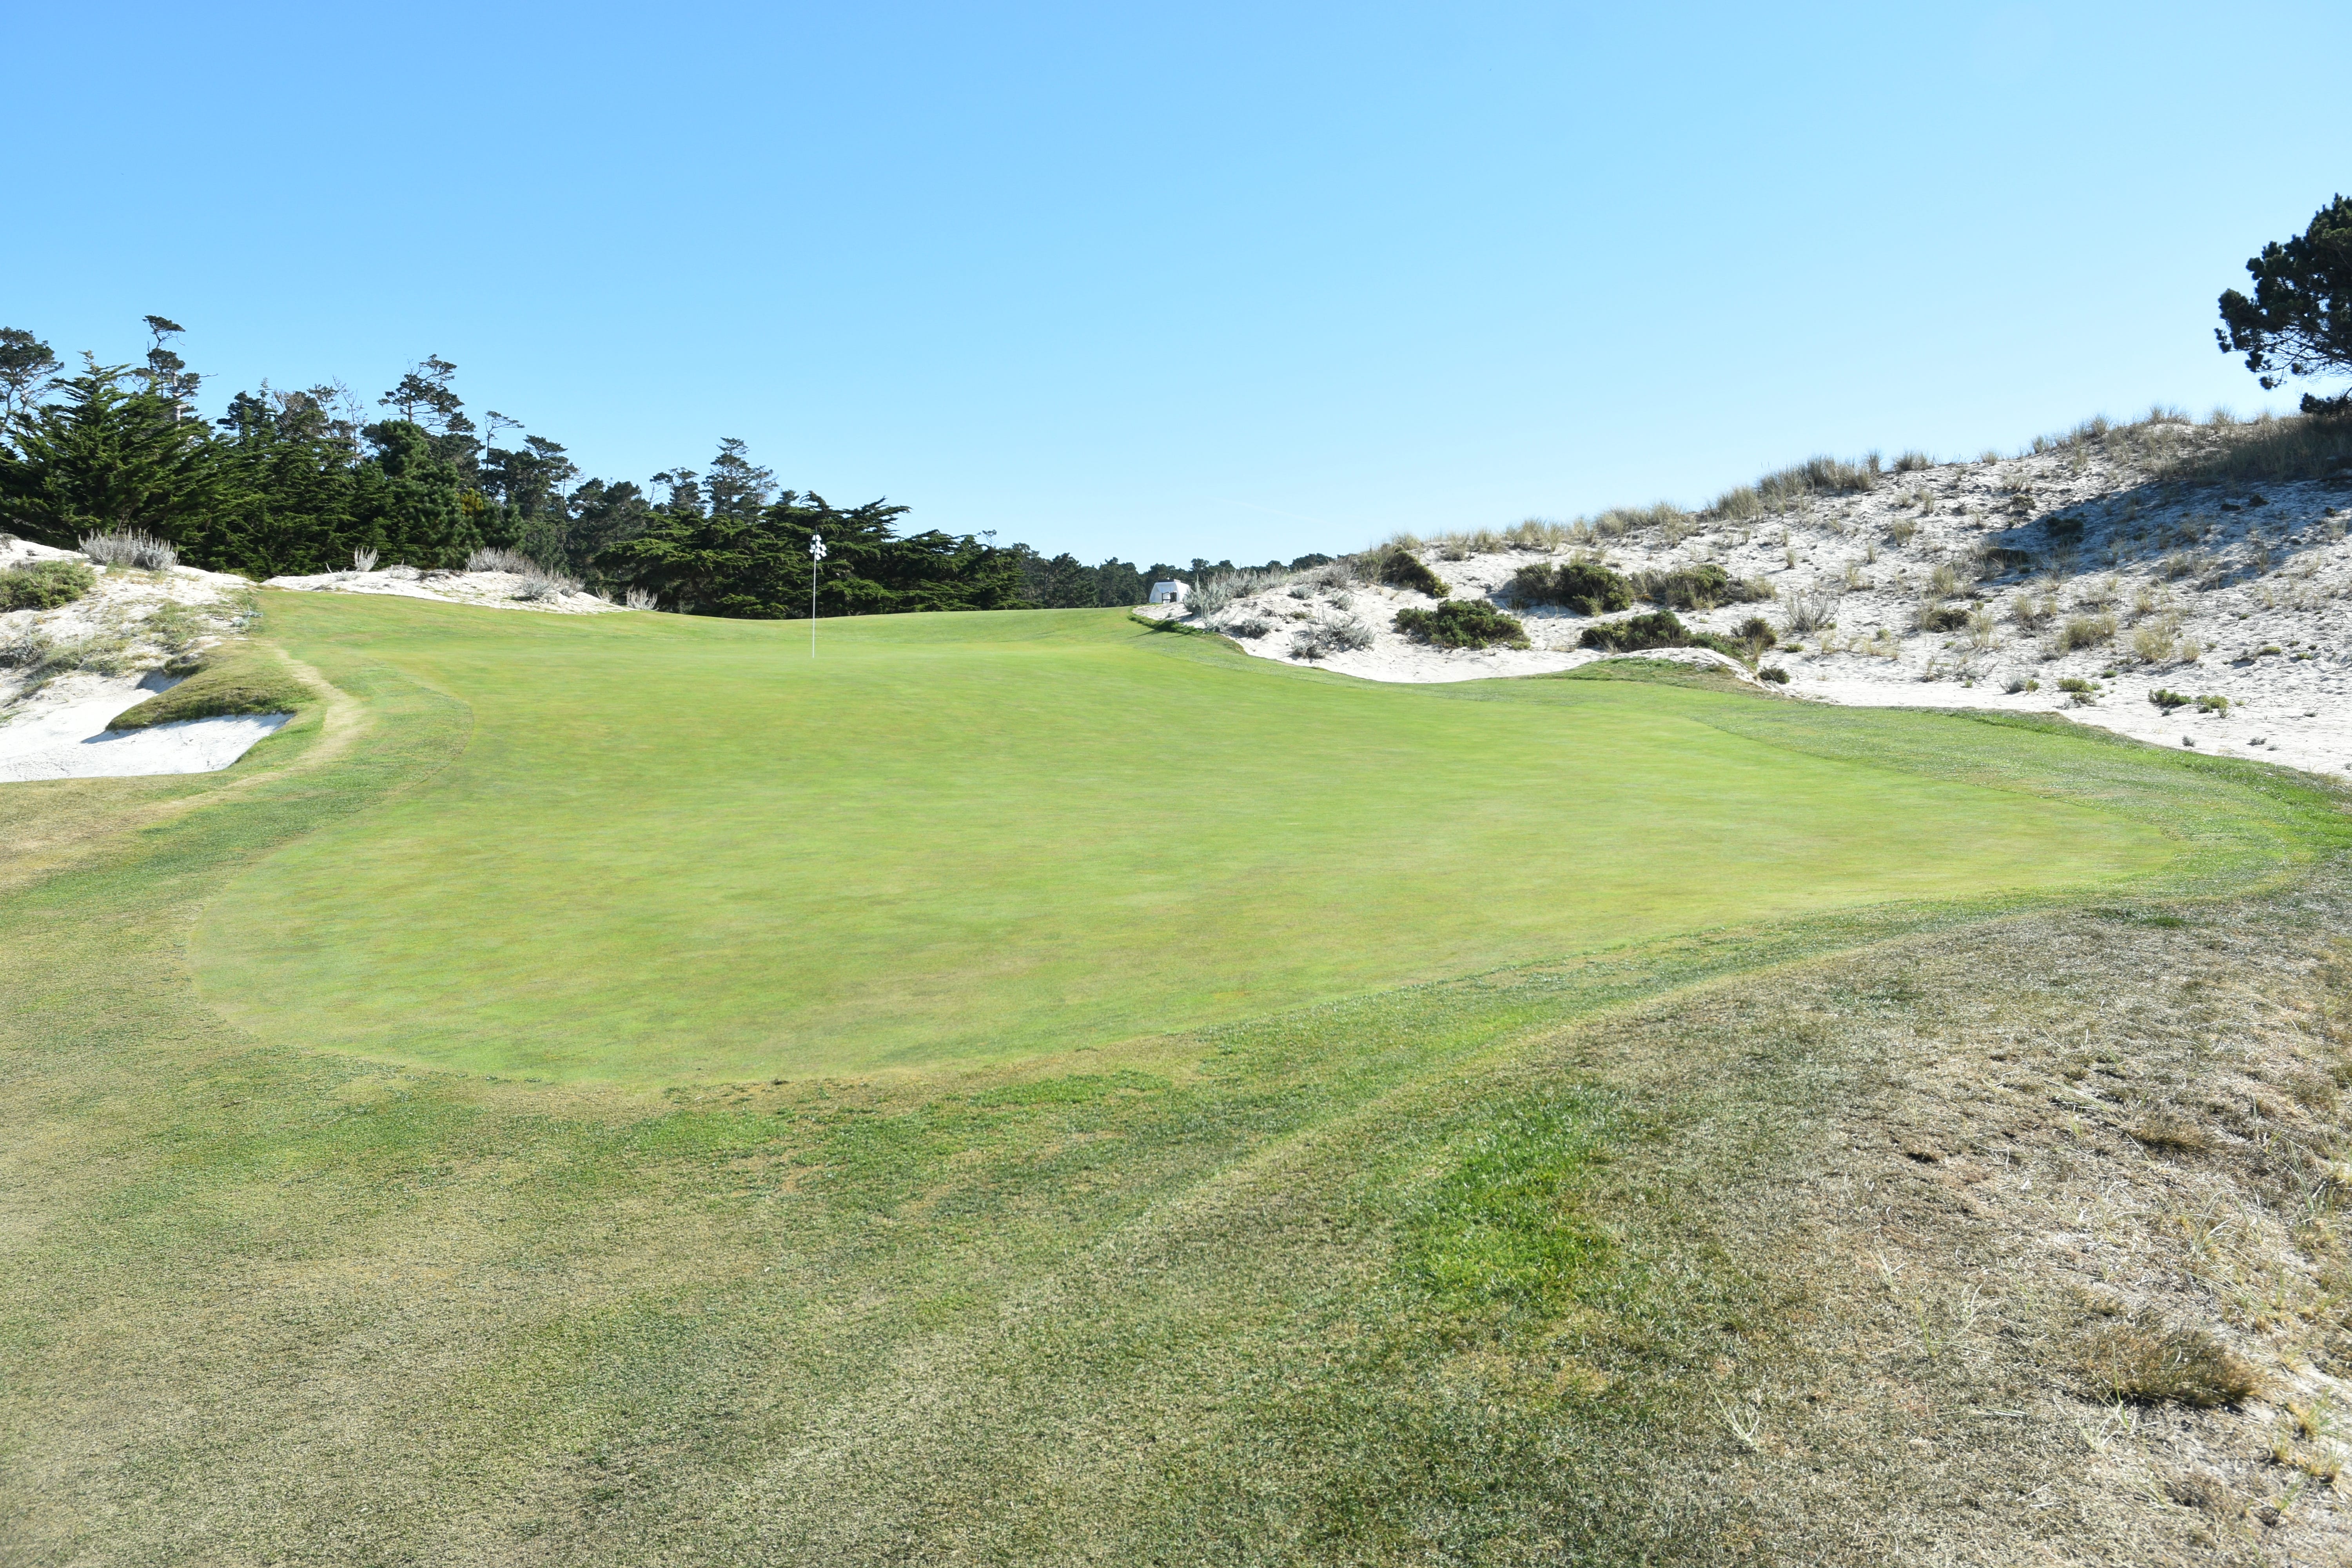
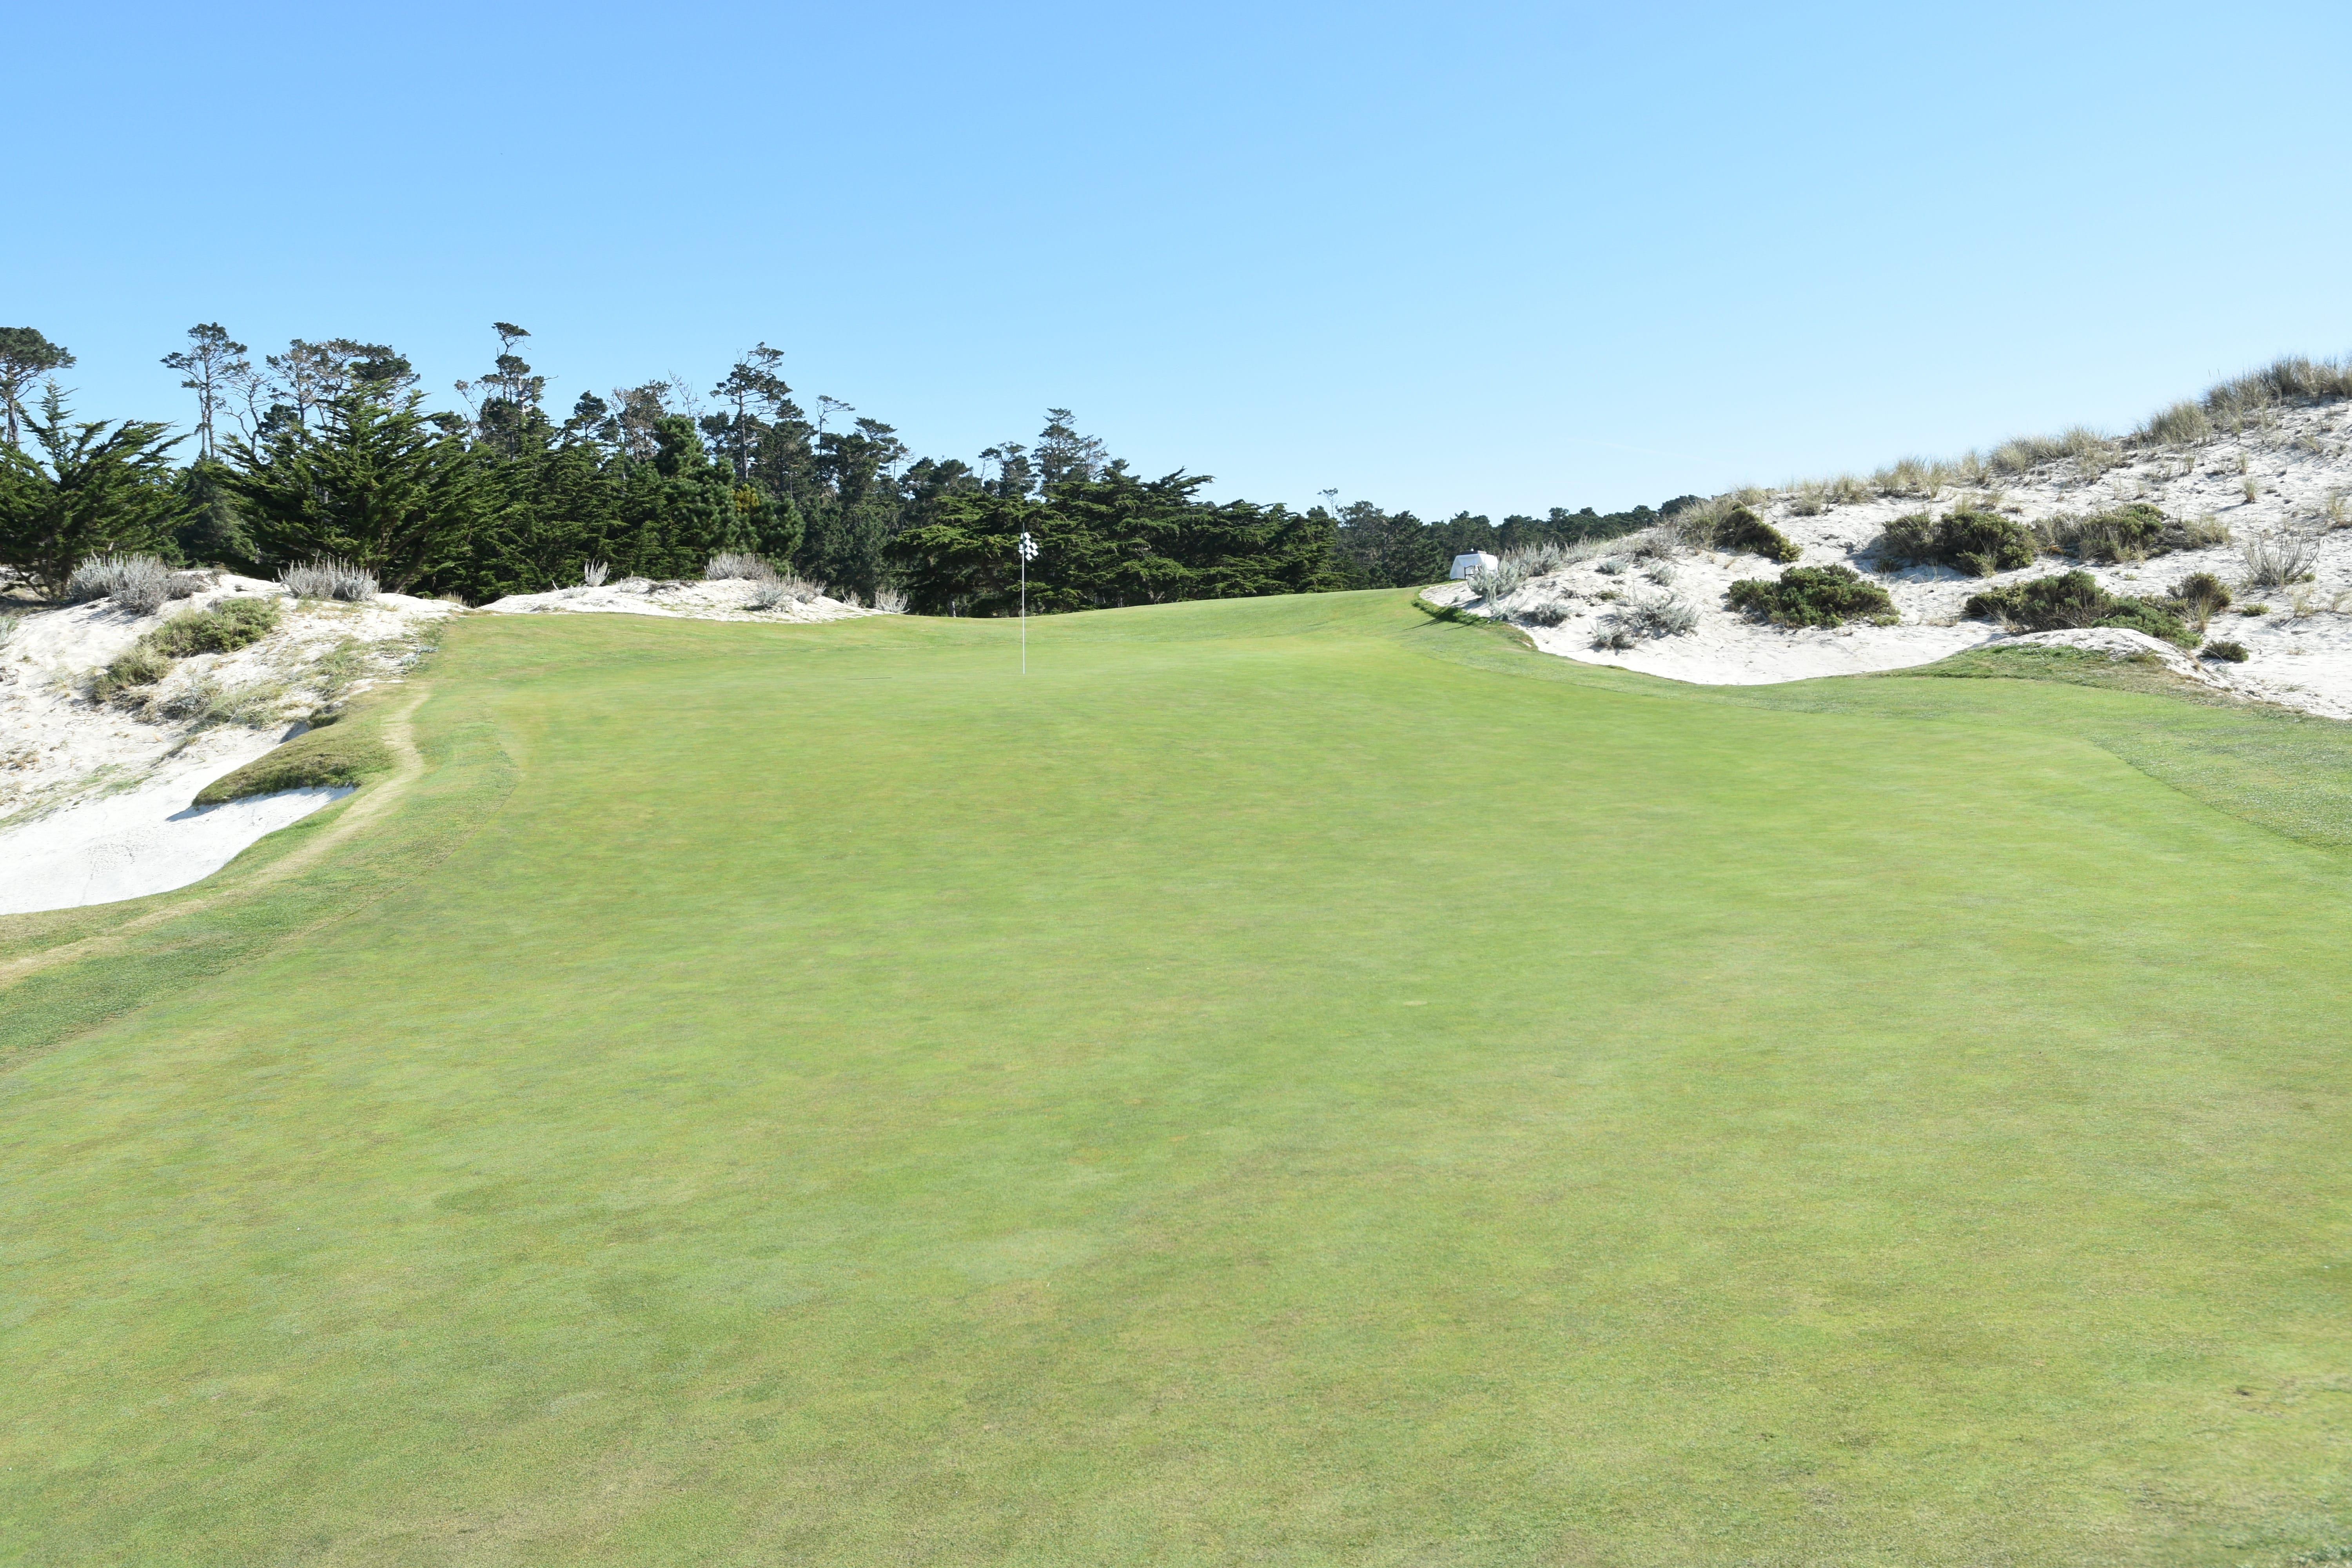
The 7th hole green viewed from the front left — Bill Coore and Ben Crenshaw completed some restorative work to this green
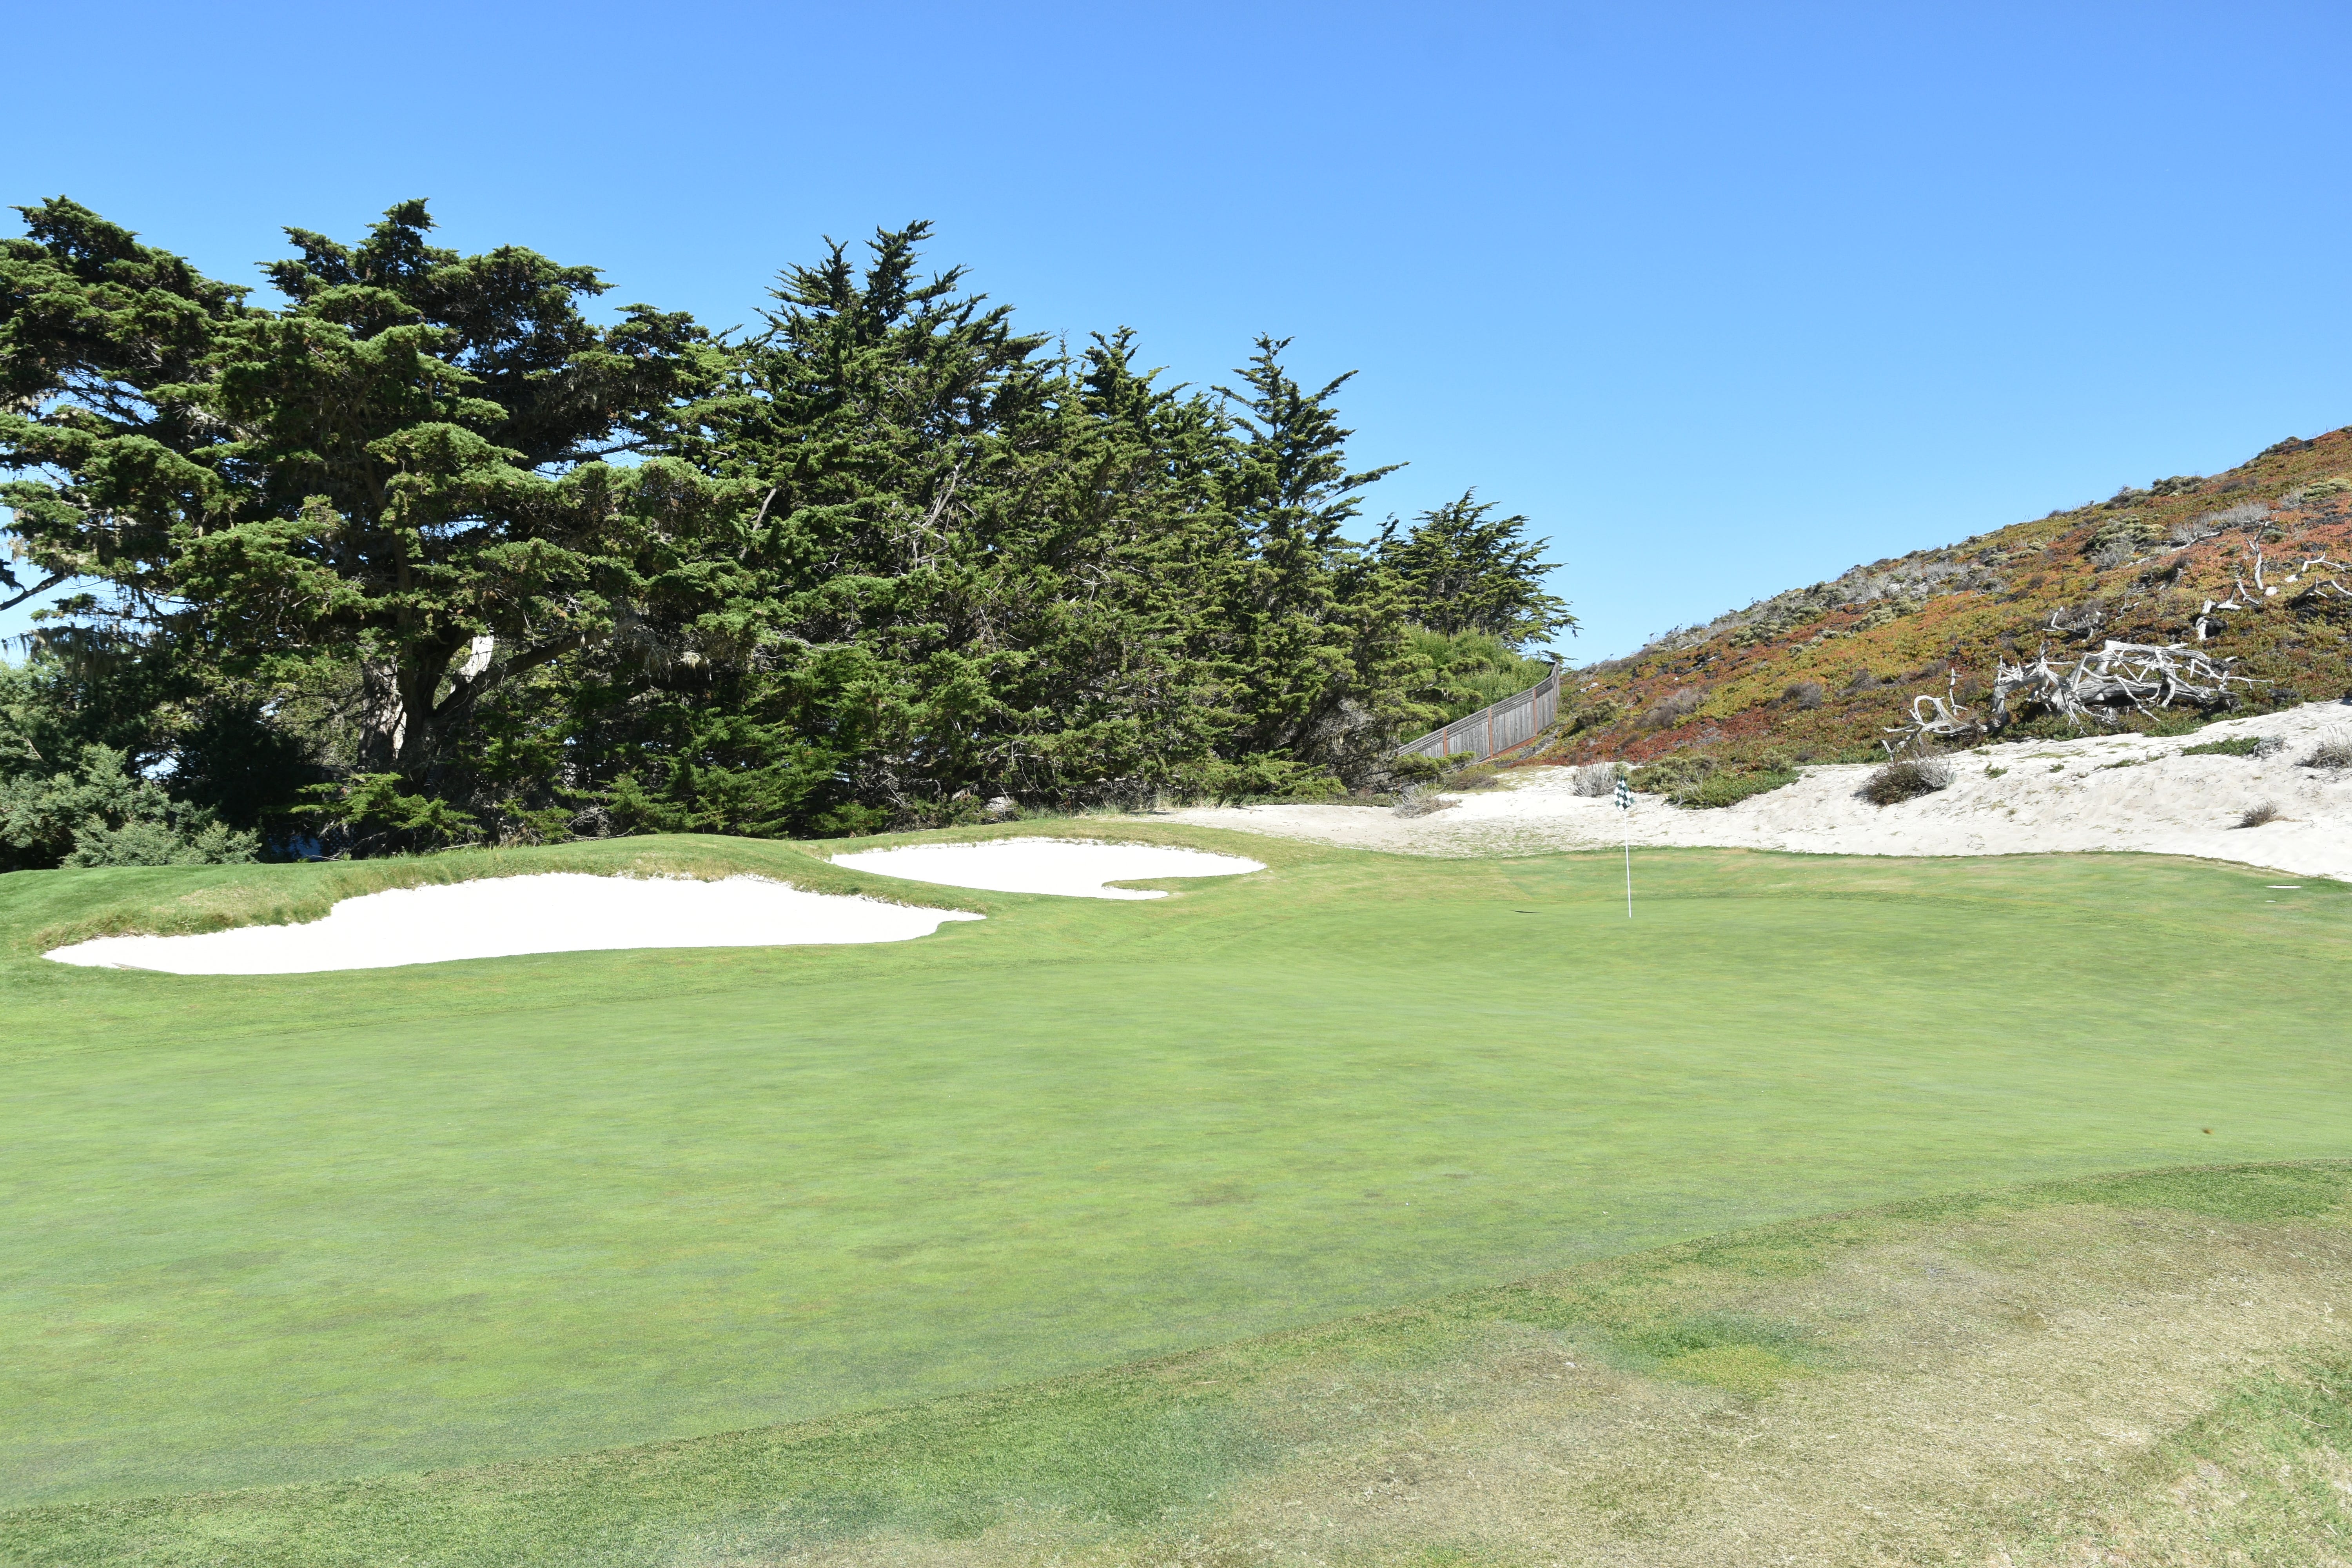
The 7th hole green viewed from the back right
Another vantage point of the 7th hole green
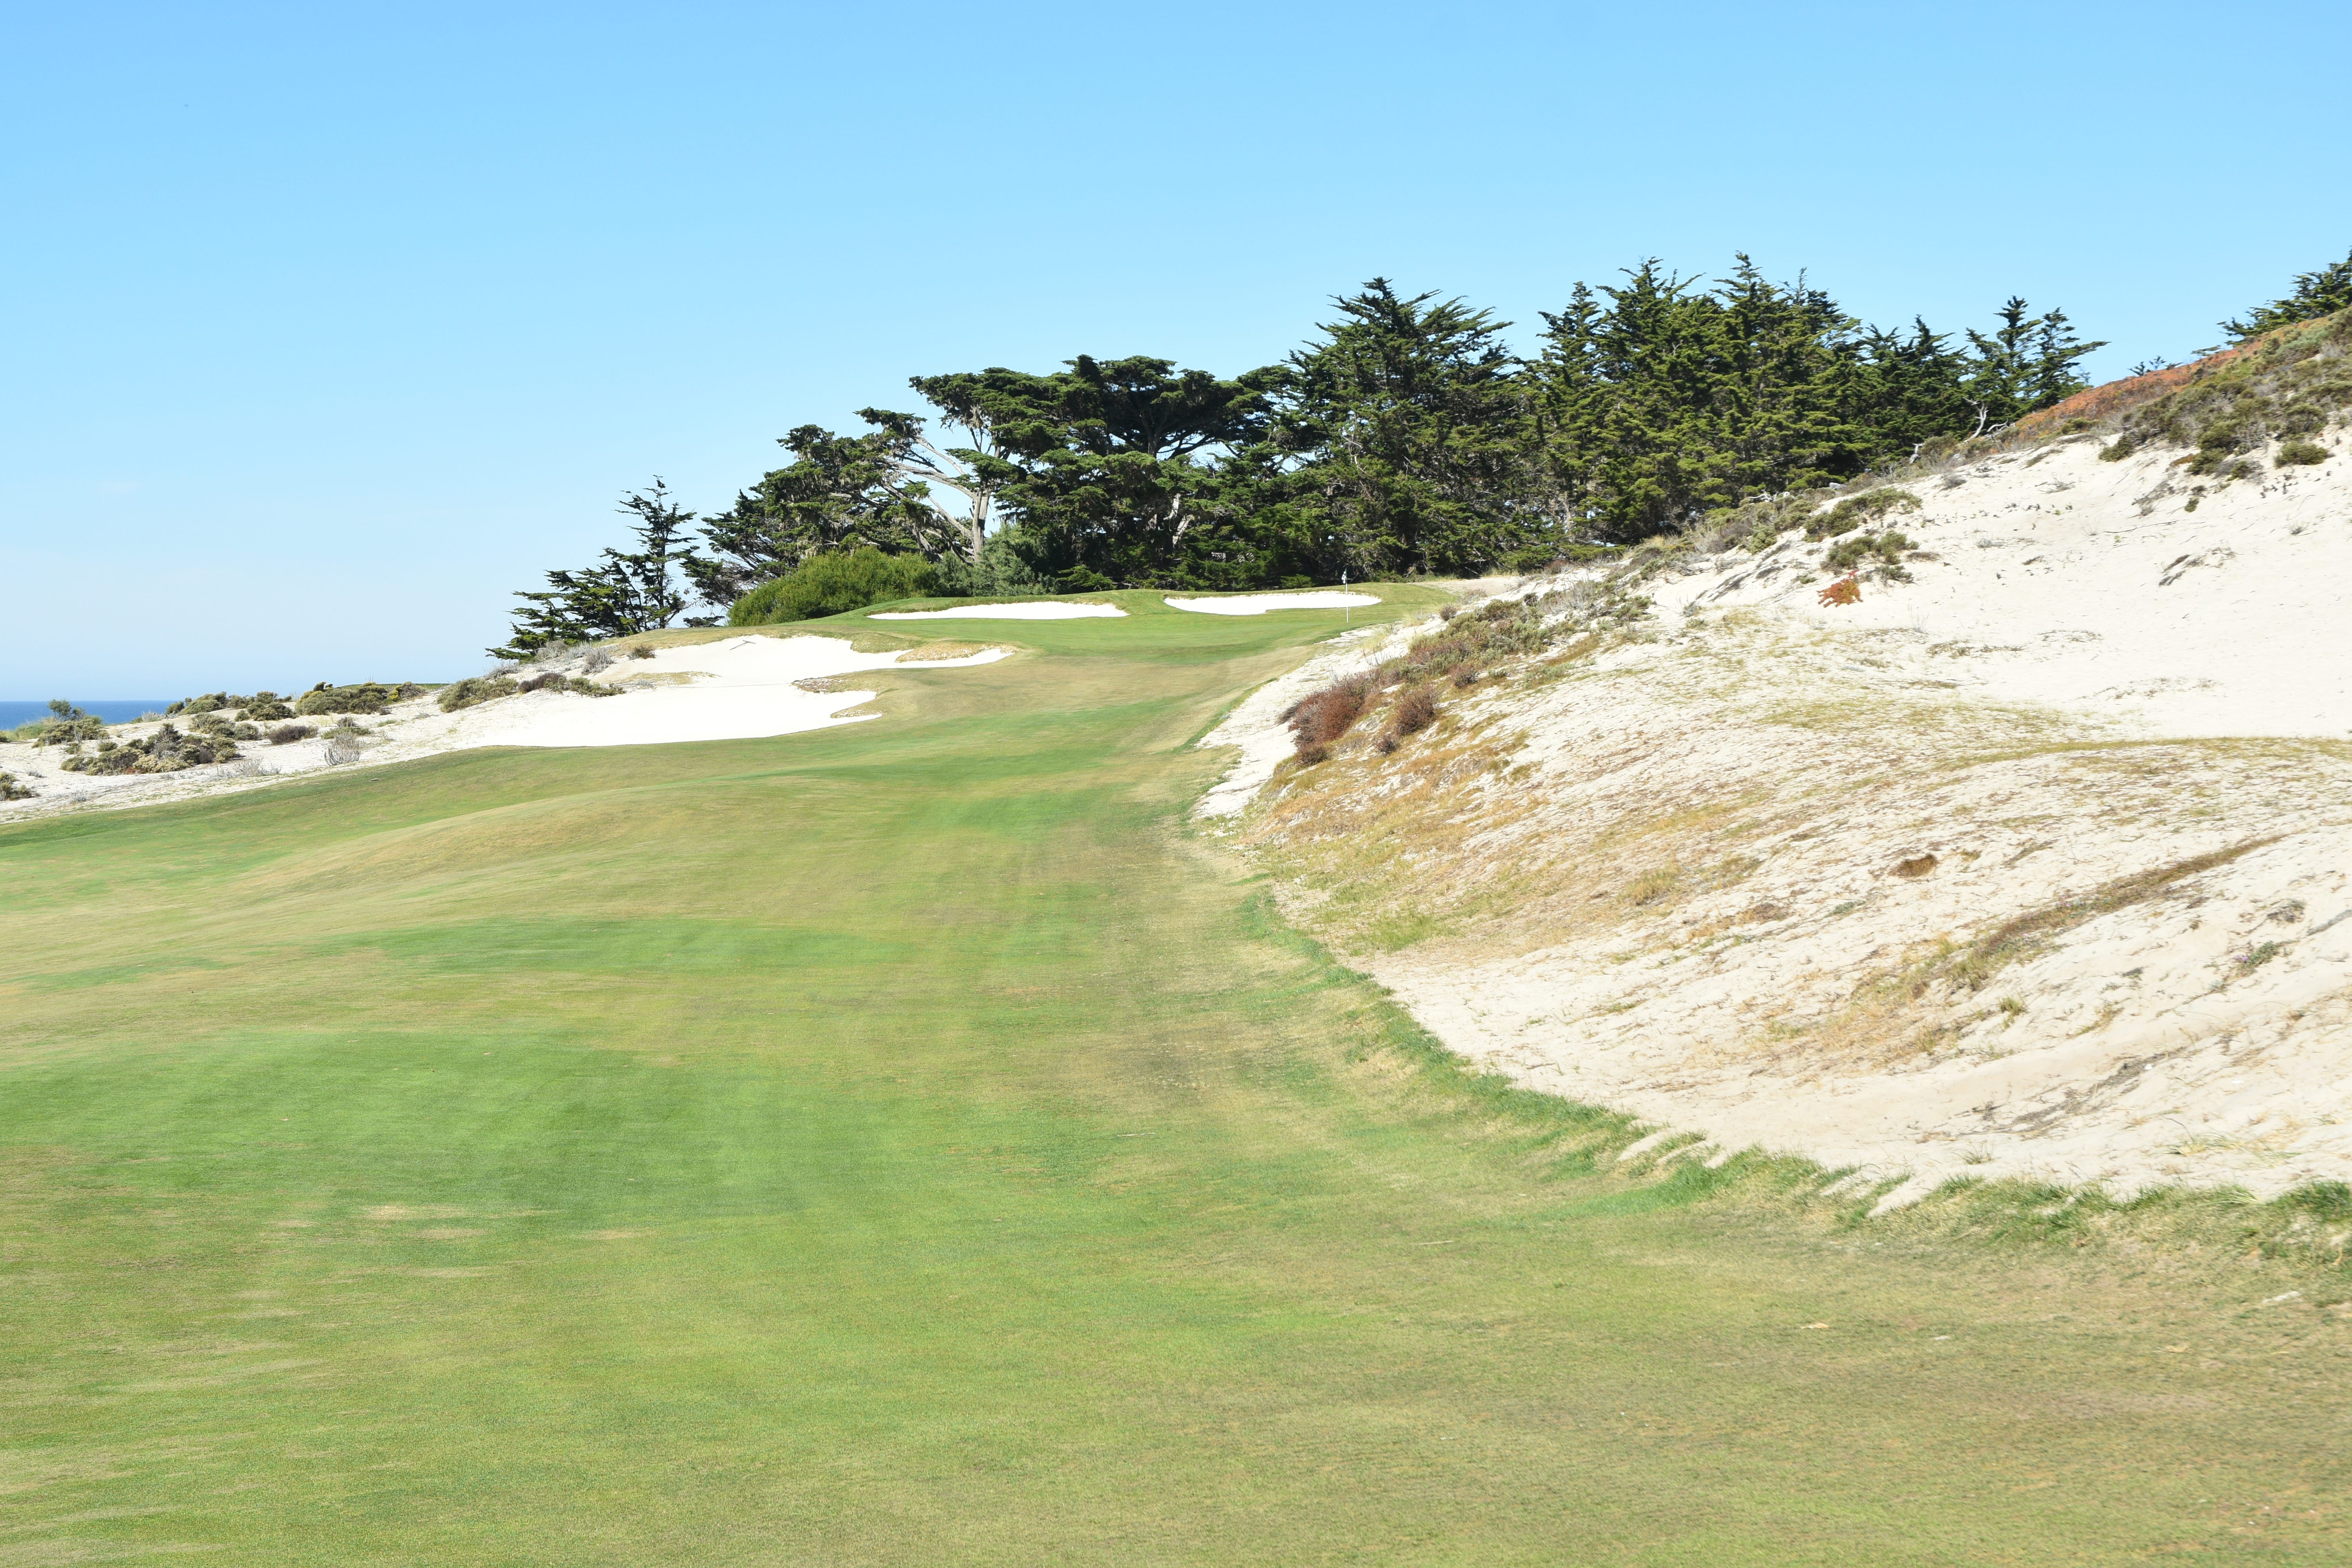
Hole 8: Par 4, 369 Yards
The 8th hole at Cypress Point is one of the more interesting holes on the course. The line between grass and sand is razor thin and thoughtful shotmaking is thoroughly tested from tee to green
The 8th hole tee shot from the back tee — the hole has an awkward orientation as it doglegs sharply to the right and the fairway has a reverse camber nature — a player needs to carefully consider the angle (both line and distance) of the tee shot to safely carry the sandy area guarding the entire length of the right side of the fairway
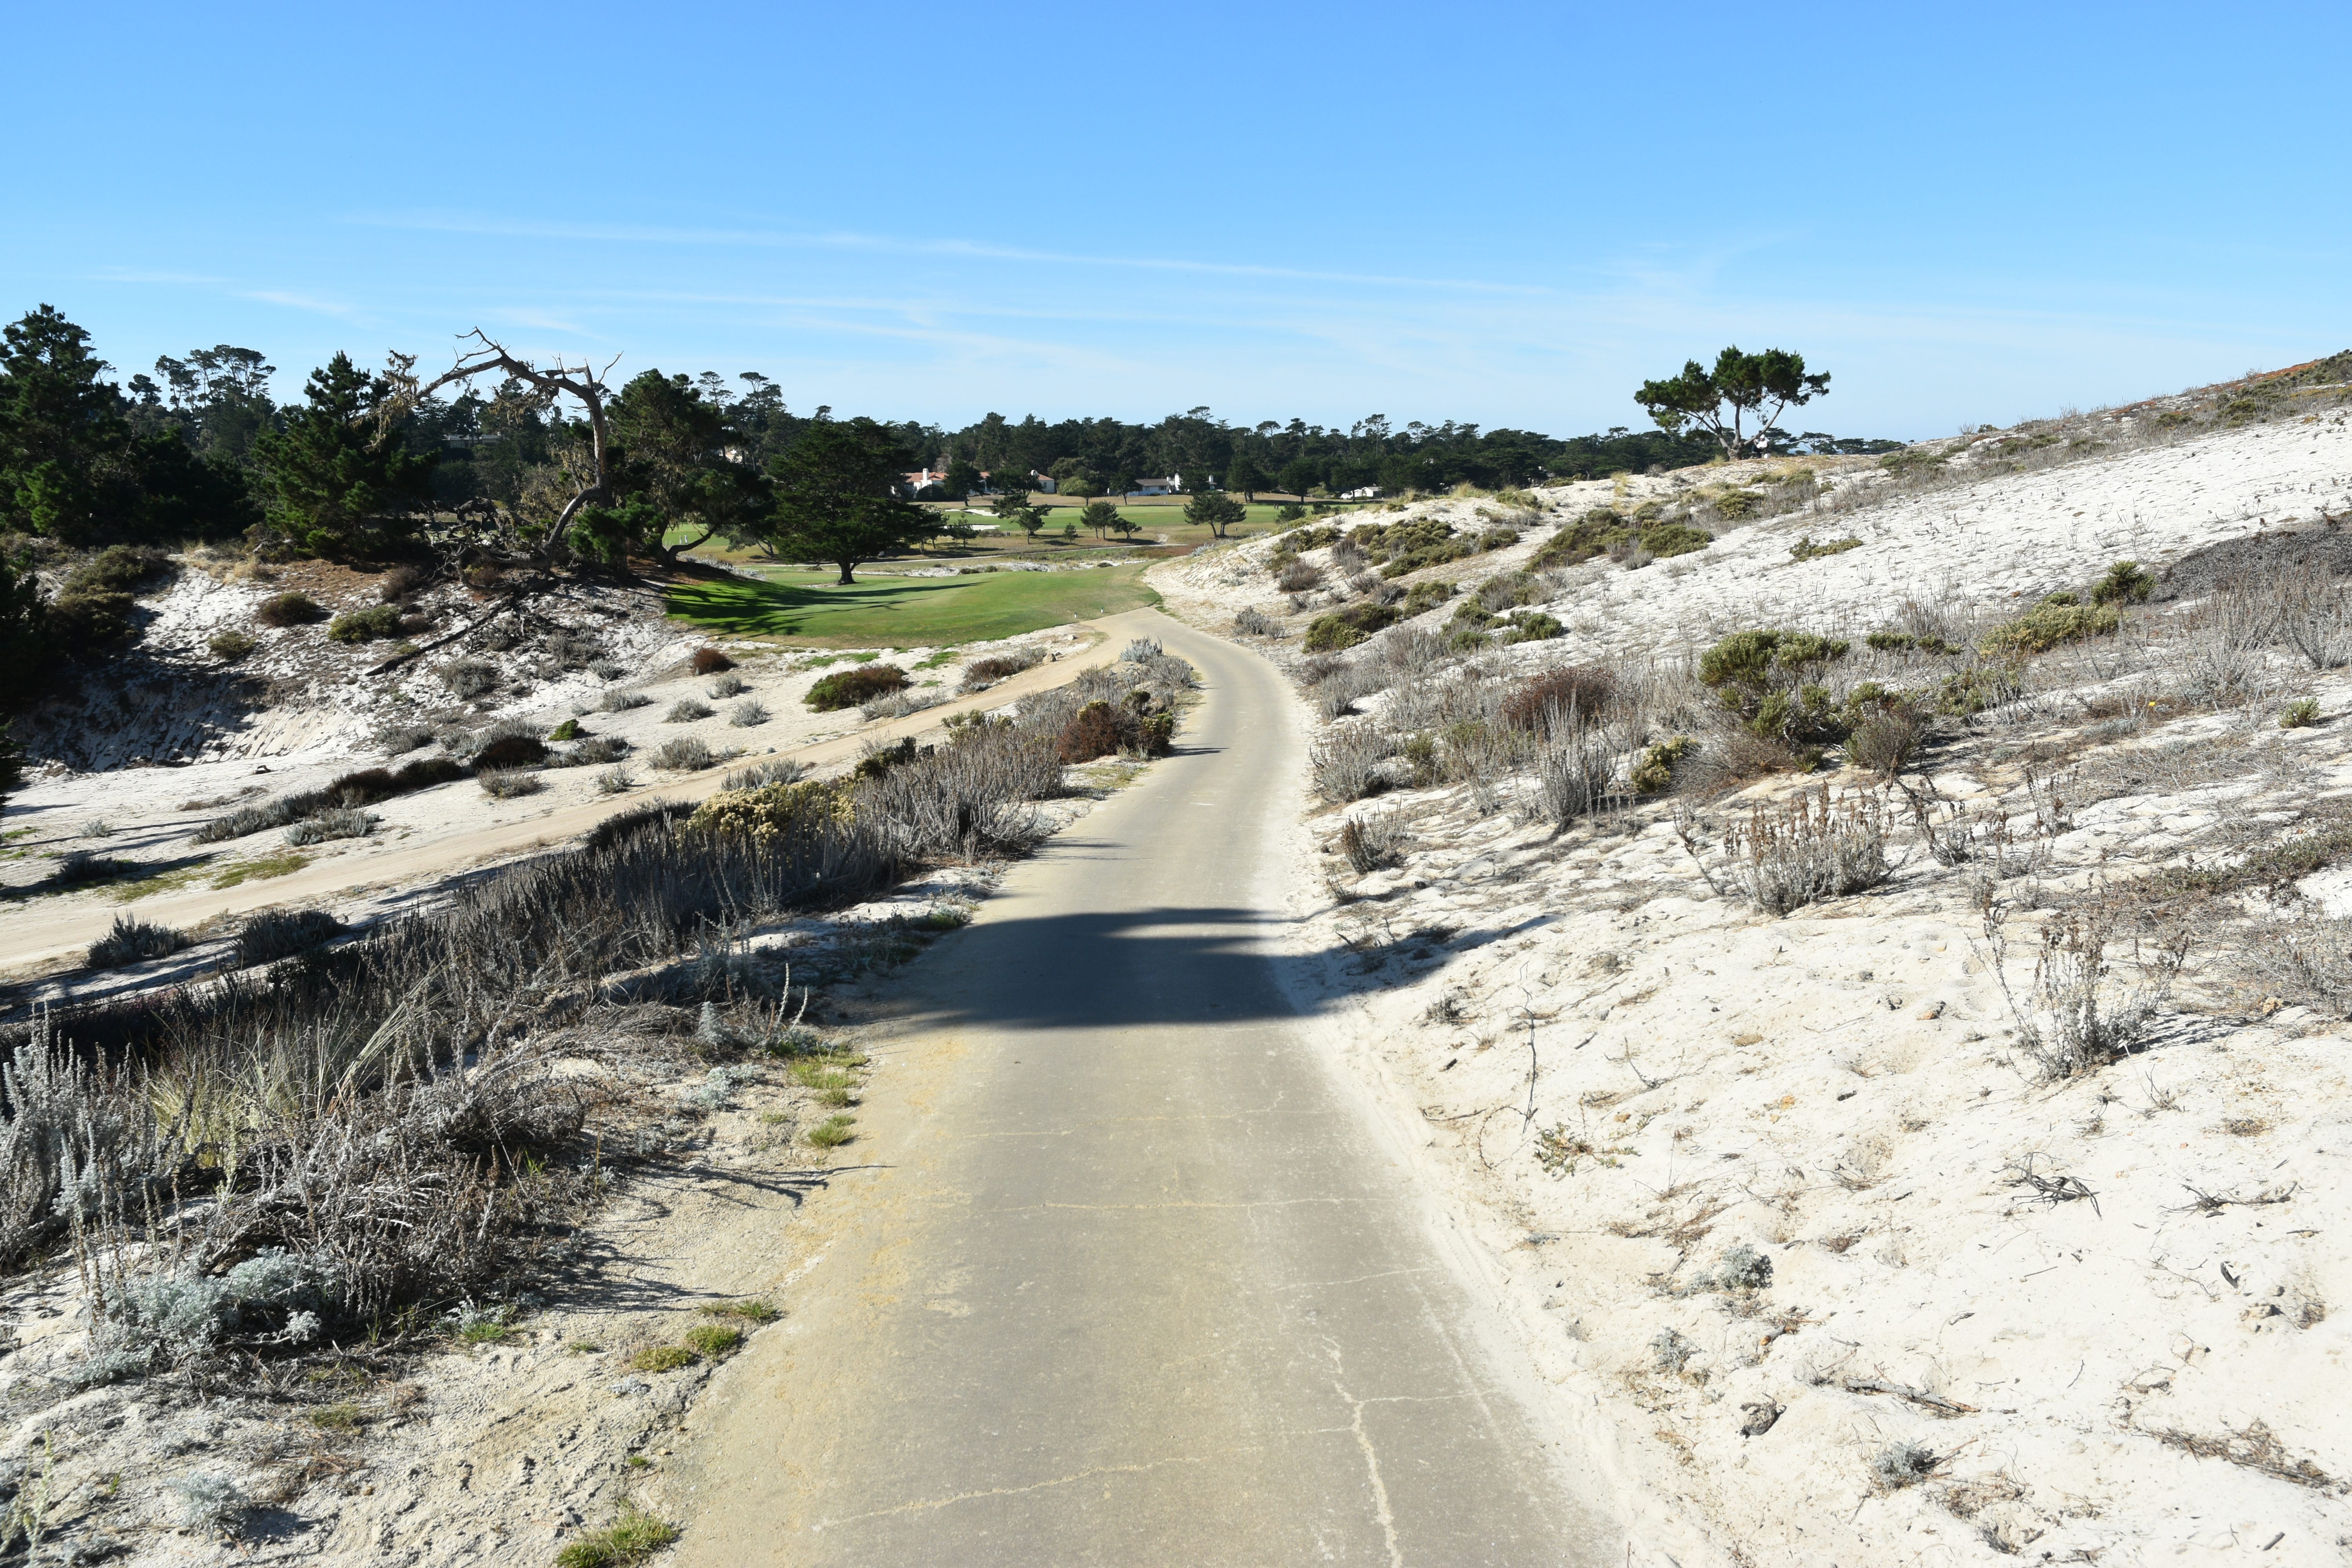
The walk from the 8th hole tee box to the fairway
The reverse camber nature of the 8th hole fairway — the ideal tee shot is a floating cut that will hit into the fairway slope and land softly into the fairway. If a player chooses to lay back with the tee shot and not aggressively challenge the right sandy area, the approach will be longer to a green where being closer to the green is quite advantageous
A look back at the 8th hole fairway towards the tee box — tee shots that hit the sandy area are not guaranteed to bounce through onto the fairway given the soft and unpredictable nature of the sand
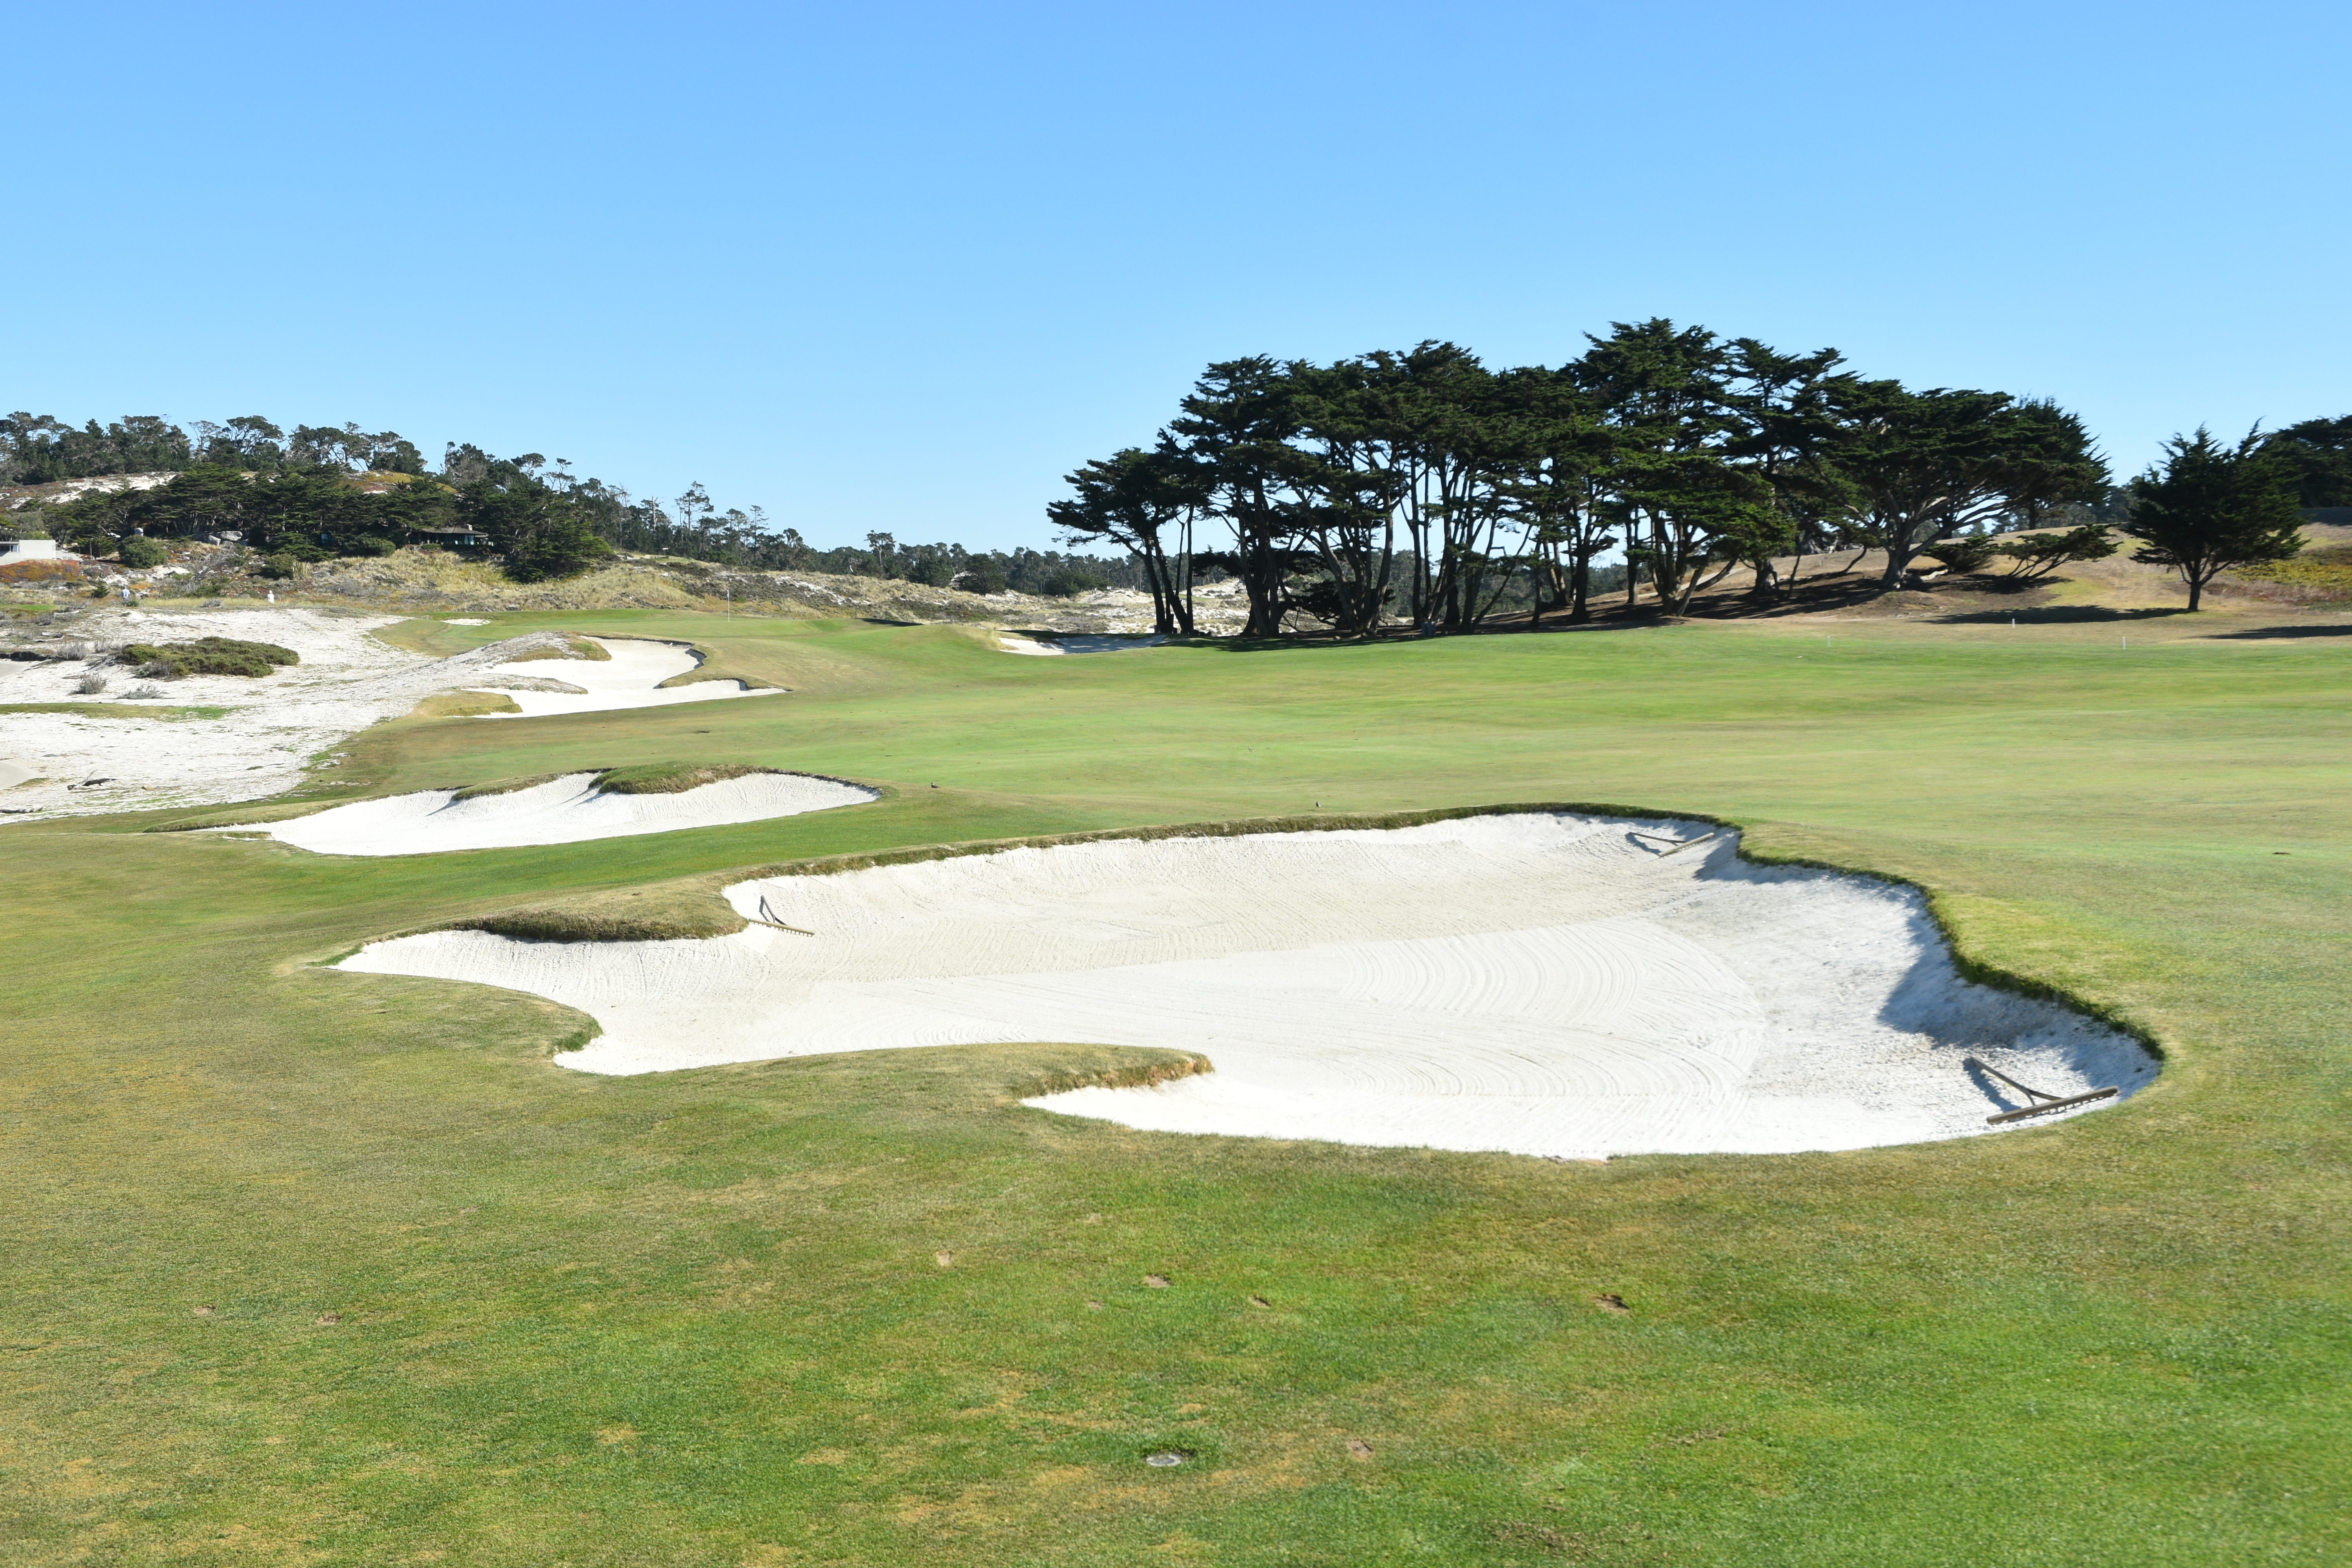
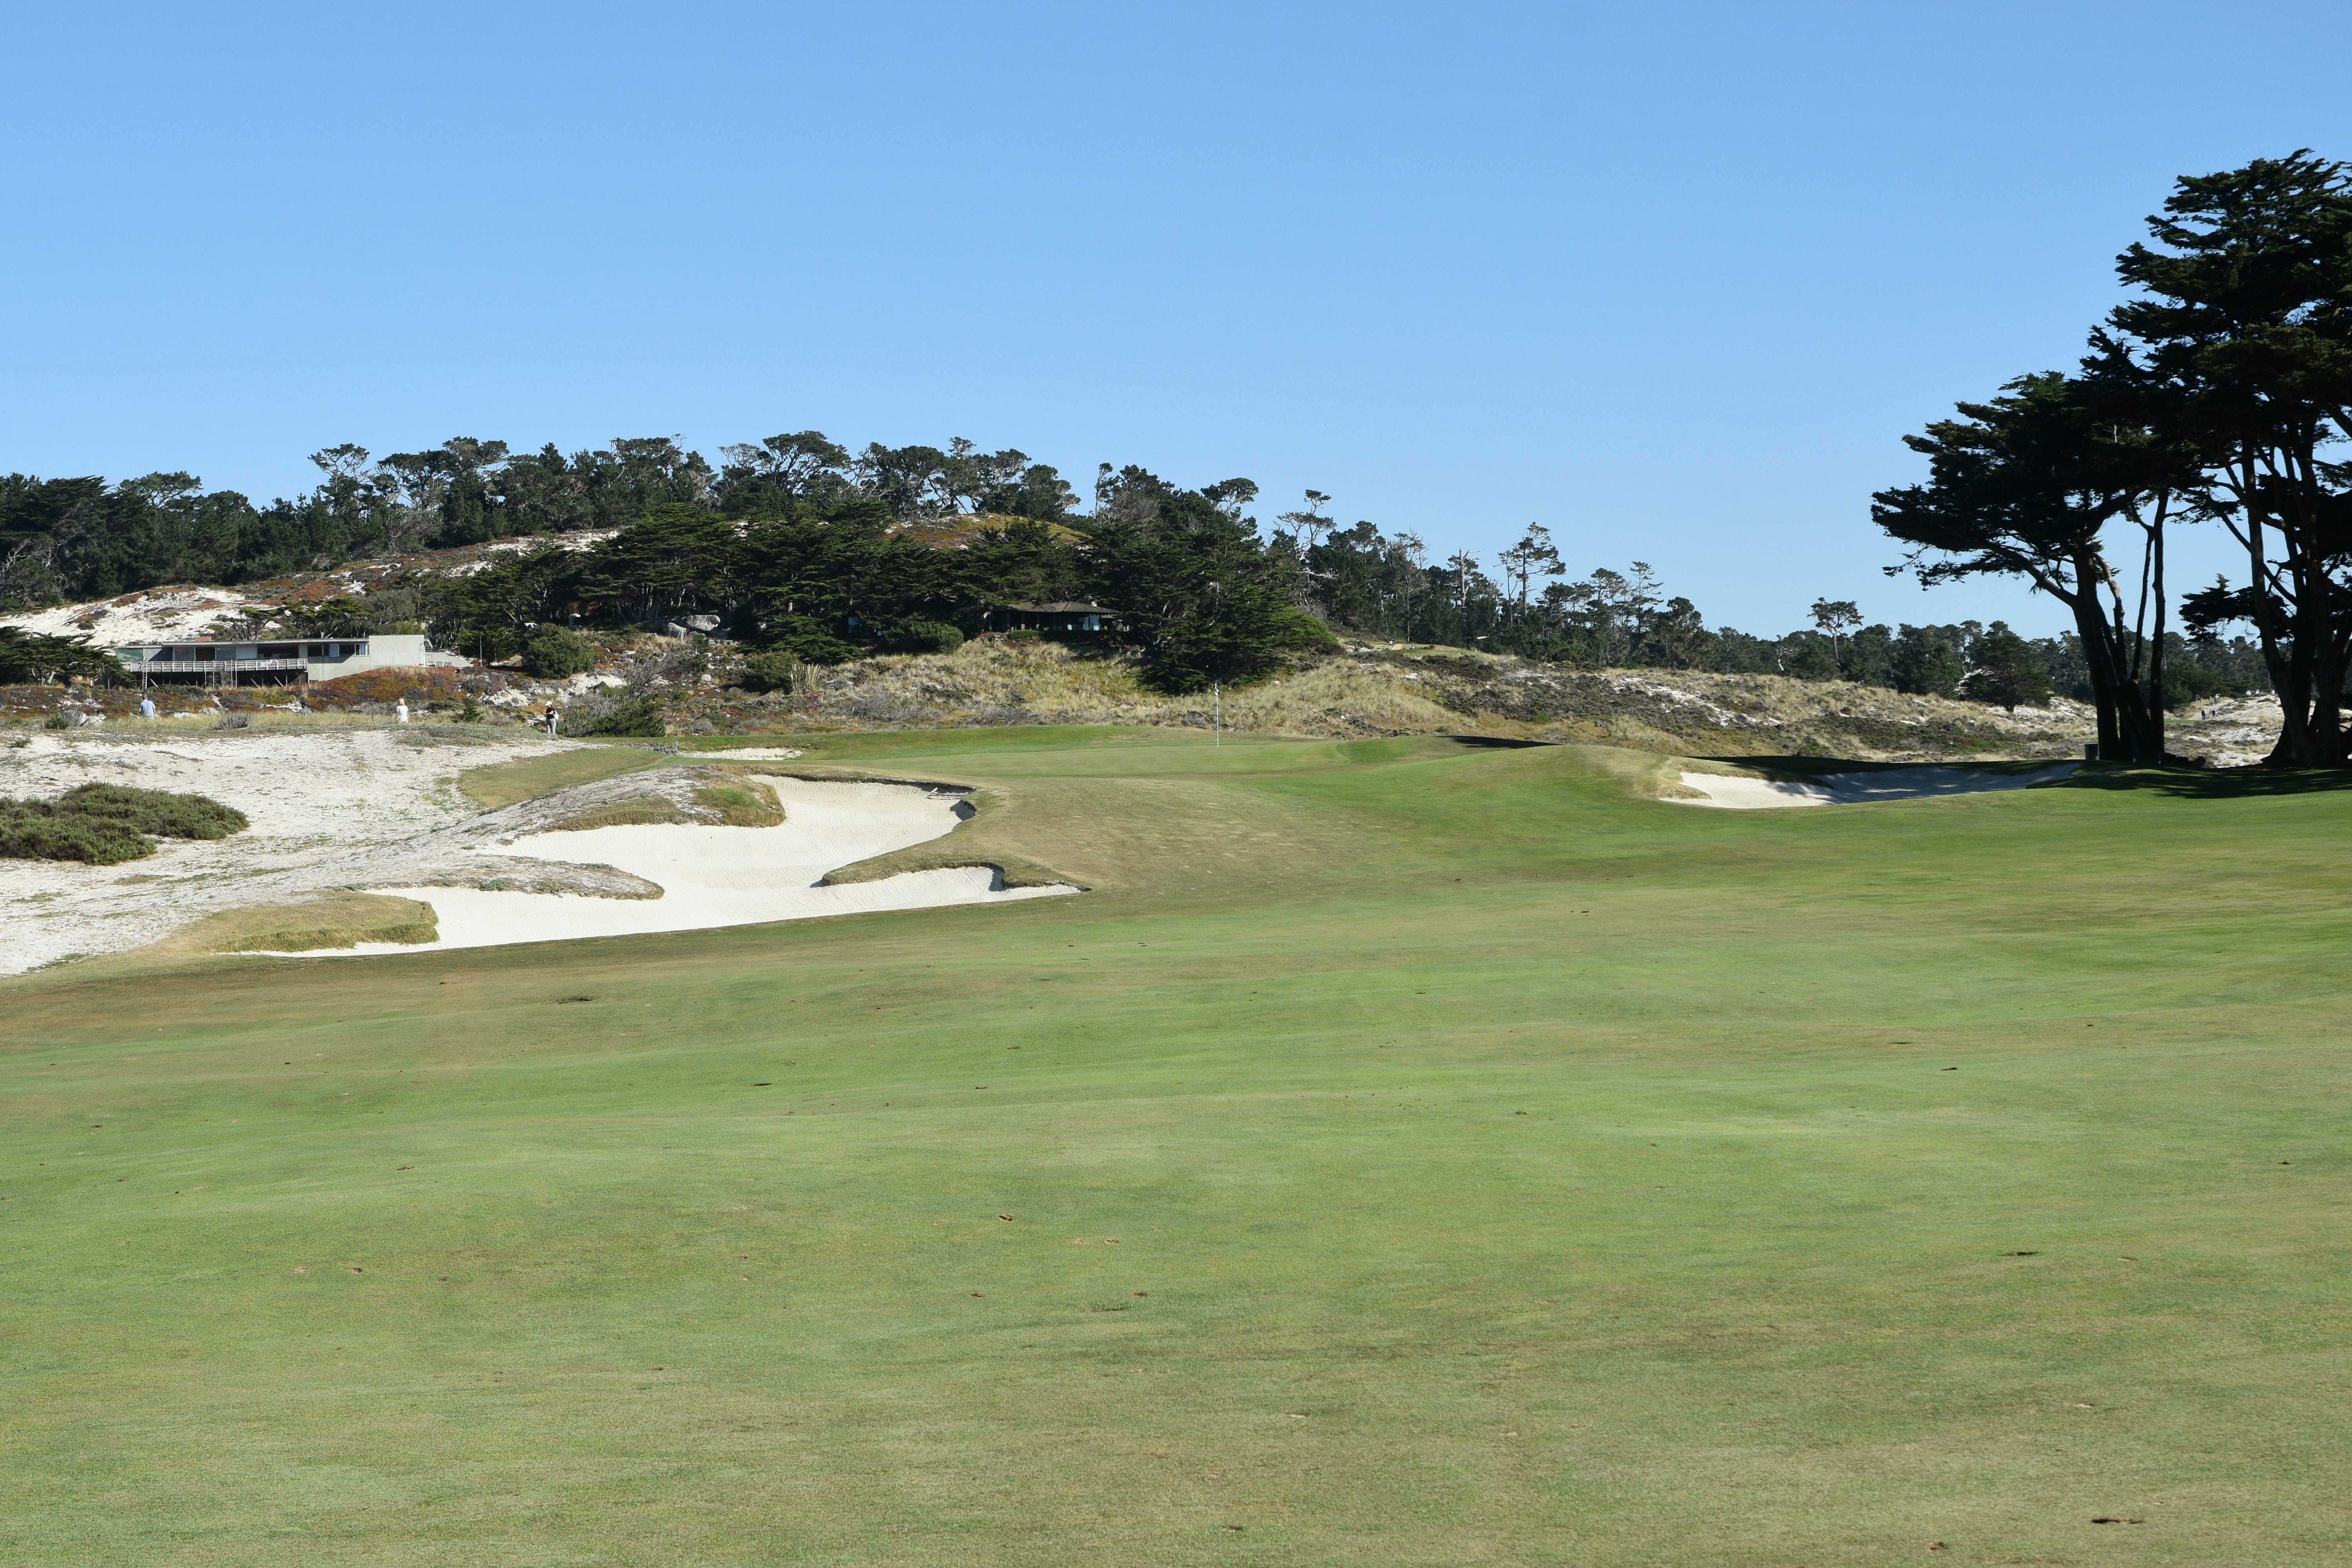
The 8th hole approach to a challenging green with various difficult hole locations
One of the neat features at Cypress Point where the fairway bunker blends seamlessly into the natural sandy areas
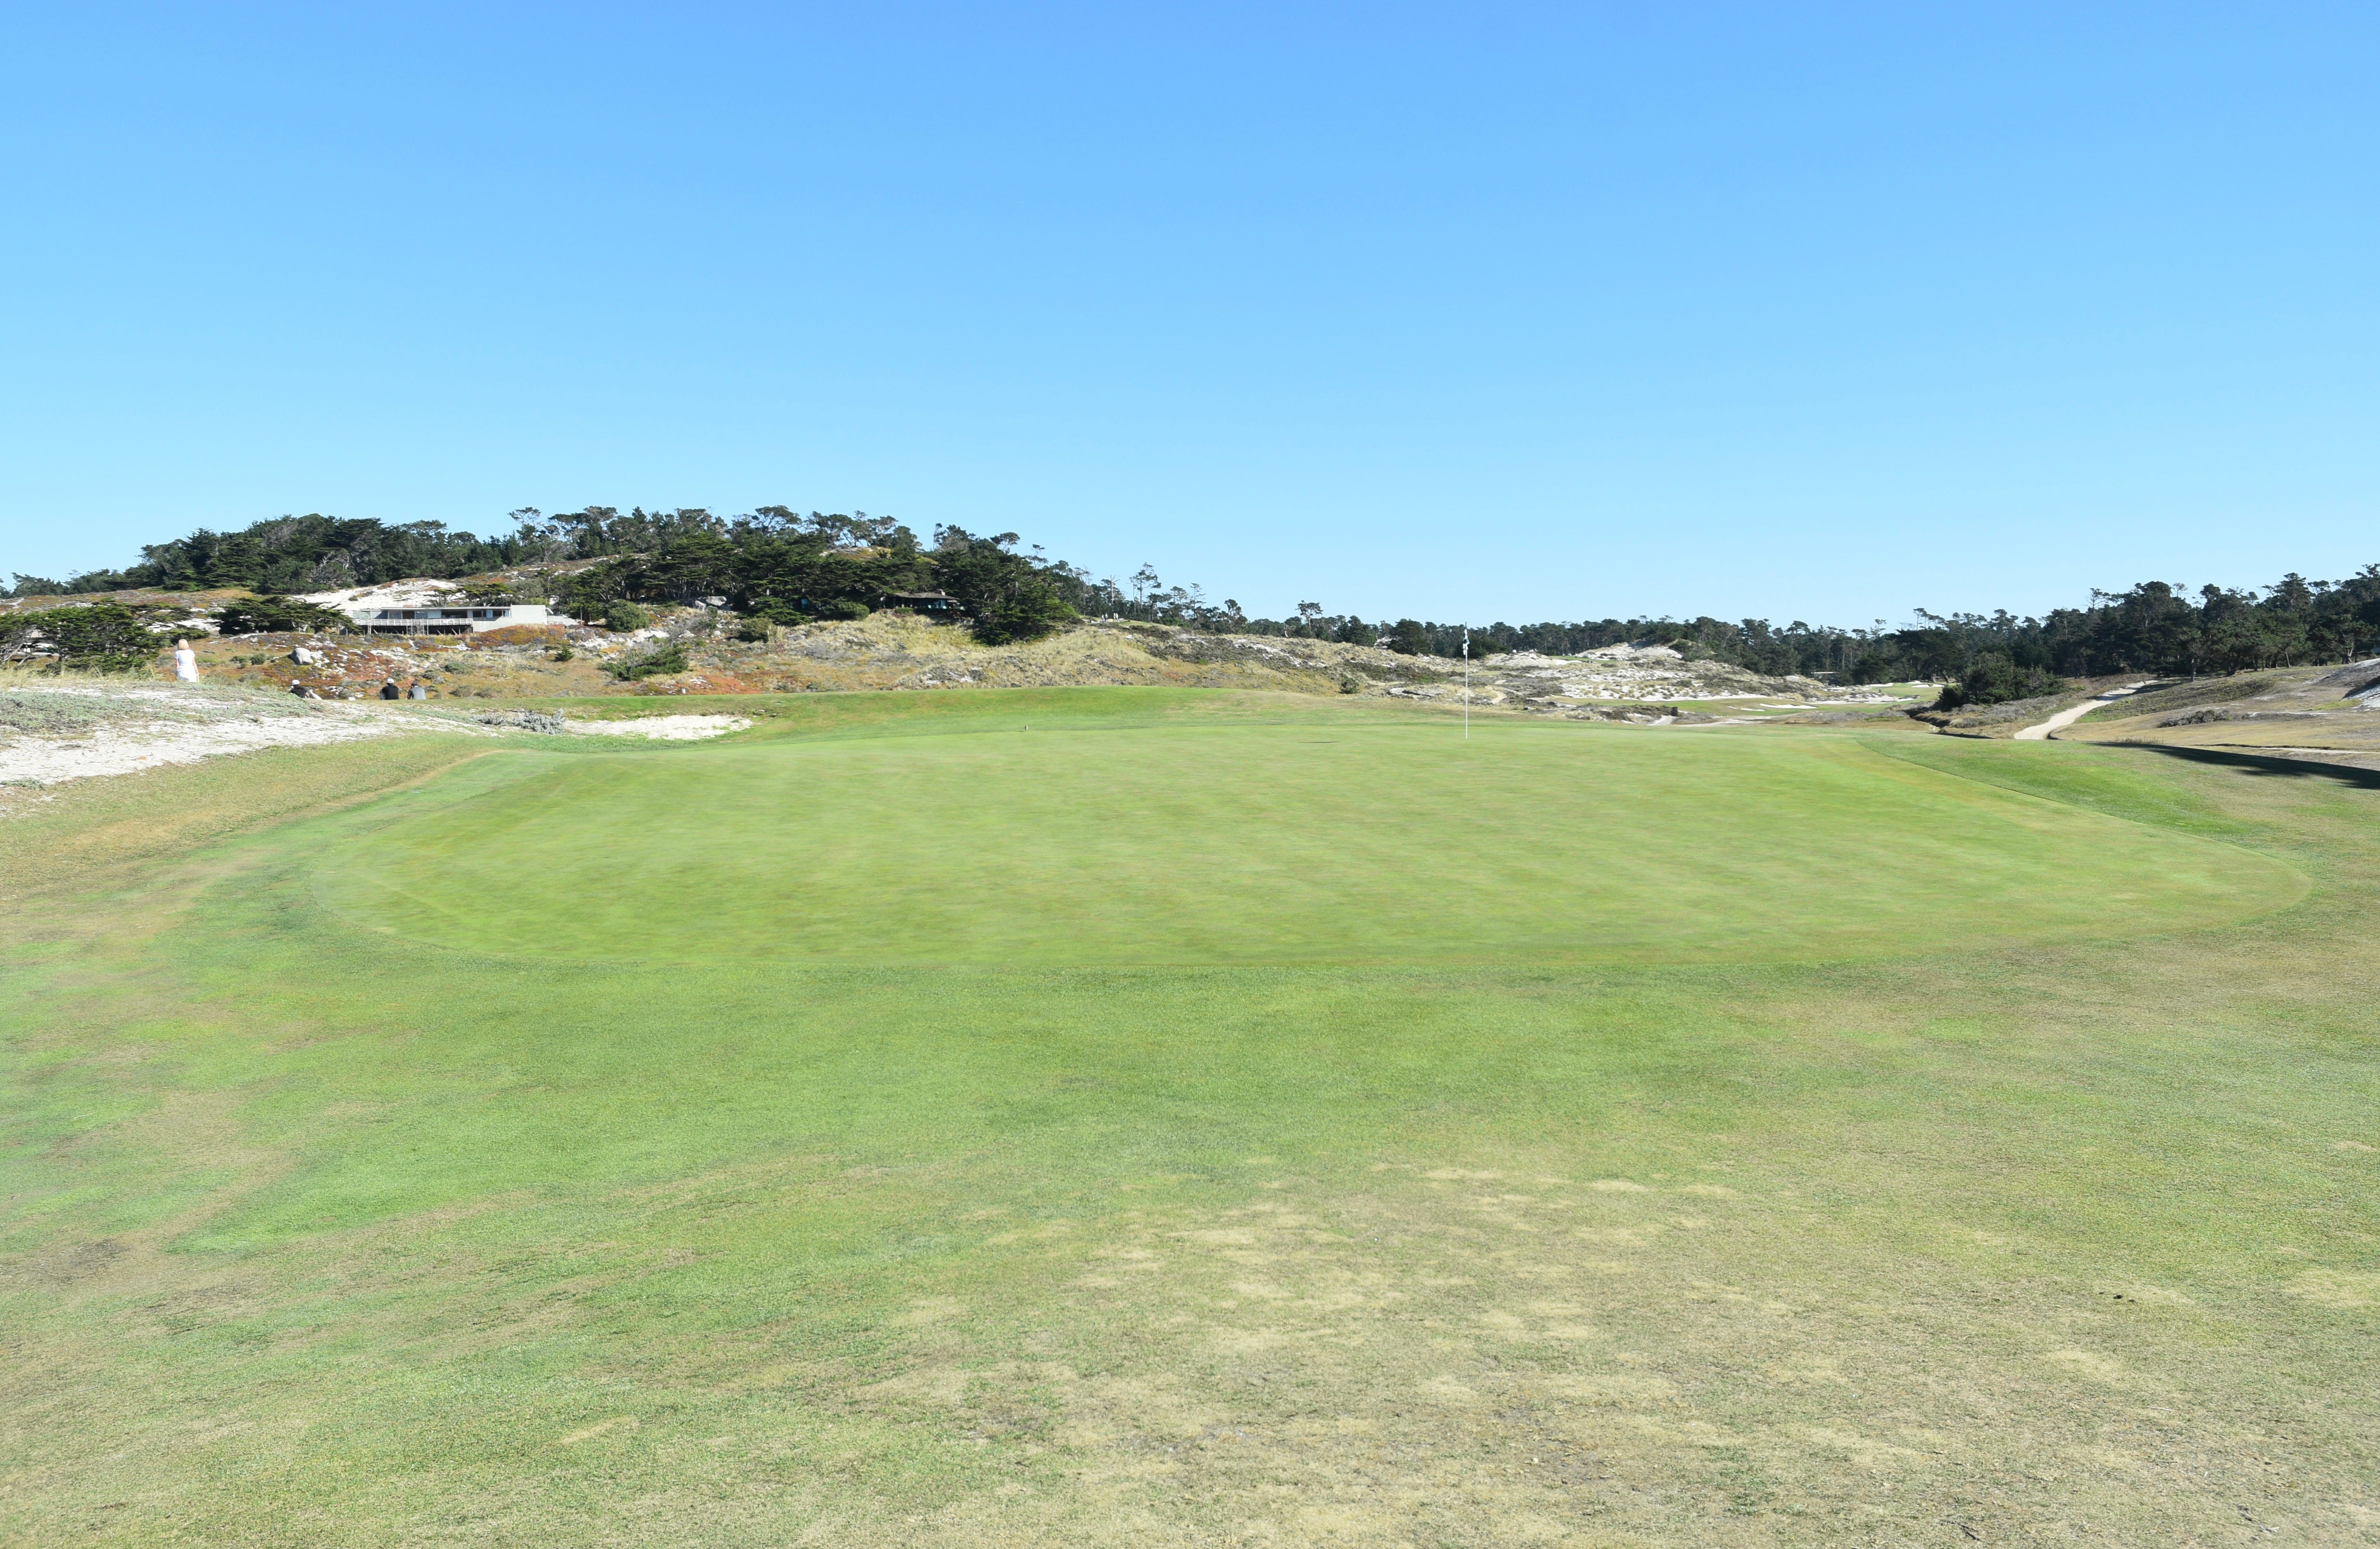
The 8th hole green viewed from the front — this green has the classic Alister Mackenzie shaping where there are multiple narrow tongue areas to create interesting hole locations
The 8th hole green viewed from the front left — hole locations in this area of the green can be very challenging to access
The 8th hole green viewed from the back right — the hole location shown is one of the more challenging ones on this green
Hole 9: Par 4, 289 Yards
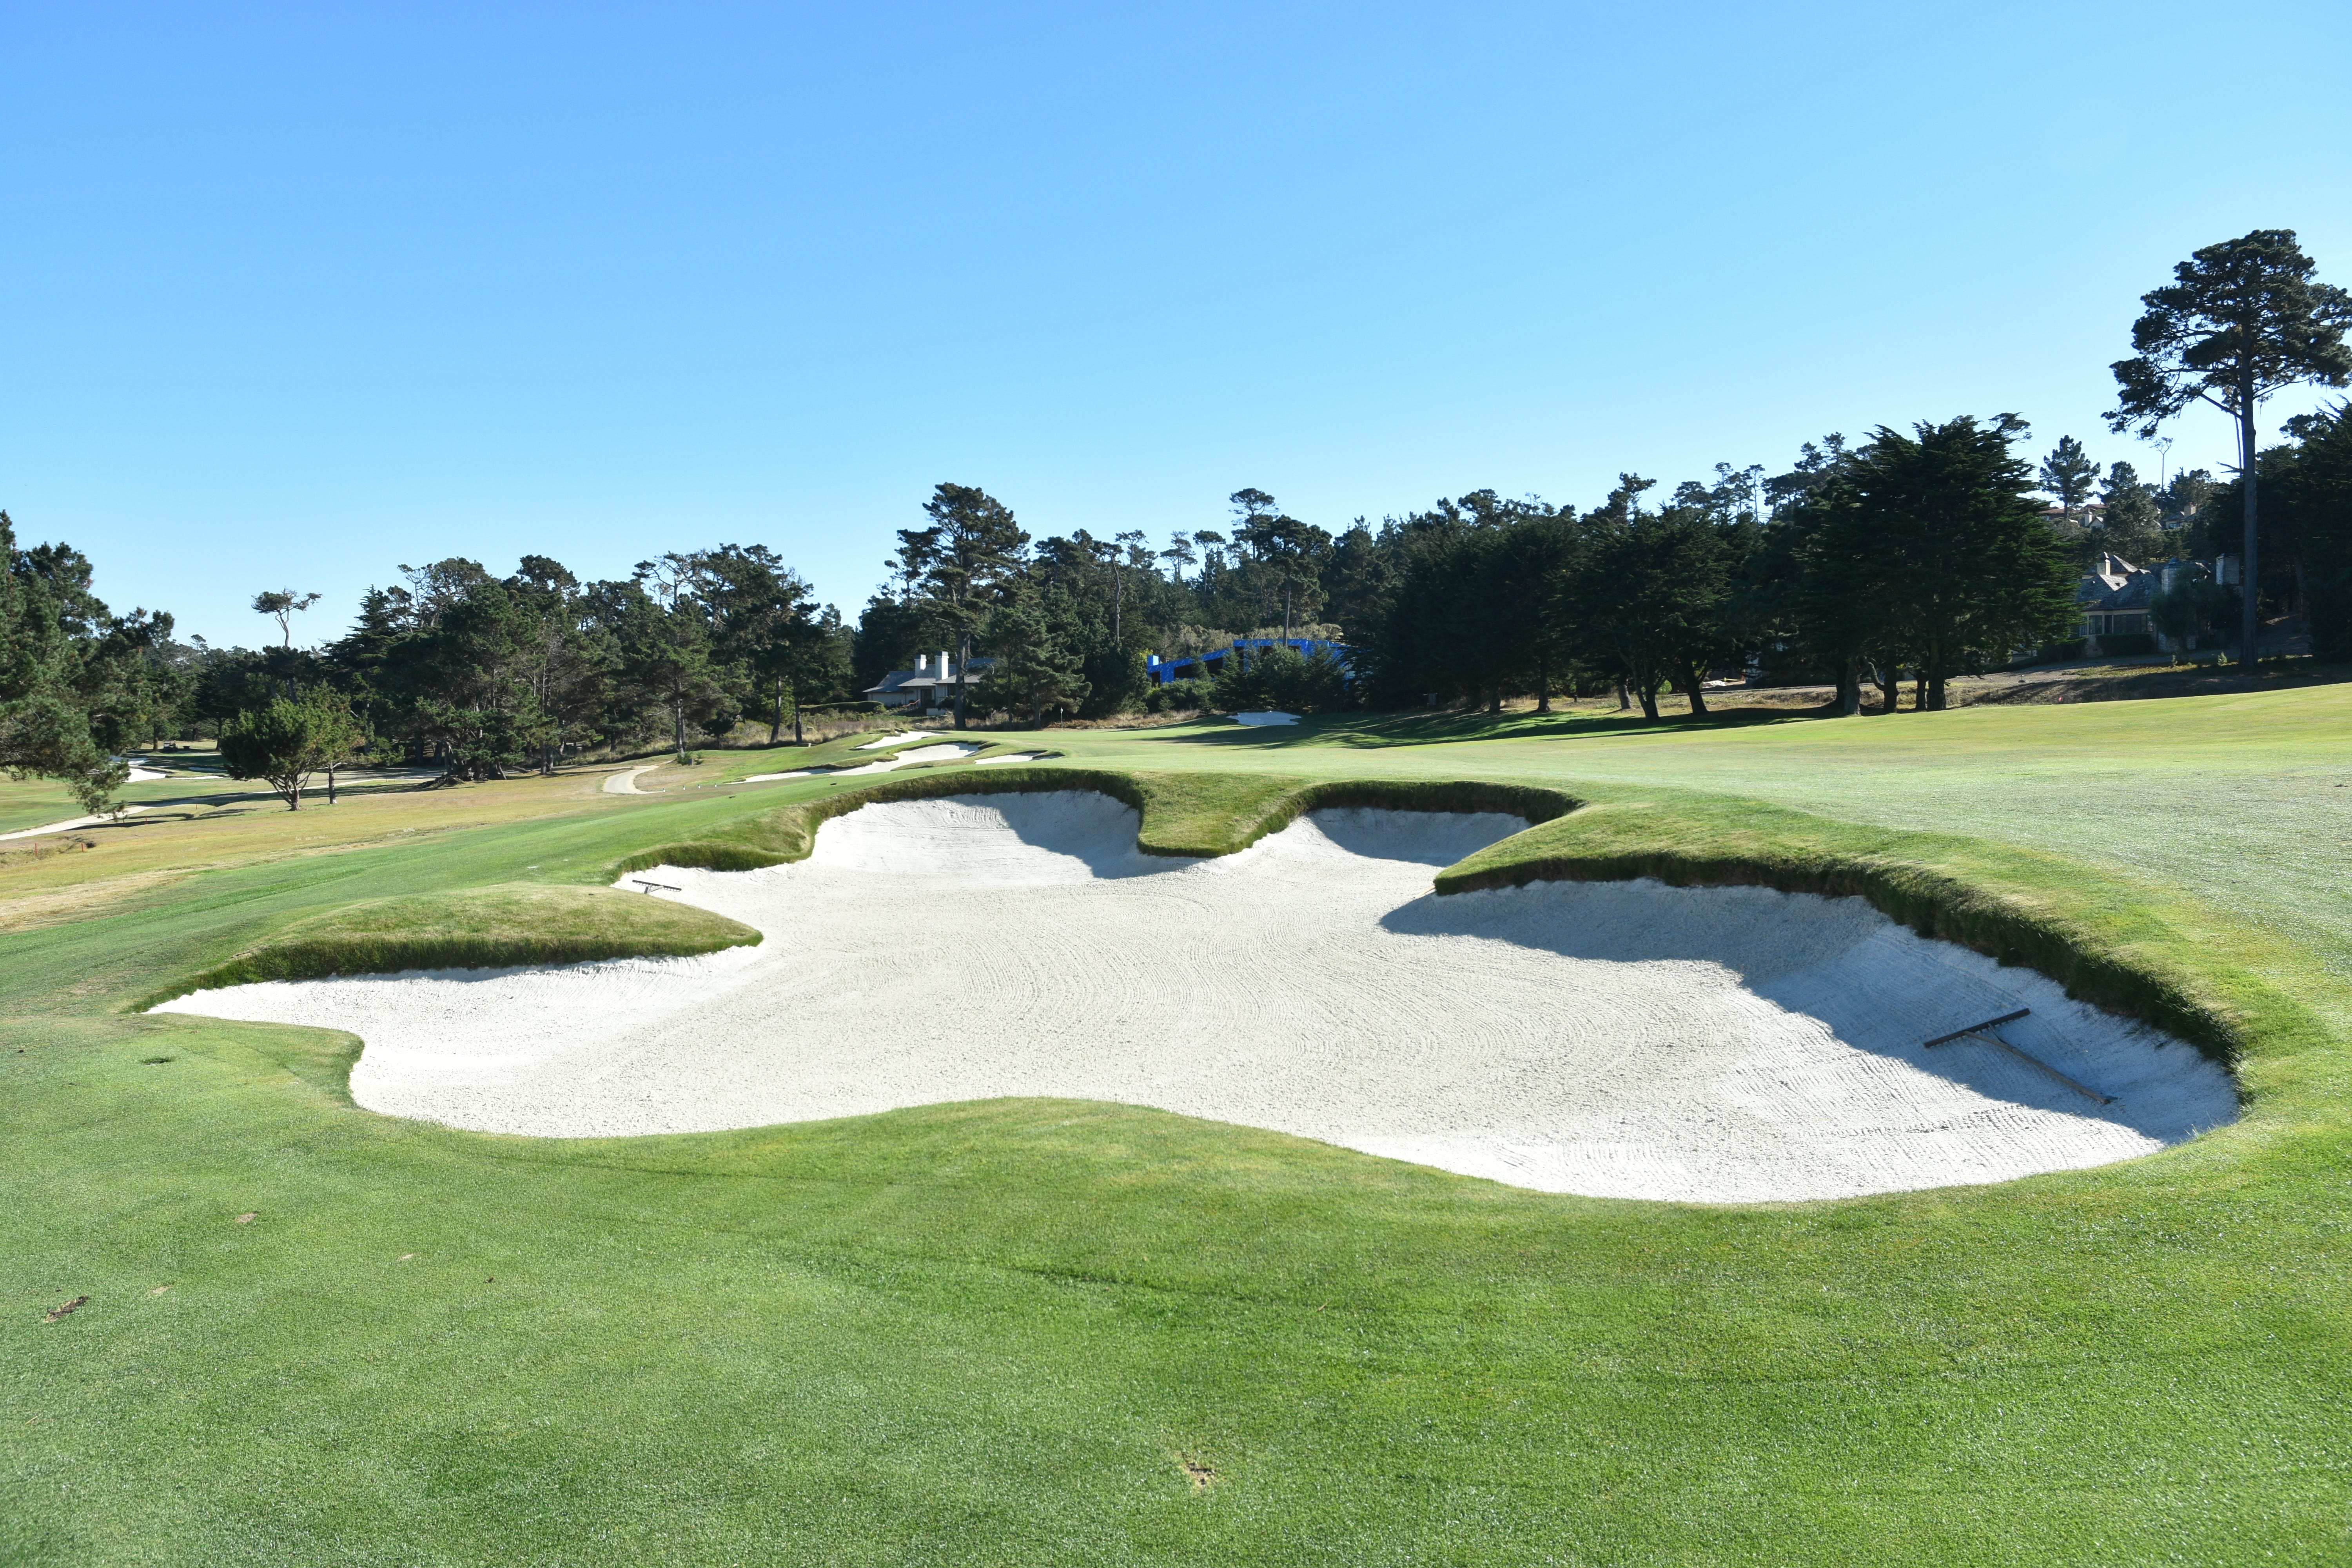
The 9th hole at Cypress Point is one of the most challenging sub-300 yard par-4 holes in the world. An accurate tee shot in the fairway is essential to attack this tricky green with the approach
The 9th hole tee shot from the back tee — the ribbon fairway feels very small from the tee and missing the fairway complicates this hole significantly
The strategy of the hole is predicated by the hole location of the day — a player needs to carefully consider the best angle of approach to the green based on the tee shot and being in the fairway allows for maximum control into the green. Some longer players will likely elect to drive the green and a miss into the left green side bunker with the drive may not be a bad play
The 9th hole approach — Once in the fairway, the approach is challenging to a green narrow in shape, set at an angle, and pitched severely from back to front. A deft approach is required to get the ball close
The left green side bunker of the 9th hole — finding it with the second shot approach is a mistake. Finding it with the first tee shot is not a bad play
The 9th hole green viewed from the front right — this serpentine green with its movement and contouring is the most devilish one at Cypress Point
The difficulty of the hole is predicated on the hole location — the back left hole location as shown makes the hole play the toughest
The 9th hole green viewed from the back left — play it with care or walk off with a bogey or worse on a short par-4 hole to bruise your ego!
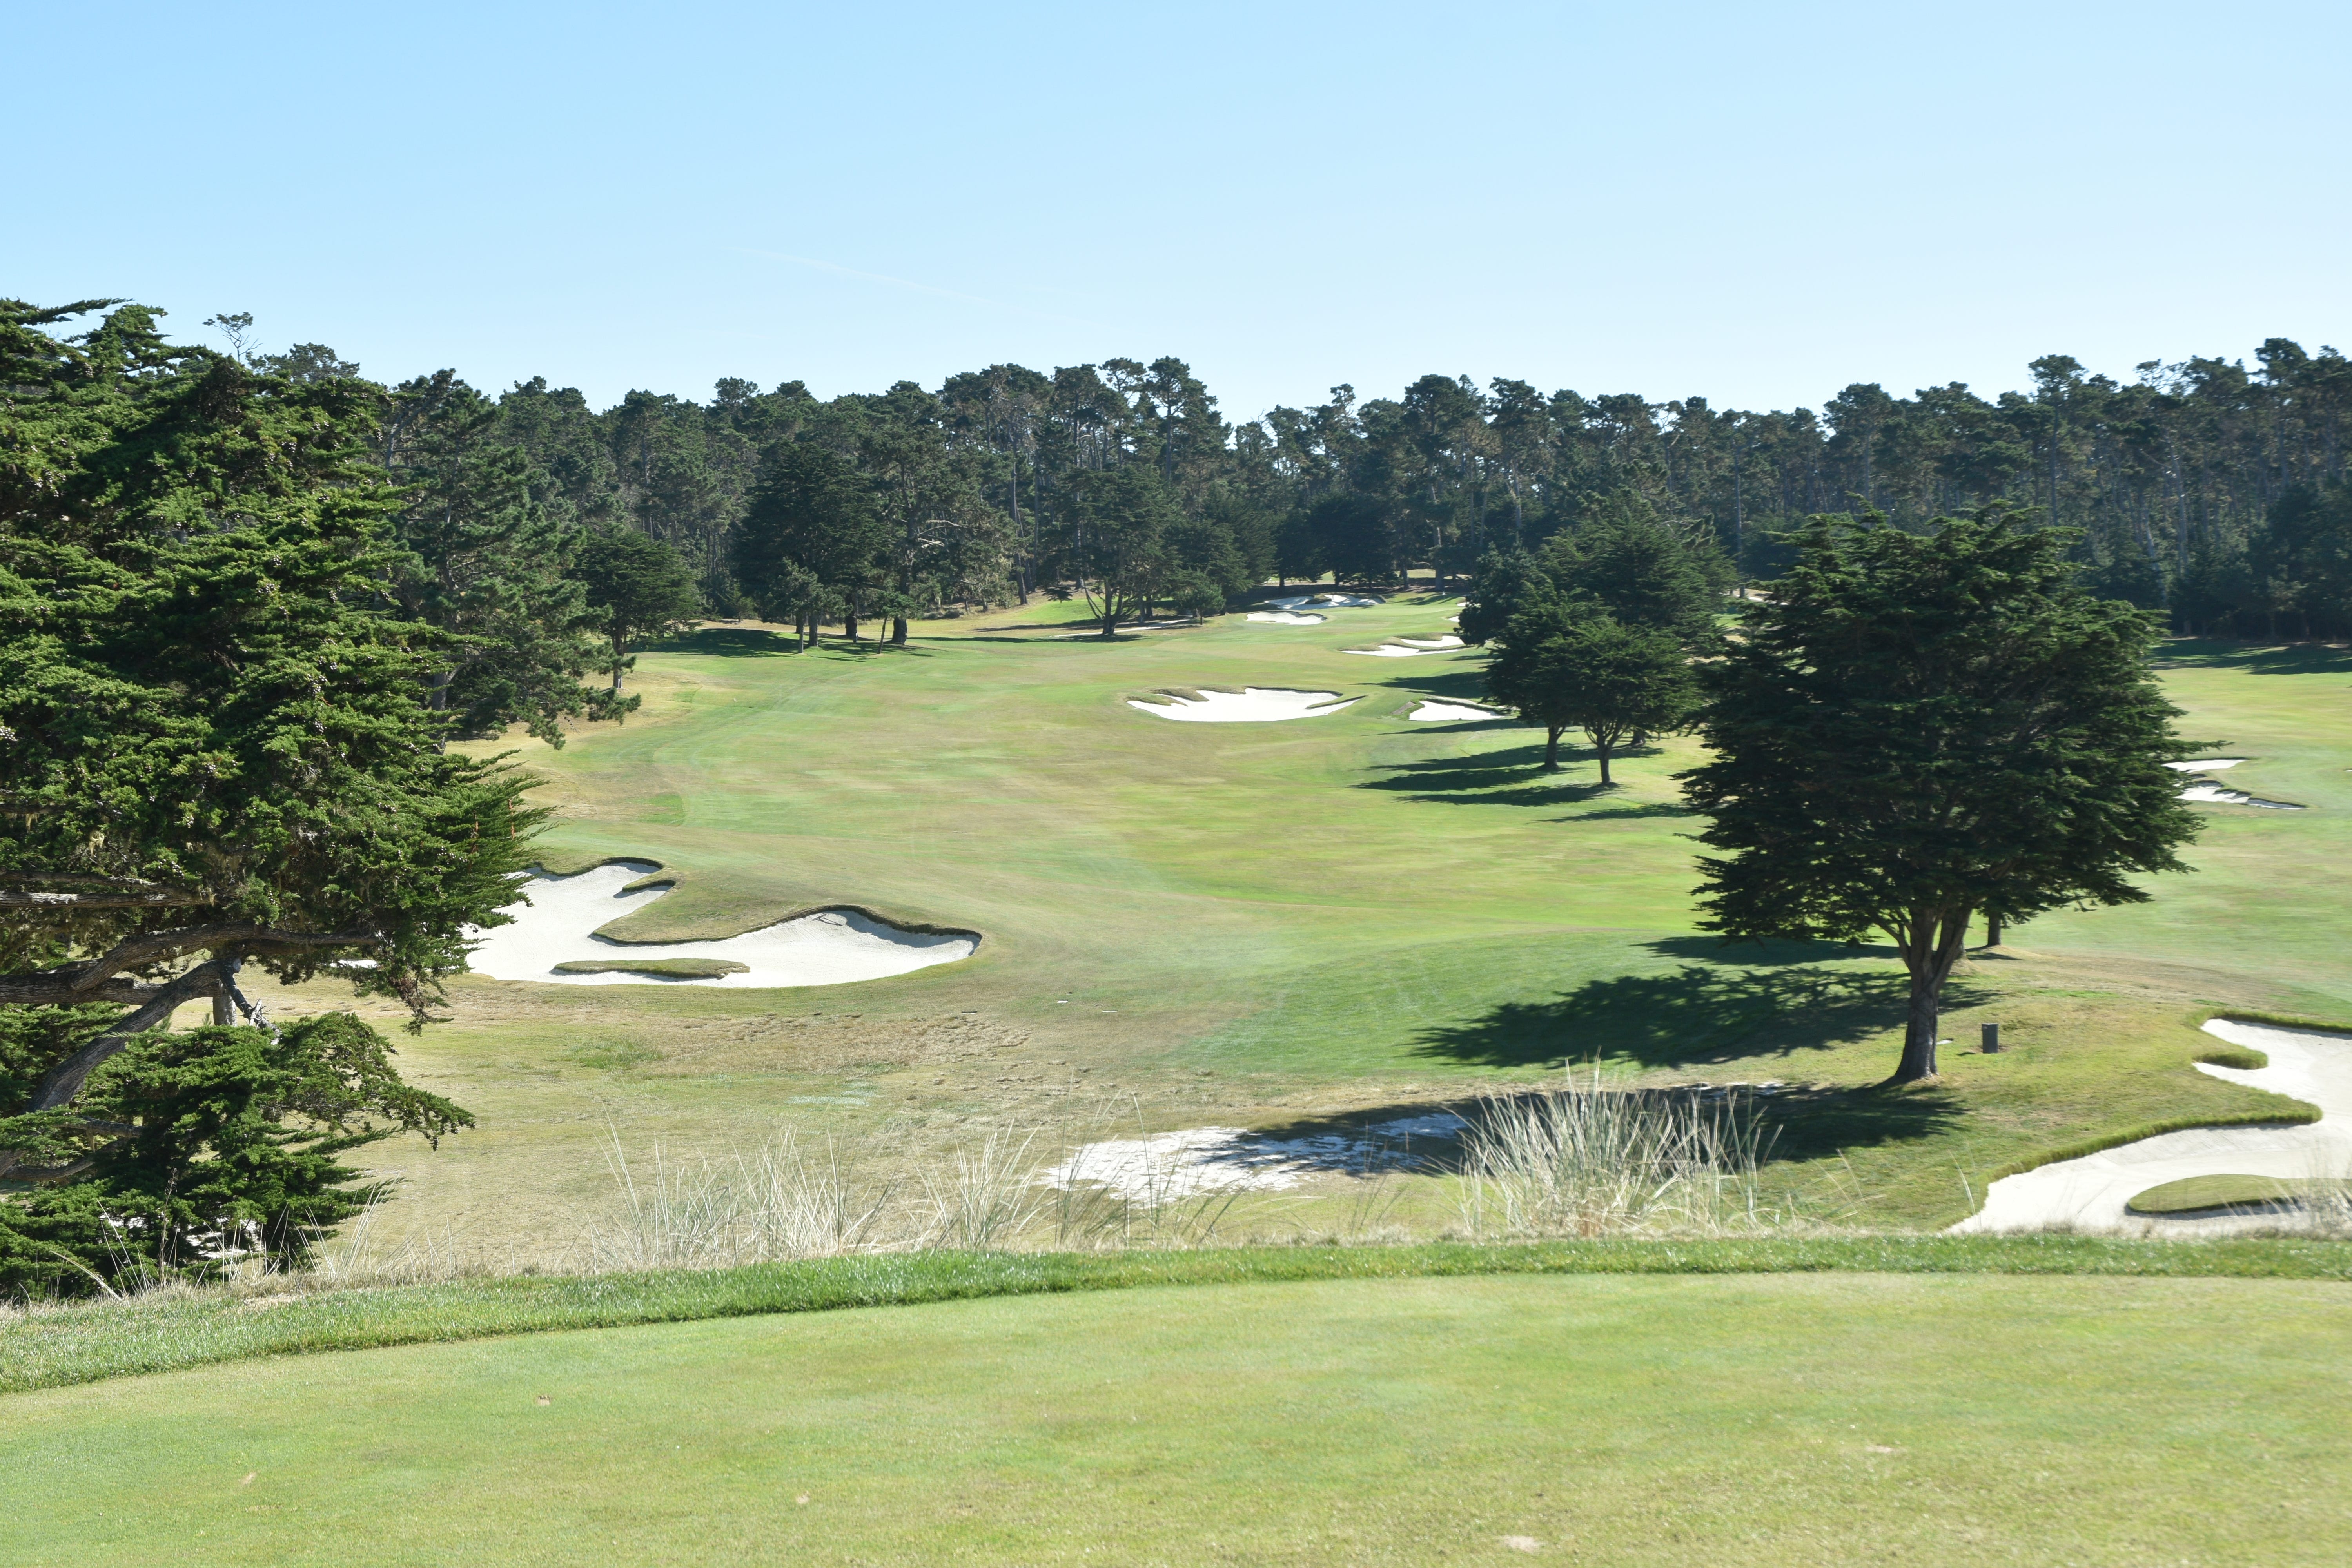
Hole 10: Par 5, 476 Yards
The back nine at Cypress Point begins with a modest and short par-5 hole. Given the short nature of this hole to modern players, it will likely be converted into a par-4 hole for the 2025 Walker Cup. With this hole and the 5th hole converted into par-4 holes, Cypress Point would play as a par-70 course